How to Insulate Under Floorboards Without Removing
| by Holly Wood
The idea of tearing up your floorboards in pursuit of increased warmth and energy efficiency might initially seem daunting and impractical. However, in this comprehensive guide, we will walk you through the steps of how to insulate under floorboards without removing them – harnessing the often-overlooked crawl space beneath your home.
With careful planning, a touch of do-it-yourself ingenuity, and a firm commitment to enhancing your living environment, you can effectively eliminate those pesky chills, simultaneously reducing your energy bills, and ultimately creating a warm and inviting home.
Installation Essentials
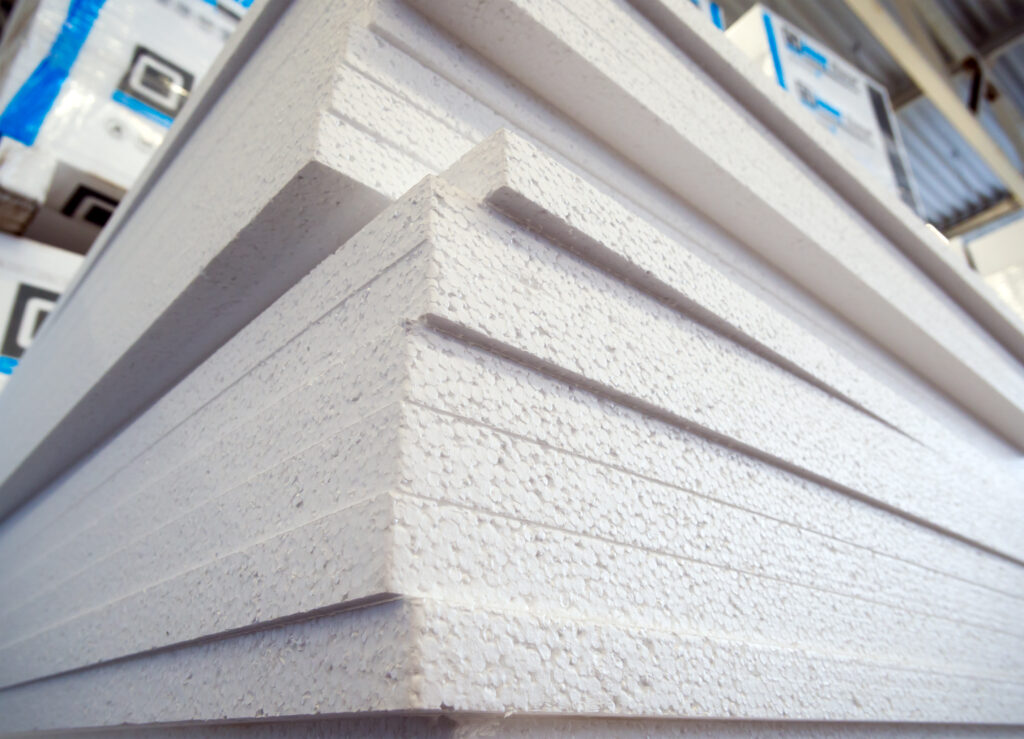
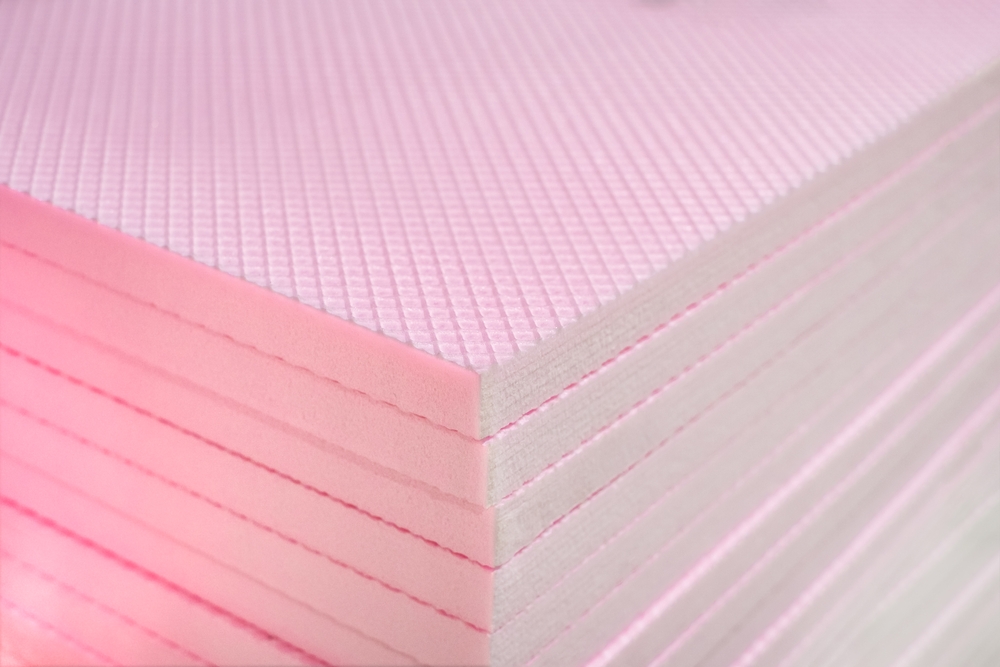
- PIR Thermal Insulation Boards
- Aluminum Tape
- Timber Battens
- Fire-Rated Foam Filler
Preparation
1. Prepare Your Crawl Space: Before you begin, ensure you have adequate crawl space beneath your floor. You’ll need at least 15 to 18 inches (38-45 cm) of space between the ground and the joists to work comfortably. This space is essential for manoeuvring and installing insulation effectively.
2. Access the Crawl Space: Accessing the crawl space is vital. If you don’t already have an access point, consider installing a hatch in an easily reachable location. This hatch should provide enough room for you to crawl through and carry materials. For safety, make sure someone else knows you’re working in the crawl space and can assist if necessary.
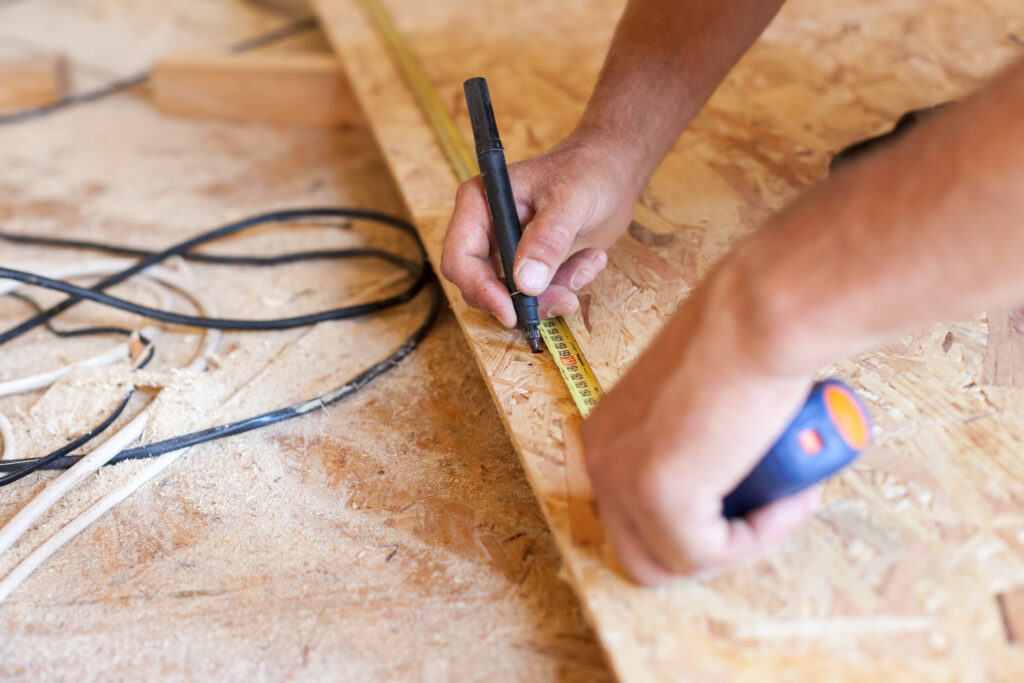
3. Assess the Area: Once inside the crawl space, take some time to survey the area. Firstly, plan your approach and measure the gap between the joists. This measurement will help you determine the amount of insulation needed and where it should be placed. Also, assign labels to different sections of the floor to keep track of your progress.
Cutting & Assembling Insulation
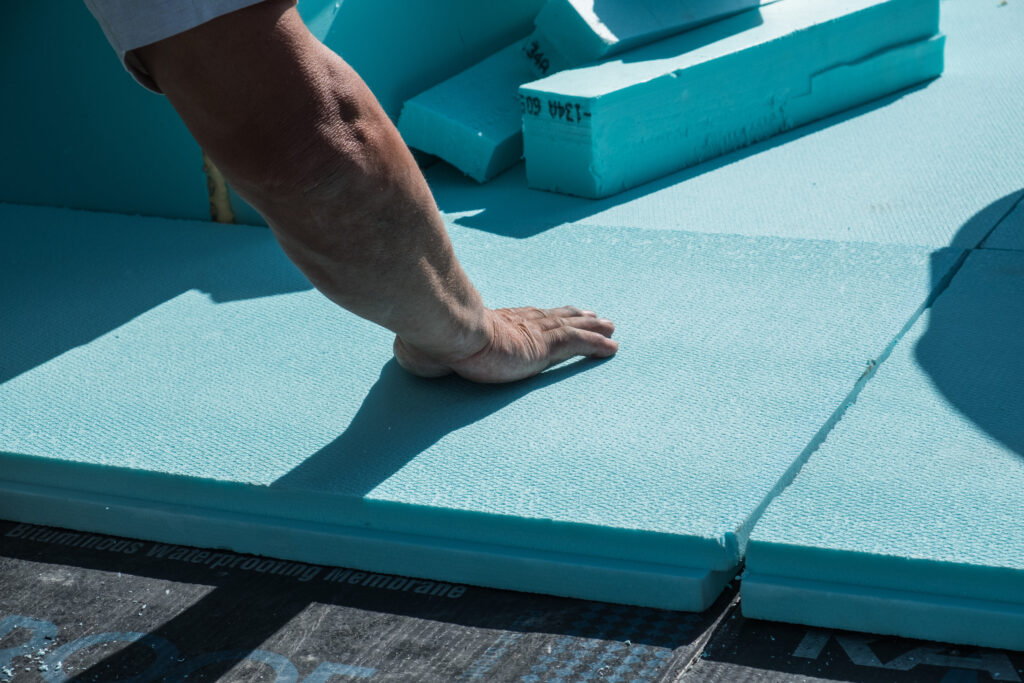
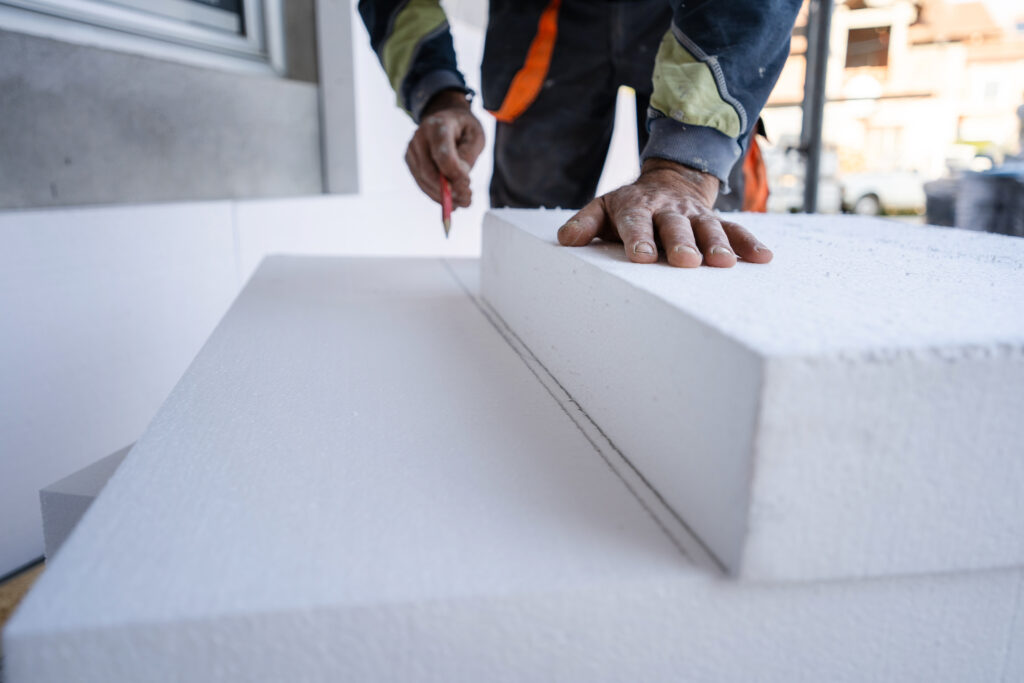
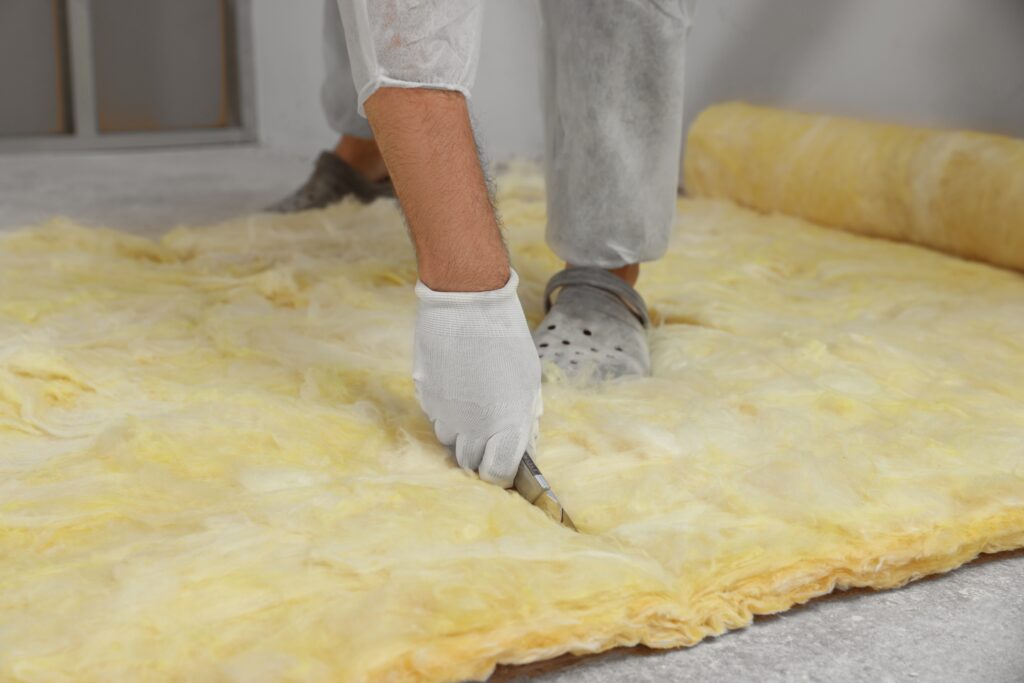
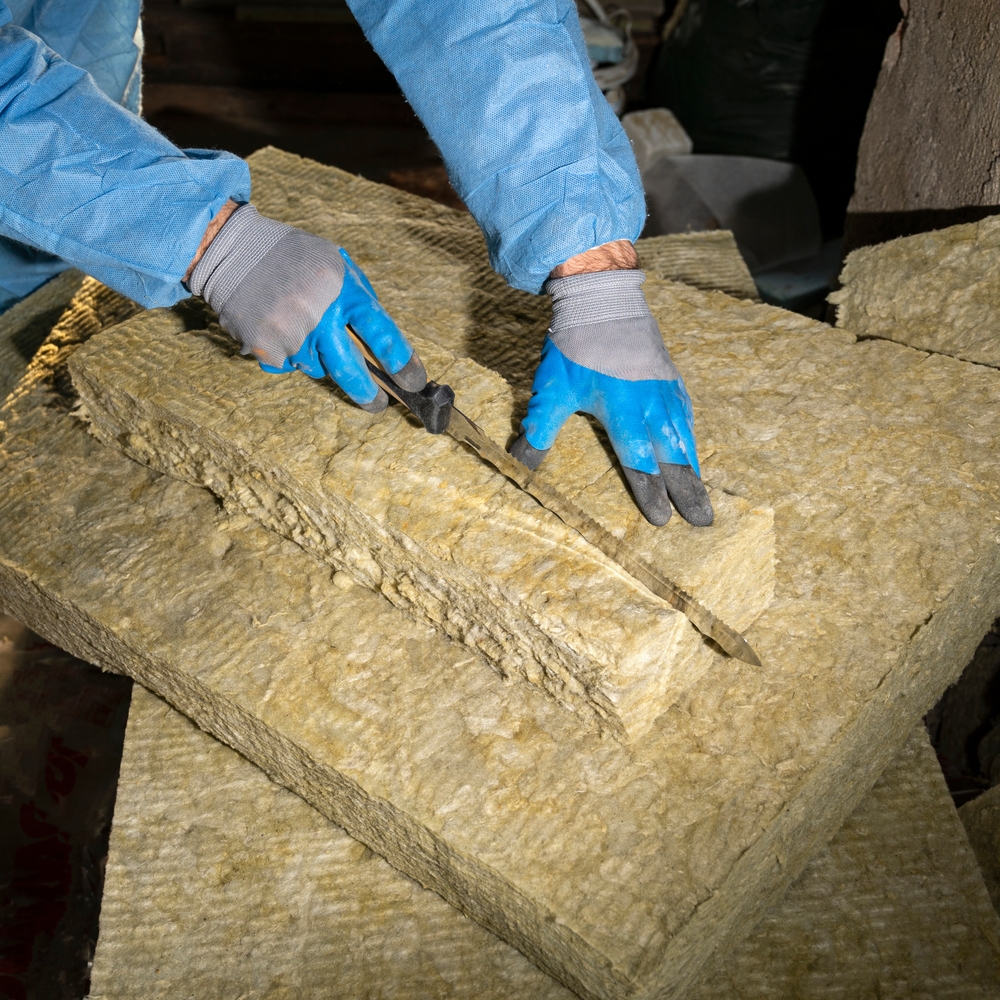
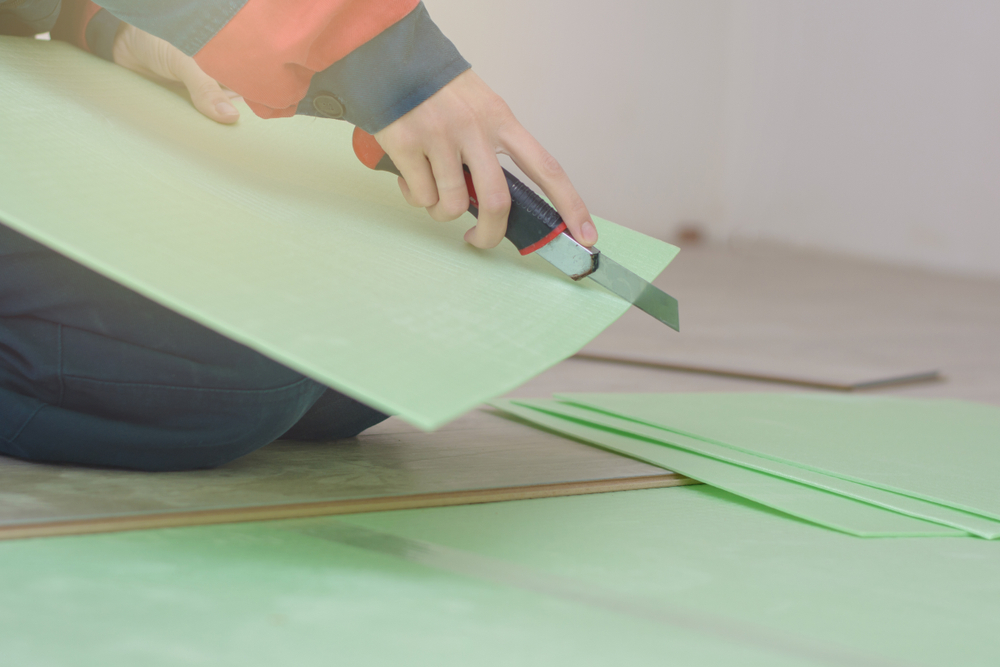
4. Cut the Insulation: For this method, we recommend using PIR thermal insulation boards. Cut the boards into manageable pieces, typically 1.2 meters long and a width that fits between the joists. Label each piece according to its designated location.
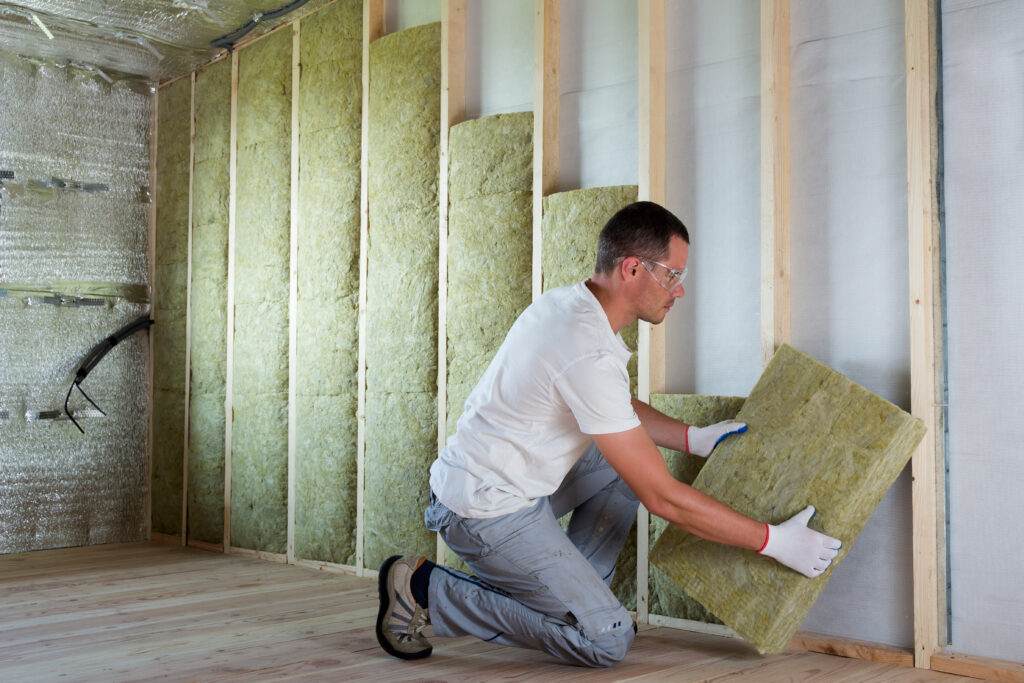
5. Install the Insulation: With the cut insulation in hand, begin installing it between the joists. Identify the correctly labeled piece, and if necessary, trim it to fit snugly between the joists. You can use a floorboard saw to make adjustments. Be prepared to crawl and wriggle to get the insulation in place.
Finishing Touches
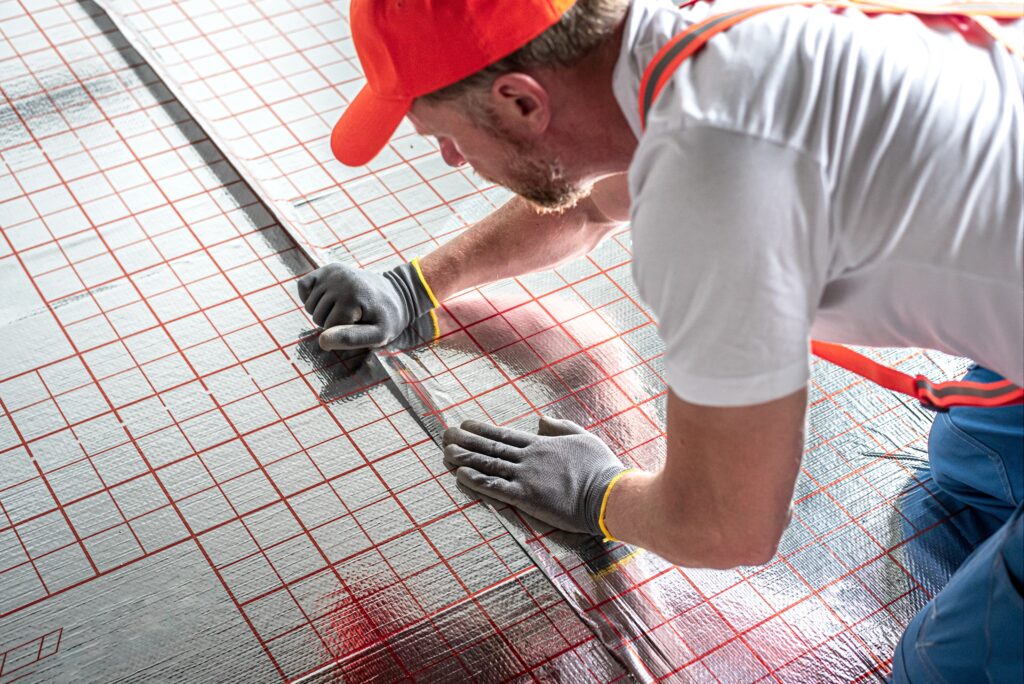
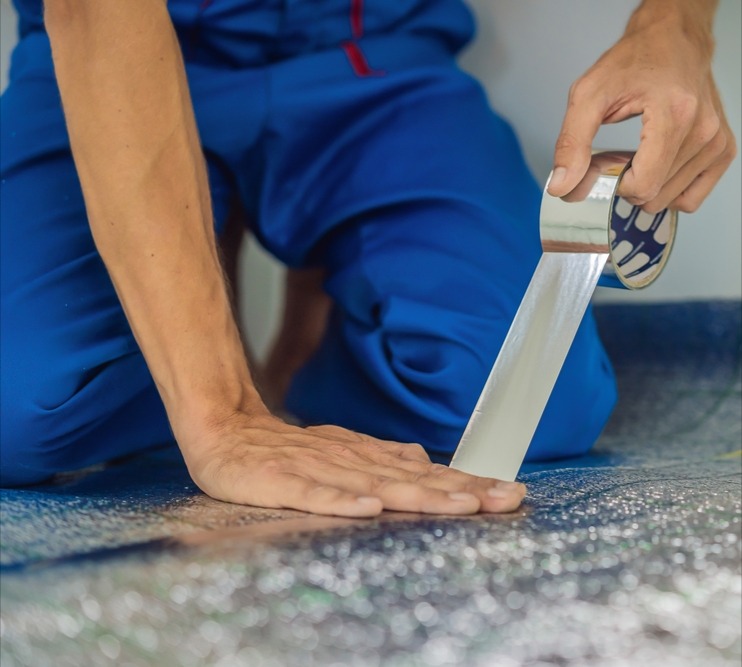
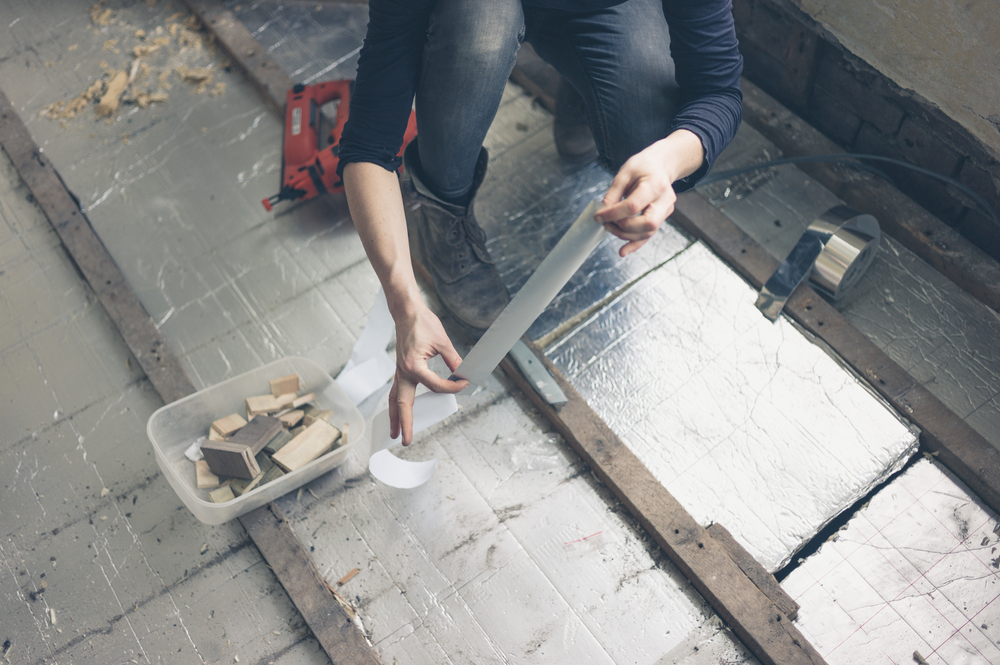
6. Seal Joints and Gaps: After installing a few pieces of insulation, use aluminum tape to seal any joints between the boards. Ensure there’s no air leakage between the insulation and the joists. To secure the insulation, attach timber battens perpendicular to the joists at regular intervals along the insulation’s length.
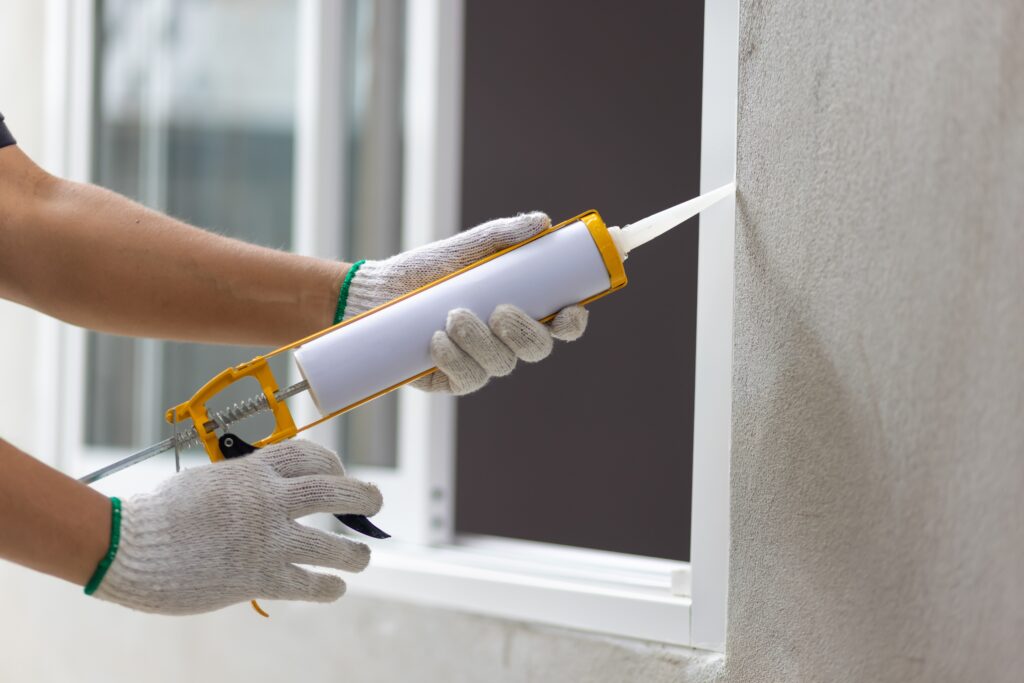
7. Fill Small Gaps: Sometimes, small gaps or irregularities may occur in the installation. These can be filled with fire-rated foam filler to ensure a tight seal. Be cautious while using the foam filler, as it can be messy and tricky to handle.
Additional Considerations
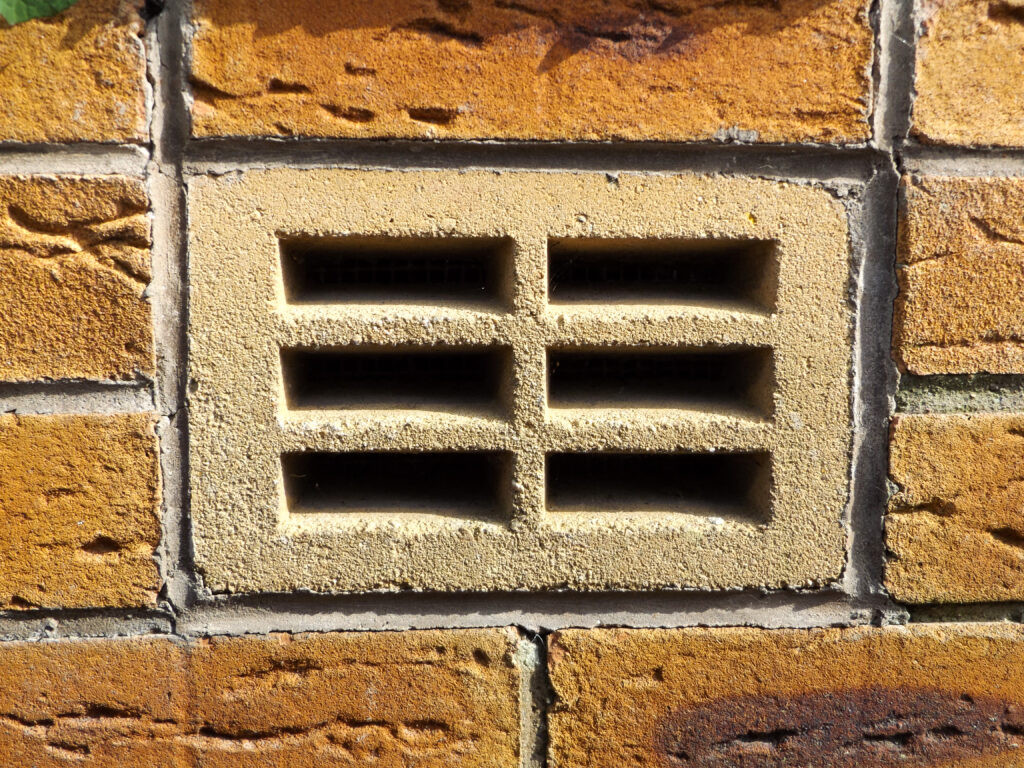
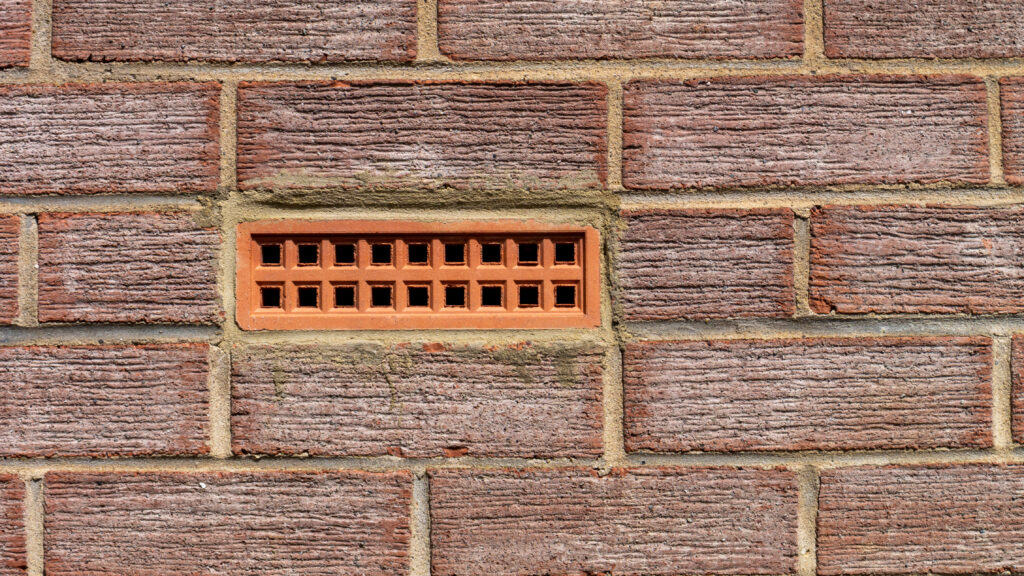
8. Consider Ventilation: Proper ventilation beneath the floor is essential to prevent moisture buildup and maintain the health of your wooden structures. If your crawl space has sleeper walls, use 50mm thick insulation to allow for airflow over these walls. This ensures a balance between insulation and ventilation.
9. Insulate Central Heating Pipes: If your central heating pipes run through the crawl space, insulate them as well to prevent heat loss and reduce your energy bills. Make sure all joints are securely taped to prevent air leaks.
Conclusion
Once you’ve completed the insulation process, you’ll notice a significant improvement in the comfort and energy efficiency of your home. Your floors should feel warmer, and your heating bills may even decrease.
Remember that working under the floor can be dusty, claustrophobic, and physically demanding. It’s safer and more manageable with a second person present, even if they’re just there for assistance and support.
Overall, insulating under floorboards without removing them is a practical and cost-effective way to further your home’s insulation and comfort.
Related Posts
Chipboard vs MDF: Unveiling the Differences and Making the Right Choice

Feel good on the go: Nutritionist reveals most nutritional fast food favourites

40 Financial Experts Reveal If Investing In Real Estate Is Worth It

International Men’s Health Week: Our study into men’s health and a medical guide to treating common ailments
Insulation Rolls vs Insulation Slabs: Which Type is Better in a Partition Wall

Battle of the Builder’s Brew! Best way to make tea revealed (it’s never milk first, FYI)

Tidy house, tidy mind: Over half of Brits start DIY and home improvement projects to help mental health

Best in the bedroom: Survey reveals tradesmen make the best lovers

32% increase in ‘Doomsday Preppers’ building bunkers and safehouses
