Drain Channel Installation
| by Holly Wood

Drain channel installation is a crucial aspect of managing surface water effectively, whether you are dealing with private driveways, large-scale industrial locations, or swimming pools. Installing a proper channel drainage system ensures that water flows efficiently, preventing damage to the surrounding area and maintaining the aesthetic appeal of your property.
In this comprehensive guide, we will walk you through the detailed process of channel drain installation, from planning to execution, ensuring you achieve an effective and long-lasting drainage solution.
Understanding Channel Drainage Systems
Before diving into the specifics of channel drainage installation, it’s essential to understand what a channel drainage system is.
Channel drainage, occasionally referred to as trench drains, involves a linear drainage system that collects and conveys surface water.
These systems are versatile and suitable for various applications, including car parks, private driveways, and wet rooms.
Components of a Channel Drainage System
- Channel Drains: These are the main sections that collect water.
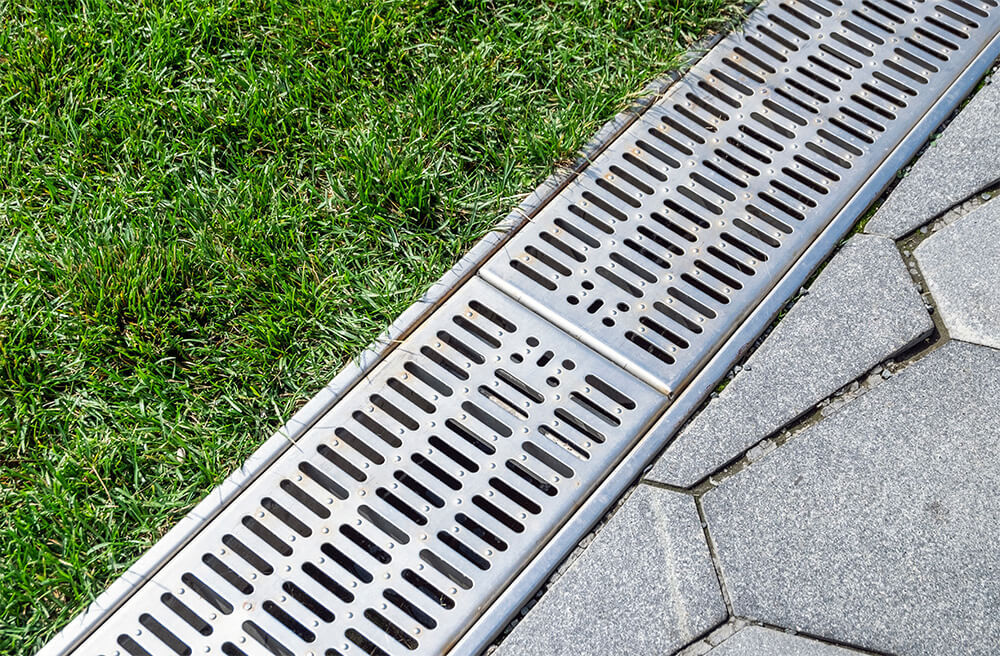
- Channel Drain Gratings: Coverings that allow water to enter the drain while keeping debris out.
- End Caps: Used to seal the ends of the drainage channels.
- Drainage Pipe: Conveys the collected water to the discharge point or main drain.
- Compacted Sand and Concrete: Provides a stable base and secures the drainage system.
Planning Your Channel Drain Installation
Planning is the first and most crucial step in ensuring an effective drainage system. Begin by assessing the area where you need to install channel drainage.
Identify the highest and lowest points to determine the natural flow of water. This step is vital to ensure the proper installation of the drainage channels, allowing water to flow towards the discharge point.
Do You Need Planning Permission?
In most cases, you won’t need planning permission to install a channel drain on your property. However, it’s always best to check with your local authorities to avoid any legal issues.
Choosing the Right Channel Drain
Selecting a suitable drain is crucial for the effectiveness of your drainage system. Consider factors such as the expected water flow, load-bearing requirements, and the surrounding material.
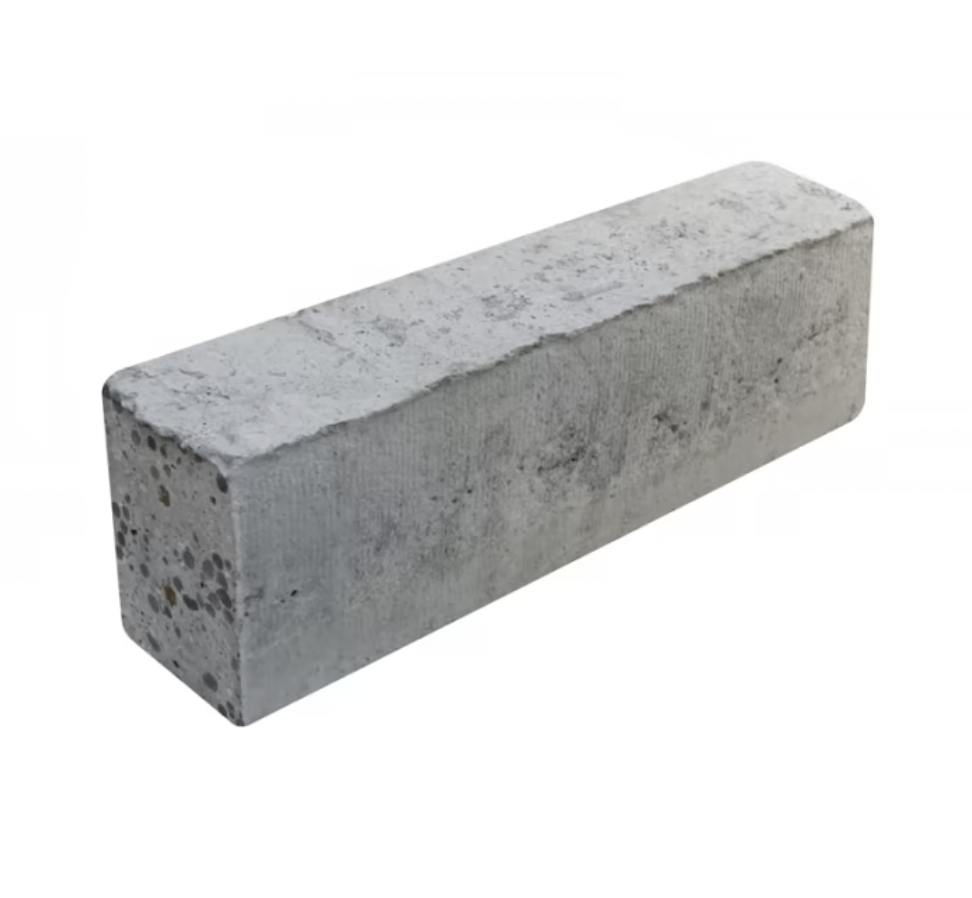
Plastic channel drains are lightweight and cost-effective, while concrete channels offer higher durability for industrial areas.
Step-by-Step Guide – How To Install Channel Drain
Follow these steps to install a channel drain effectively:
1. Preparation
- Mark the Area: Outline where you will install the channel drain.
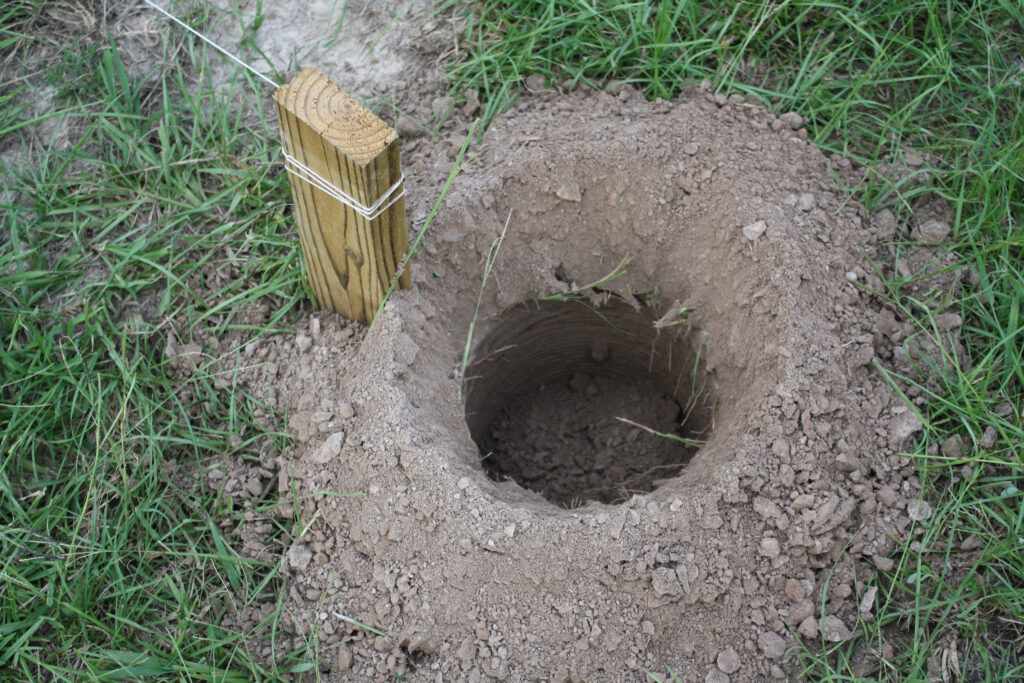
- Excavate the Trench: Dig a trench deep and wide enough to accommodate the drainage channel and surrounding concrete.
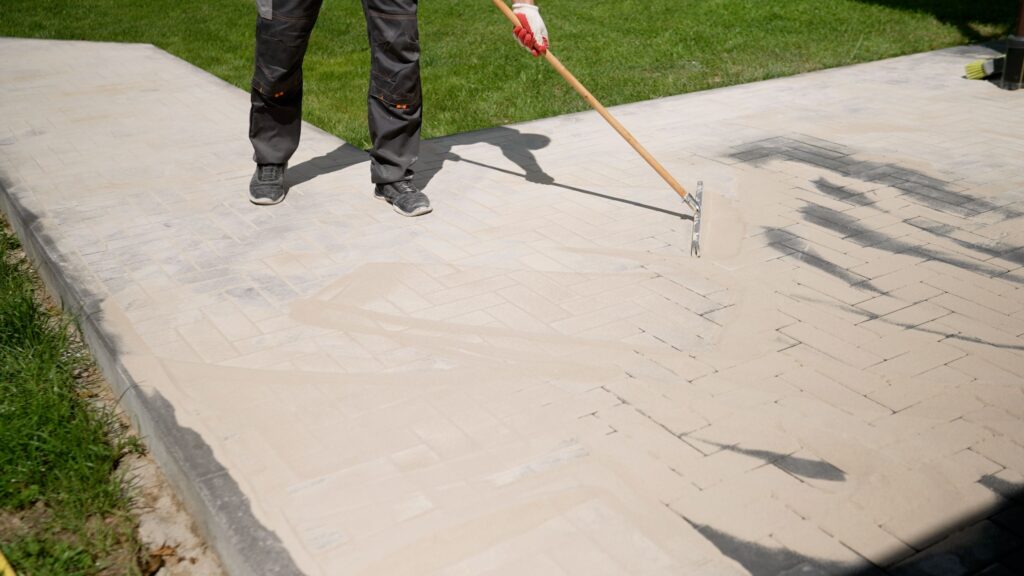
- Prepare the Base: Lay a stable base of compacted sand. This ensures a firm foundation for the drainage channel.
2. Installation
- Lay the Drainage Channel: Place the channel drains in the trench, ensuring they slope slightly towards the discharge point. This slope is crucial for effective water flow.
- Connect Sections: Join the channel drain sections according to the manufacturer’s instructions. Use silicone sealant to ensure watertight connections.
- Install End Caps: Seal the ends of the channels with end caps to prevent water from escaping.
3. Securing the Channel
- Pour Concrete: Pour concrete around the drainage channels to secure them in place. Ensure the concrete surrounds the channels evenly and is flush with the ground level.
- Attach Gratings: Once the concrete has set, place the channel drain gratings over the channels. These gratings will prevent debris from entering the drainage system.
4. Final Steps
- Connect to the Drainage System: Next, attach the drain pipe to the end of the channel and connect it to the main drain or soakaway system.
- Test the System: After that, pour water into the channels to ensure it flows correctly towards the discharge point.
Maintenance Tips for Your Channel Drainage System
Regular maintenance is essential to keep your channel drainage system functioning efficiently. Here are some tips:
- Clear Debris: Regularly remove leaves, dirt, and other debris from the channel gratings.
- Inspect for Damage: Check the drainage channels and gratings for any signs of damage and repair or replace them as necessary.
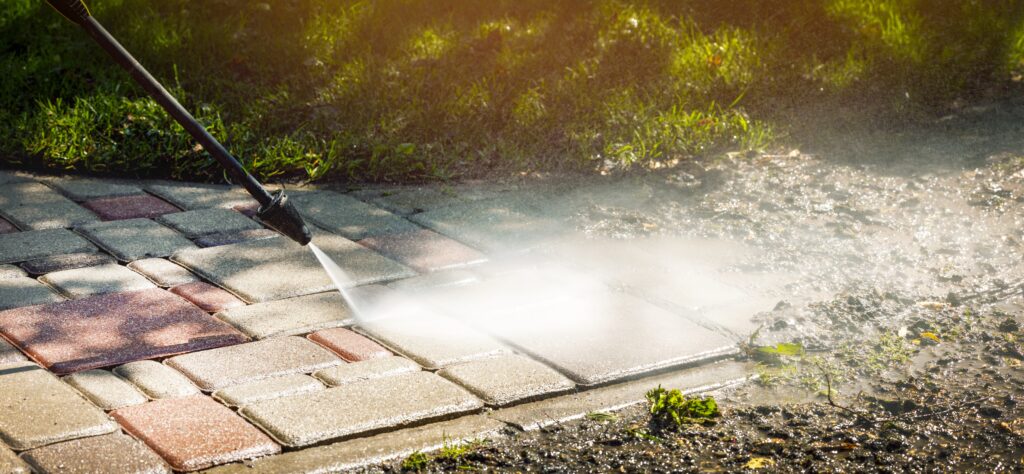
- Clean the Drainage Run: Occasionally clean the entire drainage run to prevent blockages.
Benefits of a Well-Installed Channel Drainage System
- Effective Water Management: Prevents water accumulation and potential damage to your property.
- Enhanced Aesthetic Appeal: Keeps your driveway or industrial area looking neat and tidy.
- Cost-Effective Solution: Reduces the risk of costly water damage repairs.
Conclusion
Overall, installing channel drainage is an effective way to manage surface water and protect your property. By following this detailed guide, you can ensure a successful installation that provides adequate drainage and enhances the overall functionality and appearance of your space.
Whether you’re installing a driveway drainage channel, an industrial area, or a swimming pool, careful planning and execution are key to achieving a reliable drainage solution.
Related Posts

Chipboard vs MDF: Unveiling the Differences and Making the Right Choice

40 Financial Experts Reveal If Investing In Real Estate Is Worth It

International Men’s Health Week: Our study into men’s health and a medical guide to treating common ailments

Insulation Rolls vs Insulation Slabs: Which Type is Better in a Partition Wall

Battle of the Builder’s Brew! Best way to make tea revealed (it’s never milk first, FYI)

Tidy house, tidy mind: Over half of Brits start DIY and home improvement projects to help mental health

Best in the bedroom: Survey reveals tradesmen make the best lovers

32% increase in ‘Doomsday Preppers’ building bunkers and safehouses
