How To Clean Decking
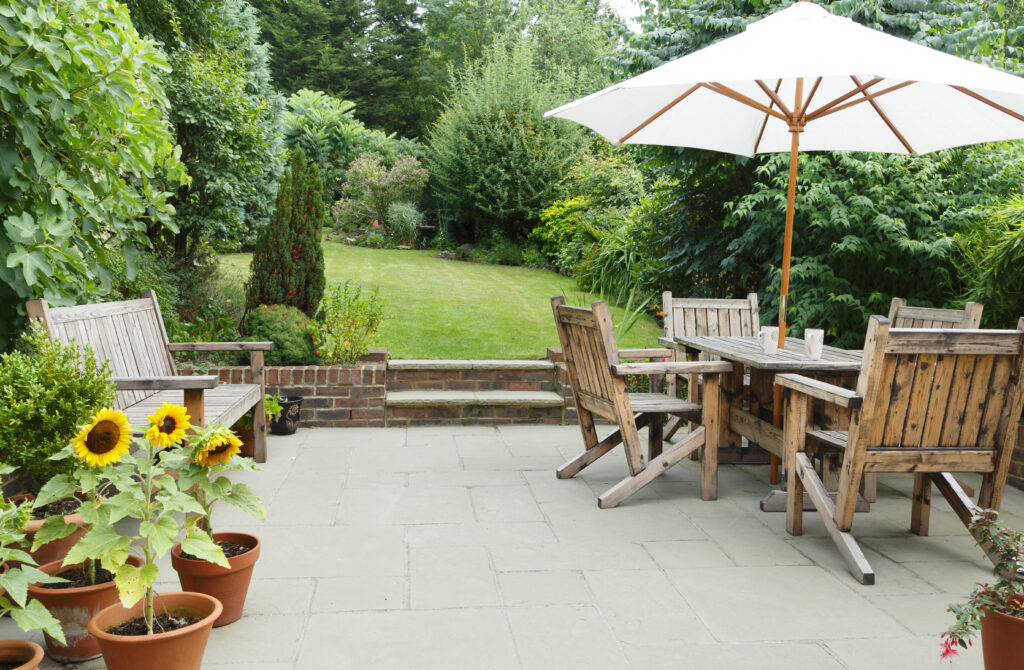
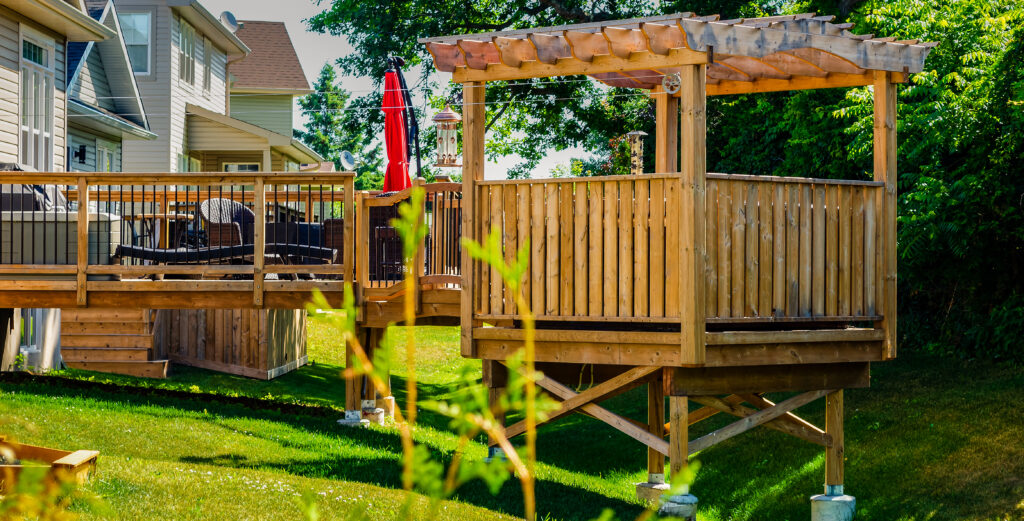
Your decking, whether it graces your garden, patio, or outdoor area, is an extension of your home – a space for relaxation, entertainment, and enjoying the great outdoors. Over time, however, your decking might fall victim to the elements, accumulating dirt, algae, and stubborn stains that obscure its natural beauty. Fear not, for in this comprehensive guide, we will unveil the secrets of “How To Clean Decking”.
As we embark on this journey to reclaim your outdoor space, we’ll share expert tips, techniques, and the essential tools you need to rejuvenate both wooden decking and composite decking.
With a little elbow grease and the right knowledge, you’ll be well-equipped to tackle algae, remove stubborn stains, and completely transform your deck.
Gather Your Supplies
Before you begin the cleaning process, gather all the necessary supplies. You will need the following items:
- Stiff Bristled Brush: A stiff-bristled brush is essential for removing surface dirt, leaves, and debris from your decking boards. It’s particularly useful for hard-to-reach areas.
- Decking Cleaner: Purchase a quality decking cleaner that is suitable for your specific deck material, whether it’s wood or composite. Be sure to follow the manufacturer’s instructions for the best results.
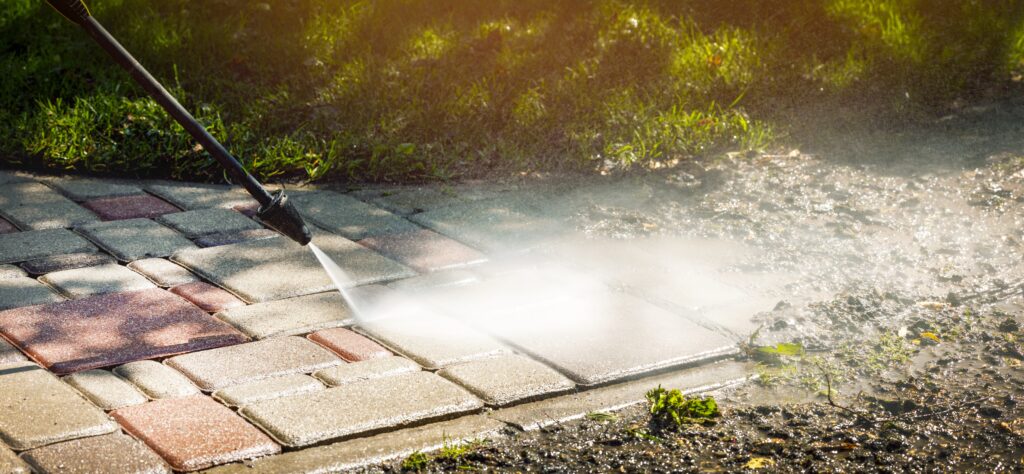
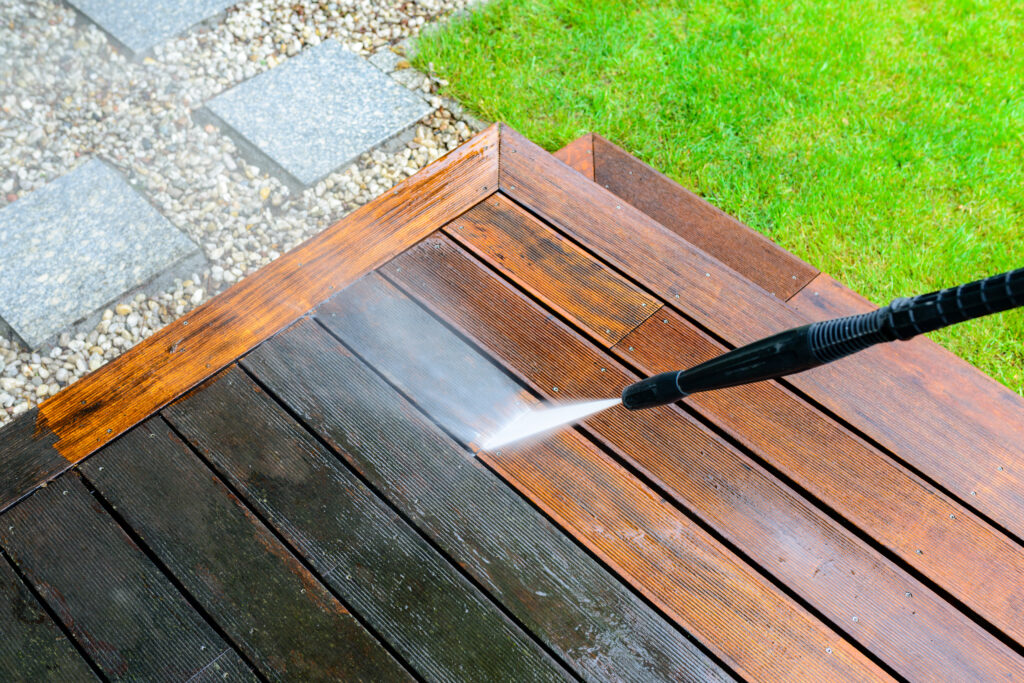
- Pressure Washer: A pressure washer is a powerful tool for cleaning decking. It can effectively remove dirt, algae, and even a thick layer of grime from the surface. Use it with caution and at the lowest setting to avoid damaging the wood.
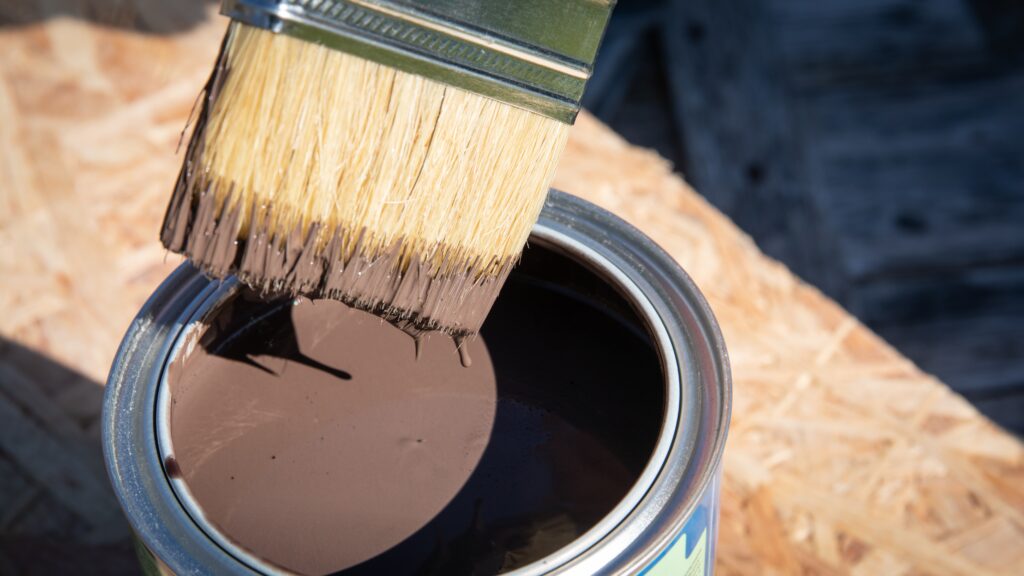
- Decking Oil or Stain: If you wish to clean wooden decking, you may want to reapply decking oil or stain after cleaning to protect and enhance the wood’s appearance.
- Warm Water: You’ll need warm water to create a gentle cleaning solution and rinse your deck.
- Garden Hose: A garden hose with a fan attachment will help you rinse off the cleaning solution and remaining dirt.
- Bucket: Use a bucket to mix your cleaning solution.
- Washing Up Liquid: A small amount of washing up liquid can be added to your cleaning solution to help break down dirt and grime.
- Soft Bristled Brush: In addition to the stiff-bristled brush, have a soft-bristled brush on hand for more delicate areas and garden furniture.
Optional Tools
- Decking Cleaner and Reviver (Optional): If you have older decking or particularly problematic dirt, a decking cleaner and reviver can help rejuvenate the wood whilst cleaning it.
- Decking Stripper (Optional): A decking stripper is most effective when dealing with resilient and persistent stains that seem impossible to remove. However, it’s important to note that this product will also remove all existing stains and oils from your wood deck. While this can provide a fresh start for your deck’s surface, keep in mind that you will need to reapply oil or stain to protect and enhance it once the stripping process is complete.
Choose a Dry, Sunny Day
Ensure you pick a warm, dry day for deck cleaning. Here’s why:
- Better Cleaning: Warm, dry weather helps cleaning solutions work more effectively.
- Prevent Mildew: Dry conditions discourage immediate mildew growth after cleaning.
- Faster Drying: Your deck dries faster, allowing for quicker follow-up steps.
- Safety: Avoid slippery surfaces by choosing a dry day for cleaning.
Step 1: Preparing Your Deck
Start by removing any plant pots, furniture, or other items from your garden decking. A thorough sweep with a stiff-bristled brush will help clear away surface dirt and debris, making it easier to clean your decking.
Step 2: Cleaning Solution
Mix a cleaning solution by combining warm water with your chosen decking cleaner. If you’re dealing with particularly stubborn stains or mould growth, consider using a decking cleaner and reviver for better results. Add a small amount of washing up liquid to help break down dirt.
Step 3: Apply the Cleaning Solution
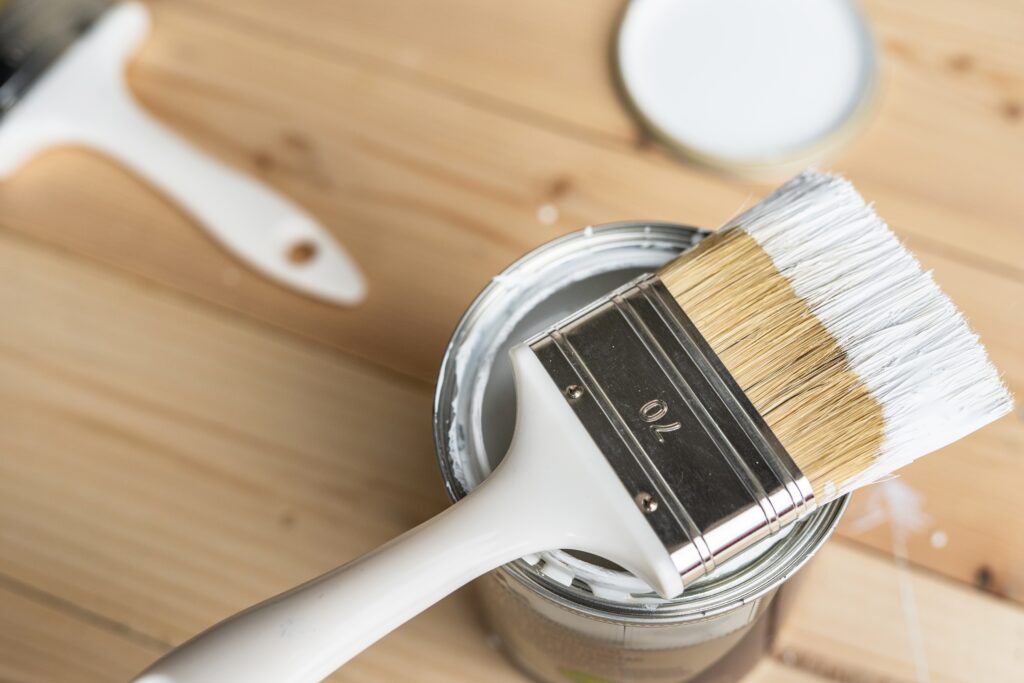
Use a decent-sized brush or a soft-bristled brush to apply the cleaning solution to the affected areas of your deck. Work in manageable sections to ensure you cover the entire surface evenly. Allow the solution to sit for the recommended time specified on the cleaner’s label.
Step 4: Scrubbing
With your stiff-bristled brush, scrub the surface of the deck to remove dirt, stains, and algae. For tough spots, you may need to use some elbow grease to get them completely clean.
Step 5: Pressure Washing
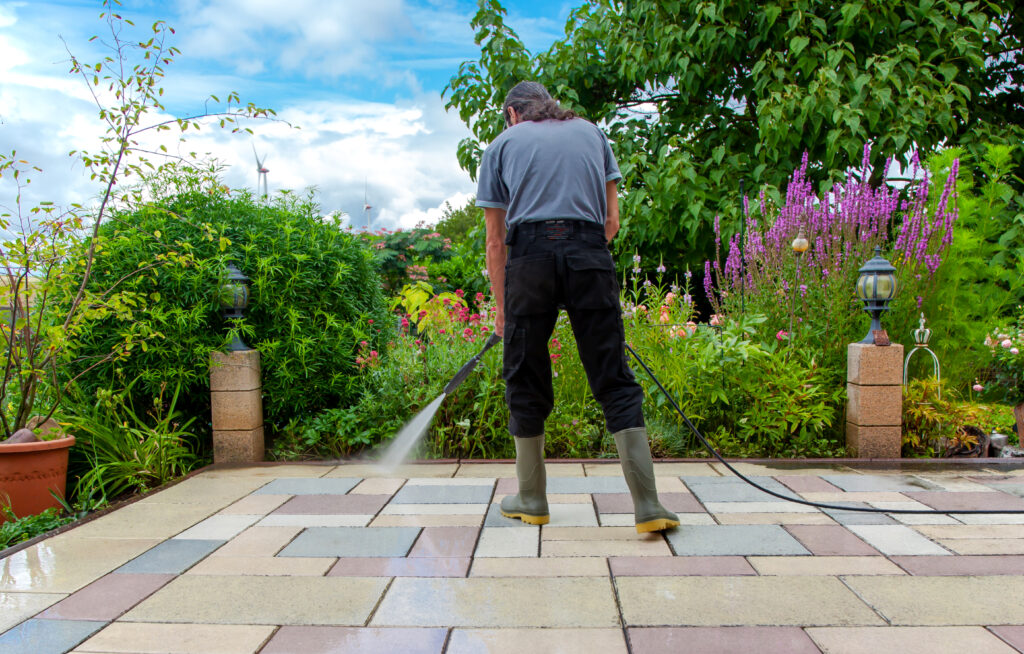
If you have a pressure washer, this is where it comes in handy. Use the pressure washer at a low setting to rinse off the cleaning solution and remaining dirt.
Be cautious not to use too much pressure, as it can damage the wood. Keep the nozzle moving to avoid leaving marks.
Step 6: Reapply Decking Oil or Stain (For Wood Decking)
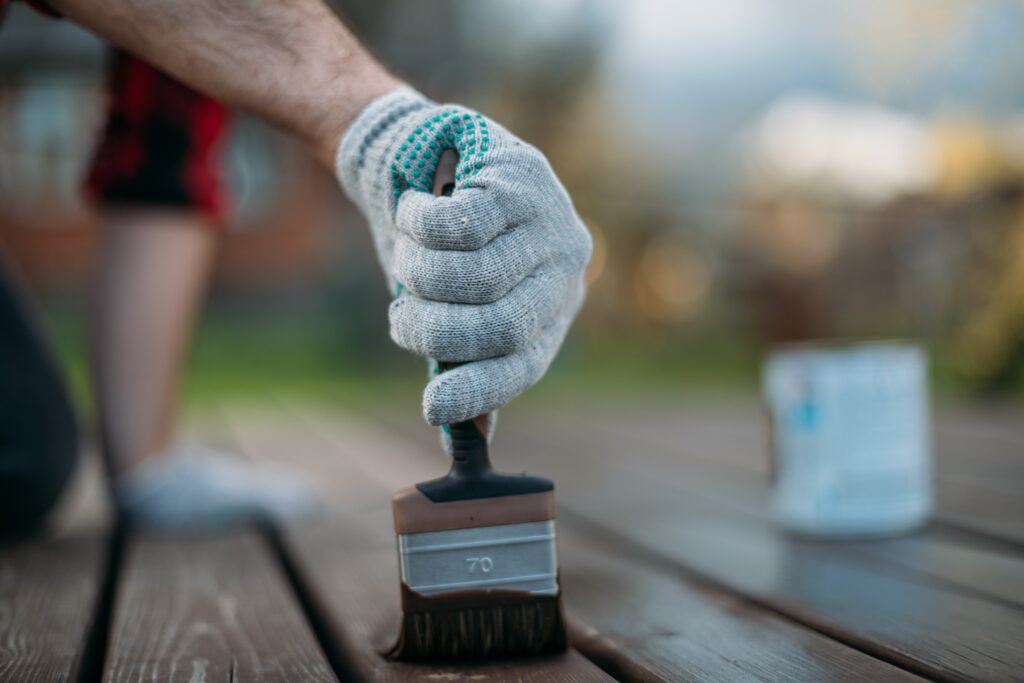
If you have wood decking, consider reapplying decking oil or stain after cleaning. This will protect the wood from the elements and give it a fresh look. Follow the manufacturer’s instructions for the best results.
Step 7: Dry Your Deck
Allow your deck to dry completely before placing back any furniture or plant pots.
Conclusion
By following these steps, you can completely transform your garden deck and keep it looking clean and inviting year-round.
Whether you wish to clean composite decking or a standard timber deck, regular maintenance and cleaning will ensure that your outdoor area remains in grand designs, free from mould growth and stubborn stains.
With a little effort and the right deck cleaning products, your deck will always be ready for you to enjoy.


