How To Lay Block Paving
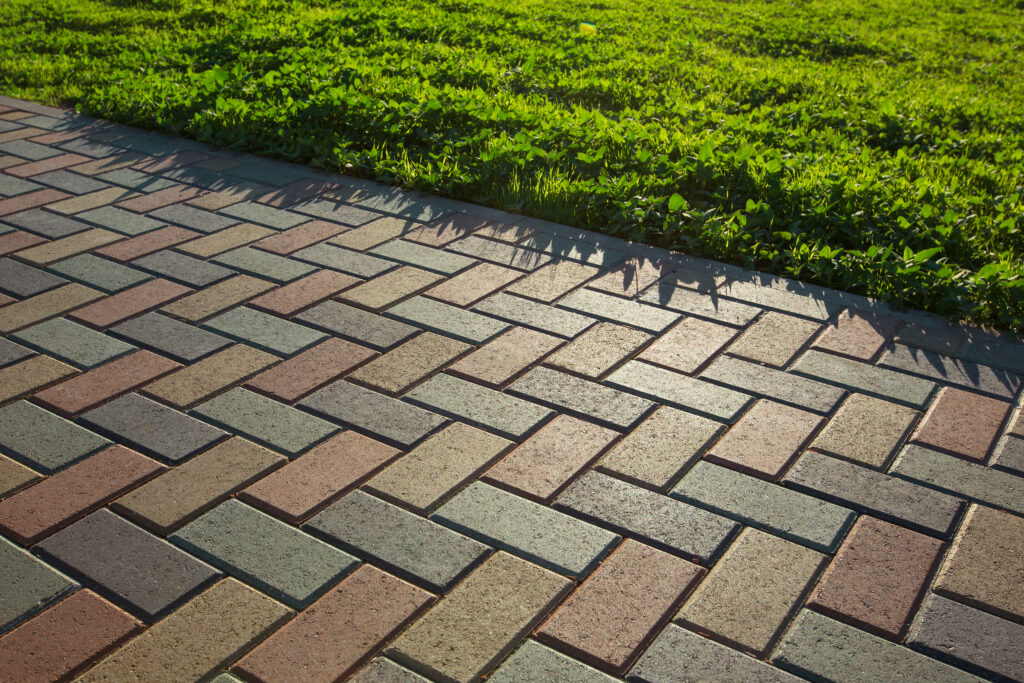
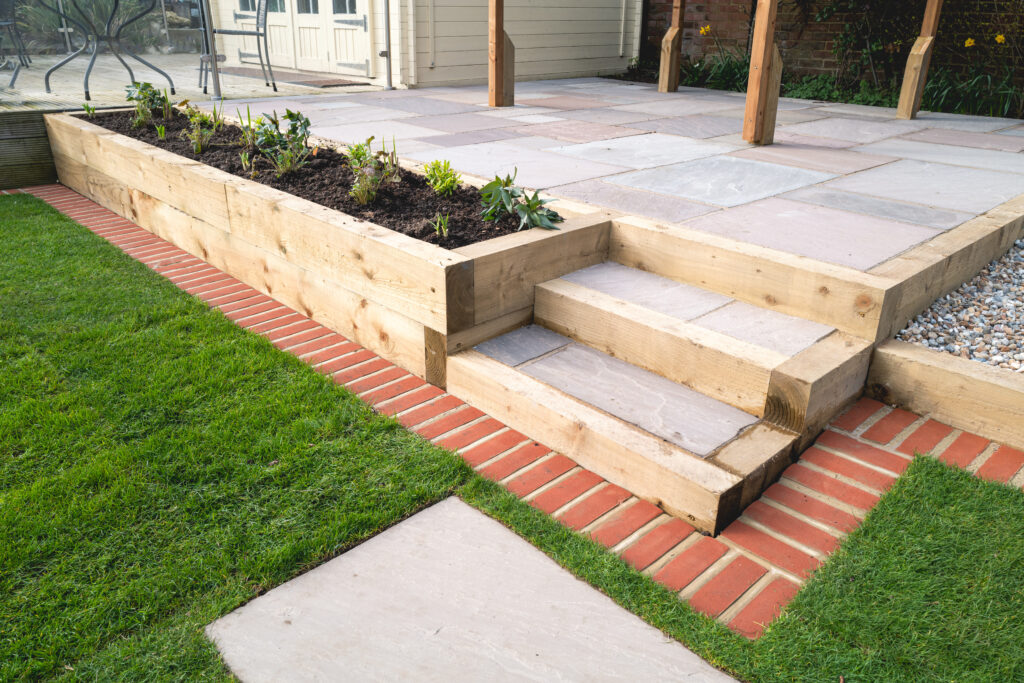
Block paving is a popular choice for driveways, patios, and outdoor spaces due to its durability and aesthetic appeal. Whether you’re considering a new block paving driveway or transforming your outdoor space, laying block paving is a project that can significantly enhance your property’s appearance and functionality. In this comprehensive guide, we will walk you through the step-by-step process of how to lay block paving successfully. From the initial planning and preparation to the finishing touches, we’ve got you covered.
Planning Your Block Paving Project
Before you begin laying block paving, it’s crucial to plan your project thoroughly. This planning phase will help you ensure that your new driveway or paved area meets your expectations and complies with local regulations, if applicable. Here are the initial steps to consider:
Obtain Necessary Permits
Depending on your location and the scope of your project, you may need to obtain planning permission. Check with your local authorities to determine if any permits are required before proceeding.
Excavation and Site Preparation
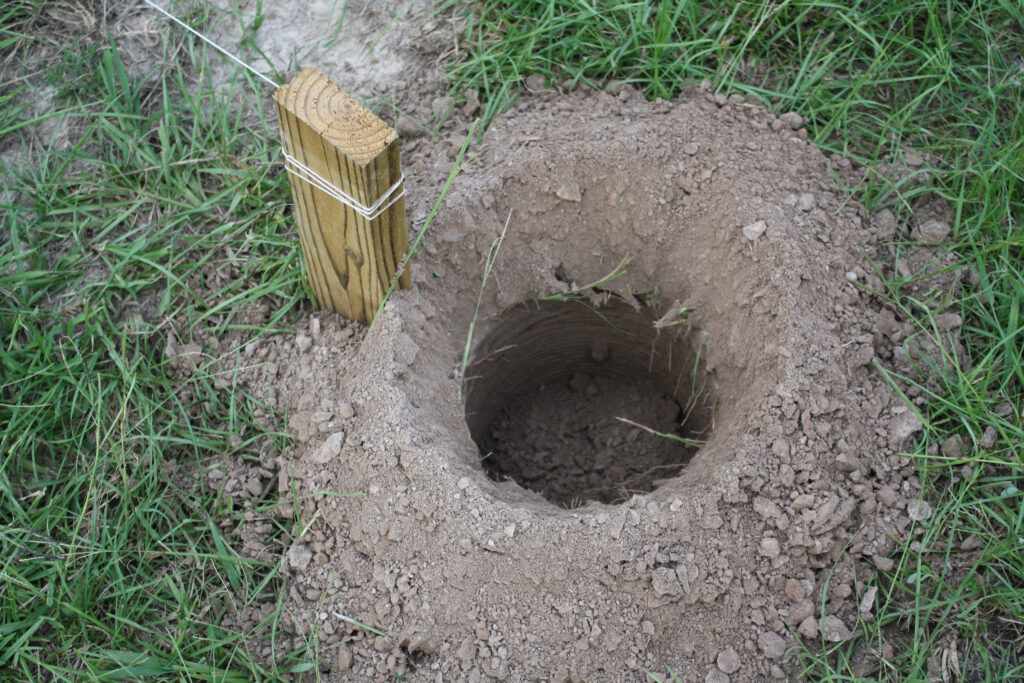
- Mark the Area: Begin by marking the boundaries of your paving area using pegs and string lines. Ensure that the area is square and accurately measured.
- Excavation: Use a shovel or an excavator to dig out the existing surface to the required depth, typically 1/2–5 inches.
- Sub Base Material: Add a layer of sub base material, such as crushed basalt, and compact it using a wacker plate. Ensure that the sub base is level and provides the correct fall for drainage purposes.
- Damp Proof Course: If you’re working on a driveway, consider adding a damp proof course to prevent rising damp, especially for domestic driveways.
Installing Edge Restraints
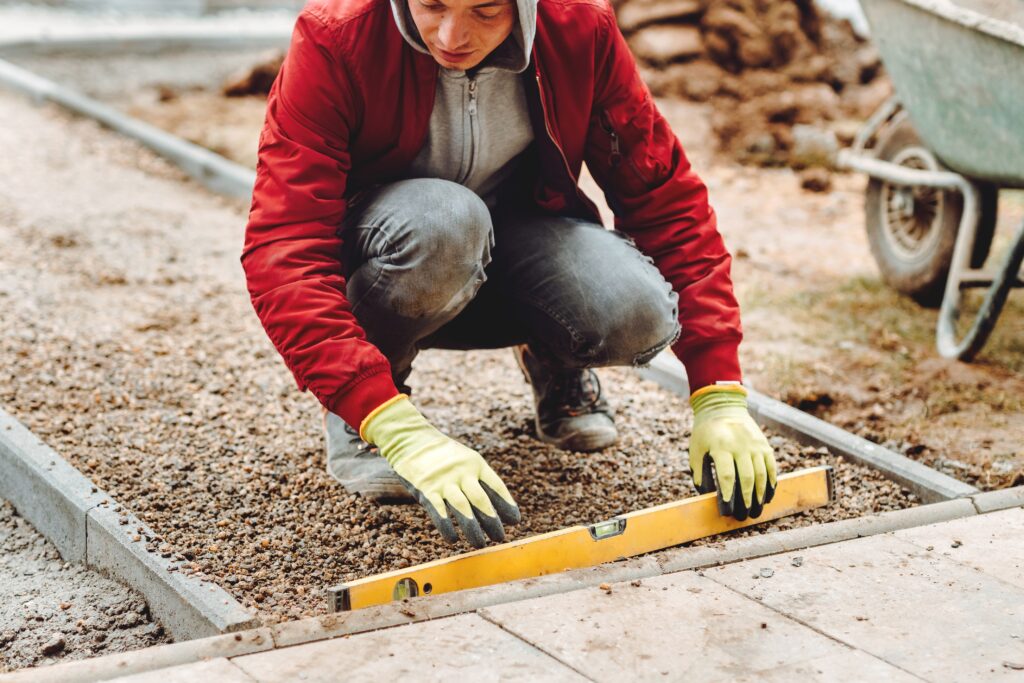
- Lay Edge Restraints: Place edge restraints along the perimeter of your paving area. These edge restraints will keep the blocks in place and prevent them from spreading outwards. Use a spirit level to ensure they are level and slightly higher than the final paving line.
- Edge Restraints Putting: Secure the edge restraints in place by lightly hammering them into the ground. Make sure they are stable and properly aligned with your string lines.
Tools You’ll Need
- Paving blocks
- Sharp sand
- Kiln dried sand
- String line
- Straight edge
- Edge restraints
- Block pavers
- Block splitter
- Edging stones
- Concrete mix
- Spirit level
- Rubber mallet
- Screed rails
- Pegs
- Vibrating plate compactor
- Basalt crushed
- Soft brush
- Damp proof course
- Wacker plate
- Jointing sand
Laying Block Paving
With the planning and site preparation complete, it’s time to start laying the block paving. Here’s how to proceed:
Lay a Layer of Slightly Damp Sharp Sand
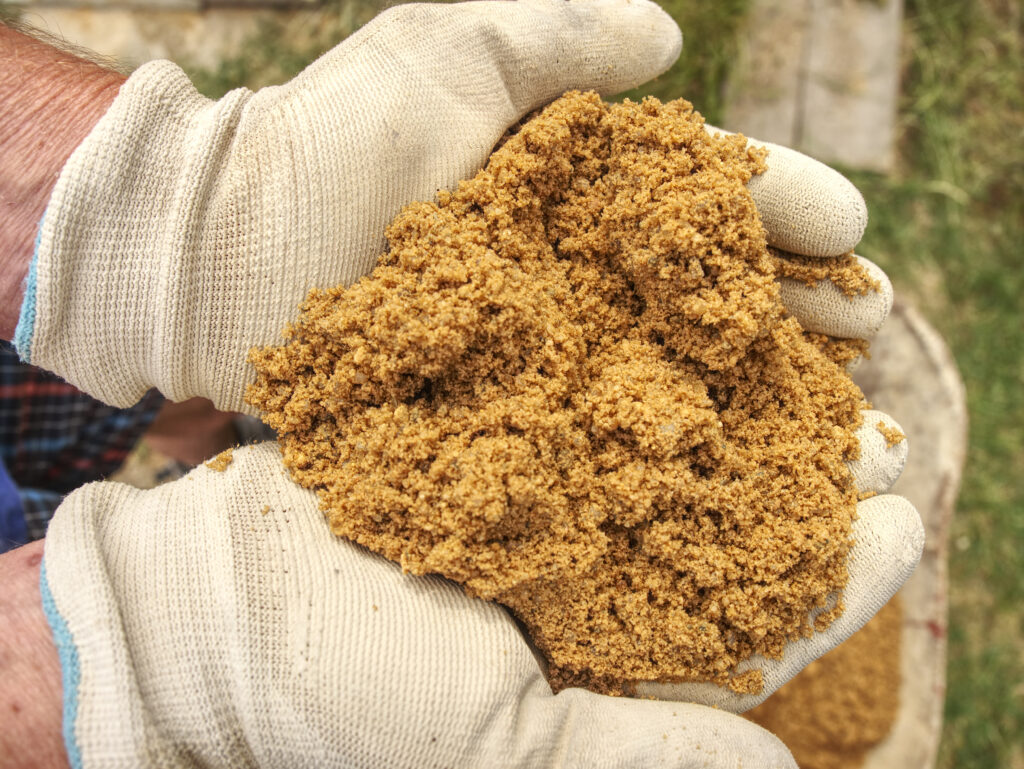
- Apply Kiln Dried Sand: Begin by spreading a layer of kiln dried sand evenly over the prepared sub base. This layer should be approximately 1/2–1 inch deep and slightly damp but not wet.
- Screed Rails: Place screed rails on top of the sand layer as guides for levelling the sand.
- Use a Straight Edge: Slide a straight edge along the screed rails to evenly distribute the sand, maintaining a consistent level.
A bed of sharp sand serves as a foundation for the blocks to rest above the sub-base. Apply a 50mm layer of slightly moist sharp sand and use a wacker plate to compact it. Ensure that the sand possesses enough moisture to be moulded into a ball when compressed within your hand.
Begin Laying the Paving Blocks
- Start at One Corner: Begin laying your paving blocks at one corner of the area and work your way outwards. This ensures a gradual slope for proper drainage.
- Laying Patterns: Consider your desired laying pattern, such as herringbone, basketweave, or stretcher bond. Follow your chosen pattern consistently for a visually pleasing result.
Use a Rubber Mallet
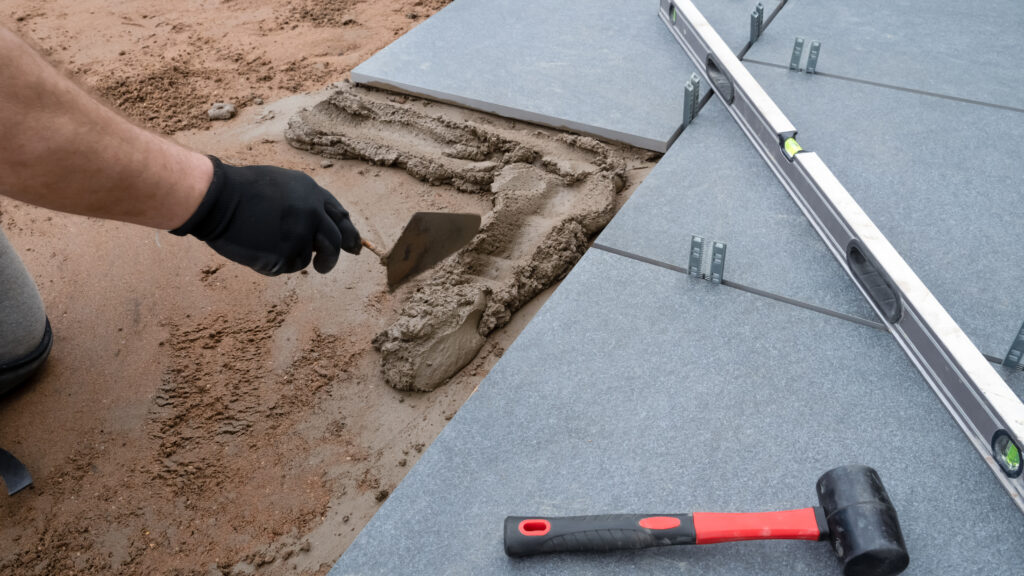
Gently tap each block with a rubber mallet to ensure they are firmly in place and level with the surrounding blocks. Continue this process until all the full blocks are installed correctly.
Fill the Gaps with Jointing Sand
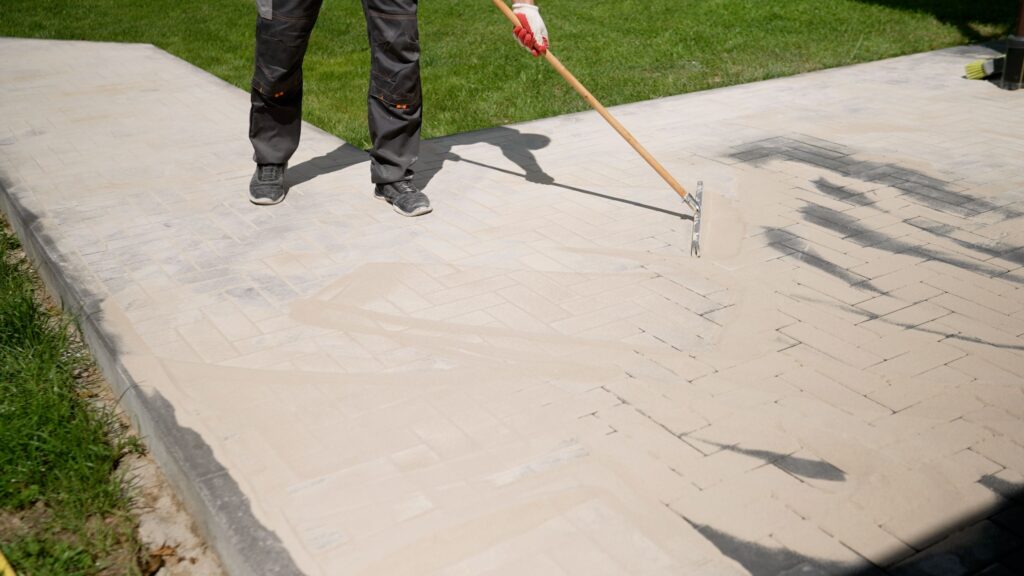
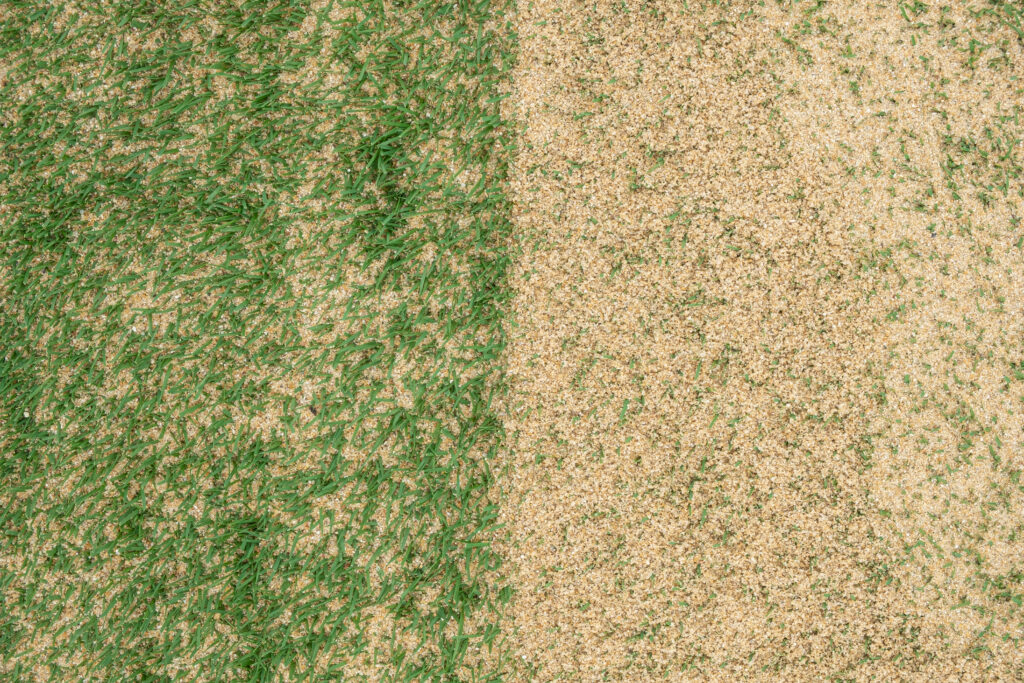
Once all the blocks are in place, fill the gaps between them with jointing sand. Brush the sand into the gaps, ensuring it settles evenly. This sand helps lock the blocks together and prevents weed growth.
Compact the Paving
Use a vibrating plate compactor to compact the blocks and the jointing sand. This step is essential for achieving a stable and long-lasting surface.
Final Touches and Maintenance
- Edge Course: After compacting, install an edge course along the perimeter of the paved area to provide a finished look and hold the blocks in place.
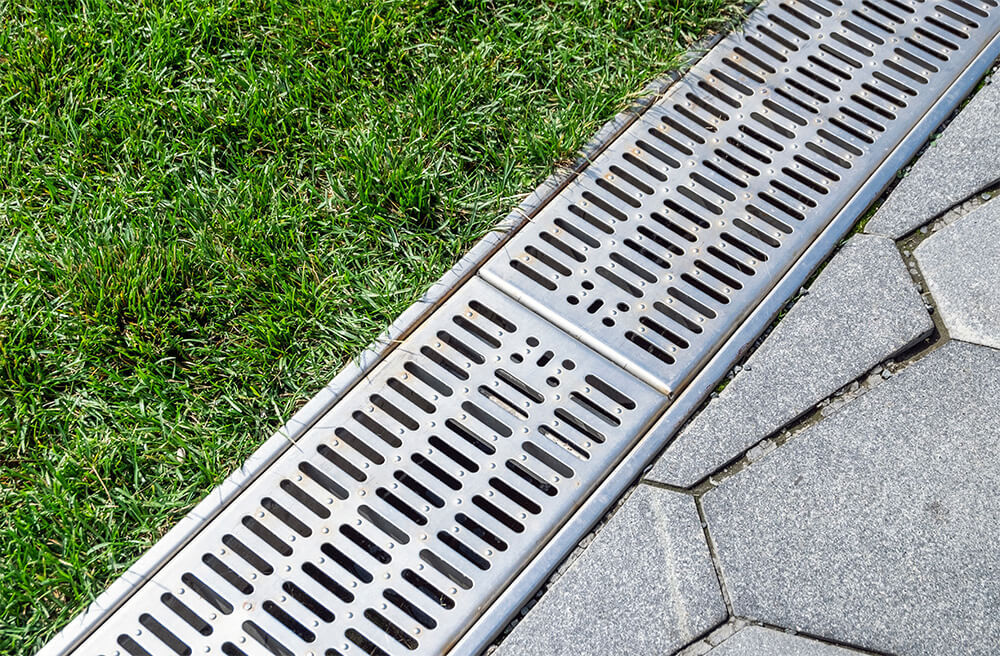
- Drainage Channel and Driveway Drainage: If necessary, incorporate drainage channels to direct surface water away from your paved area.
- Soft Brush: Sweep off any excess jointing sand with a soft brush to ensure that the gaps between the blocks are completely filled.
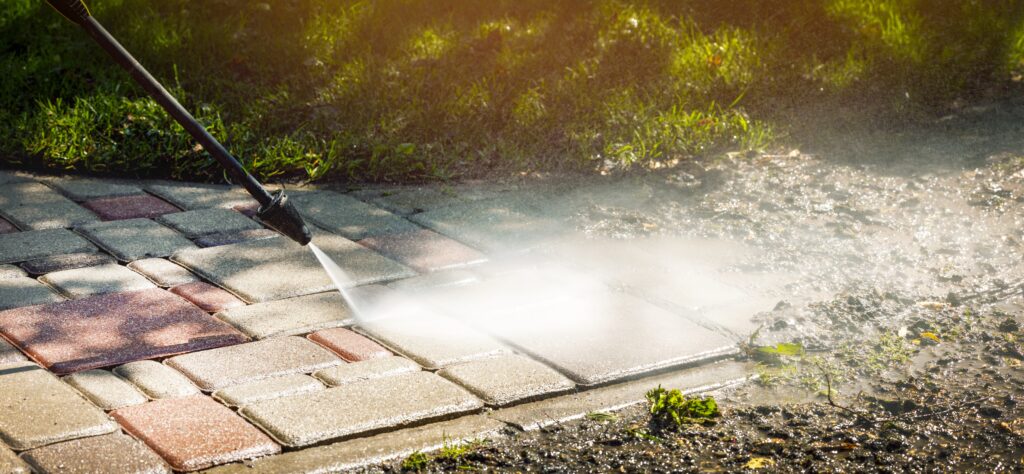
- Maintenance: Regularly maintain your block paved driveway or outdoor space by cleaning and re-sanding the joints as needed. This will keep your paving looking great for years to come.
How To Lay Block Paving – Conclusion
In conclusion, mastering the art of block paving is your key to unlocking the potential of your outdoor spaces. By following our comprehensive guide on “how to lay block paving,” you’re not only creating a beautiful and functional area but also embarking on a journey of transformation.
Block paving offers endless design possibilities, and with careful planning and execution, you have the power to turn your driveway, patio, or garden path into a unique and inviting feature of your property.


