How To Drill Into A Lintel
| by Holly Wood
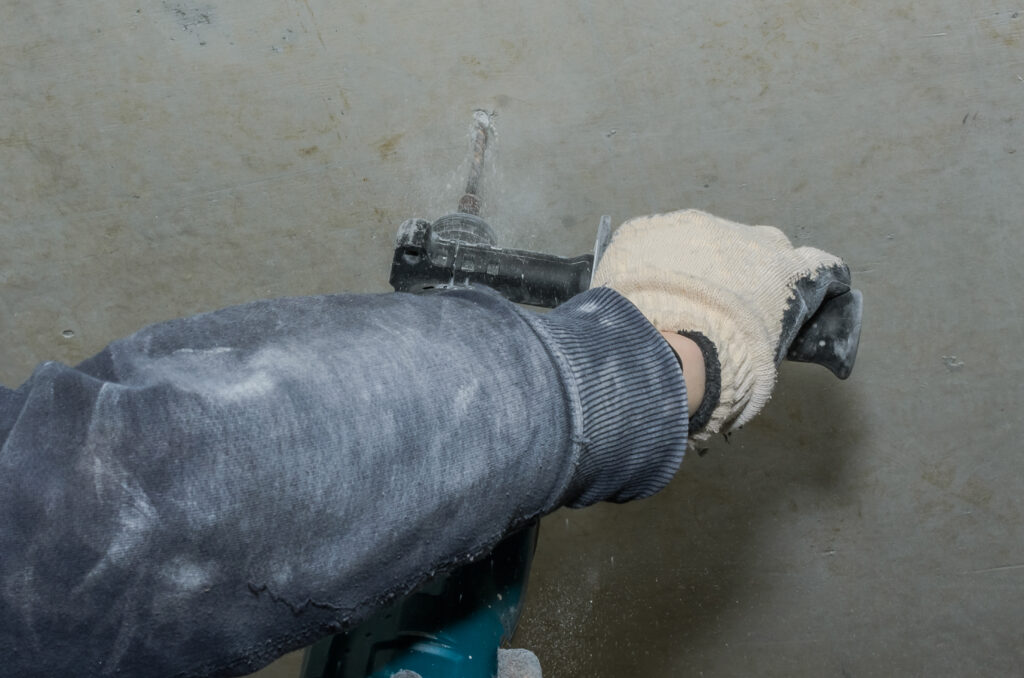
How to drill into a lintel is a question many DIY enthusiasts face. Whether you’re trying to hang curtain rails above a window opening or fix a curtain track, the process can seem daunting.
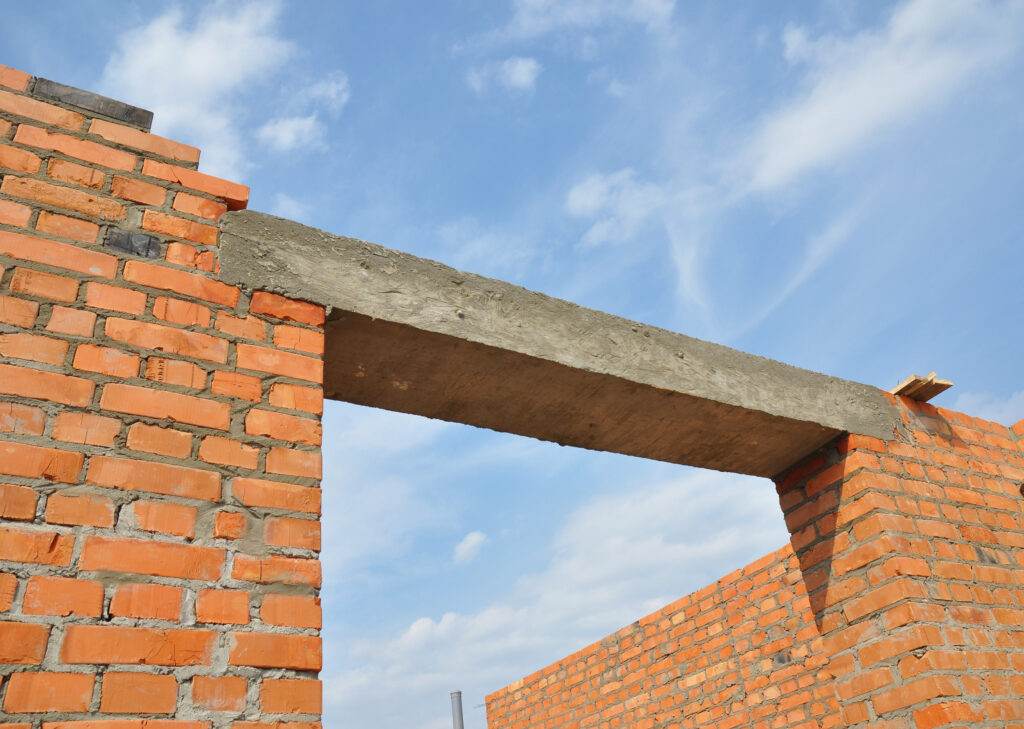
Lintels, whether made of concrete or steel, provide support over openings such as doors and windows. Drilling into them can be a tough job without the right knowledge.
But with the right tools and some patience, you’ll find it’s more manageable than you think. Let’s dive in!
Understanding Lintels: Steel vs. Concrete
Lintels come in two main varieties: concrete lintels and steel lintels.
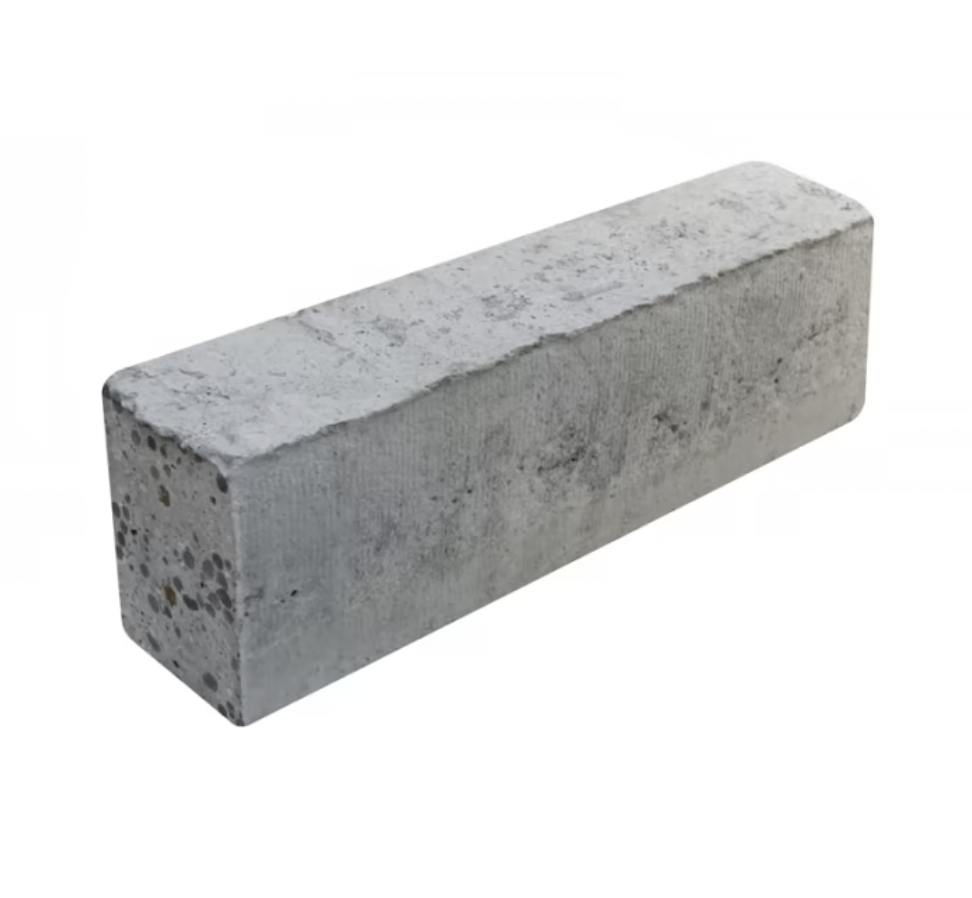
- Concrete Lintels: These are typically used above window and door openings in masonry structures. Concrete lintel can be more forgiving to drill into than steel lintel, but you’ll need masonry drill bits for the task.
- Steel Lintels: Often found in modern buildings, steel lintels support heavy loads. Drilling into steel lintels requires specific drill bits, particularly good quality HSS bits (high speed steel).
Tools You’ll Need
To ensure the drilling process goes smoothly, ensure you have the following tools on hand:
- Hammer Drill or SDS Drill: Perfect for drilling into hard surfaces, especially concrete.
- HSS Drill Bit: This high-speed steel bit is ideal for drilling into steel lintels. Make sure you have a decent drill bit, as a sharper bit will make the process easier.
- Masonry Bit: Specifically for drilling into concrete lintels.
- Wall Plugs: Wall plugs are essential for fixing screws into drilled holes.
Step-By-Step: Drilling Into Lintels
1. Safety First!
Before you drill, ensure you’re wearing safety goggles to protect against any debris. Drilling into lintels can result in sharp fragments flying, so always prioritise safety.
2. Mark Your Spot
Measure the exact spot you want your hole. This is particularly important for tasks like fixing curtain rails or blinds above a window frame. Mark the surface using a pencil.
3. Choose the Right Drill Bit
Depending on whether you’re drilling into concrete or steel lintels, select the appropriate drill bit. For steel lintels, opt for the HSS drill bit, while masonry bits are best for concrete lintels.
4. Start Drilling
Use a low speed to start the hole. This prevents the drill bit from wandering and ensures you drill straight. Once you’ve made an initial mark, increase the speed.
5. Pilot Hole Technique
For steel lintels, it’s beneficial to drill a smaller pilot hole first. This hole guides the larger drill bit, ensuring accuracy.
6. Inserting the Wall Plug
Once you’ve drilled the hole, insert a wall plug. This provides a secure fixing point for screws, especially if you’re hanging something heavy, like curtain rails.
Please Note: For concrete lintels, wall plugs are essential, while with steel substrates, self-tapping screws alone suffice. It’s important to note that wall plugs are not compatible with steel substrates.
7. Fixing Directly Into the Lintel
If you’re drilling into steel lintels, consider using self-tapping screws. A self tapping screw is engineered to fix directly into metal without the need for wall plugs.
8. Checking Your Work
Ensure the drilled hole is at the right angle and depth. Use a screw to test the fit.
Tips and Tricks
- Steel Lintels and Heat: Steel can get tough to drill if it heats up. If you hit resistance or notice the drill bit isn’t making progress, pause and let the steel cool down.
- Avoid the Edges: When drilling, ensure you’re not too close to the edge of the lintel to prevent cracks in the plaster.
- More Nails, More Support: If you’re hanging heavier items, like curtain tracks or blinds, consider drilling more holes for added support.
Potential Challenges
Drilling can sometimes present unexpected challenges. For example, concrete is frequently strengthened with steel rods, so encountering one while drilling is a possibility. Should this occur, consider relocating your fixing hole.
If you’re facing the same problem repeatedly when drilling holes, don’t force it. Evaluate if you’re using the right tools for the job.
Final Thoughts
Understanding how to drill into a lintel, whether it’s concrete or steel, is invaluable for homeowners and DIY enthusiasts alike.
With the right knowledge, tools, and patience, you can achieve a professional finish every time. Remember to always prioritise safety, choose the right drill bits, and take your time to measure accurately.
Happy drilling!
Related Posts

Chipboard vs MDF: Unveiling the Differences and Making the Right Choice

40 Financial Experts Reveal If Investing In Real Estate Is Worth It

International Men’s Health Week: Our study into men’s health and a medical guide to treating common ailments

Insulation Rolls vs Insulation Slabs: Which Type is Better in a Partition Wall

Battle of the Builder’s Brew! Best way to make tea revealed (it’s never milk first, FYI)

Tidy house, tidy mind: Over half of Brits start DIY and home improvement projects to help mental health

Best in the bedroom: Survey reveals tradesmen make the best lovers

32% increase in ‘Doomsday Preppers’ building bunkers and safehouses


