How To Build a Fence
Whether you’re adding privacy, marking a boundary, or simply smartening up your outdoor space, building a fence is a practical project with long-term benefits. A well-constructed fence can boost security, improve kerb appeal and increase your property’s value – but to get it right, you need more than just a hammer and some timber.
In this guide, we walk you through the full process step by step. From planning and checking regulations to post setting and panel installation, we cover everything you need to know to build a fence that’s straight, secure and built to last.
Disclaimer: This article is intended as a general guide only. Each project is unique, and requirements can vary depending on location, ground conditions, and planning regulations. Always check with your local planning authority and seek professional advice if you’re unsure about any part of your fencing installation.
Essential Planning and Preparation
Thorough planning is a critical first step before commencing any physical work or purchasing materials. Insufficient planning can result in errors, additional costs, and potential disagreements.
Understanding Boundaries and Responsibilities:
- Know Your Line: Firstly, determine your property’s boundary lines. Refer to your property deeds if there’s any uncertainty. It’s a common courtesy, and often a practical necessity, to discuss your fencing plans with your neighbours, especially if the fence is on or near a shared boundary.
- Whose Fence Is It Anyway? Secondly, understand who is responsible for the maintenance of existing boundary fences. This information can often be found in property deeds or by informal agreement.
Checking Local Guidelines (Permitted Development):
- Height Restrictions: There are often rules regarding the maximum height of a fence you can erect without needing formal planning permission. Typically, a fence at the rear of a property might be allowed up to 2 metres in height. However, for fences fronting a highway or footpath, this height is often restricted to 1 metre.
- Conservation Areas and Listed Buildings: If your property is in a designated conservation area, is a listed building, or is adjacent to one, stricter rules will likely apply. You may need specific consent for any fencing work, and there could be limitations on materials and design.
- Always Verify: These are general guidelines. It is your responsibility to check the specific requirements with your local planning authority before starting any work. A quick check now can save significant trouble later.
Choosing Your Fence Type
Today’s fencing options go far beyond basic timber fence panels – offering solutions for privacy, security, style, and everything in between.
Common options include:
- Panel Fencing (e.g., Lap Panels, Closeboard/Feather Edge Panels): Feather edge panels and similar profiles are often sold in pre-made sections, making them a popular choice for DIY.
- Lap Panels: Horizontal overlapping boards, generally a more budget-friendly option.
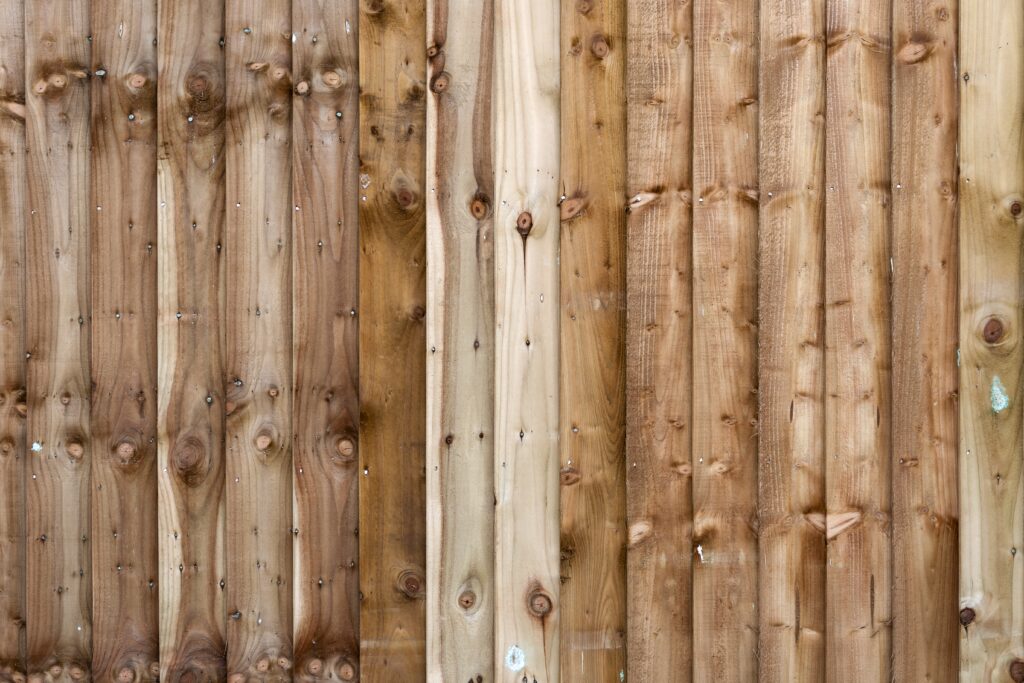
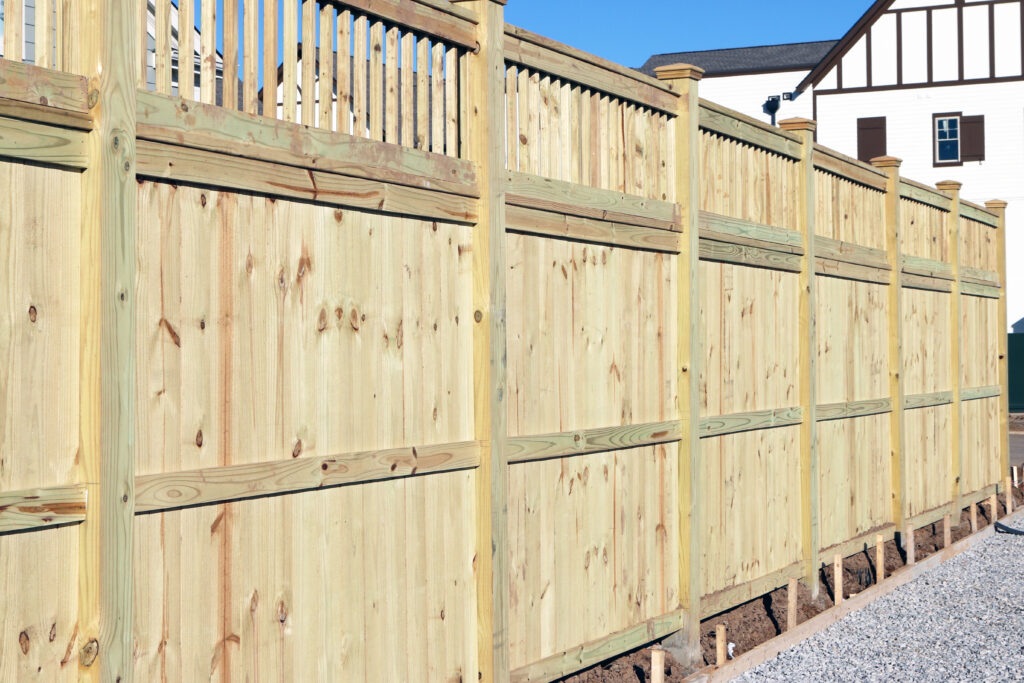
- Closeboard/Feather Edge Panels: Vertical overlapping boards, known for their strength, durability, and privacy.
- Traditional Closeboard Fencing (Built from scratch): Constructed with individual posts, rails, and vertical feather edge boards. Offers excellent strength and can be tailored to sloping ground.
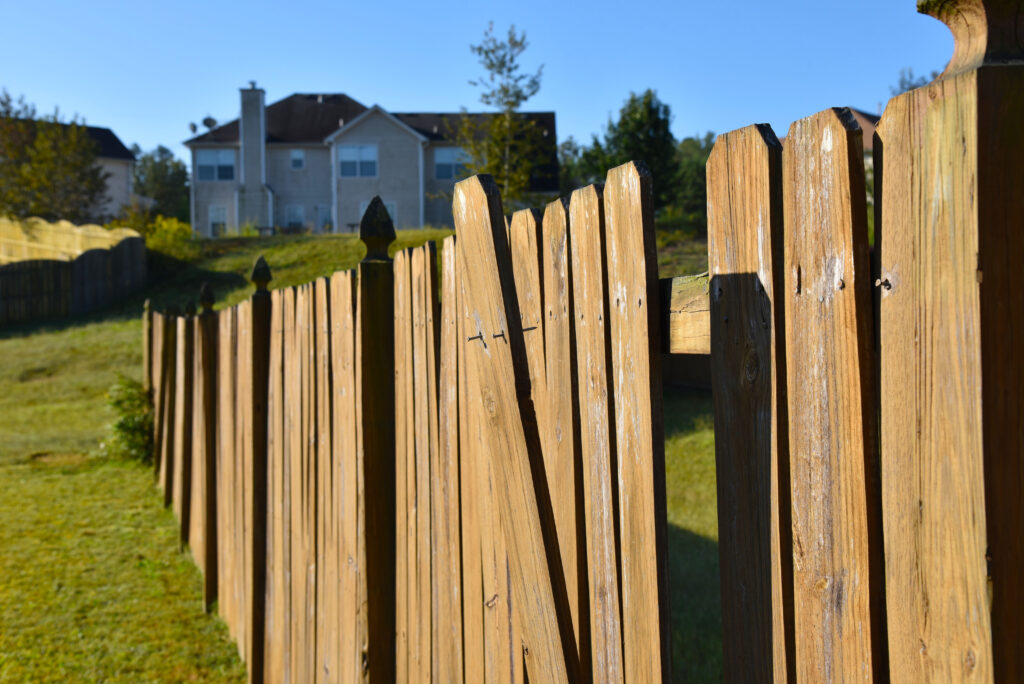
- Picket Fences: Offer a traditional, decorative look and are good for marking boundaries without completely obstructing views.
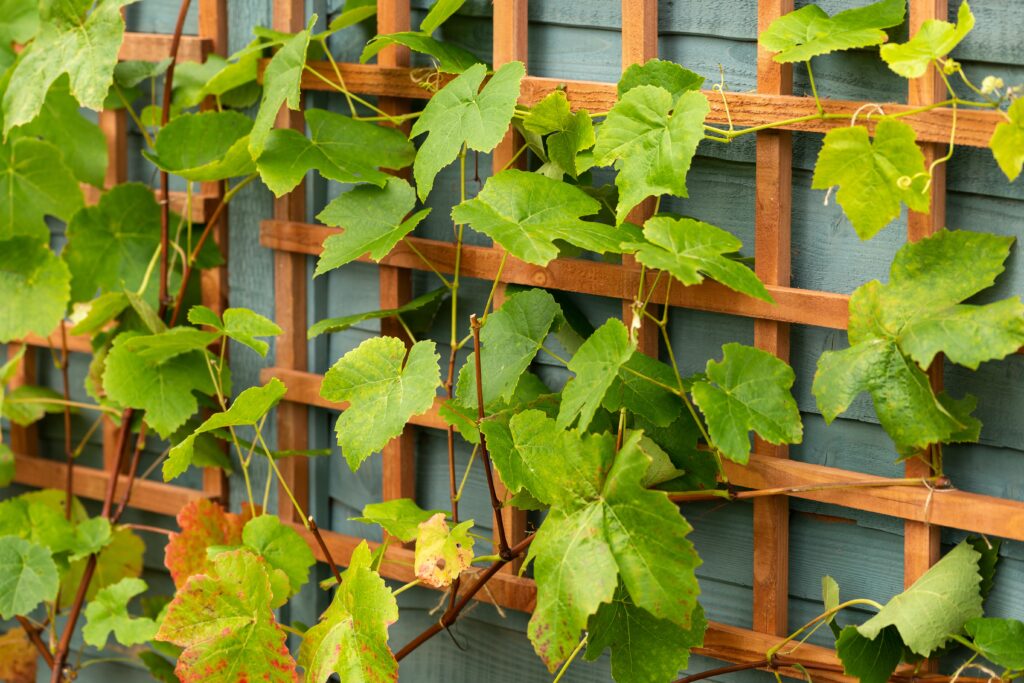
- Trellis: Can be used as a standalone decorative screen, a fence topper for added height and interest, or to support climbing plants.
- Composite Fencing: Made from a mix of wood fibres and recycled plastics, offering a low-maintenance, durable, and often contemporary look.
- Metal Fencing: Provides high security and durability, though can be more expensive and may require professional installation.
Selecting Materials
- Fence Posts: No fence is complete without the right posts. From timber to concrete, the fence posts you choose can affect everything from how long your fence lasts to how easy it is to install.
- Timber Posts: Timber posts are a traditional favourite, but they need protection from the elements. Use pressure-treated timber or apply preservative to guard against rot – particularly where posts meet the ground.
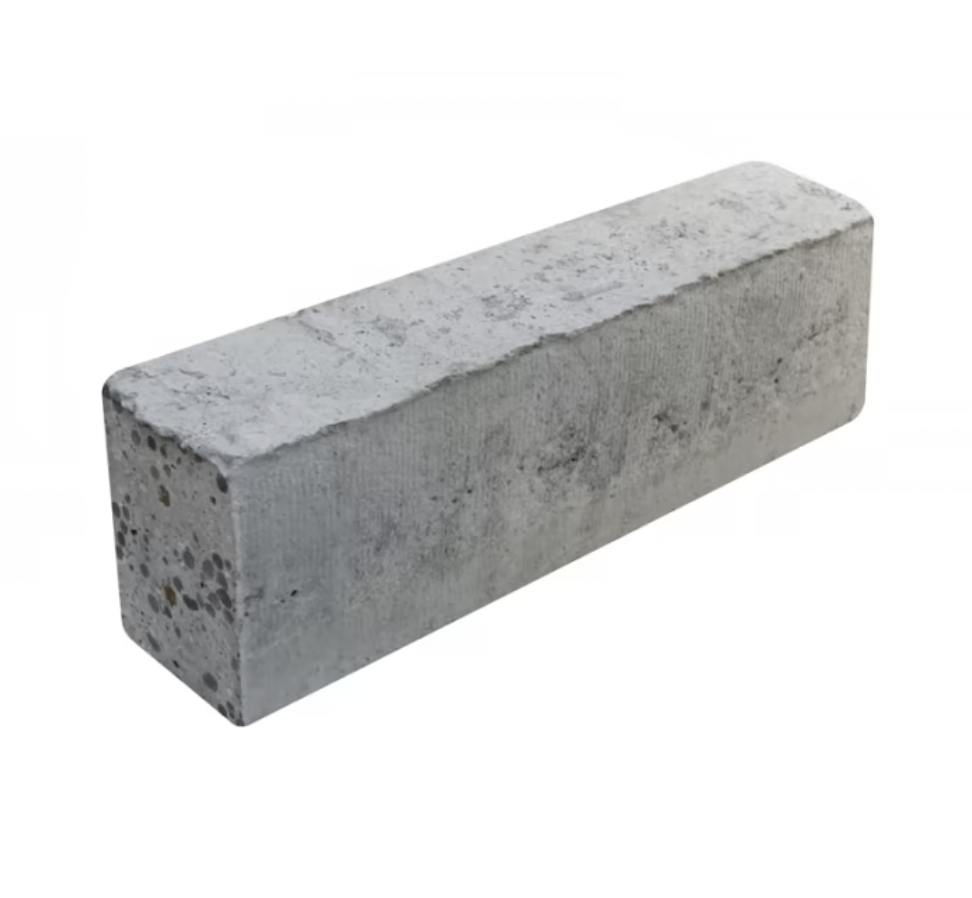
- Concrete Posts: Concrete posts are a long-lasting, low-maintenance option that won’t rot or decay. Pre-formed slots make panel installation quick and straightforward.
- Metal Posts: Strong and can be used with various panel types, often part of a specific fencing system.
- Gravel Boards: Gravel boards are fitted at the base of a fence, running between the fence posts to protect the panels from ground contact and moisture. They help prevent rot and extend the life of your fence.
- Timber Gravel Boards: Timber gravel boards are a cost-effective option that blends well with wooden fencing. While they offer protection, they should always be pressure-treated to resist rot and decay.
- Concrete Gravel Boards: Concrete gravel boards are more durable and longer-lasting than timber. They provide robust protection against moisture and ground contact, making them ideal for low-maintenance fencing setups.
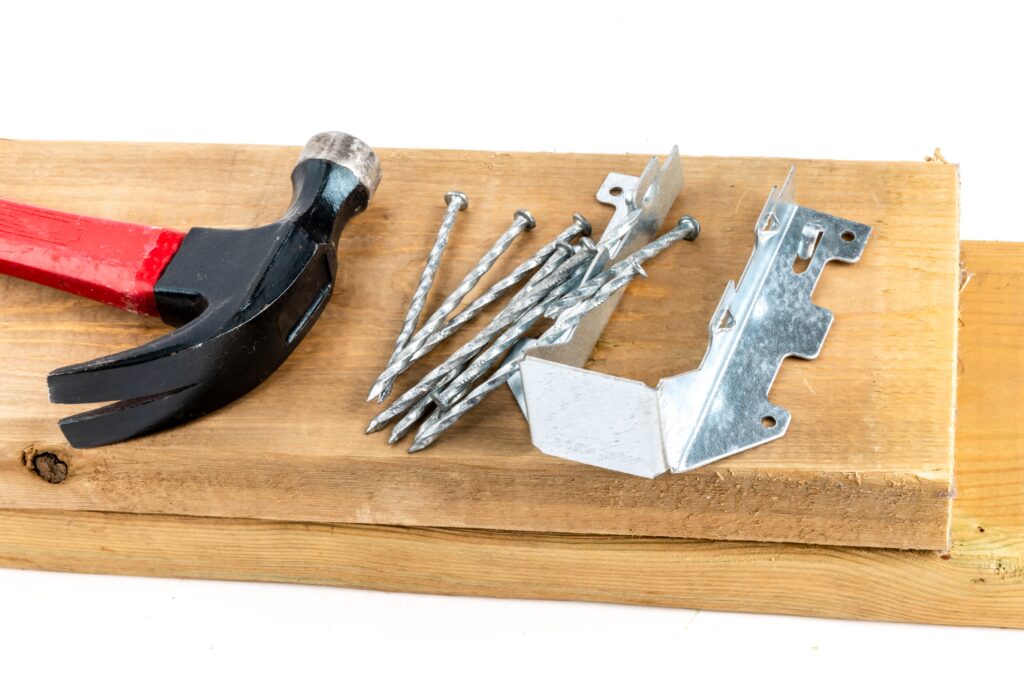
- Fixings: Always use quality, weather-resistant screws, nails, and brackets. We recommend using galvanised or stainless steel options to prevent rust.
Gathering Your Tools
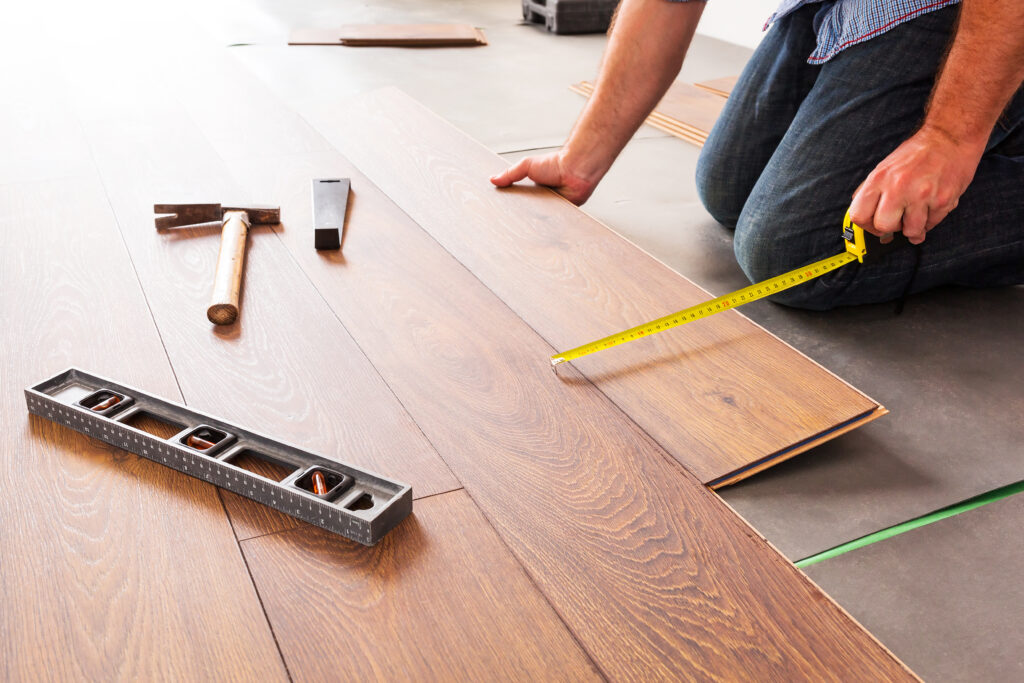
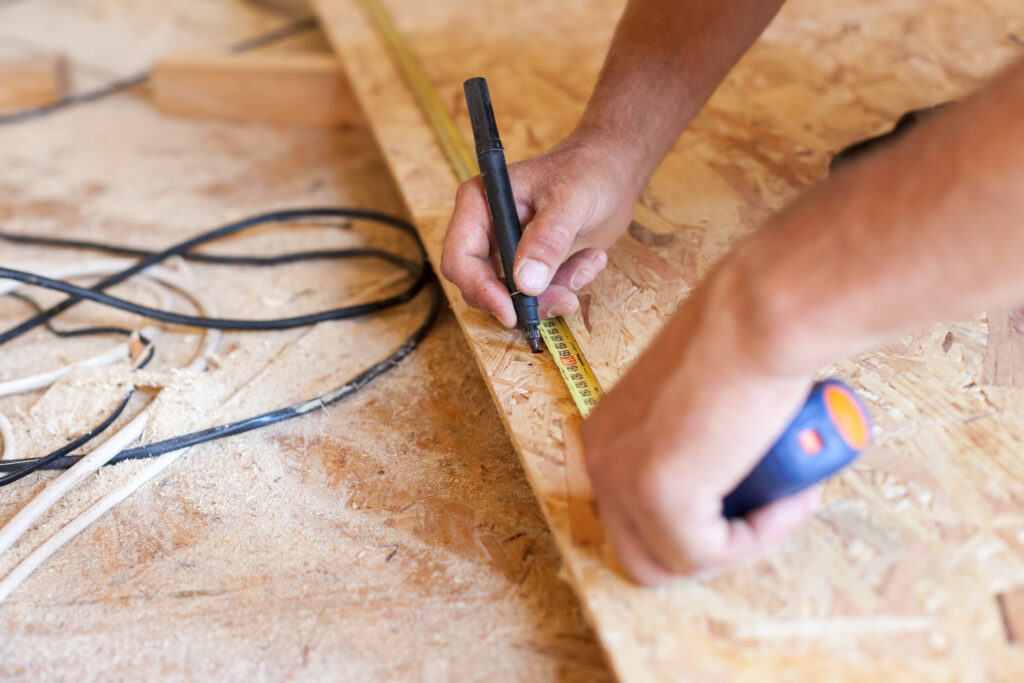
- Tape measure
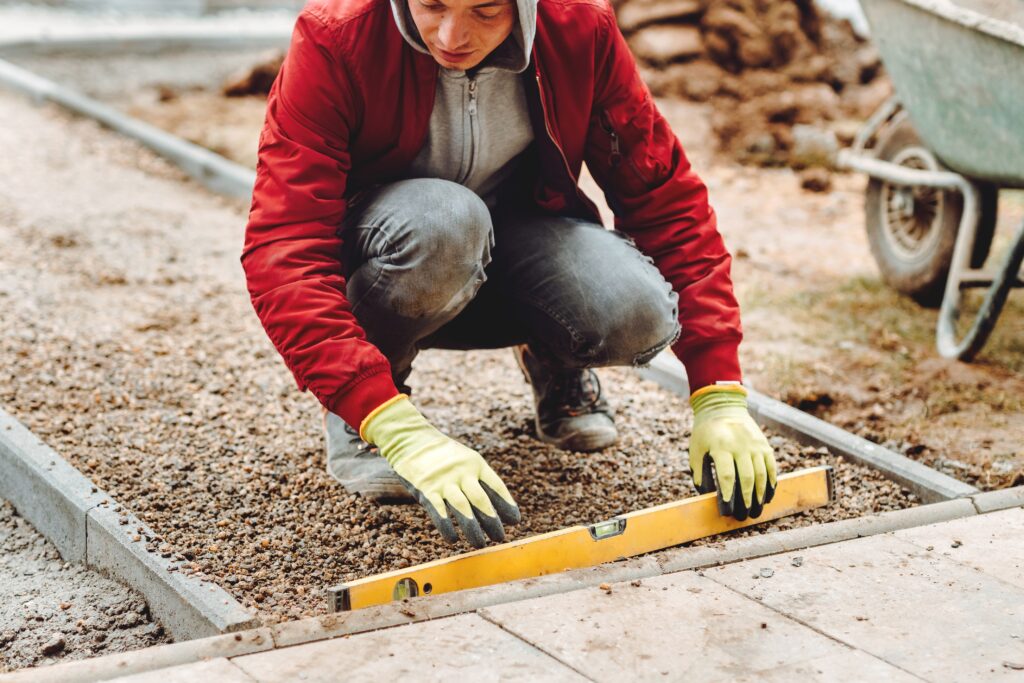
- Spirit level (a longer one is often better)
- String line and pegs (for marking out)
- Shovel and spade (for digging)
- Post hole digger (manual or powered – can be hired)
- Sledgehammer (for driving in post supports, if used)
- Saw (hand saw or power saw for cutting timber)
- Drill (for pilot holes and driving screws)
- Hammer
- Clamps
- Wheelbarrow (for moving soil/concrete)
- Safety goggles, gloves, and sturdy footwear
Safety First
- Always wear appropriate PPE: Safety glasses, sturdy gloves, and steel-toe capped boots are essential. Consider a dust mask when cutting timber or mixing concrete.
- Check for Utilities: This is crucial. Hitting a service can be extremely dangerous.
- Lifting: Fence panels and posts can be heavy and awkward. With this in mind, get help when lifting, especially larger items. Bend your knees and keep your back straight.
- Tool Safety: Use all tools, especially power tools, strictly in accordance with the manufacturer’s instructions and safety guidelines.
- Weather: Avoid building a fence in very windy or wet conditions, as this can make the job more difficult and potentially unsafe.
- Children and Pets: Keep children and pets away from the work area.
The Fence Installation Process
With your planning complete and materials at hand, it’s time to start building.
Preparing the Site
- Clear the fence line of any vegetation, rocks, or old fencing.
- Crucial Safety Step: Check for Underground Utilities! Before you dig any holes, you MUST check for buried pipes (gas, water) and cables (electricity, telephone). Contact your local utility companies or use a cable avoidance tool. Striking a utility line can be dangerous and costly.
Marking Out the Fence Line and Post Positions
- Use pegs and a string line to mark the exact line of your fence.
- Measure and mark the position for each post. Set your posts at 1.8m centres to accommodate typical 6ft-wide fence panels. Remember to account for the width of the posts themselves. For fences built from scratch, post spacing might vary but is generally between 1.8m and 2.4m.
Installing the Fence Posts
This is the most critical part for a stable, long-lasting fence.
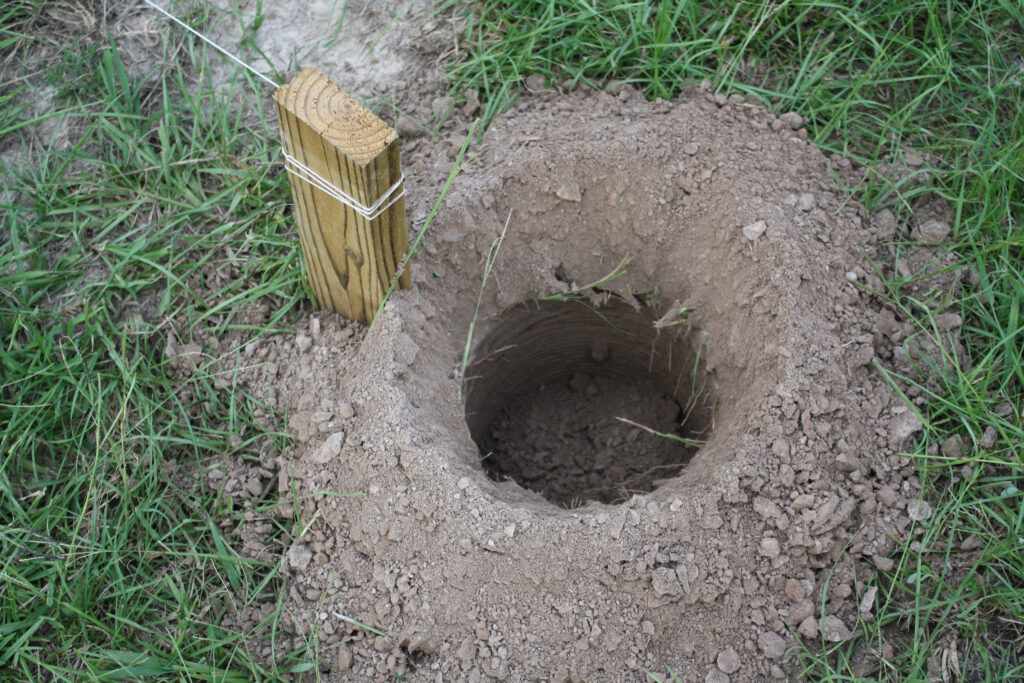
- Post Depth: A general rule is that at least one-third of the fence post length should be in the ground. For a standard 1.8m (6ft) high fence, this means using 2.4m (8ft) posts, with 0.6m (2ft) buried. In softer ground or for taller fences, you may need to go deeper.
- Digging Holes: Holes should be roughly three times the width of the post.
Setting Wooden Posts in Concrete
- Place about 50-75mm (2-3 inches) of gravel or broken brick at the bottom of the hole for drainage.
- Position the post in the centre of the hole. Use a spirit level to ensure it’s perfectly vertical on two adjacent sides.
- Temporarily brace the post with timber battens to keep it upright.
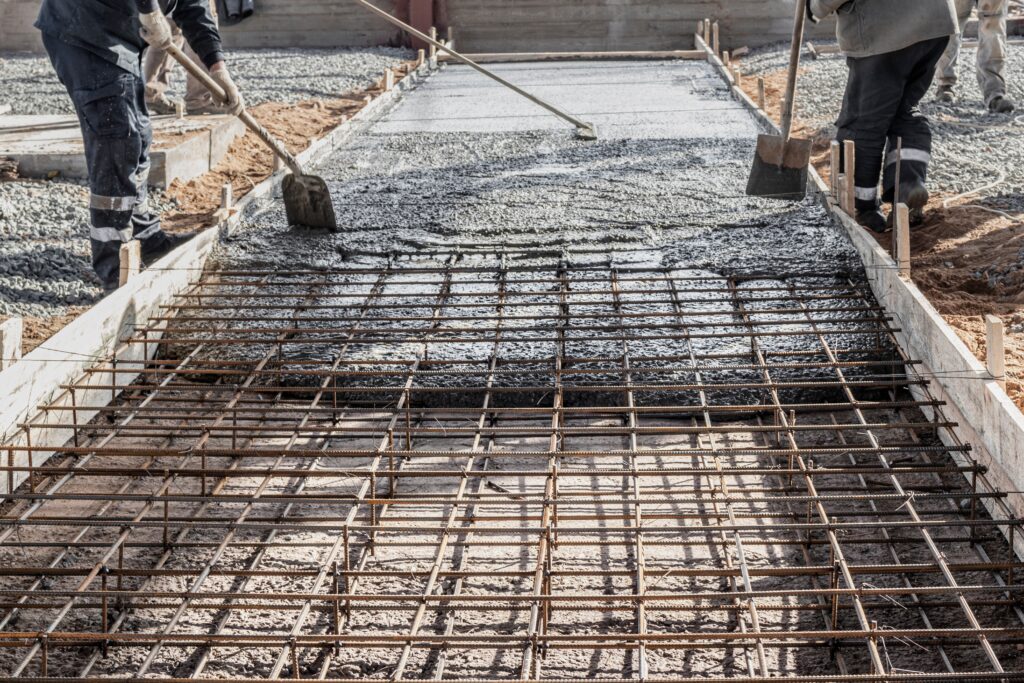
- Mix your concrete (e.g., Postcrete or a standard concrete mix) according to the manufacturer’s instructions.
- Pour the concrete into the hole around the post, tamping it down to remove air pockets.
- Slope the top of the concrete away from the post so that rainwater drains away.
- Re-check the post is vertical with the spirit level.
- Allow the concrete to cure fully (usually 24-48 hours, check product instructions) before attaching panels or rails.
Using Post Supports (Spikes or Bolt-Down)
- Spikes: These are driven into the ground with a sledgehammer (using a driving tool or block of wood to protect the spike). Check for underground services before driving. Best suited for lighter fences and stable ground. Ensure the spike is vertical.
- Bolt-Down Supports: Used for fixing posts to existing concrete surfaces or walls. Securely bolt the support to the hardstanding.
Setting Concrete Posts
Set concrete posts in concrete, just like you would with wooden posts. Make sure they’re aligned and perfectly vertical. The slots will dictate panel placement.
Working with concrete can be physically demanding. Follow safety guidelines for mixing and handling. If you are unsure about soil conditions or the appropriate method for securing posts, consult a professional.
Attaching Rails or Panels
- For Panel Fencing (with Wooden Posts):
- Use galvanised fence clips (U-brackets) or attach wooden cleats to the posts to support the panels.
- Position the gravel board first (if using).
- Lift the panel into place, ensuring it’s level, and screw it to the posts via the clips or into the cleats.
- For Panel Fencing (with Concrete Posts):
- Place the gravel board into the slots in the concrete posts.
- Slide the fence panel down into the slots on top of the gravel board.
- For Traditional Closeboard Fencing:
- Attach horizontal rails (usually arris rails or rectangular rails) to the posts. Use two or three rails, depending on the height of the fence. Ensure they are level.
- Fix the gravel board between the posts at the bottom.
- Attach the vertical feather edge boards to the rails, overlapping each board by about 25mm (1 inch). Start at one end and use a spirit level to keep the boards vertical.
Dealing with Slopes
- Stepped Panels: If the ground slopes, you can step the panels. Each panel is kept level, with the height difference accommodated at each post. This requires posts of varying heights above ground.
- Raking: For some fence types (like closeboard built from scratch), the fence can follow the contour of the slope. The rails run parallel to the slope, and the boards are cut to fit. This is more complex to achieve.
Finishing Touches and Long-Term Maintenance
Post Caps
Afterwards, fit post caps to the tops of wooden posts. These add a decorative finish and, more importantly, help protect the end grain of the post from rainwater, reducing the risk of rot.
Treatment and Preservation
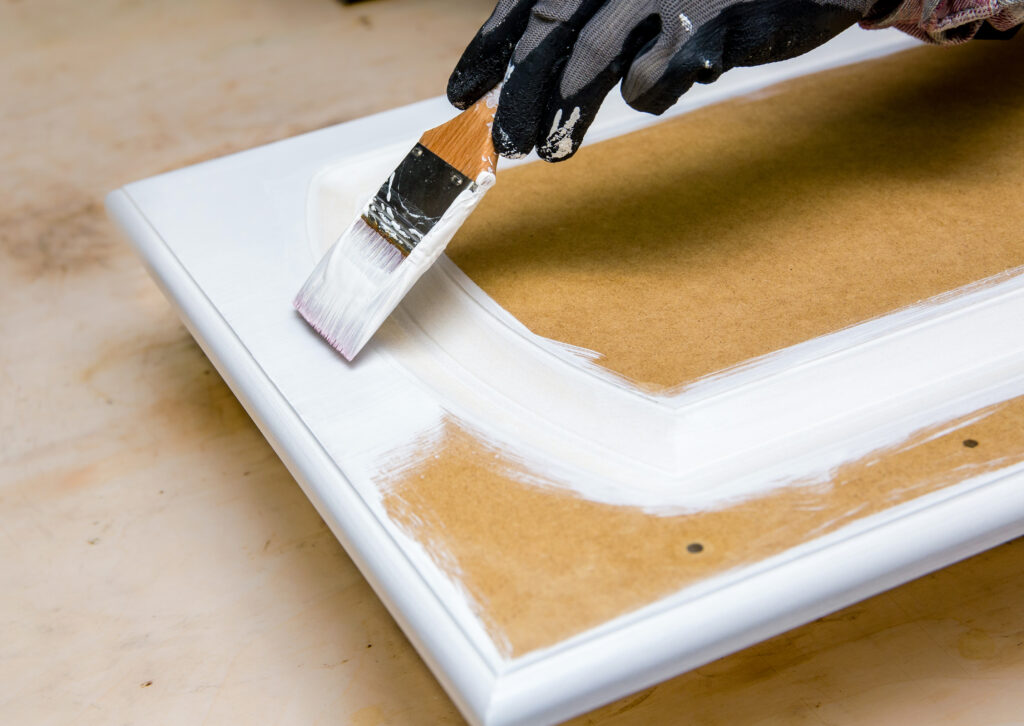
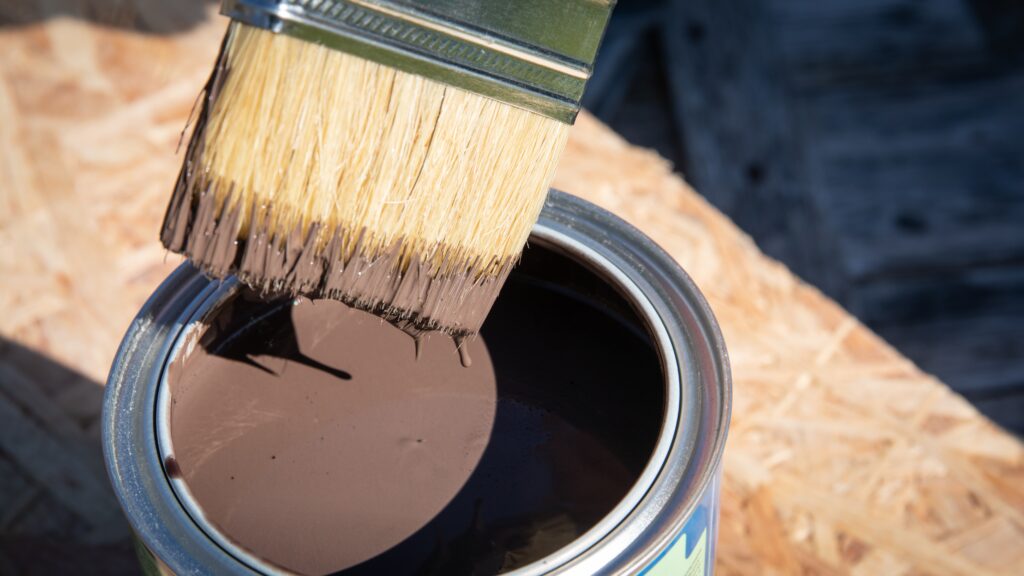
- Even if you’ve used pressure-treated timber, applying an additional coat of wood preservative or fence paint/stain can enhance its appearance and further extend its life. Pay particular attention to any cut ends of timber.
- Regularly inspect your fence (annually is good practice) for any signs of damage, rot, or loose fixings, and carry out repairs as needed.
Clearing Up
Lastly, dispose of any soil, old fencing, and packaging responsibly.
Conclusion
All in all, building a fence is a significant undertaking, but by following these guidelines, paying attention to detail, and prioritising safety, it’s a project well within reach – offering lasting results and the satisfaction of a job well done.


