How To Fix Plasterboard Guide
If you’re new to the world of do-it-yourself home improvement, then the chances are that you might not know how to fix plasterboard. Don’t worry, it’s not as difficult as it sounds. The knack for getting the sheets plumb is a whole lot easier than getting the hang of wet plastering. With a little bit of patience and the right tools, you’ll be able to get the job done in no time.
Why Plasterboard?
If your home is in dire need of a makeover but you’re not quite sure where to start, why not try your hand at plasterboard? Whether you’re applying plasterboard to stud walls, brick wall or timber frame, plasterboard offers a cost-effective alternative to wet plaster and is a great way to add a fresh, new look to any room. Plus, it’s relatively easy to install and is an inexpensive way to give your home a ‘facelift’.
How To Dot & Dab Plasterboard – The Options
There are various ways that you can install plasterboard in your home, depending on the area that you need to cover and the look that you want to achieve. For example, if you are installing plasterboard onto brickwork then the best option will be to use the dot and dab method. If its timber frames and partition walls you’re working on, then you can use screws or nails. Here are some of the most popular methods of fixing plasterboard:
- Nailing plasterboard: This is a great option if you need to cover a large area quickly. You can either nail the plasterboard sheets to the ceiling or nail them to the walls.
- Screwing plasterboard: If you want a more secure installation, you can screw the plasterboard sheets into place. This is a good option for areas that will get a lot of wear and tear, such as around doorways or in high-traffic areas.
- Adhesive plasterboard: This is a quick and easy option for smaller areas. You can simply ‘glue’ plasterboard by applying an adhesive to the back of the plasterboard sheet and then pressing it into place. This is otherwise known as the ‘dot and dab technique’, for further information on what this is and how to do it, check out this article.
Whichever method you choose, make sure that you use the appropriate fixings for your chosen surface.
Dot & Dab Tools
- Plasterboard Adhesive
- Mixing bucket
- Mixing stick
- Pencil
- Level measure
- Sharp Stanley knife
- Measuring tape
- Paint scraper (or trowel)
- Feather edge
Safety Gear
- Heavy work gloves
- Dust mask
- Goggles/eye protection
- Hard hat
- Safety shoes
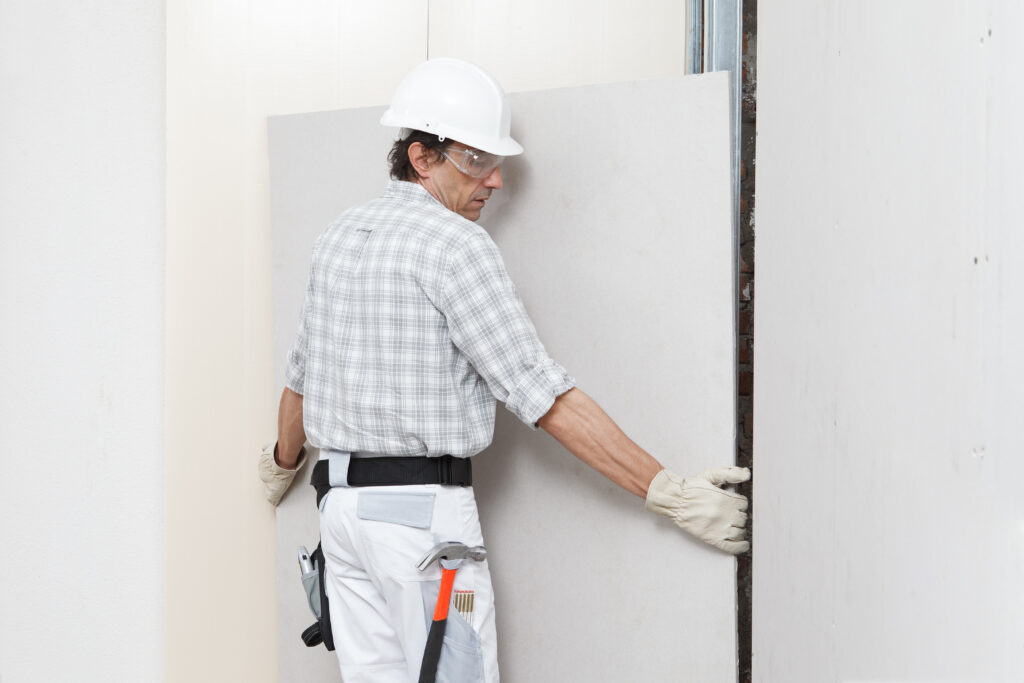
The dot and dab adhesive method is quick, easy, and will leave your walls looking as good as new. This method can be used on both standard plasterboard and pre-insulated plasterboard and is suitable for brickwork and masonry applications rather than stud walls which require a mechanical fix.
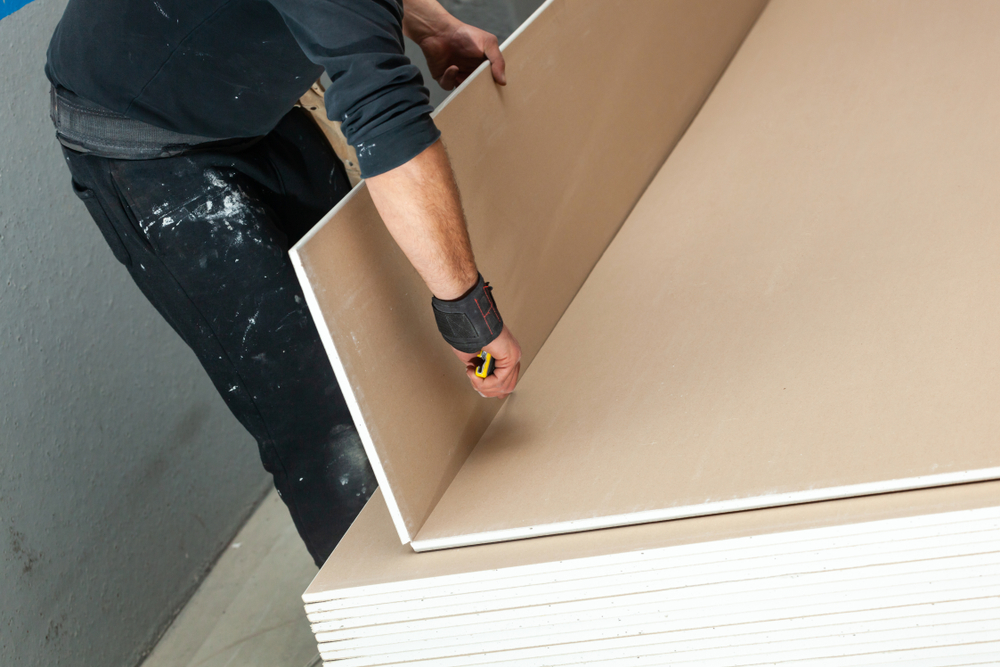
Before delving into the installation process of installing a plasterboard wall, ensure you have your plasterboard adhesive to hand and that all your plasterboard is cut and ready to go. When cutting, remember to account for sockets and any other fixtures.
On another note, although proprietary dry wall adhesives go by various names, you want to ensure it is intended for use on plasterboard walls so be careful to check this before cracking on.
- Prepare your wall. Some backgrounds will suck up the moisture of the adhesive that you use, meaning that it will not bond effectively. You can combat this by applying a coat of PVA to masonry walls, mixed with water to the manufacturer’s recommendation. Concrete has the opposite problem and needs a specialist grit coating.
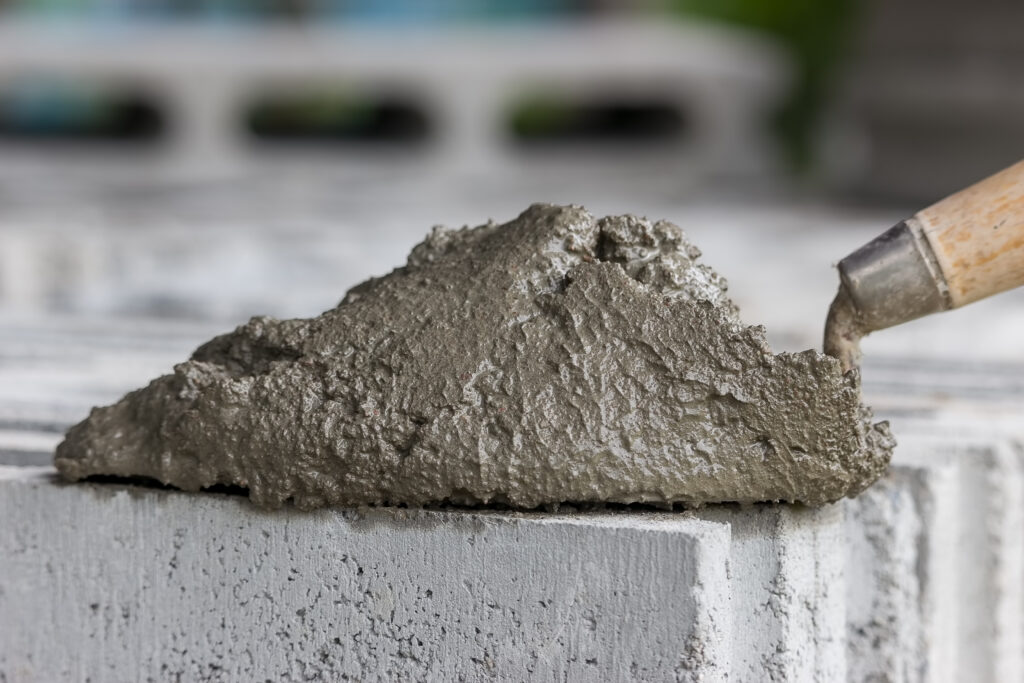
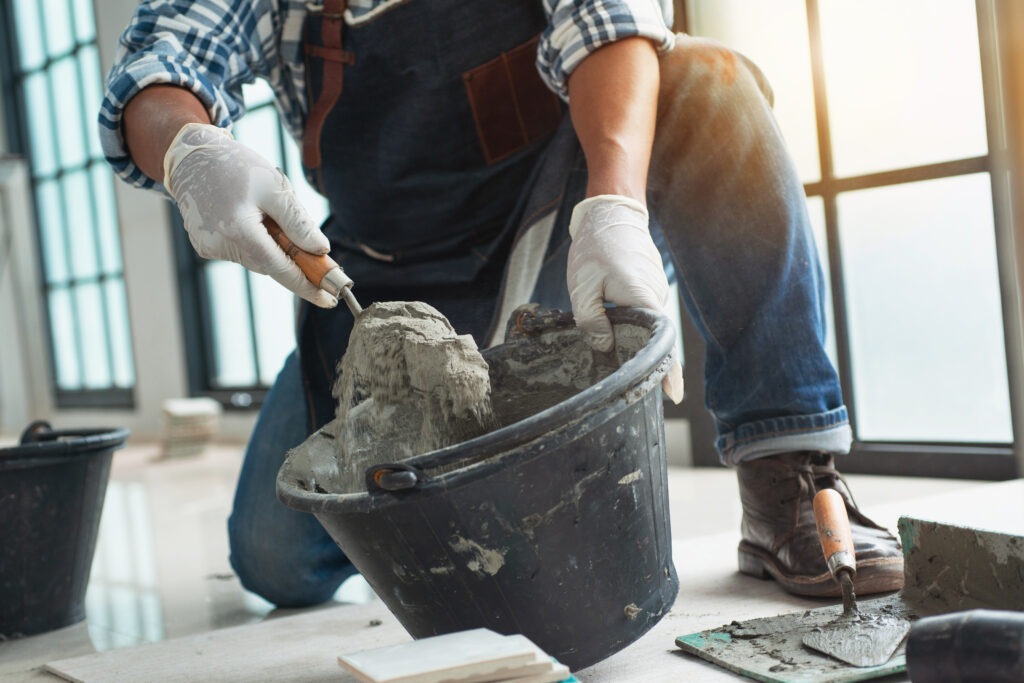
- Mix your plasterboard adhesive according to manufacturer instructions until it takes on a slightly thick and creamy consistency.
- Apply a generous ‘dab’ of adhesive approximately every 20cm across the surface of the plasterboard.
- Heavier, thicker boards call for more dabs to support their additional weight.
- Align the plasterboard with your chosen area using a spirit level or a feather edge tool for a straight and even finish.
- Use a few strategically placed packers to prop up the plasterboard if necessary.
- Ensure that you place the first sheet correctly as the following sheets will line up with this.
- Press the plasterboard firmly against the wall, making sure that all of the adhesive makes contact with the wall surface.
It is good practise to leave a gap between the floor and the boards when you stick plasterboard to minimise the risk of rising damp. Don’t worry about aesthetics in this case, as the gap will be covered by skirting boards.
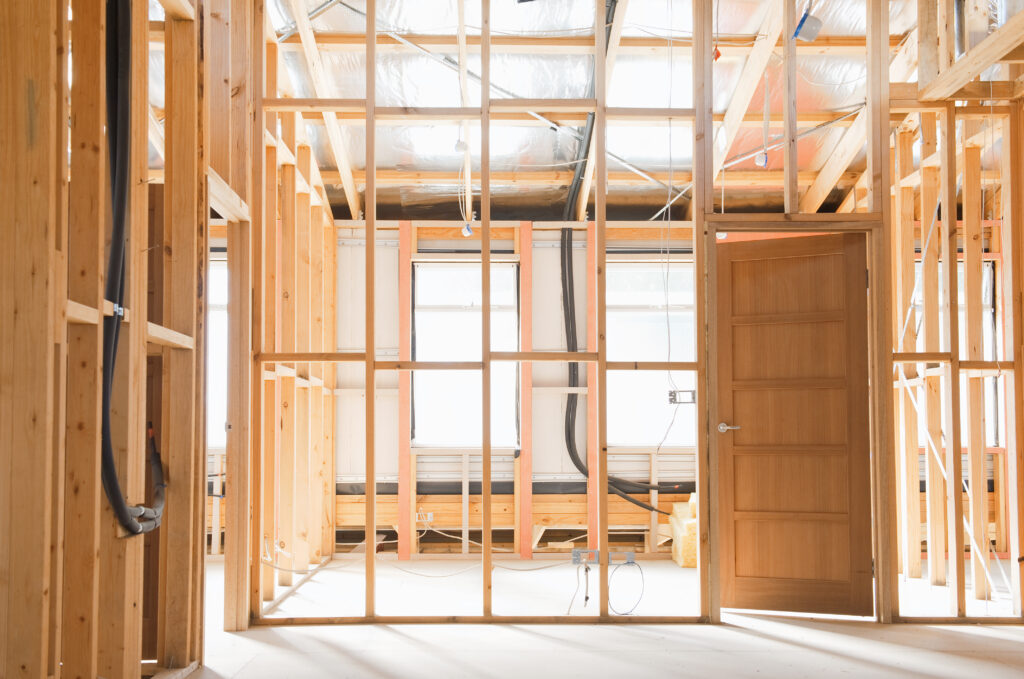
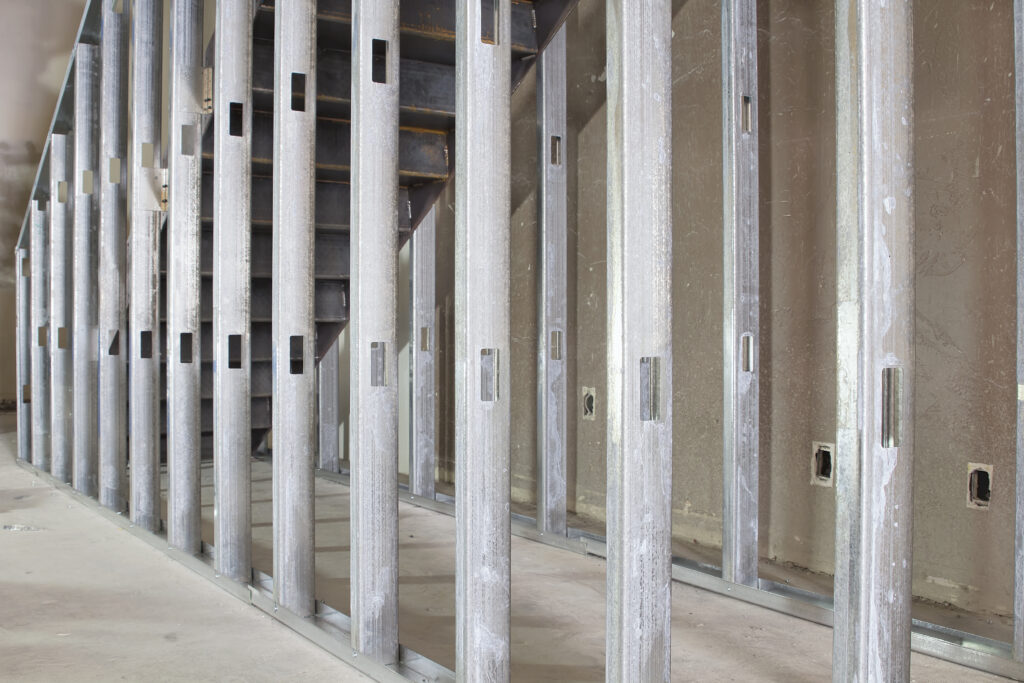
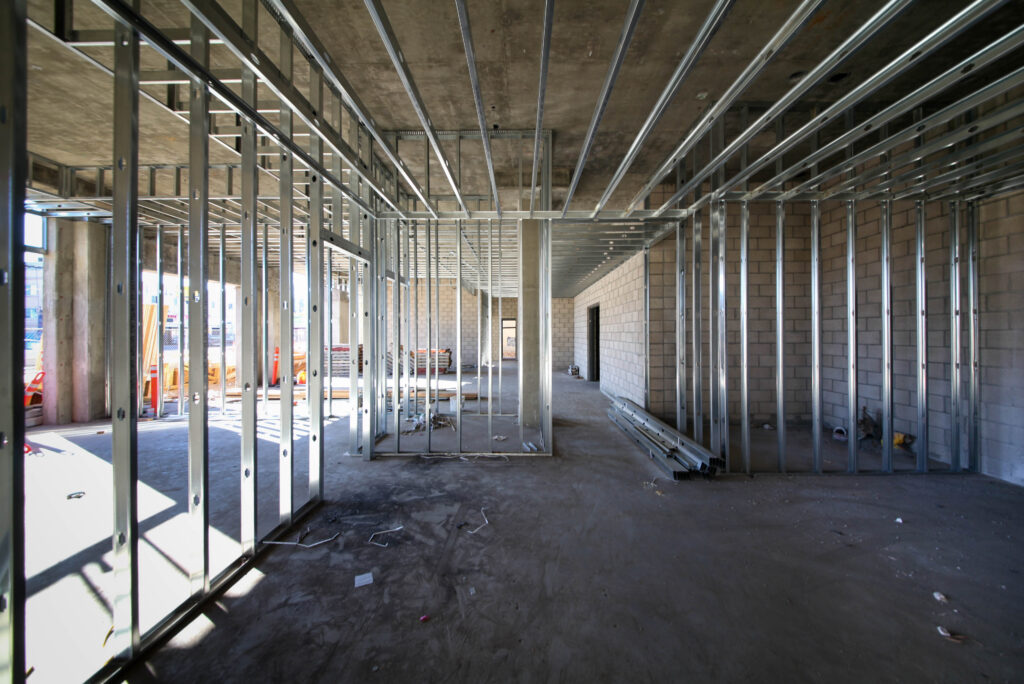
How To Fix Plasterboard To Stud Wall Partitions
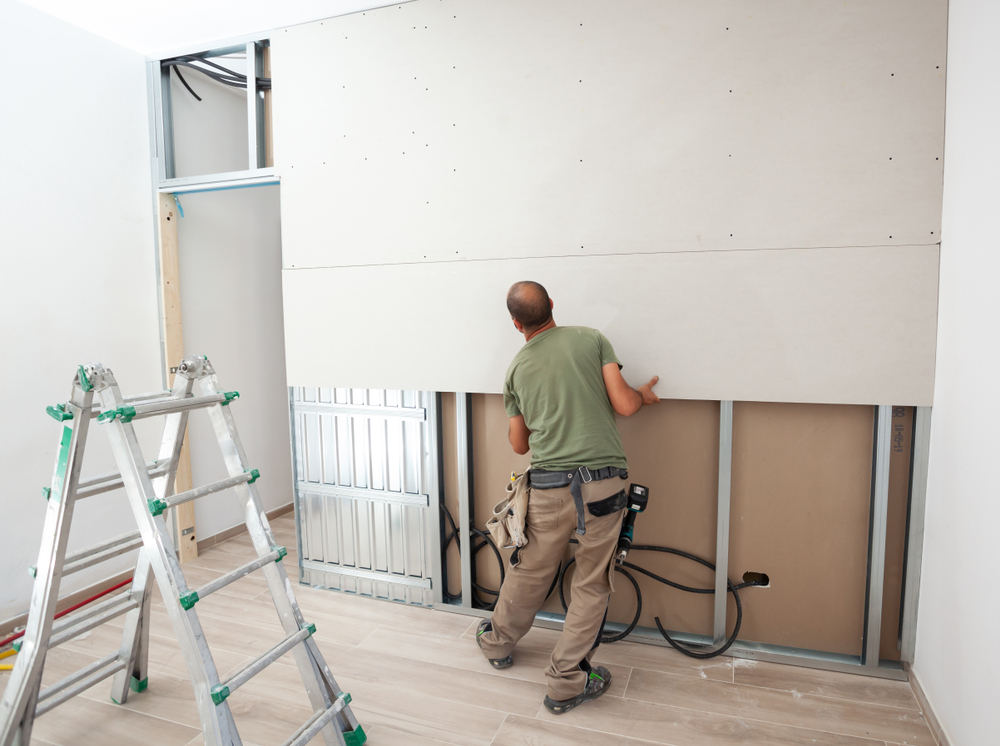
If you’re looking to add a little extra privacy to your home, or simply want to create a new room, then partitioning off a stud wall is the way to go. Once your new partition wall is decorated, it’ll look like an integral part of your home. Here’s how to do it:
- First, make sure that the area where you’ll be attaching the plasterboard is clean and free of debris. Then, use a stud finder to locate the studs in the wall. Once you’ve found them, mark their location with a pencil so that you’ll know where to attach the plasterboard.
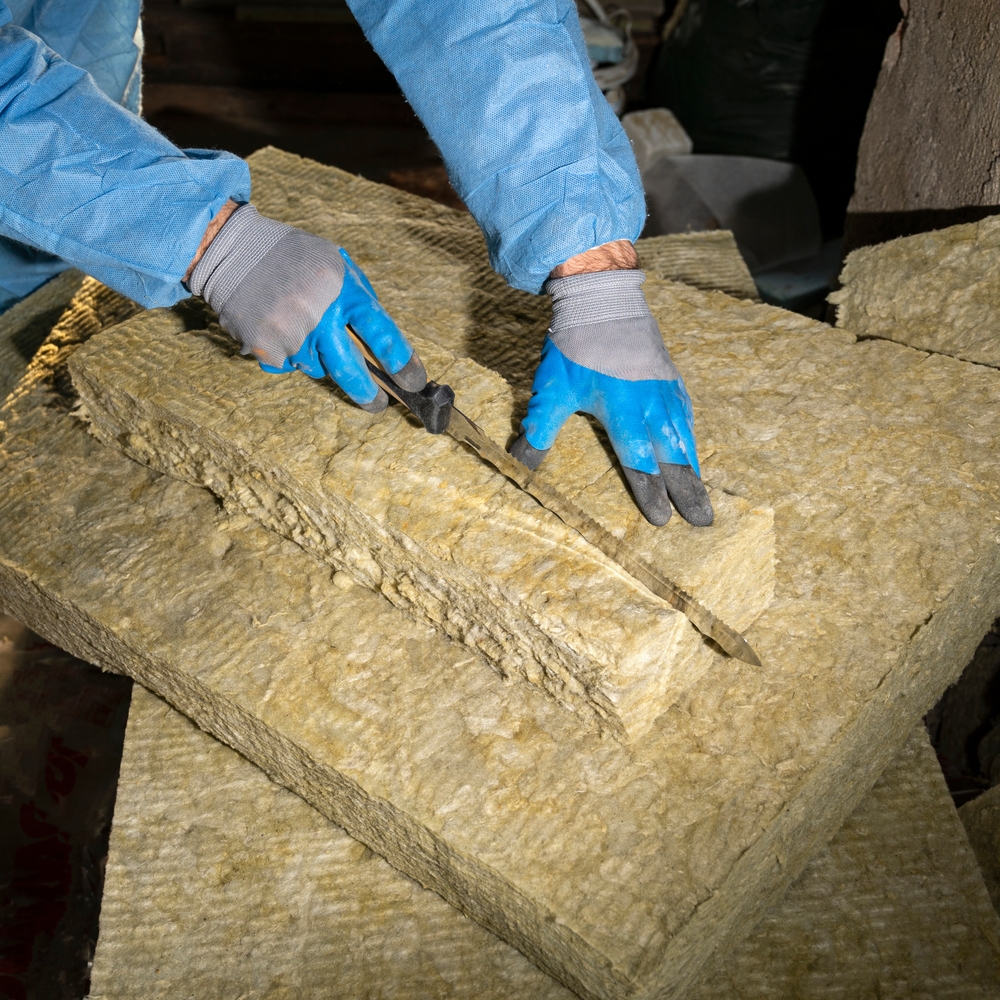
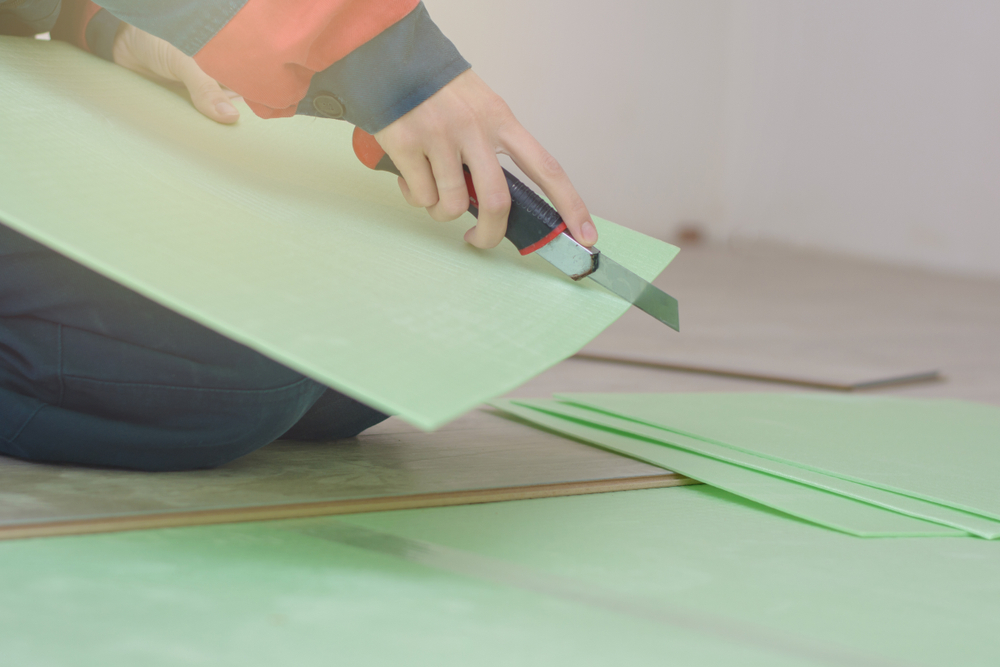
- Next, cut the plasterboard to size using a utility knife. Be sure to wear gloves and eye protection when doing this.
- Once the plasterboard is cut to size, attach it to the studs using screws or nails.
- It is important to use drywall screws of the appropriate length, and of the right type for the substrate. Course is for timber, fine for metal framing and self-drilling for thicker gauge metal framing.
- Screws should be installed at a minimum of 300mm centres, however this will reduce for ceilings, corners and around openings. Fixings should be approx. 15mm from the edge of the board joint.
- We recommend using a depth gauge as this will stop the screws from going in too far or standing too proud.
- After your first plasterboard is in place, repeat the process, whilst being mindful of measurements.
- Cover all the joints with fibre tape then skim.
How to Attach Plasterboard To A Ceiling
There are a few different ways to plasterboard a ceiling. This method is fairly straightforward and can be done by following these steps:
- Begin by measuring the area you will be plasterboarding. You will need to purchase enough plasterboard to cover this area, at least an additional 10% to allow for any cuts or imperfections.
- Once you have your measurements, cut the plasterboard to size using a utility knife or saw.
- Next, mark out where your joists are located on the ceiling. You will need to attach the plasterboard to these joists in order to secure it in place.
- The thickness of board used can vary depending on the distance between joists – manufacturer’s guidance should be consulted.
- To attach the plasterboard, use general standard drywall screws with reduced centres – typically 200mm but manufacturer’s guidance would confirm specifically.
- Once all of the plasterboard is in place, the ceiling finishes can be applied either by skimming or tape and jointing.
- Allow the joint compound to dry completely, then sand it down until it is smooth.
- Finally, paint or wallpaper the ceiling as desired.
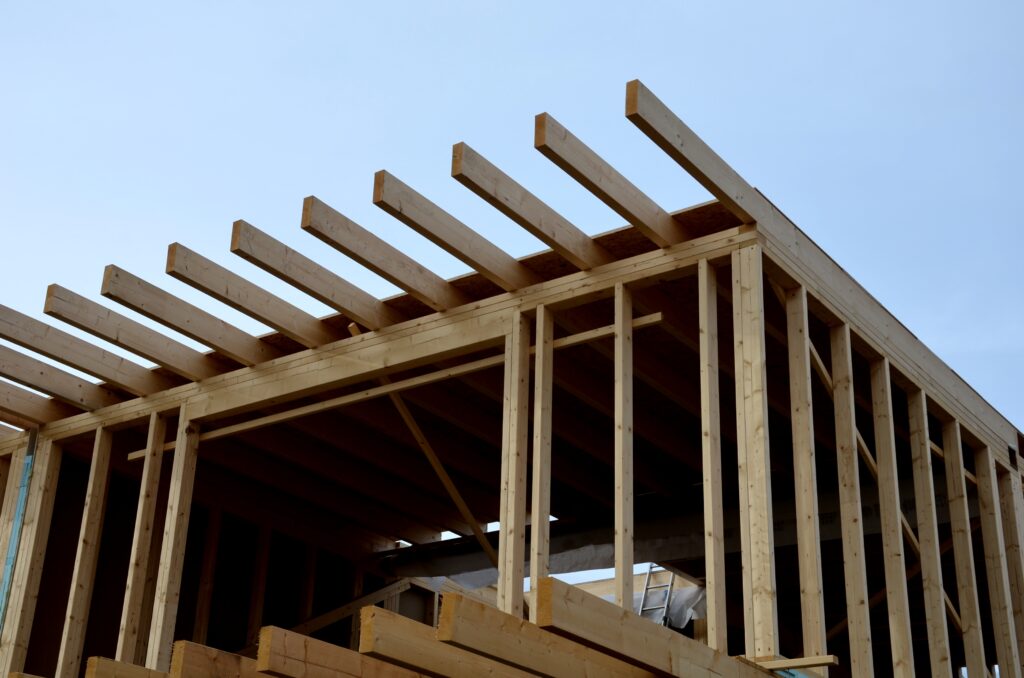
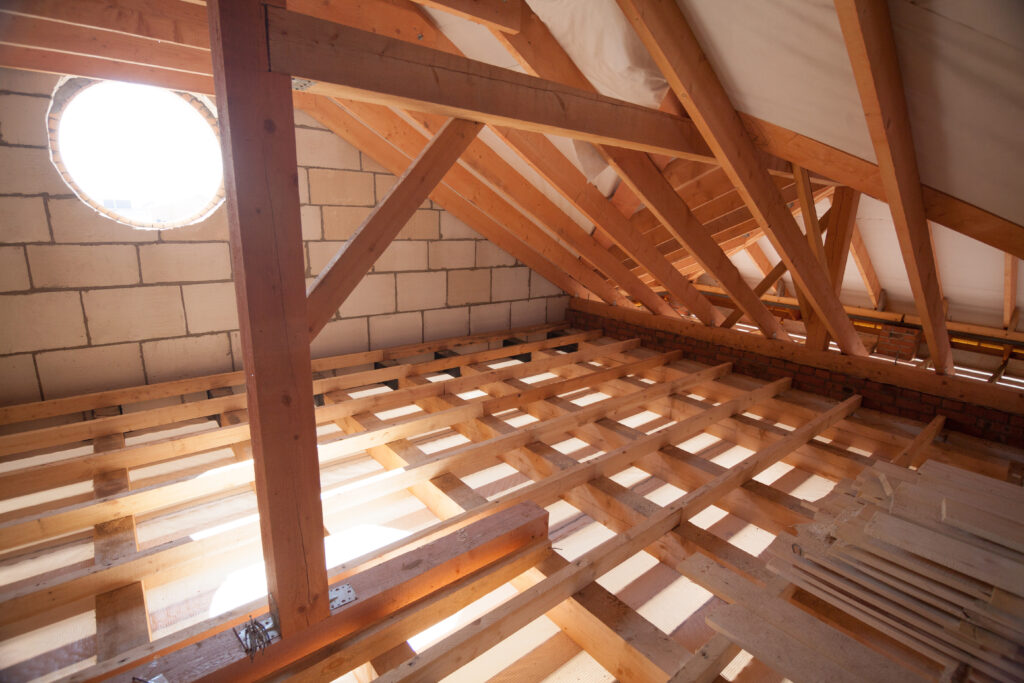
How To Plasterboard A Timber Frame
With a few simple steps, you can successfully add plasterboard to a timber frame. Just be sure to take your time and measure everything accurately before cutting or attaching the plasterboard. And once it’s all in place, enjoy your new, improved space!
- First, make sure the timber frame is securely fastened to the wall. Then, measure and cut the plasterboard to size.
- Cut the plasterboard to size using a sharp knife or saw. Be sure to wear protective gloves and goggles when doing this.
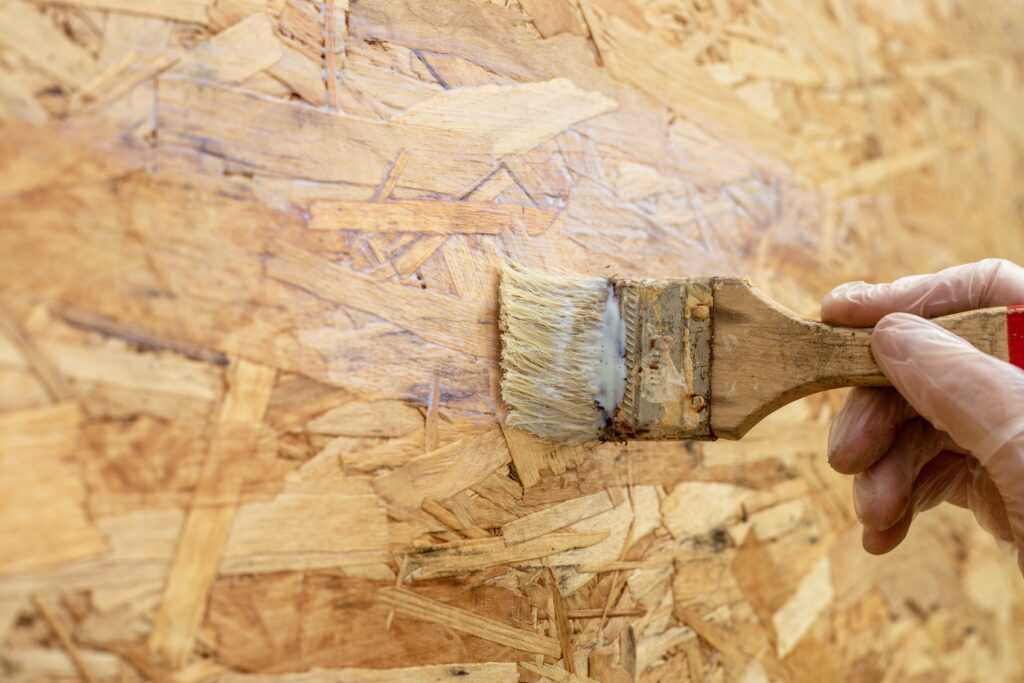
- Once you have the pieces cut, apply adhesive to the back of the plasterboard and affix it to the timber frame; spread the adhesive evenly, using a brush or roller, and then press the plasterboard firmly into place.
- Use a ruler or straight edge to smooth out any air bubbles or uneven areas.
- Use screws or nails to secure the plasterboard in place.
- Finally, apply joint tape and compound to the joints and seams, then finish as desired.
That’s all there is to it! Installing plasterboard is a relatively easy task that anyone can do. Just be sure to measure the area carefully and cut the plasterboard to size before getting started. Happy drylining!


