From Sheets to Shapes: How to Cut Hardboard
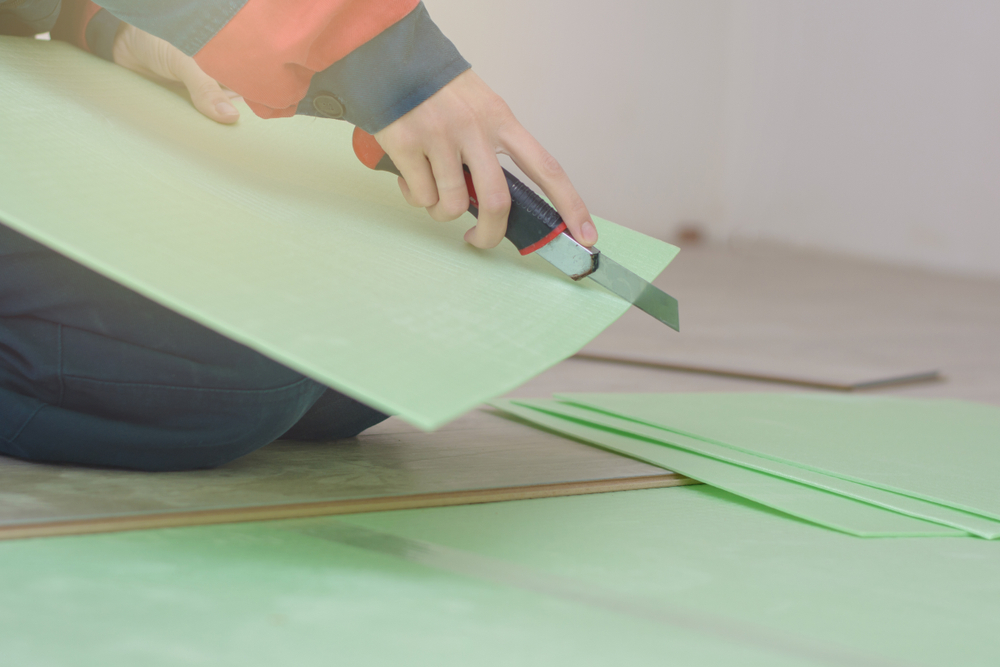
When it comes to working with hardboard, achieving flawless results requires more than just a steady hand and sharp tools—it demands finesse and precision. That’s where our expertise comes in. Through this blog, we’ll provide you with a step-by-step roadmap on how to cut hardboard with precision, ensuring that each cut brings you closer to achieving your vision.
Understanding Hardboard: A Brief Overview
Before diving into the cutting process, it’s essential to understand the characteristics of hardboard.
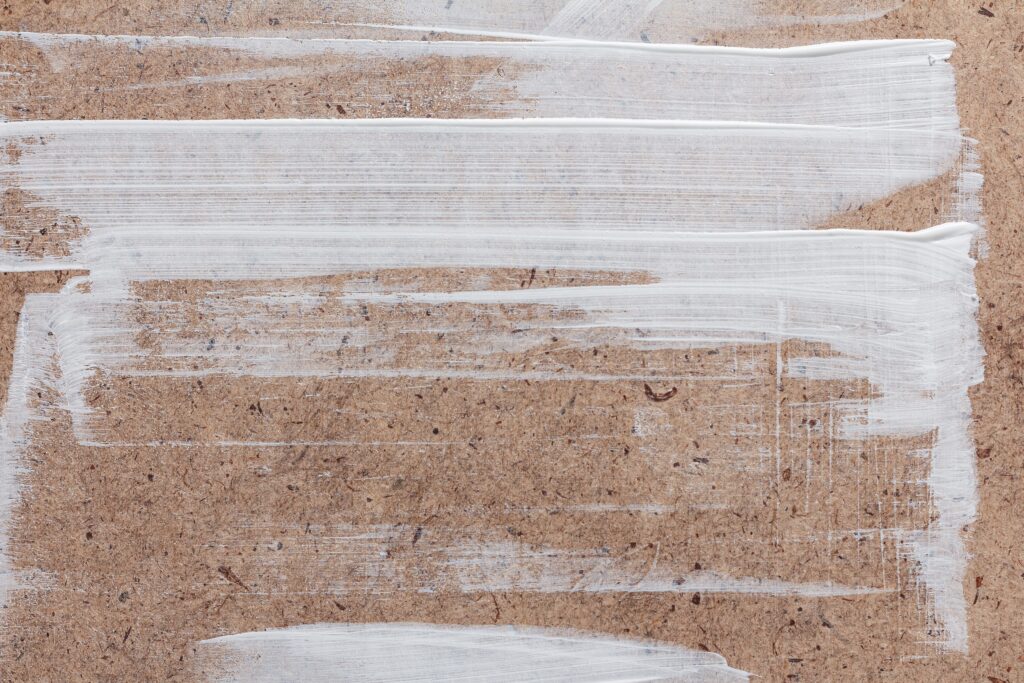
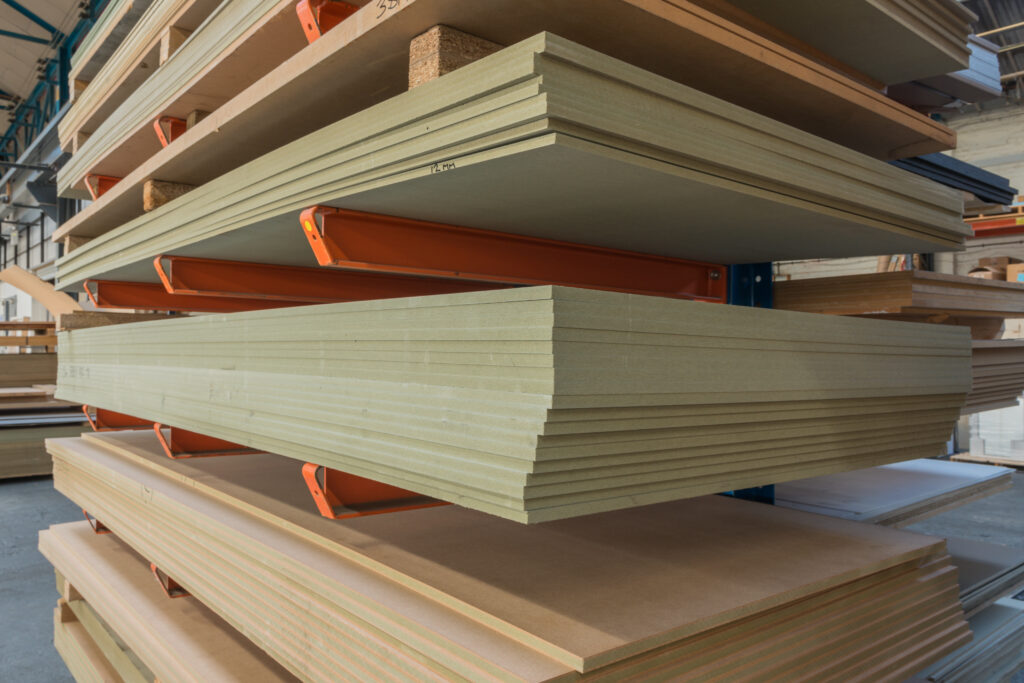
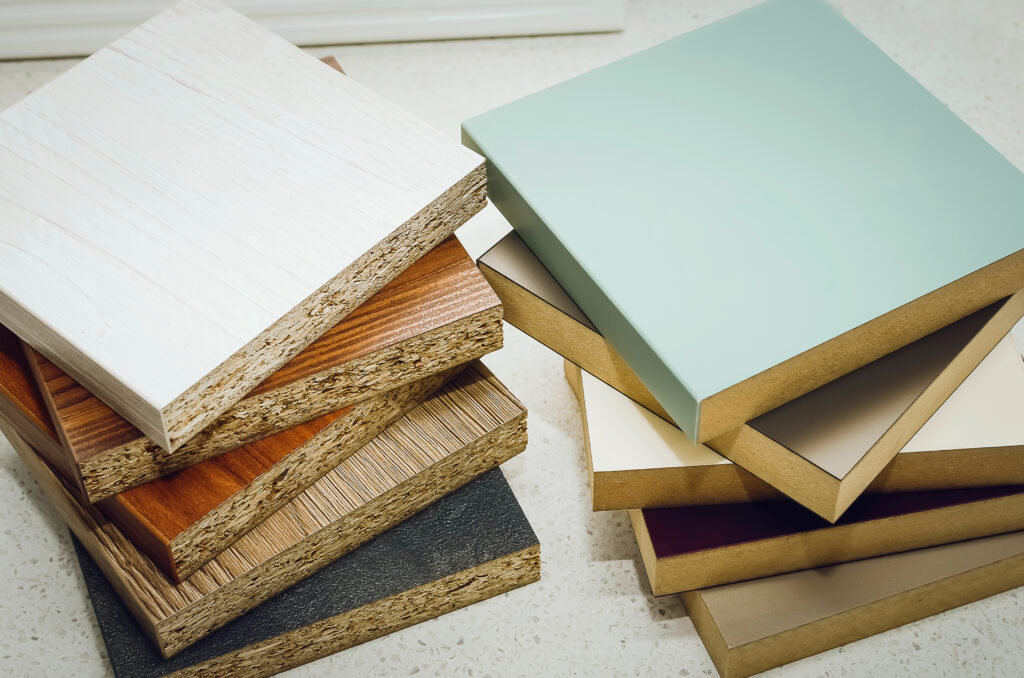
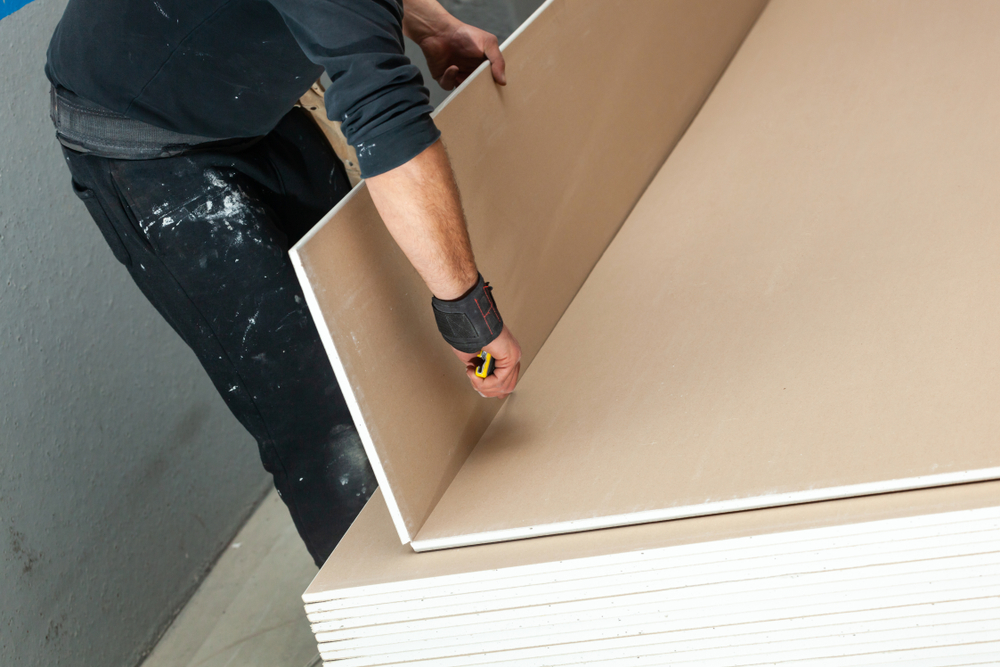
Hardboard is made from compressed wood fibres and offers excellent durability and strength. It is available in varying thicknesses and sizes, providing flexibility for different applications.
With its smooth and uniform surface, hardboard is an ideal choice for projects that require precise cuts and smooth edges.
How To Cut Hardboard – Essential Tools and Safety Precautions
To achieve precise cuts on hardboard, you’ll need a set of essential tools. These include:
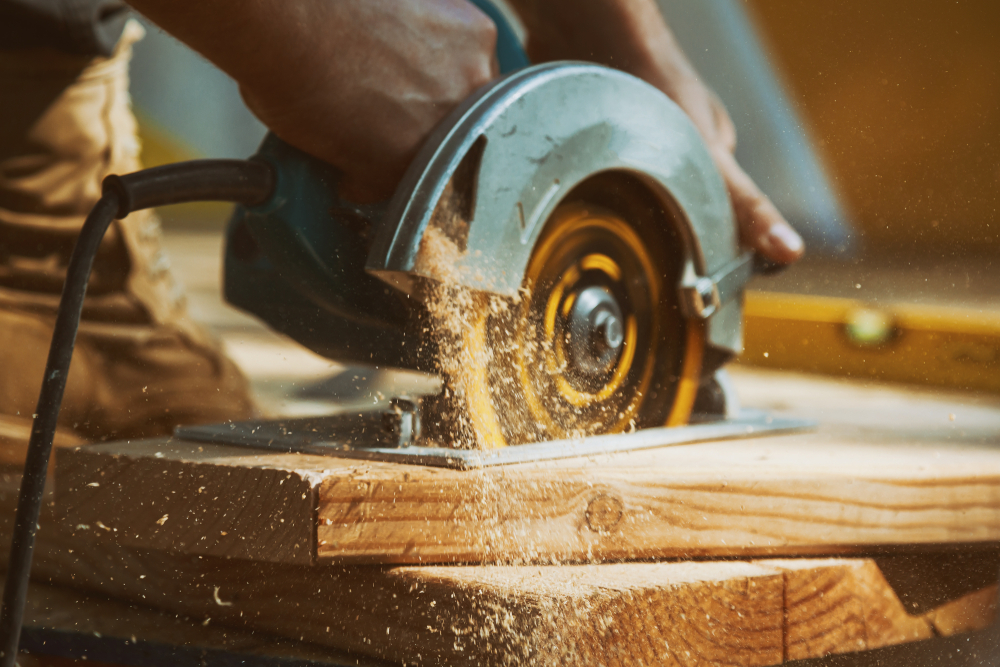
- Circular Saw or Jigsaw: Choose a saw that is suitable for cutting through hardboard. A circular saw with a fine-toothed blade or a jigsaw with a blade designed for wood will work well.
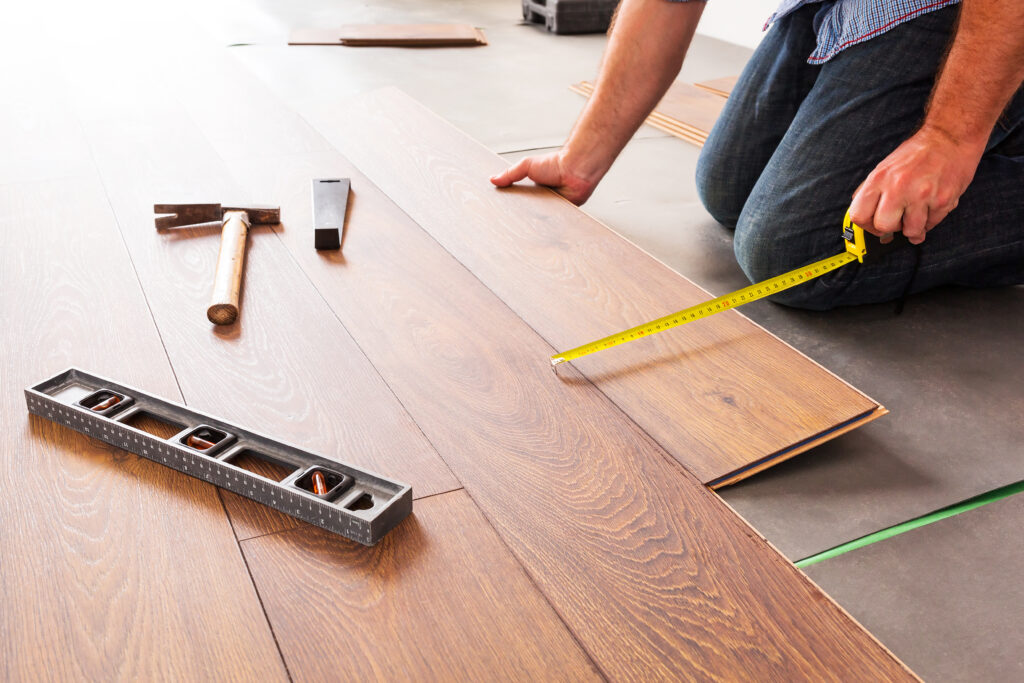
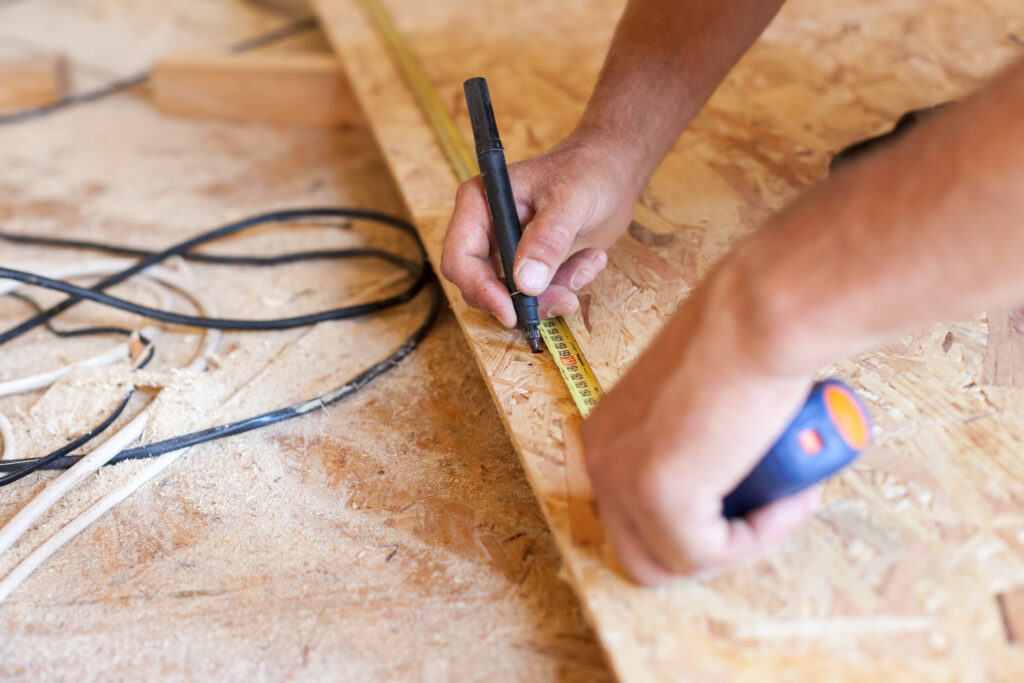
- Tape Measure: Accurate measurements are crucial for achieving precise cuts. Use a reliable tape measure to measure the dimensions of your project.
- Clamps: Clamps will help secure the hardboard in place during the cutting process, ensuring stability and accuracy.
- Straightedge or Guide: A straightedge or guide is essential for guiding your saw along straight lines. It can be a long, straight piece of wood or a specialized cutting guide.
- Safety Goggles and Ear Protection: Protect your eyes from flying debris and wear ear protection to minimize noise exposure.
Before you start cutting, prioritise safety by wearing protective goggles and earplugs. It’s crucial to work in a well-ventilated area and follow the manufacturer’s instructions for operating your tools.
Measure Twice, Cut Once: Properly Marking your Hardboard
Achieving precise cuts starts with accurate measurements and proper marking of the hardboard. Follow these steps:
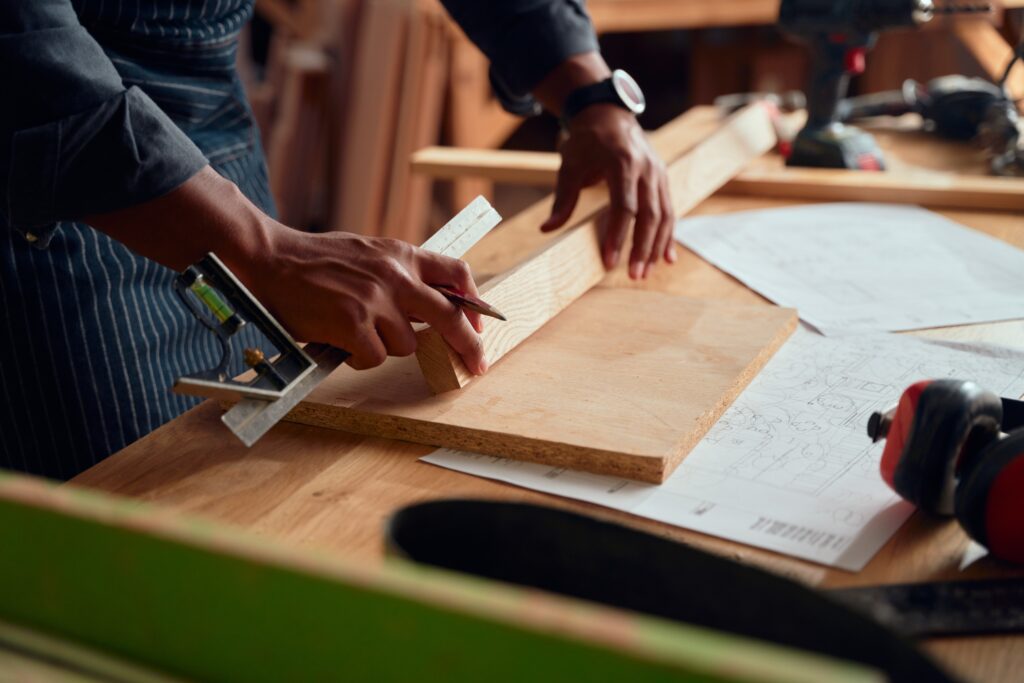
- Measure your project: Use a tape measure to determine the dimensions of the shape or piece you need to cut from the hardboard. Double-check your measurements to ensure accuracy.
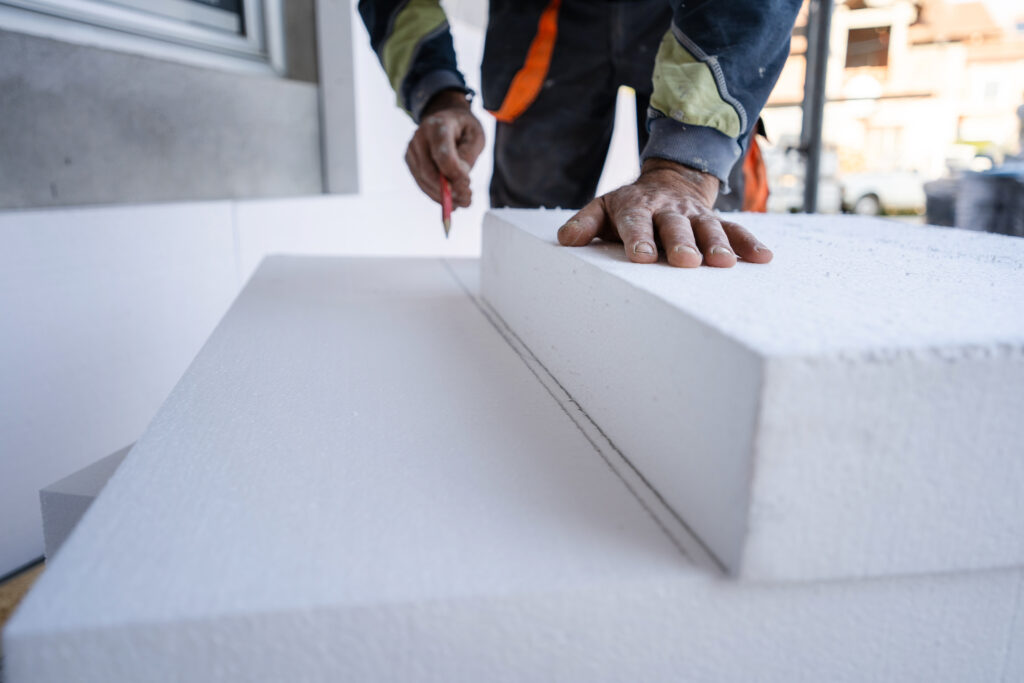
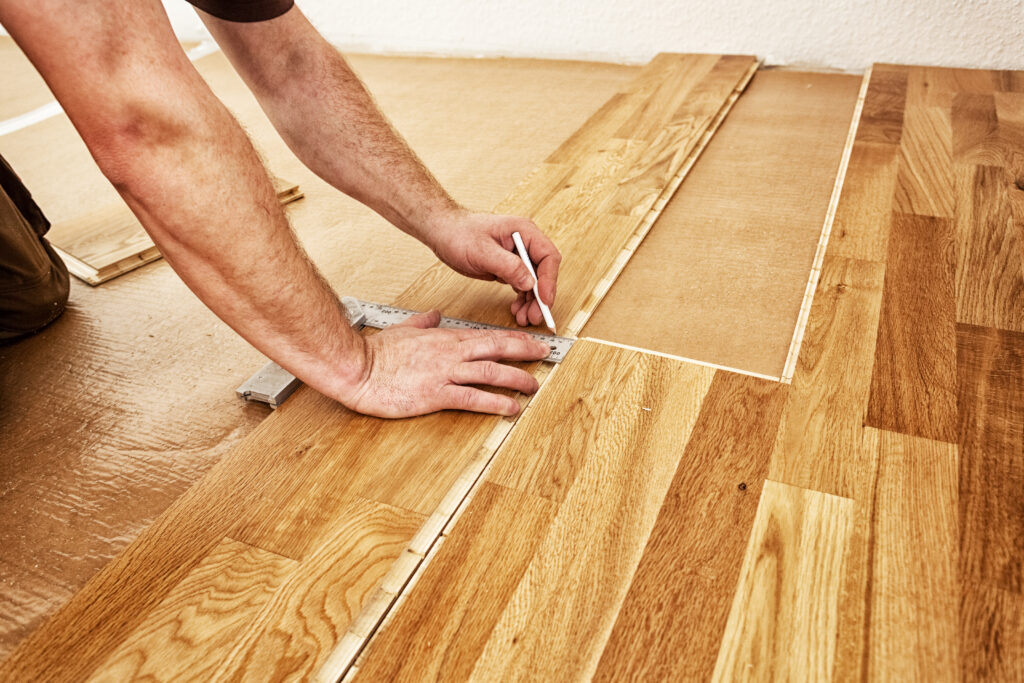
- Mark your hardboard: Use a pencil or marker to transfer the measurements onto the hardboard. For straight cuts, use a straightedge or guide to create a straight line. For curved or irregular shapes, use a flexible curve ruler or trace a template onto the hardboard.
Straight Cuts: Techniques for Achieving Precise Lines
When it comes to cutting straight lines on hardboard, you have a couple of options:
Circular Saw Technique:
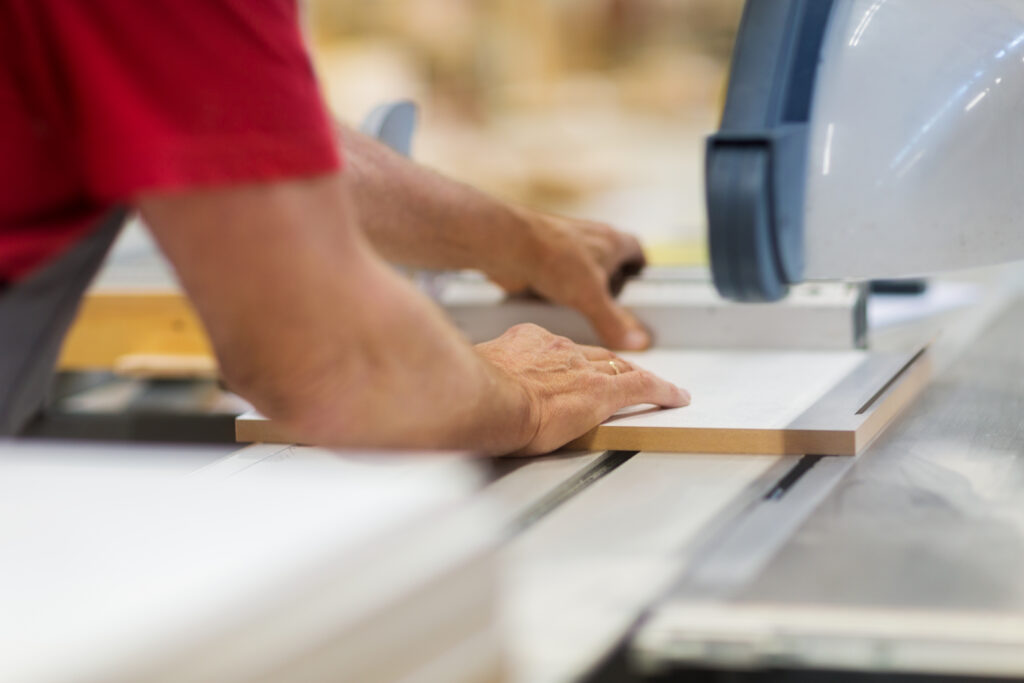
- Secure the hardboard: Clamp the hardboard firmly to a workbench or sawhorses. Make sure it’s stable and won’t move during cutting.
- Adjust the cutting depth: Set the cutting depth of your circular saw slightly deeper than the thickness of the hardboard.
- Align the saw: Position the saw’s blade along the marked line, aligning it with the guide or straightedge.
- Start cutting: Hold the saw with a firm grip and start the motor. Slowly guide the saw along the marked line, keeping the blade aligned with the guide. Let the saw’s teeth do the cutting and maintain a steady pace to achieve a clean and precise cut.
Jigsaw Technique:
- Secure the hardboard: Clamp the hardboard to a workbench or sawhorses, ensuring it doesn’t move while cutting.
- Install a fine-toothed blade: Choose a jigsaw blade designed for woodcutting and install it securely.
- Position the jigsaw: Place the jigsaw’s baseplate firmly on the hardboard, aligning the blade with the marked line.
- Start cutting: Turn on the jigsaw and gently guide it along the marked line, allowing the blade to do the cutting. Maintain a steady hand and follow the line carefully to achieve a clean and accurate cut.
Curves and Angles: Navigating Complex Shapes
Cutting curves and angles on hardboard requires a different approach:
Curves:
- Create a guide/template: If you need to cut a precise curve, consider creating a template from sturdy material like plywood or MDF. Trace the desired curve onto the template and cut it out.
- Secure the hardboard: Clamp the hardboard to a workbench or sawhorses, ensuring stability.
- Position the guide/template: Place the guide/template on top of the hardboard, aligning the desired curve with the marked line.
- Cut along the guide: Use a jigsaw fitted with a fine-toothed blade. Start the jigsaw and carefully guide it along the template, allowing the blade to follow the curve and create a clean cut.
Angles:
Measure and mark the angle: Use a protractor or angle finder to measure the desired angle on the hardboard and mark it accordingly.
Position the hardboard: Secure the hardboard, ensuring it won’t move during cutting.
Set the saw: Adjust your circular saw or jigsaw to the desired angle, following the manufacturer’s instructions.
Cut along the marked line: Align the blade with the marked angle and guide the saw along the line, maintaining steady control and a consistent cutting motion.
Fine-Tuning and Smoothing: Refining your Hardboard Cuts
After making the initial cuts, you may need to refine and smooth the edges of the hardboard for a professional finish. You can achieve this by:
- Sanding: Use sandpaper or a sanding block to smooth the edges and surfaces of the cut hardboard. Start with a coarse-grit sandpaper and gradually move to finer grits for a smoother finish.
- Filing: If you have any rough edges or imperfections, a file can help remove them. Use a file in a smooth motion along the edges, applying gentle pressure as needed.
Conclusion
Congratulations! You’ve now learned the essential techniques for cutting hardboard like a pro. By understanding the material, using the right tools, and following proper techniques, you can achieve precise and clean cuts for your woodworking projects.
Remember to prioritise safety, measure accurately, and take your time during the cutting process. Whether you’re creating furniture, wall panels, or intricate shapes, these skills will empower you to transform hardboard sheets into beautifully shaped pieces for your projects. Happy cutting!


