How to Build a Raised Deck
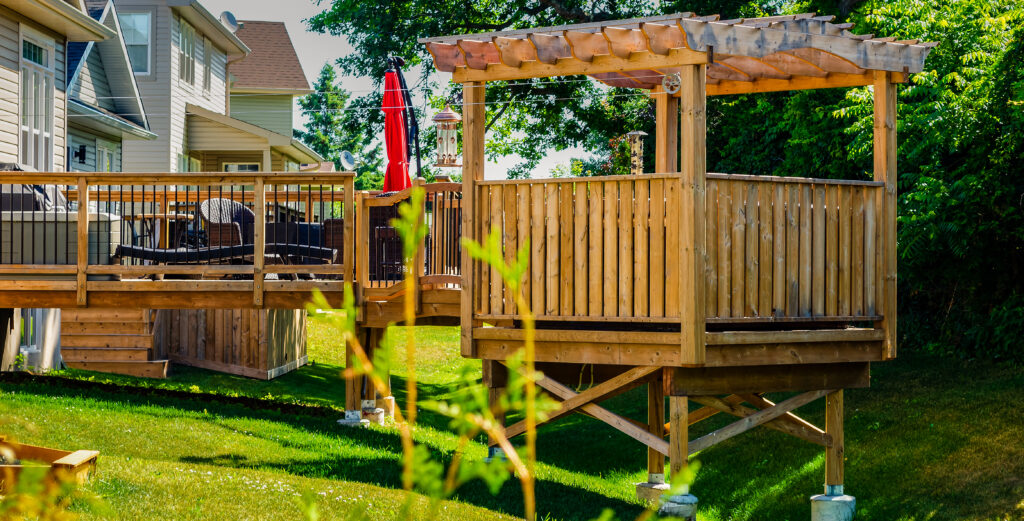
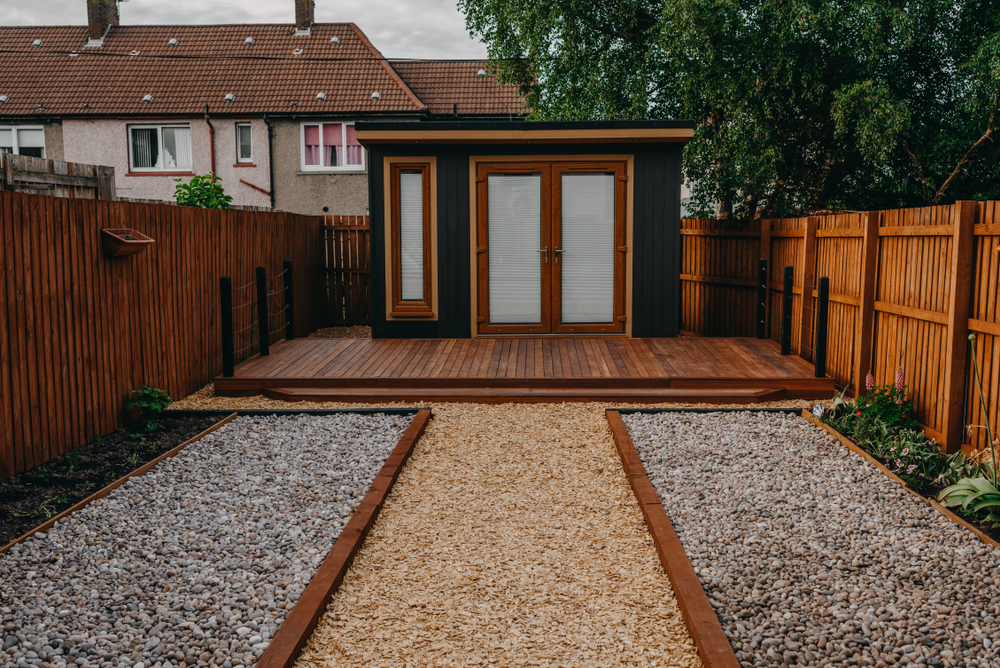
Building a raised deck can transform your outdoor space into a functional and visually appealing area for relaxation and entertainment.
Whether you’re planning to create an elevated deck for your hot tub, outdoor dining, or just to enjoy the view, this comprehensive guide will walk you through the process step by step. From laying the decking boards to installing the railing posts, we’ve got you covered.
Materials and Tools You’ll Need
Before you start building your raised decking, it’s essential to gather all the necessary materials and tools. Here’s a list to help you get started:
- Deck boards/decking boards
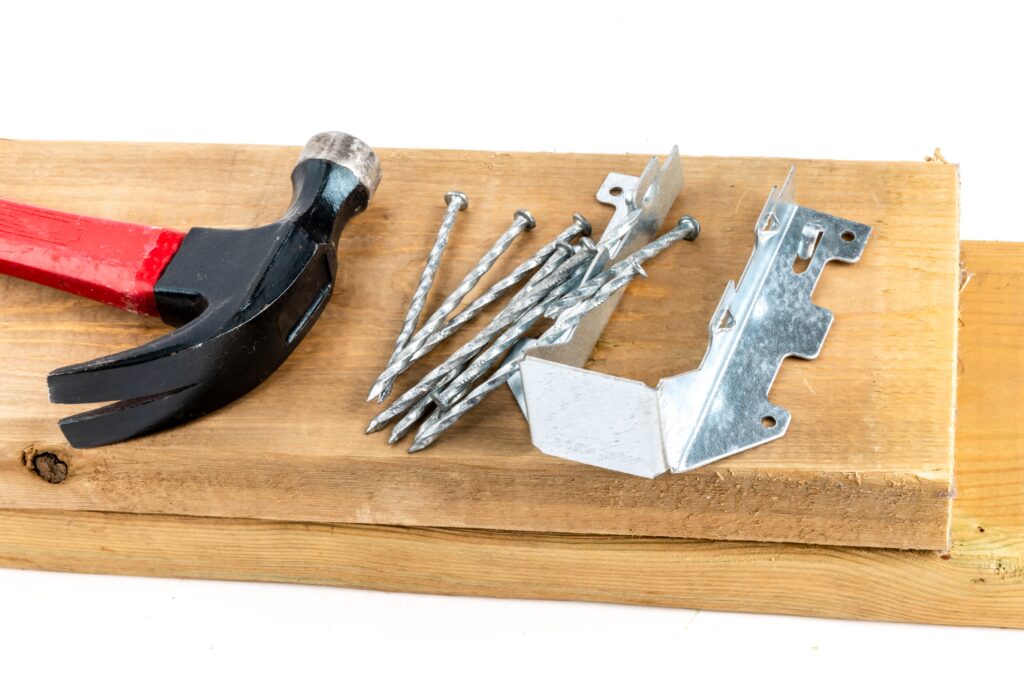
- Joist hangers
- Timber joists (the depth of the joist depends on the span of the raised deck)
- Deck screws
- Decking posts
It’s important to note, that there are a few different ways to fix a raised deck together. For example, it is possible to use joist hangers, but equally some simply require suitable fixings to connect the timber joists together.
Suitable Fixings and Accessories
- Expanding masonry bolts
- Metal joist hangers (the depth of the joist depends on the span of the raised deck)
- Stainless steel washers
- Countersunk coach screws
- Wooden dowels
- Paving slab
- Coach bolts
- Cable avoidance tool
- Hot tub (if applicable)
Now that you have everything you need, let’s move on to the step-by-step process of building your raised deck.
Step 1: Plan and Design Your Deck
Before picking up any tools, it’s crucial to have a well-thought-out plan for your raised deck. Furthermore, consider factors like the size, shape, and location of your deck.
Additionally, ensure that you comply with local building codes and obtain any necessary permits.
Step 2: Lay Out the Deck Footings
Before you start digging post holes and inserting expanding masonry bolts, take the time to carefully plan the layout of your deck footings. This critical step ensures the stability and longevity of your raised deck.
Mark Your Deck’s Perimeter
Begin by determining the dimensions and shape of your raised deck. Use stakes and string to outline the exact location where your deck will be situated. This step allows you to visualise the deck’s placement and make any necessary adjustments before committing to digging.
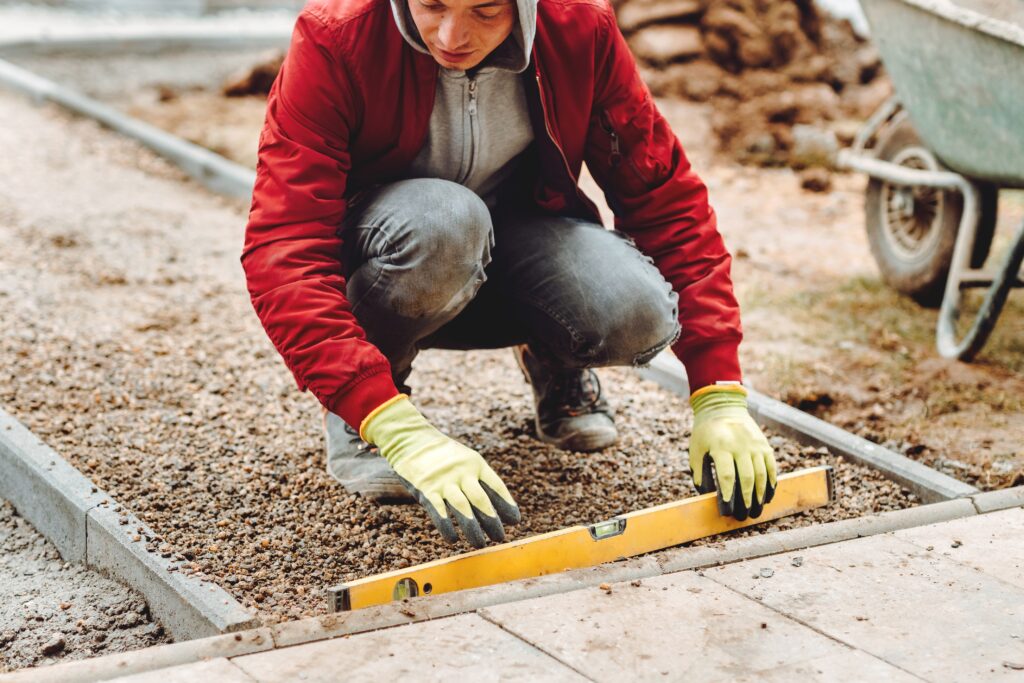
Use a carpenter’s level or a long, straight board and a bubble level to ensure that your marked perimeter is level and properly aligned. This step is vital for ensuring that your deck will be even and secure once it’s built.
Determine Post Hole Locations
Based on your deck’s design and the recommended spacing, mark the precise locations where your post holes will be dug. These locations will typically align with the positions of your support beams and outer joists.
Use a Cable Avoidance Tool: Safety first! Before you begin digging, employ a cable avoidance tool to scan the area for any buried utilities or cables. This precautionary measure helps prevent accidents and costly damage to underground infrastructure.
Dig Post Holes
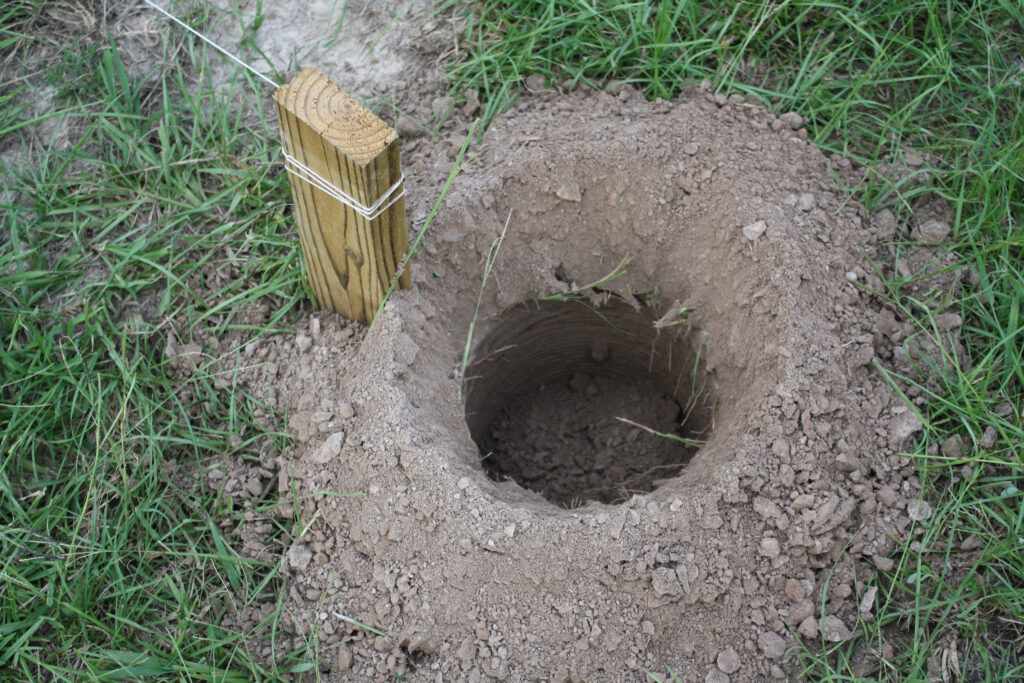
Armed with the marked locations, use a shovel or a post hole digger to excavate the post holes to the required depth, as per your local building codes and the specifications of your project. Ensure the holes are deep enough to reach stable soil or, in some cases, below the frost line to prevent frost heave.
Insert Posts
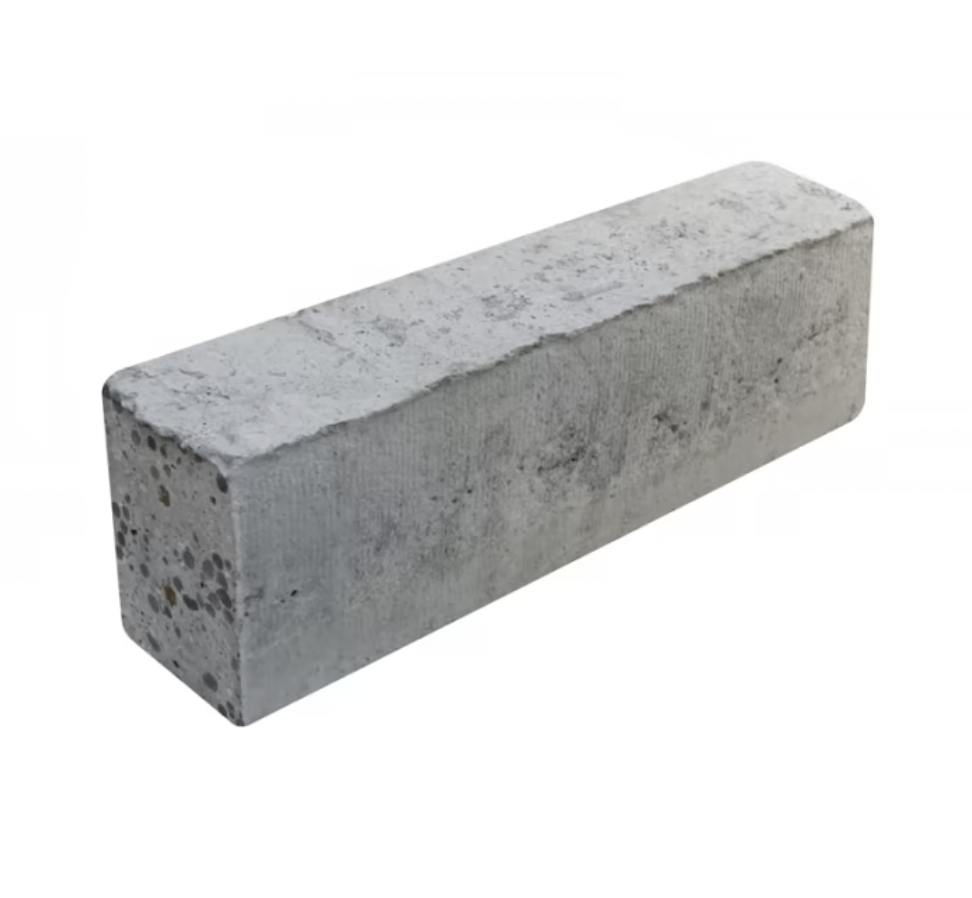
Either insert posts into the holes and secure with postfix/concrete, or secure the subframe to the concrete foundations with suitable fixings once cured
Step 3: Build the Decking Frame
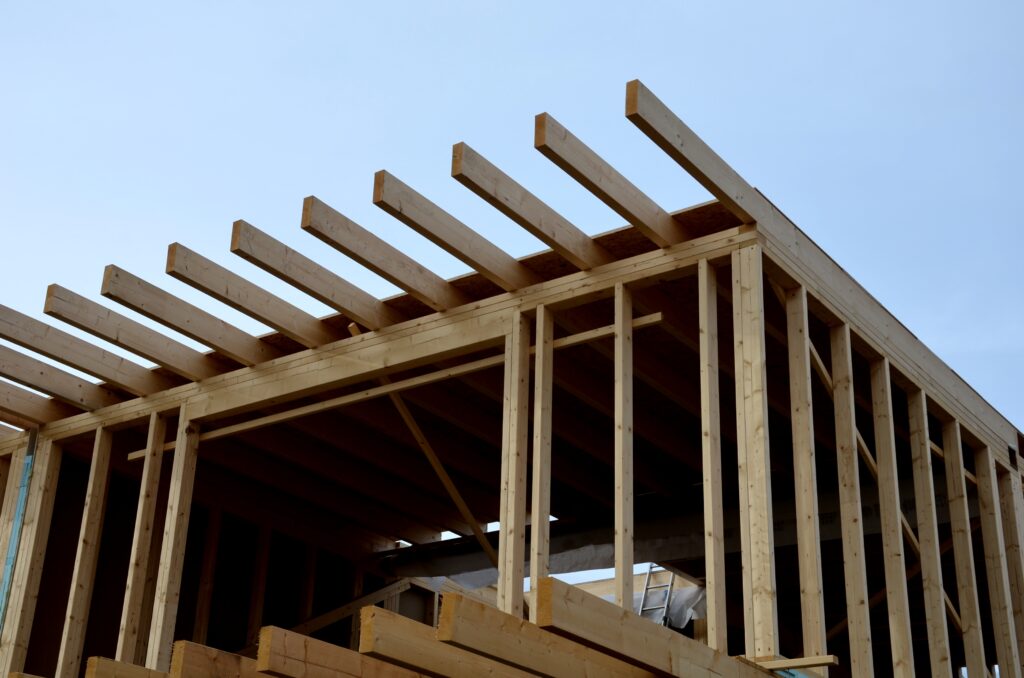
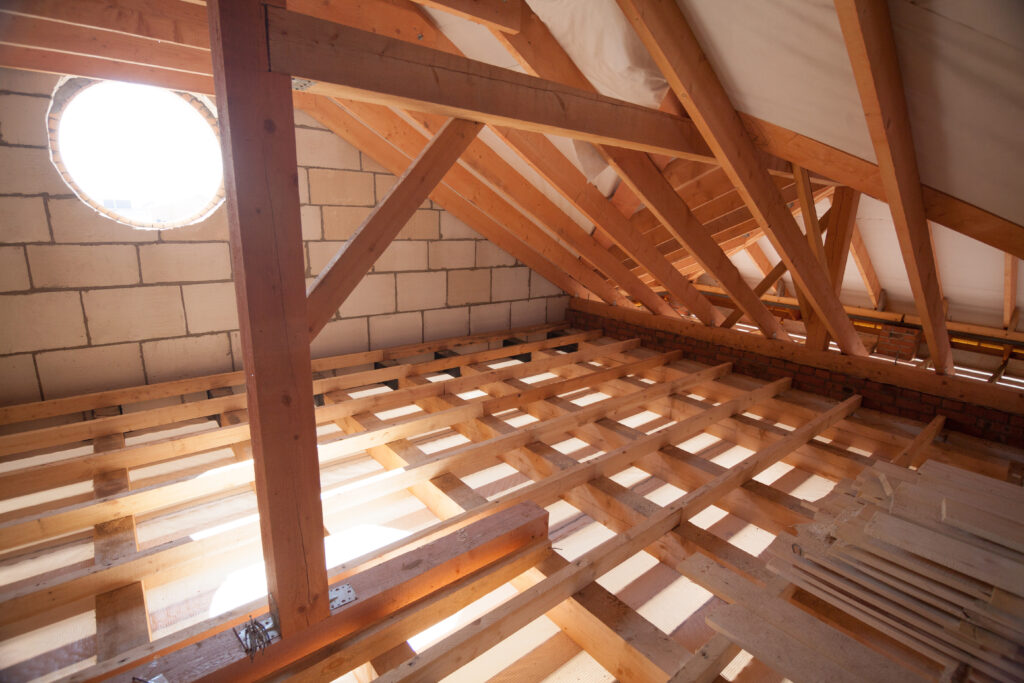
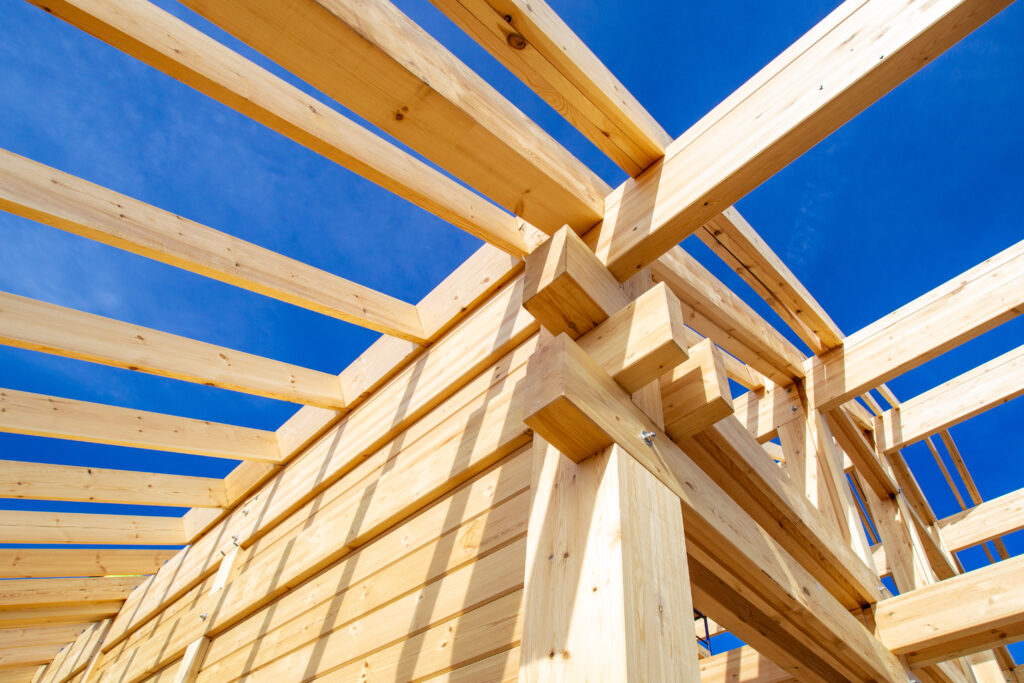
Next, create a sub-frame for your deck using timber joists. Attach joist hangers to your support beams and outer joists, ensuring they are level and square. Use countersunk coach screws to secure the joist hangers. Place a joist support post at regular intervals beneath the outer edges of your frame to provide additional support. These joist support posts are essential for ensuring the structural integrity of your raised deck.
Step 4: Install the Inner Joists
Position the inner joists between the support beams, ensuring they have even spacing. Secure them in place using joist hangers and screws. This sub-frame joist structure will provide structural integrity to your raised deck.
If the deck is to support a hot tub or other heavy items consider adding additional support posts locally.
Step 5: Lay the Deck Boards
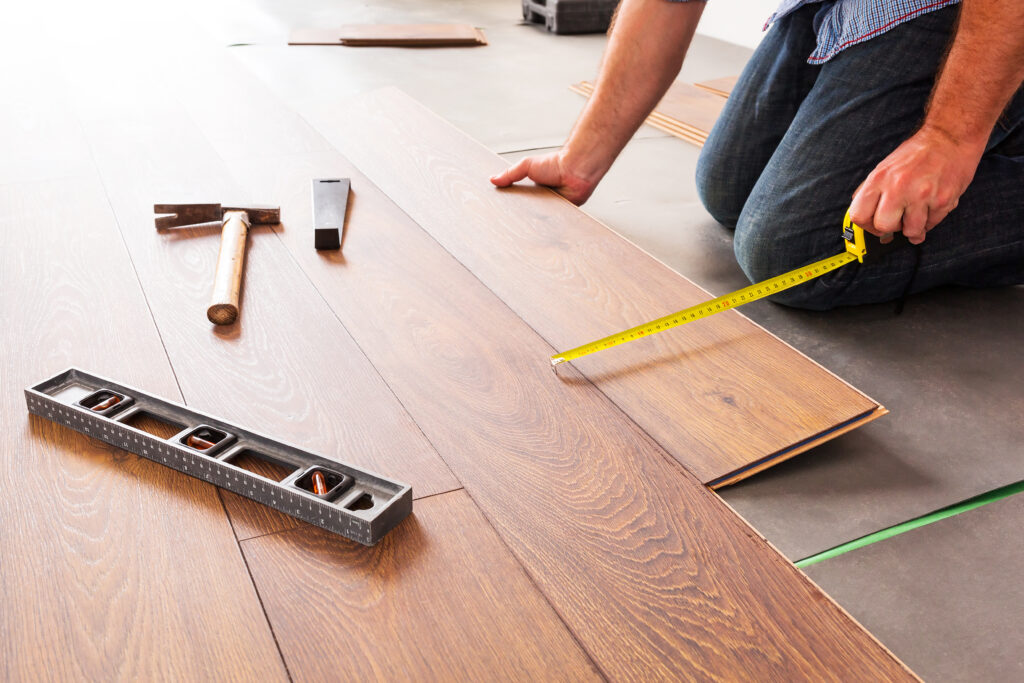
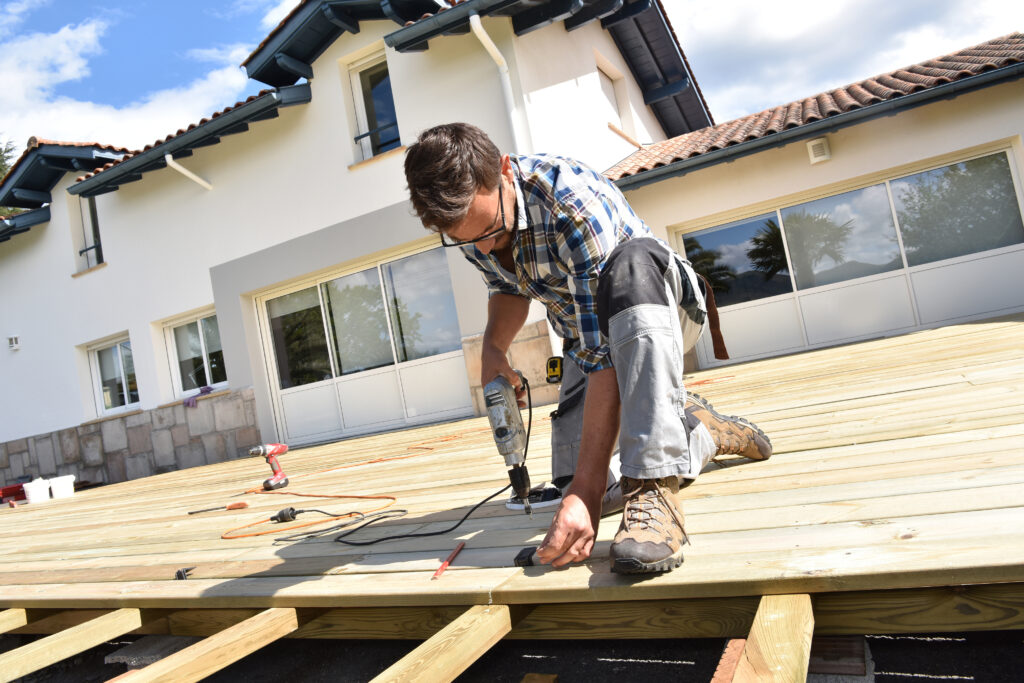
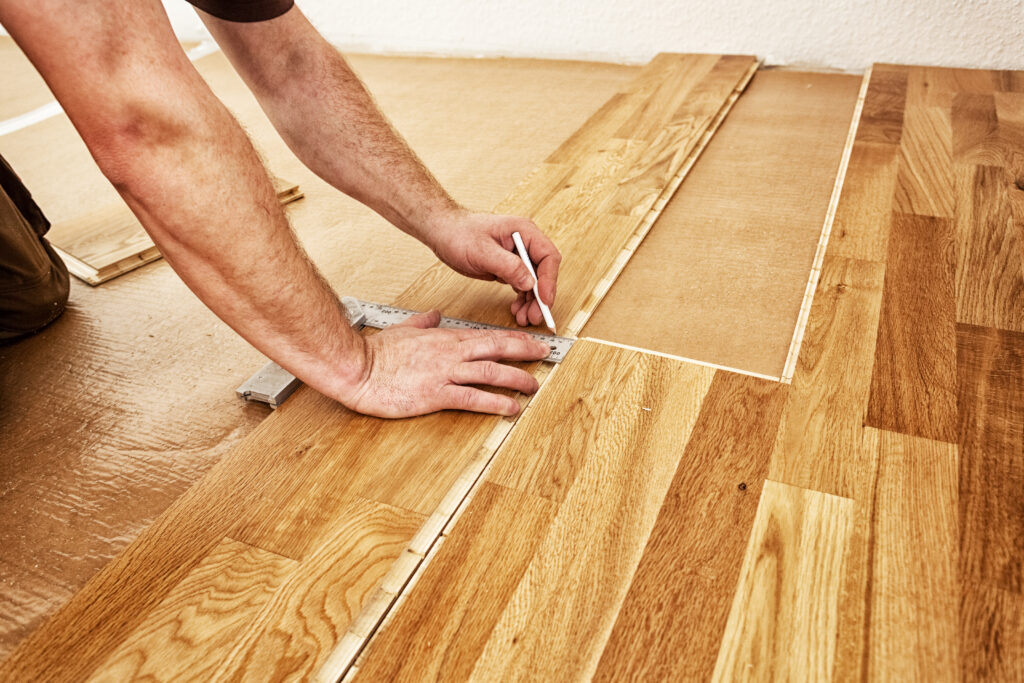
With your sub-frame in place, it’s time to start laying decking boards at right angles to the joists underneath . Begin at the outer edge of your deck and work your way inwards. Use a straight edge to ensure the first deck board is perfectly aligned. Decking boards must start and finish on a joist to ensure a solid deck
Drill pilot holes using a flat wood drill bit and attach the deck boards using decking screws. Leave a small gap between boards to allow for expansion.
Step 6: Create Overlapping Corner Joints
For the corners of your raised deck, create overlapping corner joints for added stability. Secure the corner posts with coach bolts and stainless steel washers, ensuring they are the same width apart. This step will help distribute the weight evenly.
Step 7: Install Railing Posts (If Desired)
If you plan to install railing posts on your raised deck, position them securely at the corners and along the outer length. Use coach screws to secure them in place, maintaining the structural integrity of your deck.
Step 8: Add Finishing Touches
With your decking boards in place and any necessary railing posts installed, your raised deck is almost complete. Lastly, cut deck boards to fit the edges, ensuring a clean finish. Then, securely secure them with screws. If you are fortunate enough to own a hot tub, make sure to position it correctly and securely on the completed deck.
Step 9: Enjoy Your Elevated Deck
In conclusion, knowing how to build a raised deck is a rewarding DIY pursuit that can greatly enhance your outdoor living space. By following these steps and using the right materials and tools, you’ll be well on your way to creating a beautiful and functional raised deck that will provide years of enjoyment.


