How to Insulate a Shed
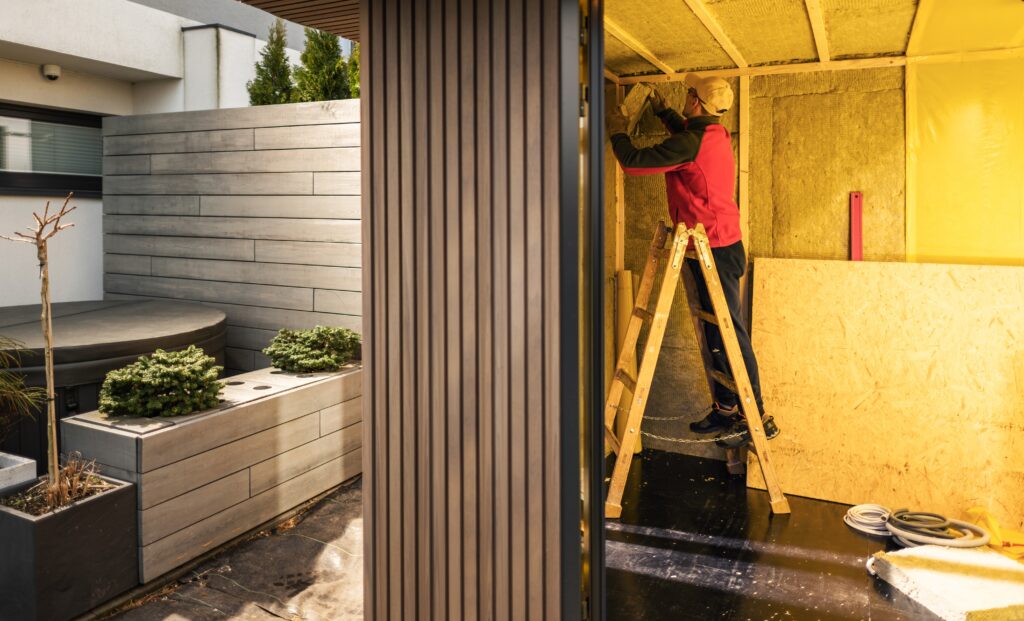
When it comes to creating a comfortable and energy-efficient shed space, proper insulation is key. Moreover, whether you use your shed as a workshop, storage space, or even a cosy retreat, insulating it can help maintain a consistent temperature, reduce energy costs, and protect your belongings from extreme weather conditions.
In this guide, we will walk you through the process of insulating your shed, covering everything from shed walls and roofs to floors and doors.
Assessing Your Shed: Where to Begin
Before diving into the process of insulating a shed, it’s essential to assess your shed’s current condition and needs. Furthermore, take note of its size, construction material (whether it’s a metal, plastic, or wooden shed), and any existing insulation or moisture issues.
Metal sheds present their unique challenges due to their conductive properties, making the choice of metal shed insulation crucial for maintaining comfortable temperatures and preventing condensation issues.
Properly understanding your shed’s specific requirements will help you choose the right insulation materials and techniques.
Step 1: Shed Walls Insulation
Insulating your shed walls is a crucial step in maintaining a comfortable interior temperature. Here’s how to do it:
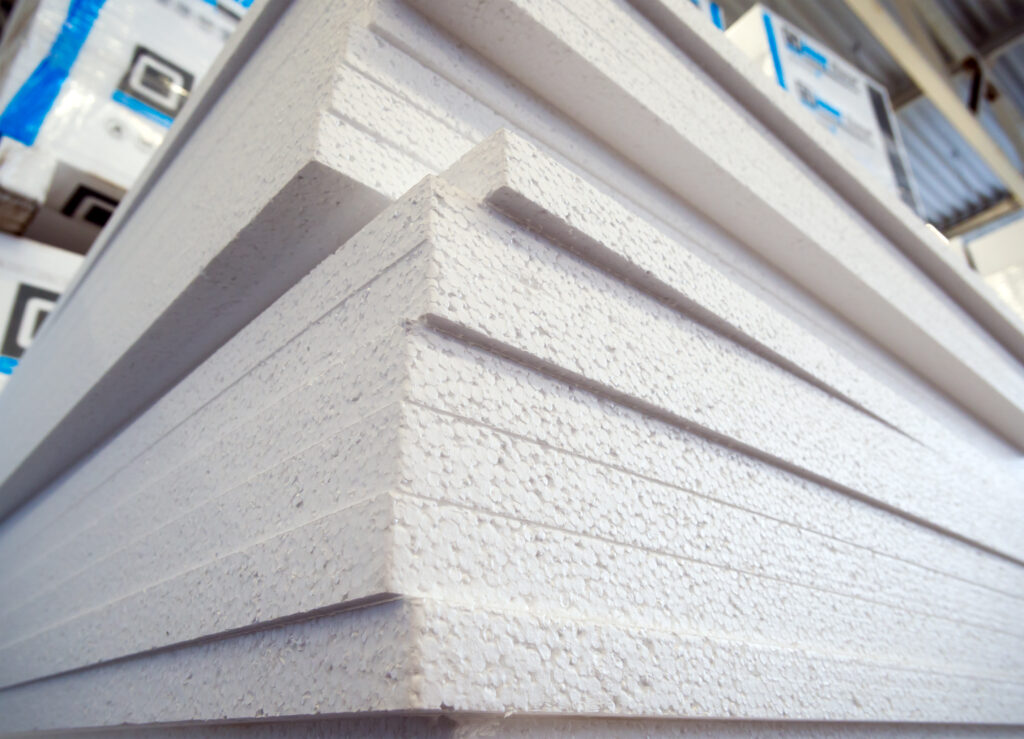
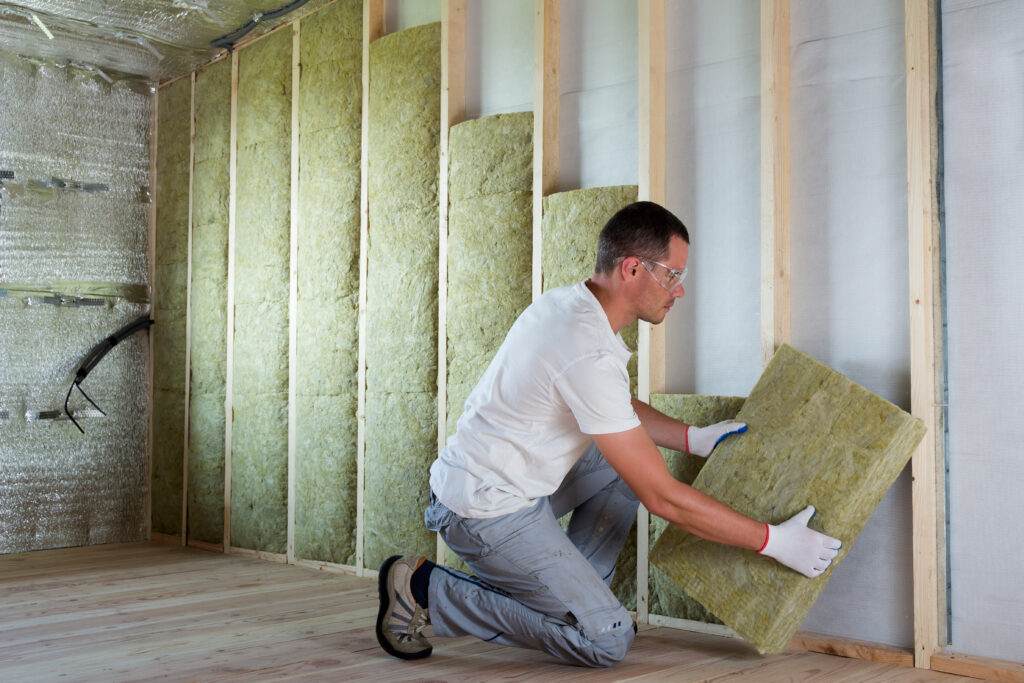
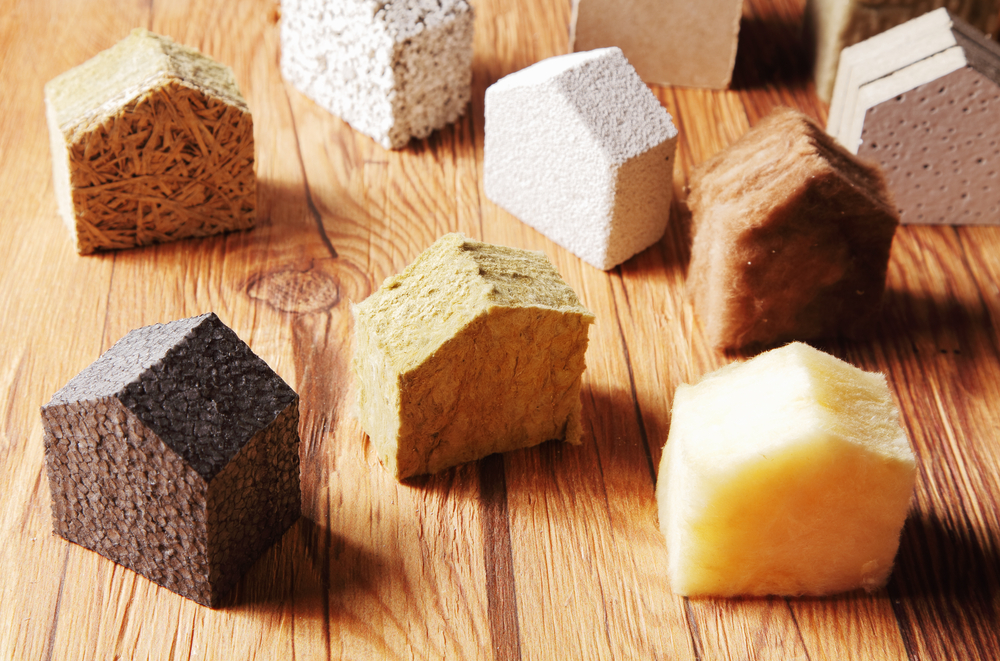
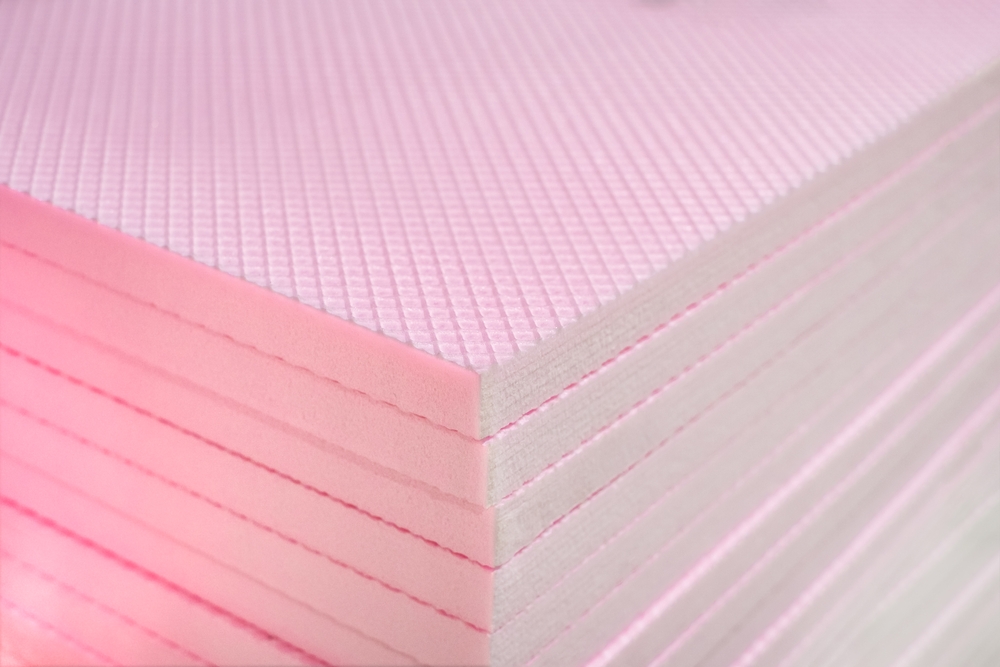
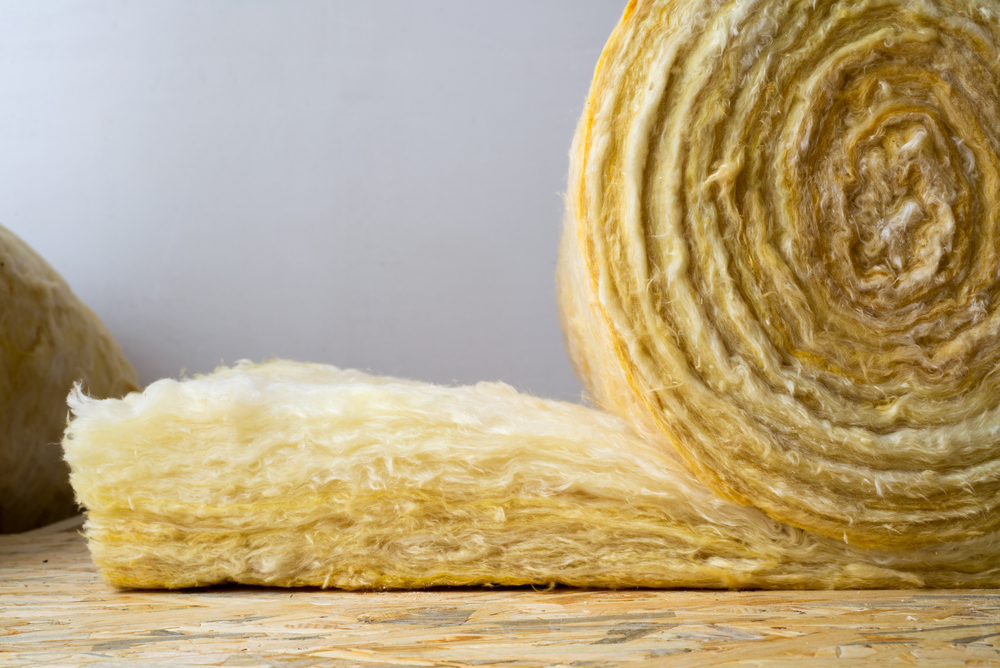
- Choose the Right Insulation Material: When insulating shed walls, you have several options, including fibreglass insulation, mineral wool insulation, or foam insulation.
Consider the thermal conductivity of the insulation material to determine its effectiveness in retaining heat – the lower, the better!
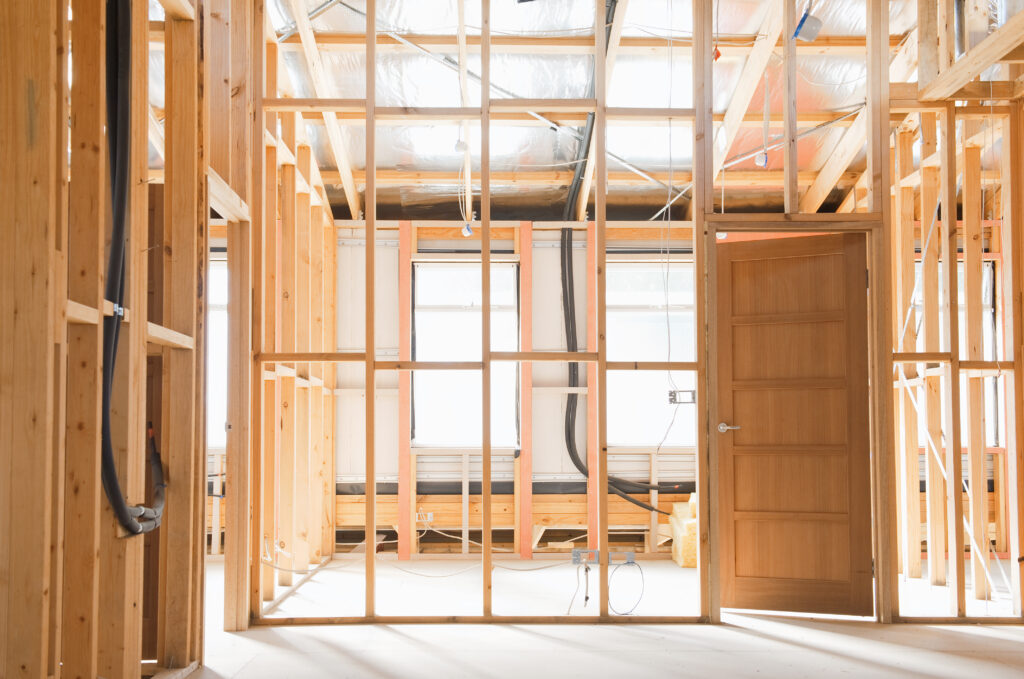
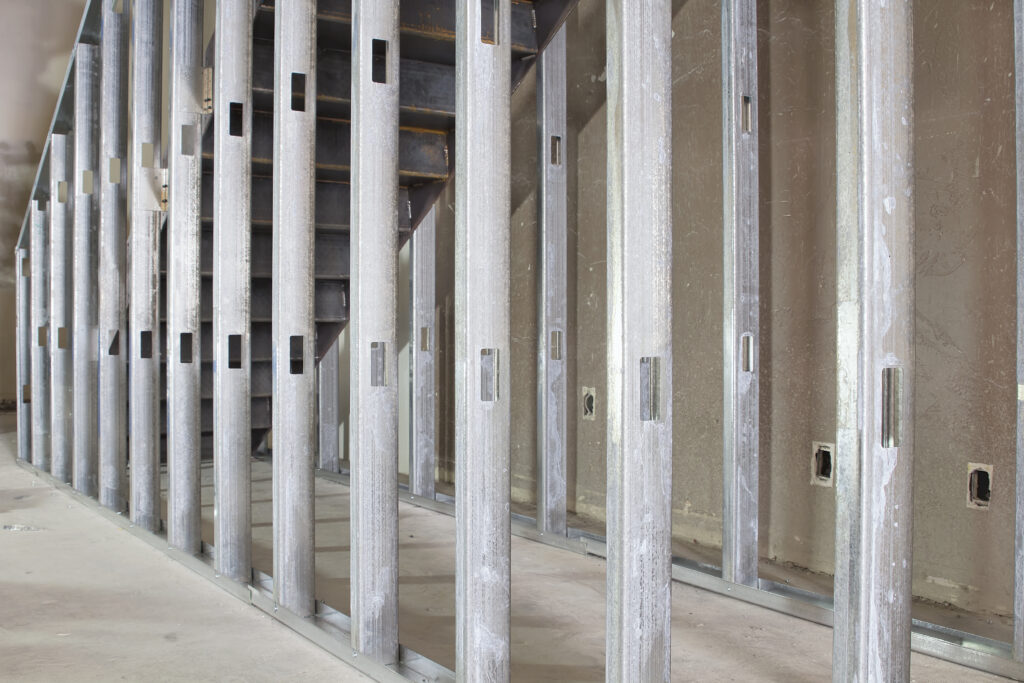
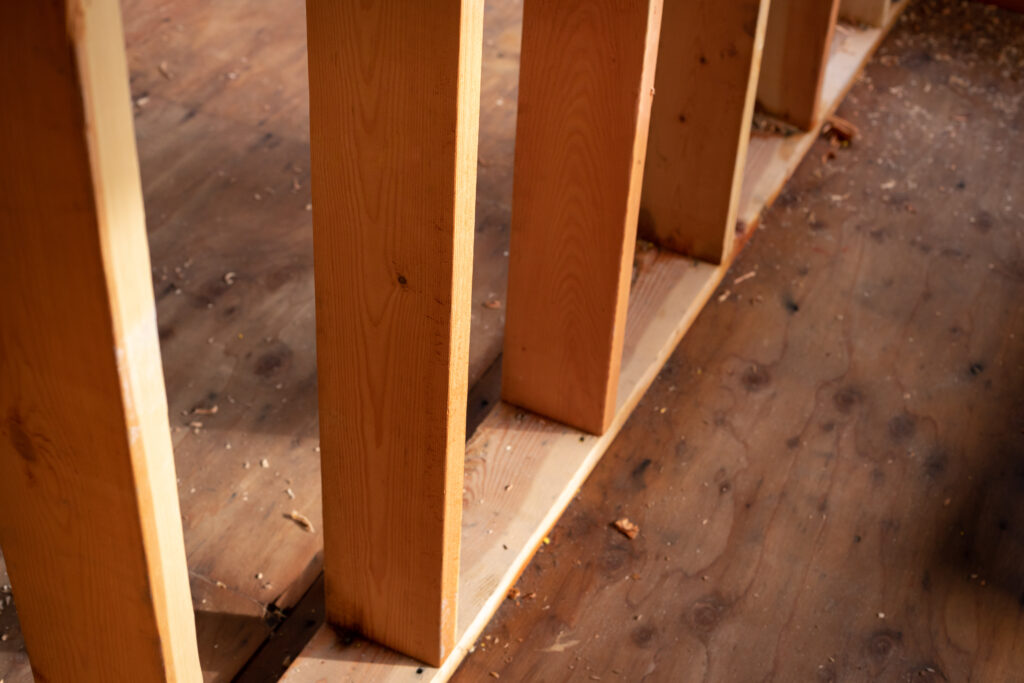
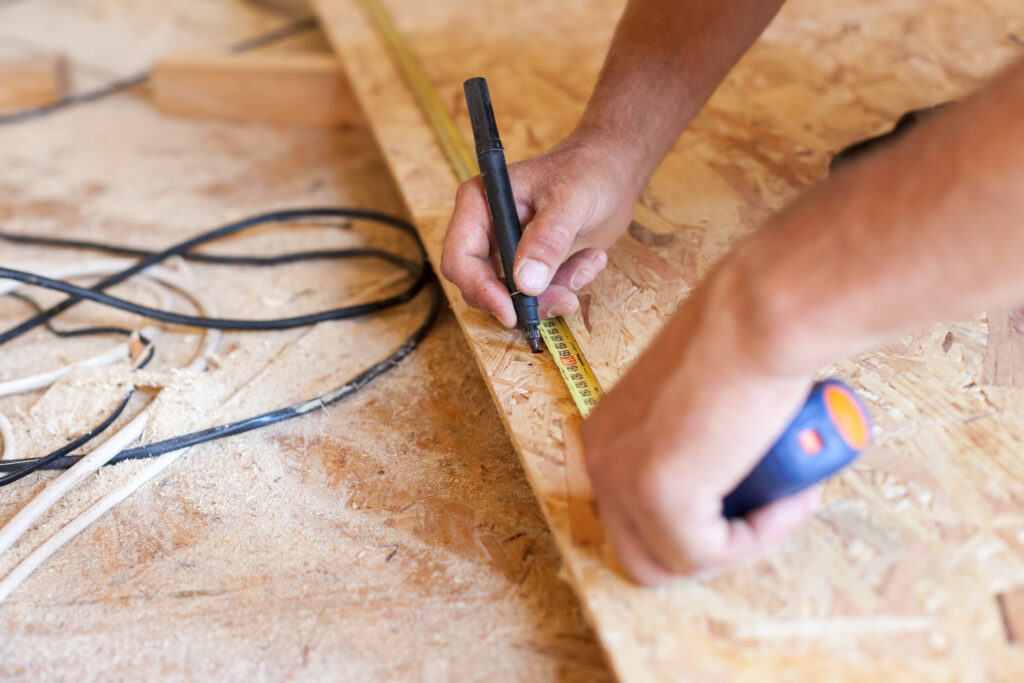
- Measure Up: Measure the space between the studs.
- Install Damp Proof Membrane: Install damp-proof membrane between the studs to mitigate the accumulation of moisture.
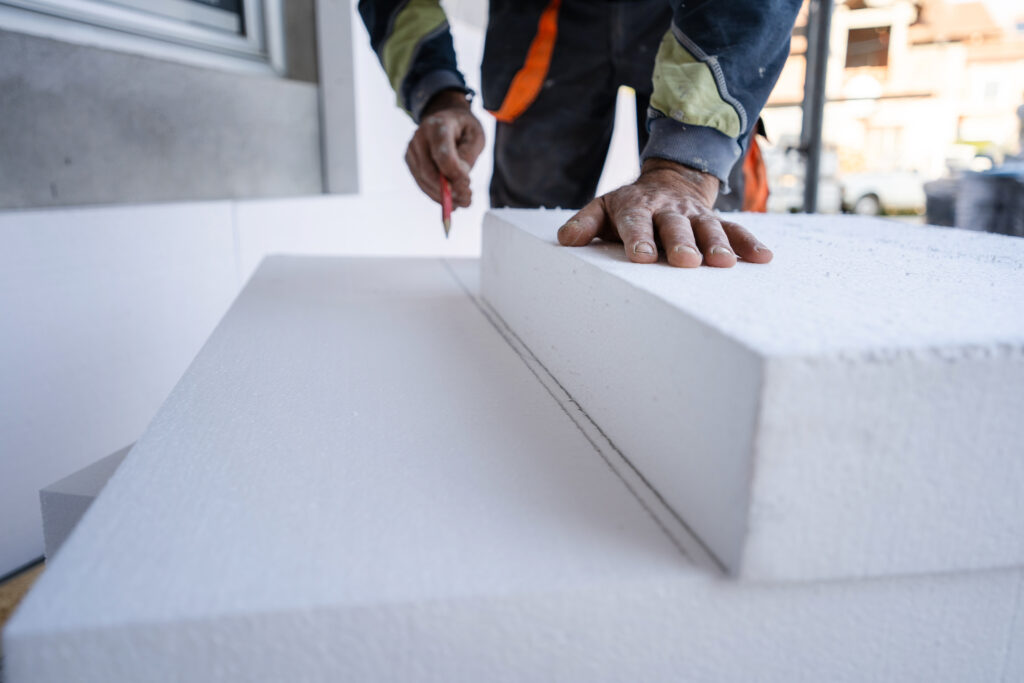
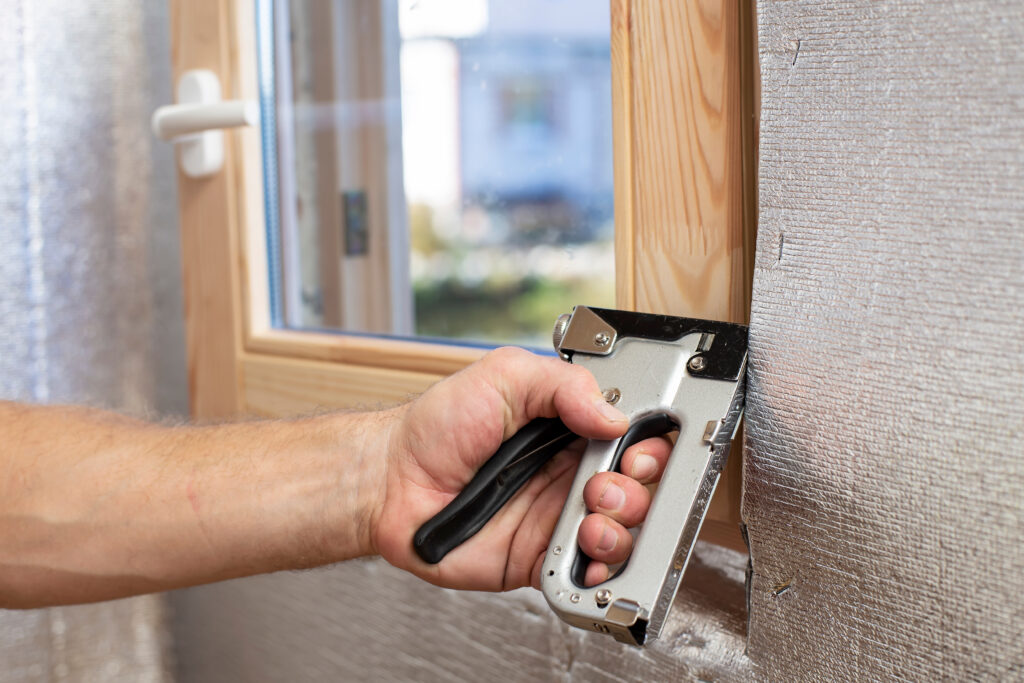
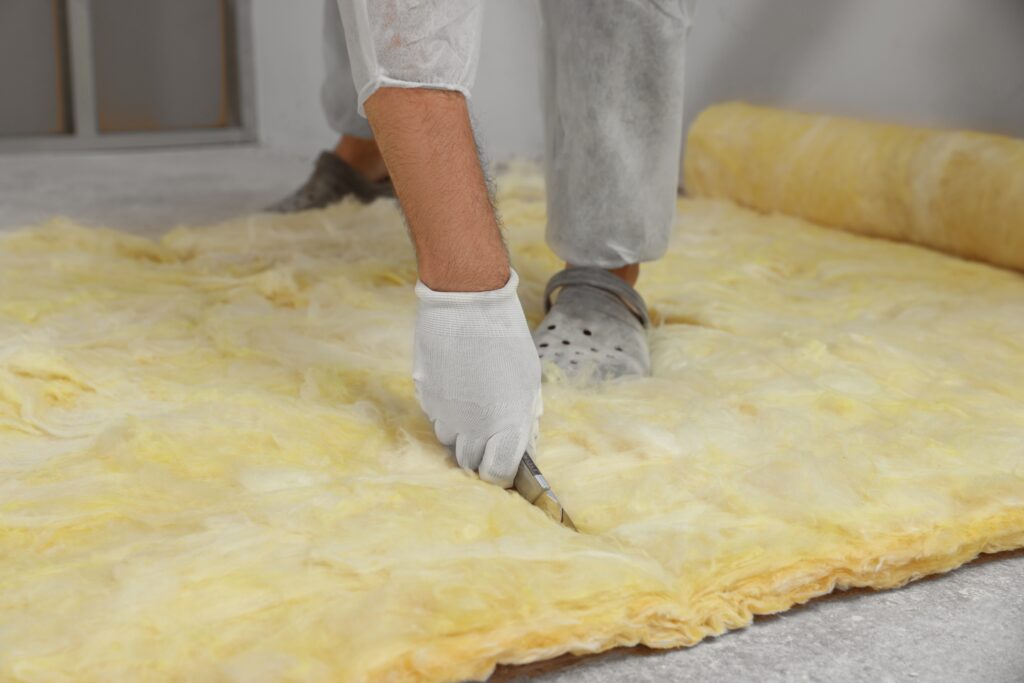
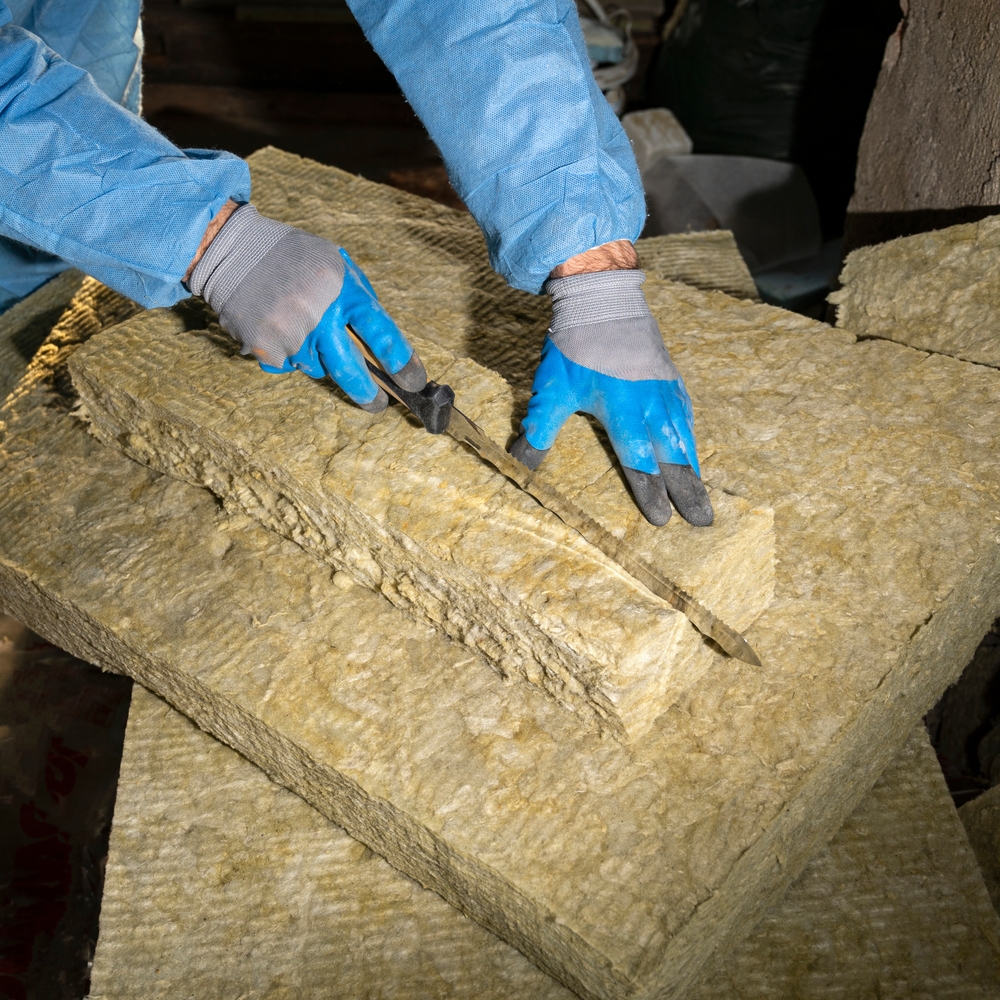
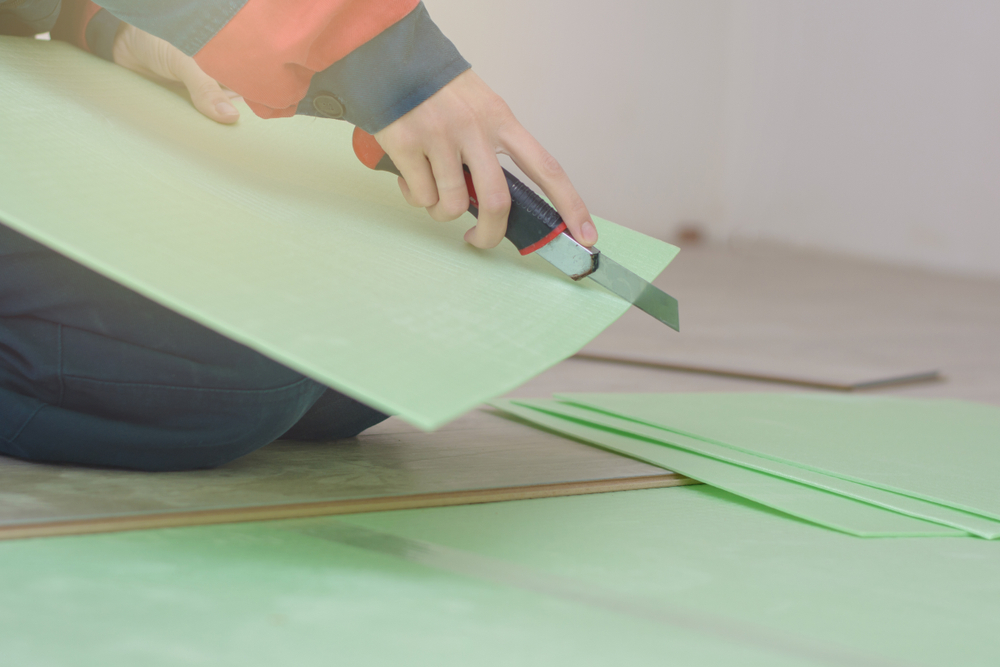
- Cut & Fit Insulation Sheets or Boards: Cut thermal insulation sheets or boards using a serrated knife and fit them into the shed’s wall cavities. Secure them in place using staples or adhesive (if the shed is metal or plastic). Ensure a snug fit to minimize heat loss.
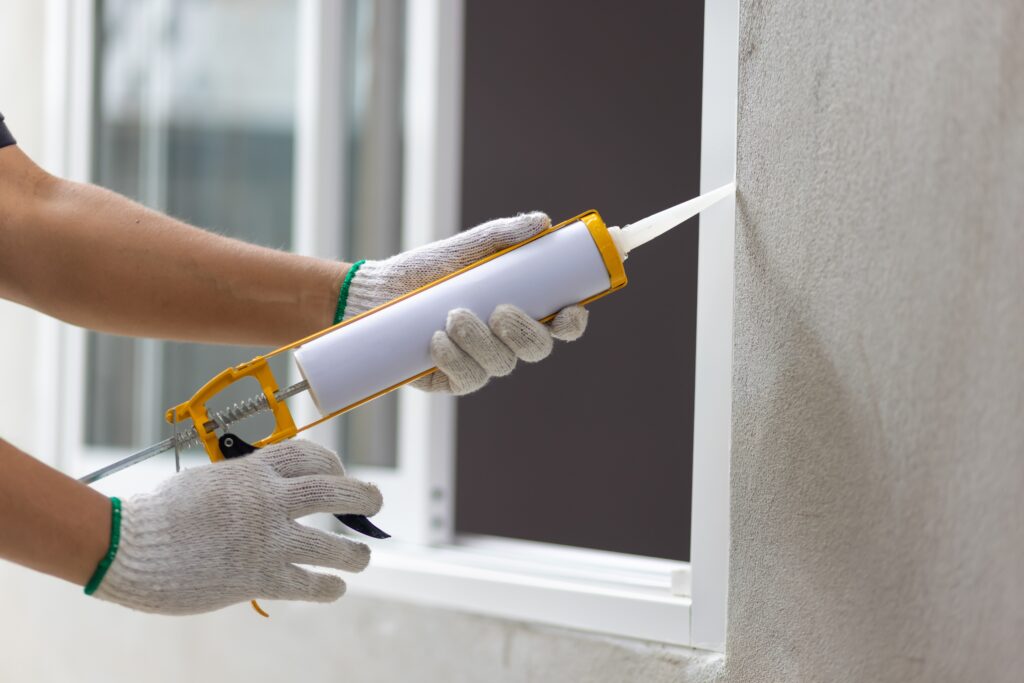
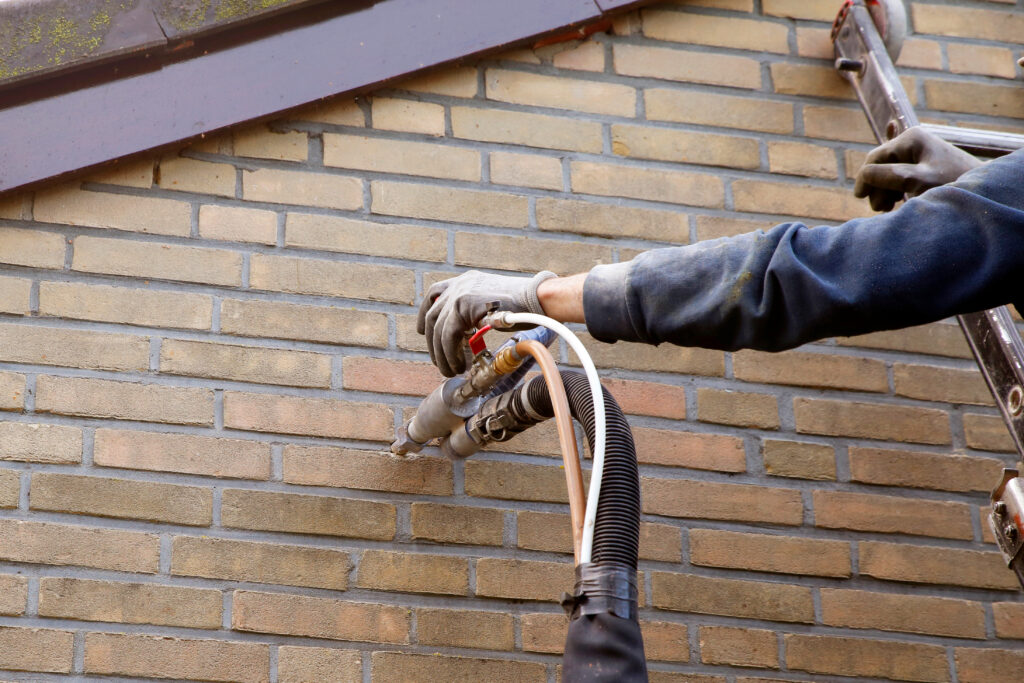
- Seal Gaps and Cracks: To prevent heat leakage, seal any gaps or cracks in the shed’s walls with expandable spray foam or insulation batts.
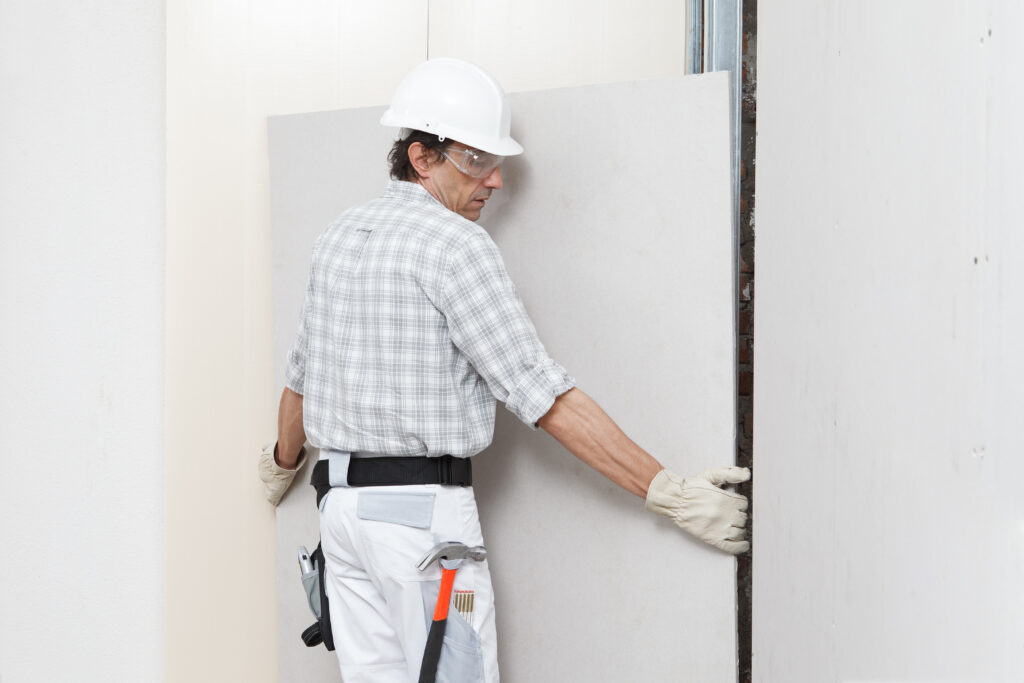
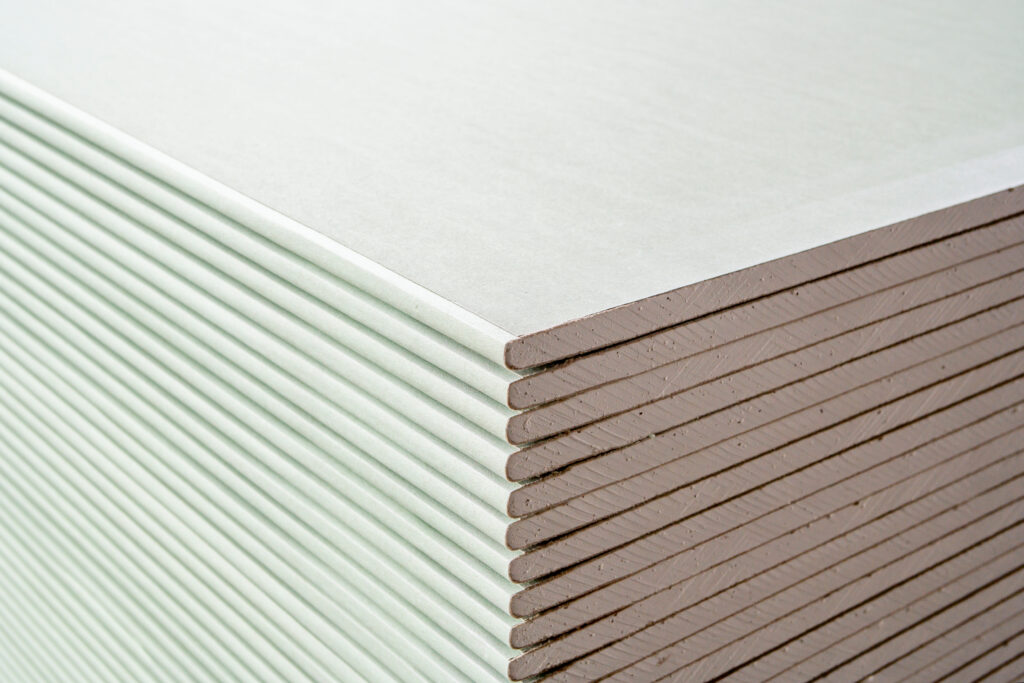
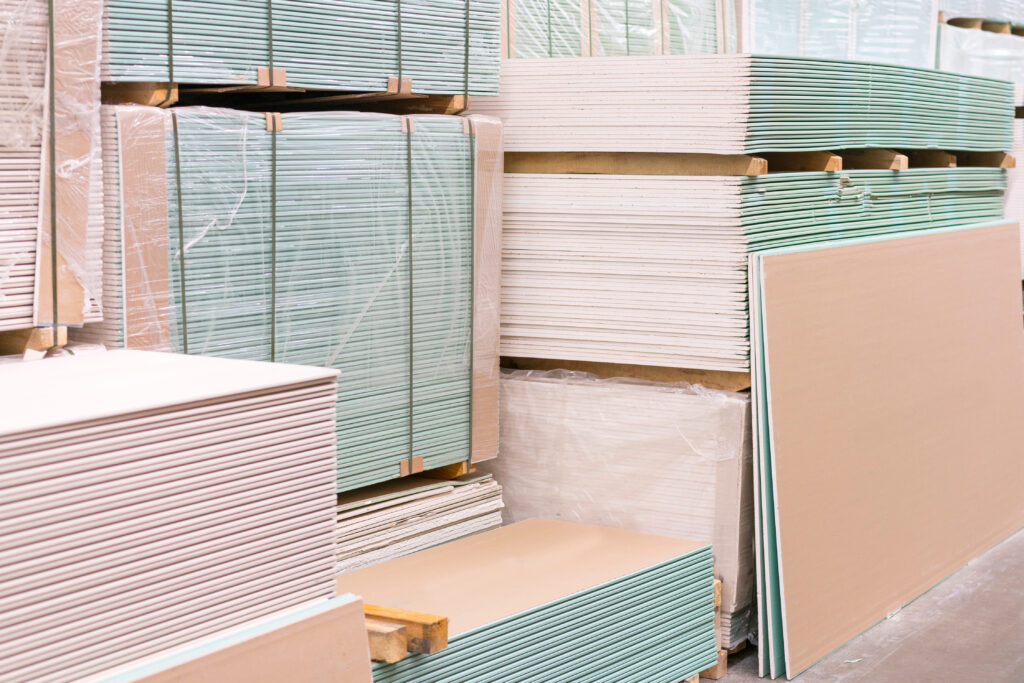
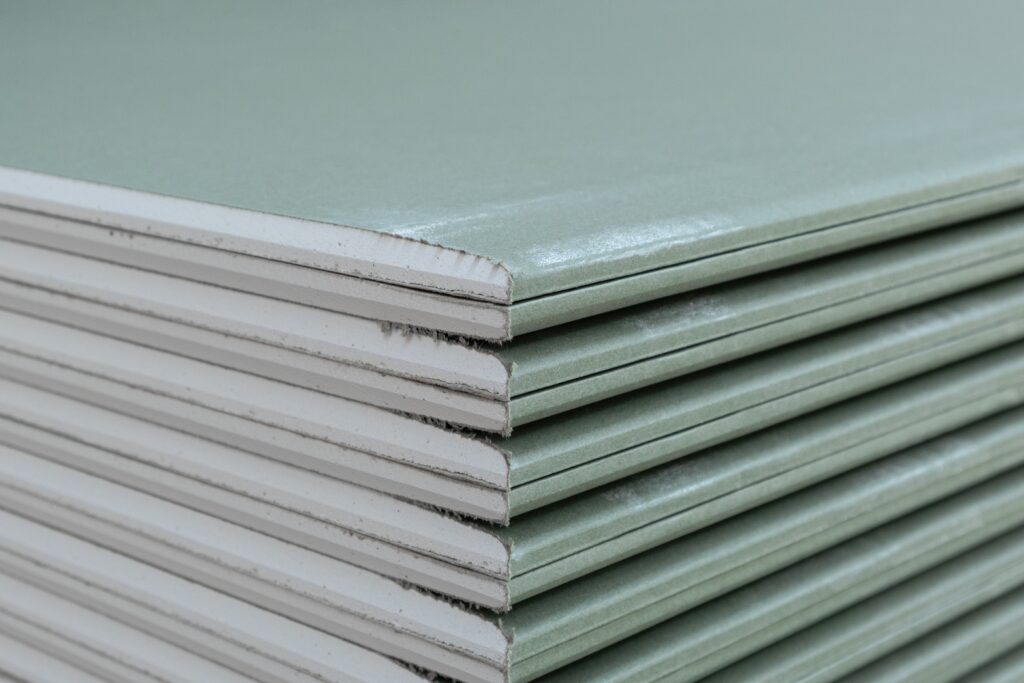
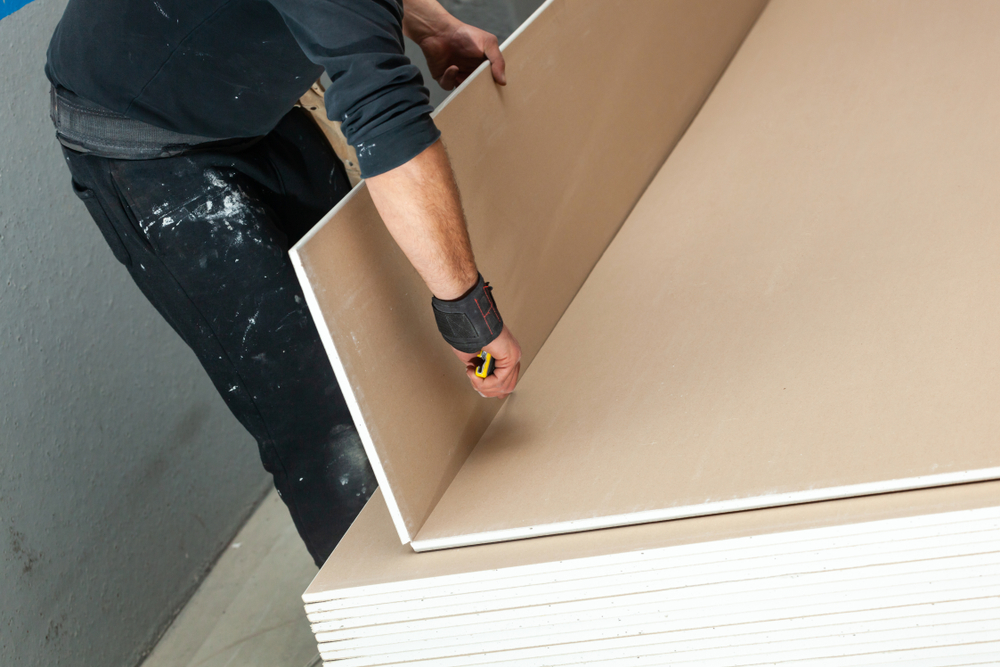
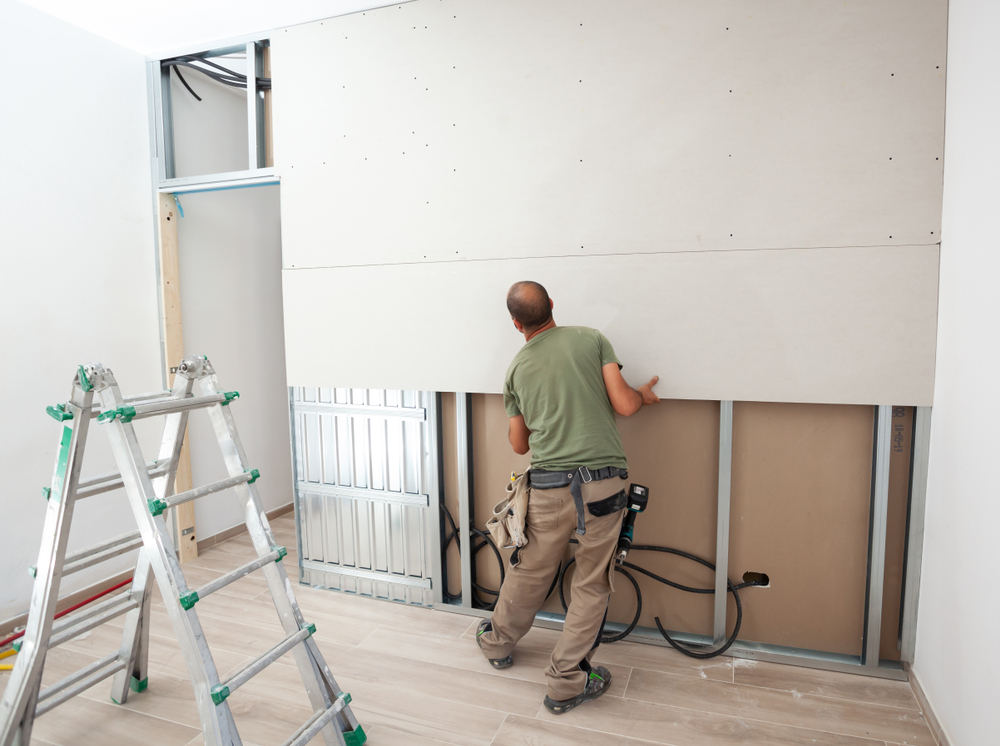
- Plasterboard for An Expert Finish: To achieve a polished finish, consider applying plasterboard to the walls.
Step 2: Shed Roof Insulation
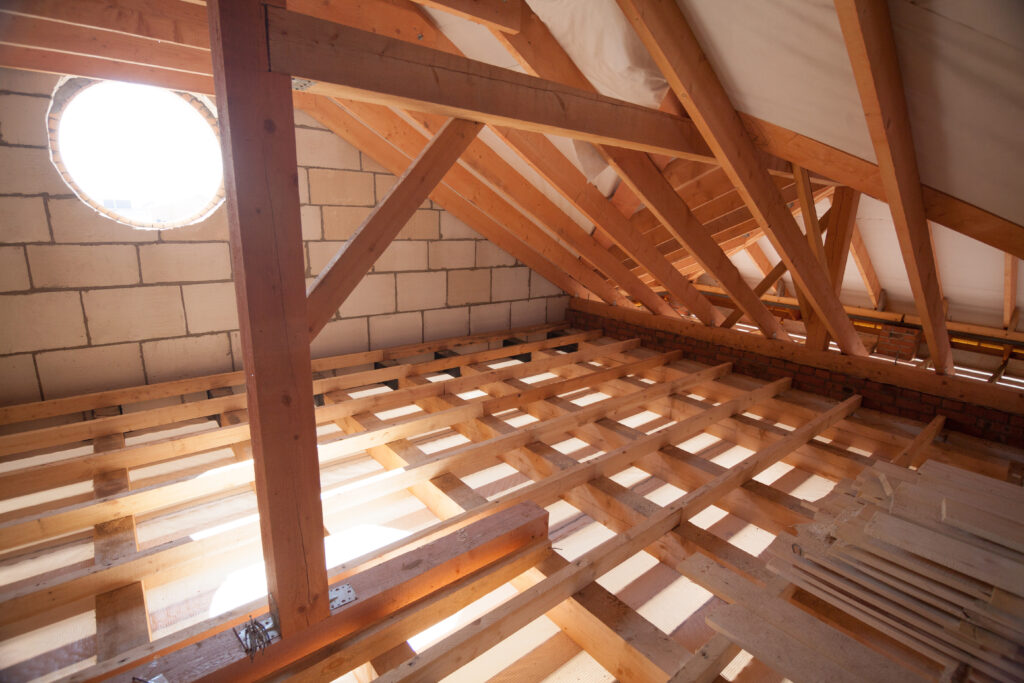
Properly insulating your shed roof is vital for maintaining a consistent indoor temperature and preventing moisture build-up. Here’s how to insulate your shed roof:
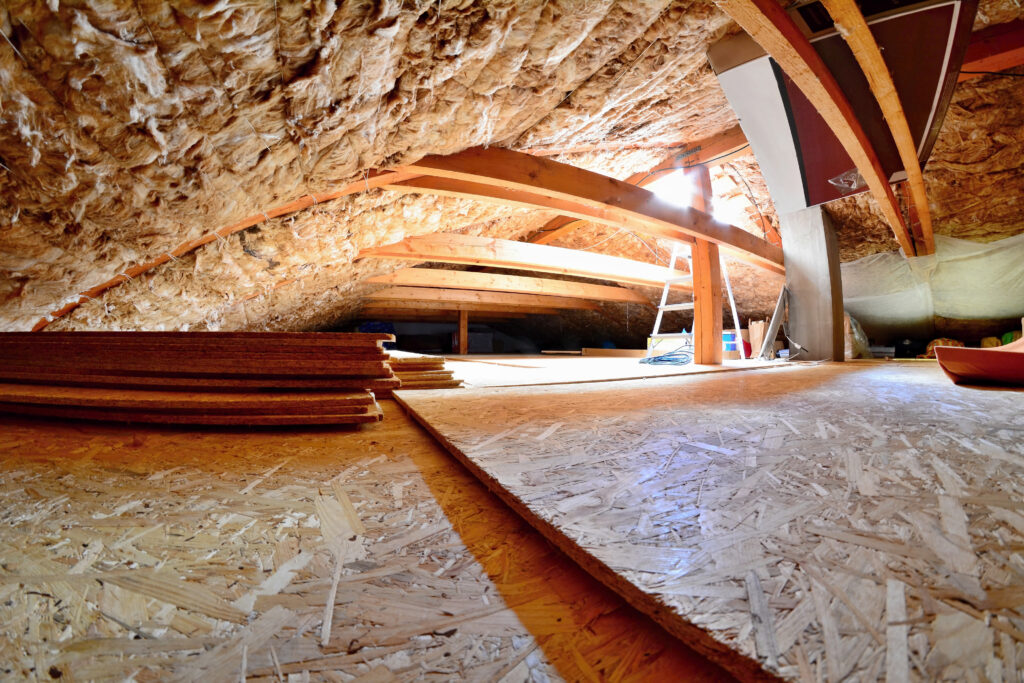
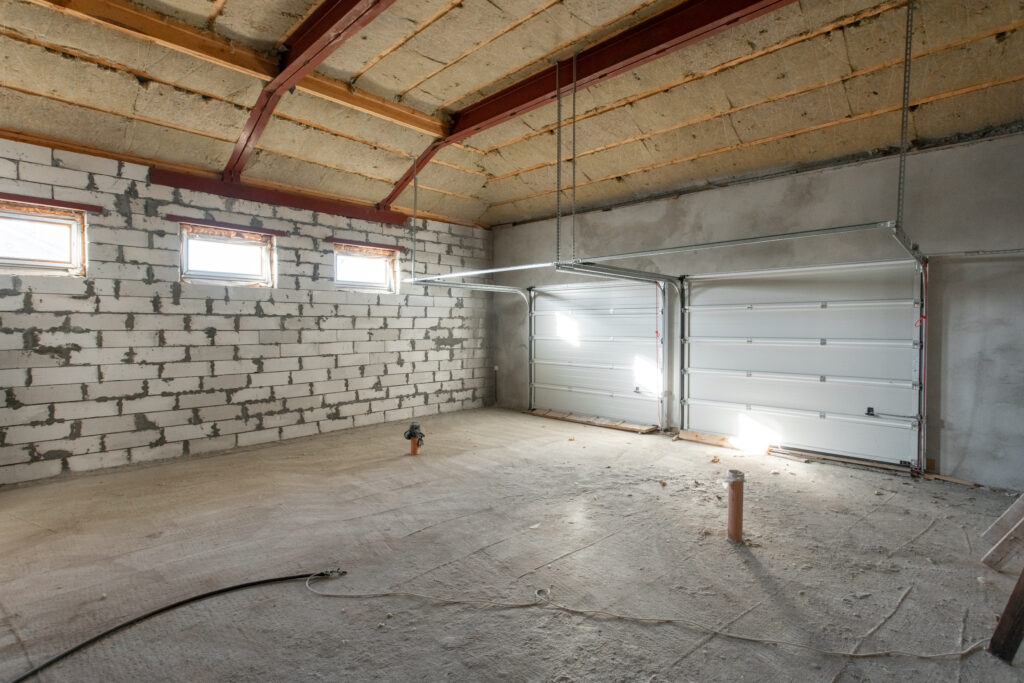
- Choose Roof Insulation Material: Depending on your shed’s design and needs, you can opt for mineral wool insulation, fibreglass insulation, or rigid insulation for the roof.
- Add a Vapour Barrier: Install a vapour barrier beneath the insulation to prevent moisture from penetrating the roof. This is especially important if you have a metal shed where condensation can be an issue.
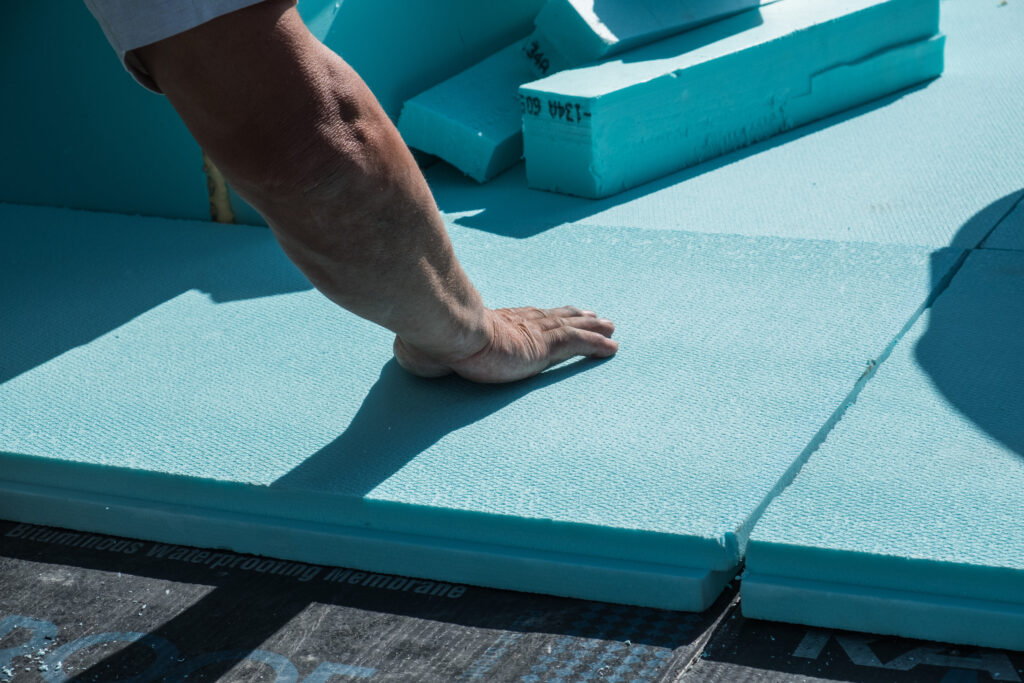
- Install Insulation Batts or Foam Boards: Lay insulation batts or foam boards across the roof’s interior. Ensure they fit snugly and cover the entire roof surface.
Step 3: Shed Floor Insulation
Insulating the shed floor helps maintain a comfortable environment and prevents heat loss through the ground.
When deciding between underfloor insulation and implementing a false floor, it’s important to keep in mind that incorporating a false floor will result in a reduction in the internal height of your shed.
- Choose Floor Insulation Material: Options for shed floor insulation include mineral wool, fibreglass insulation, or foam boards. Select the one that best suits your needs and budget.
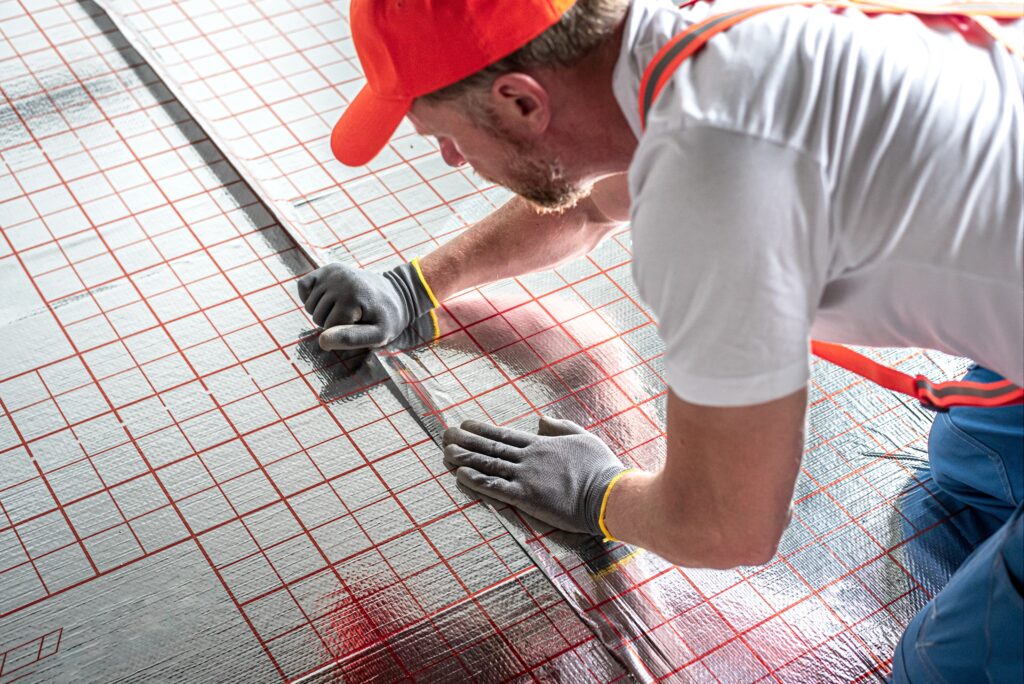
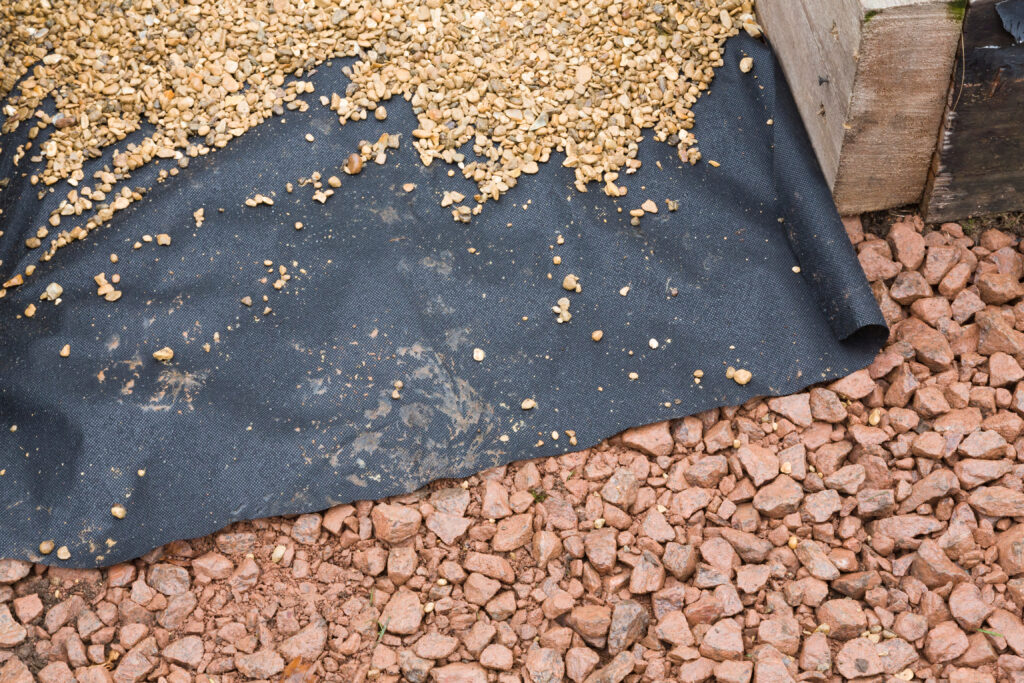
- Create a Vapour Barrier: Lay down a vapour barrier to prevent moisture from seeping through the floor. This is essential for wooden sheds to prevent rot.
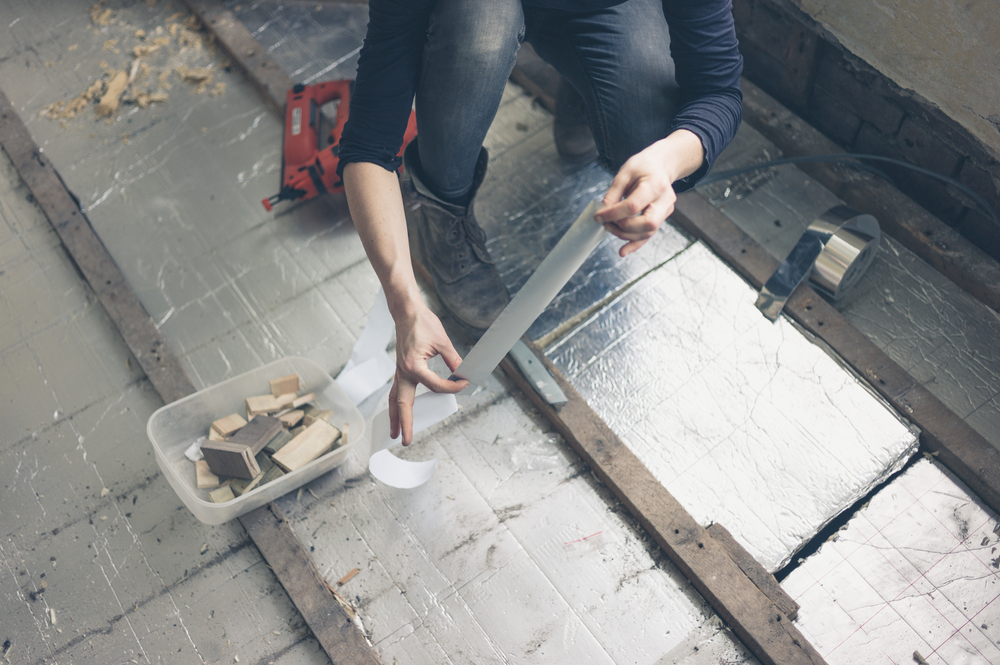
- Lay Insulation Material: Place the chosen insulation material over the vapour barrier, ensuring it covers the entire floor surface. Secure it in place using adhesive or staples.
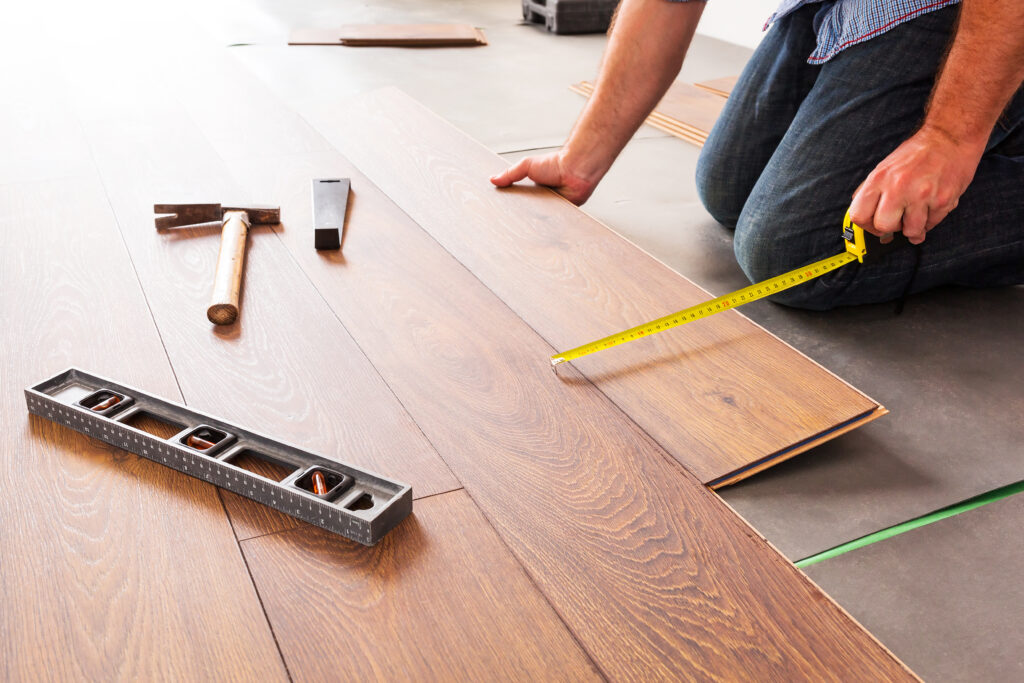
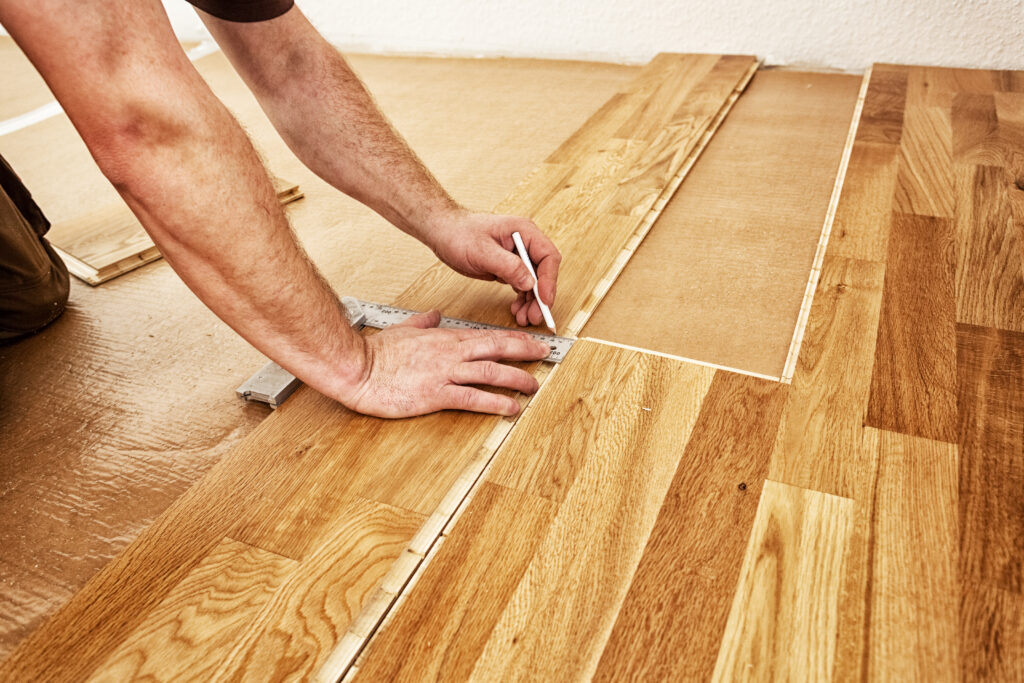
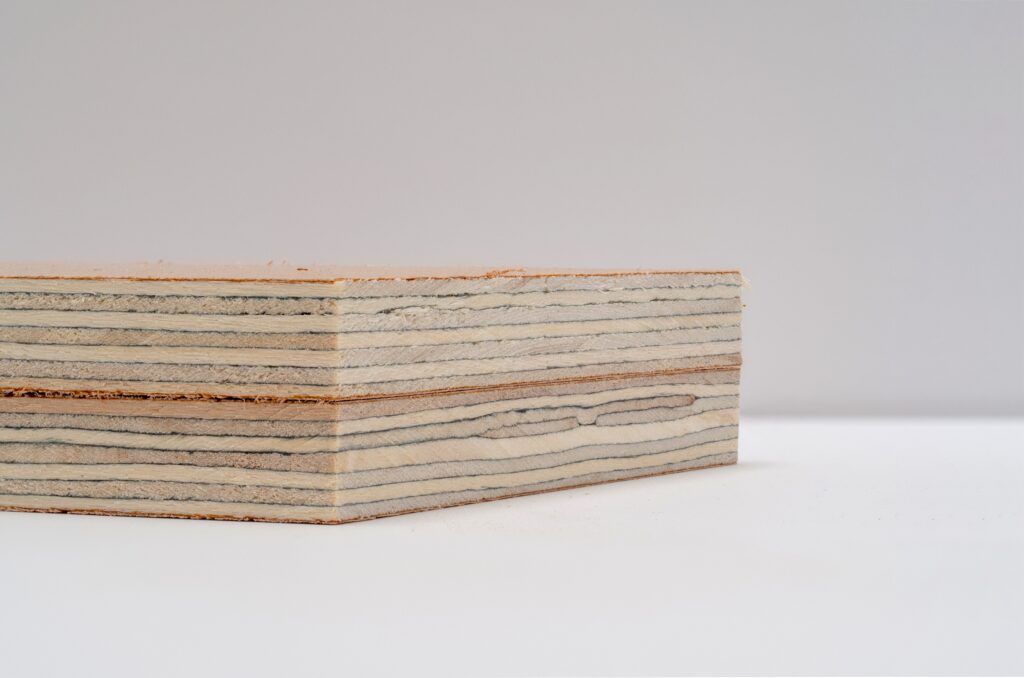
- Top it off with Plywood: To stabilise the floor and protect the insulation, add a layer of plywood on top.
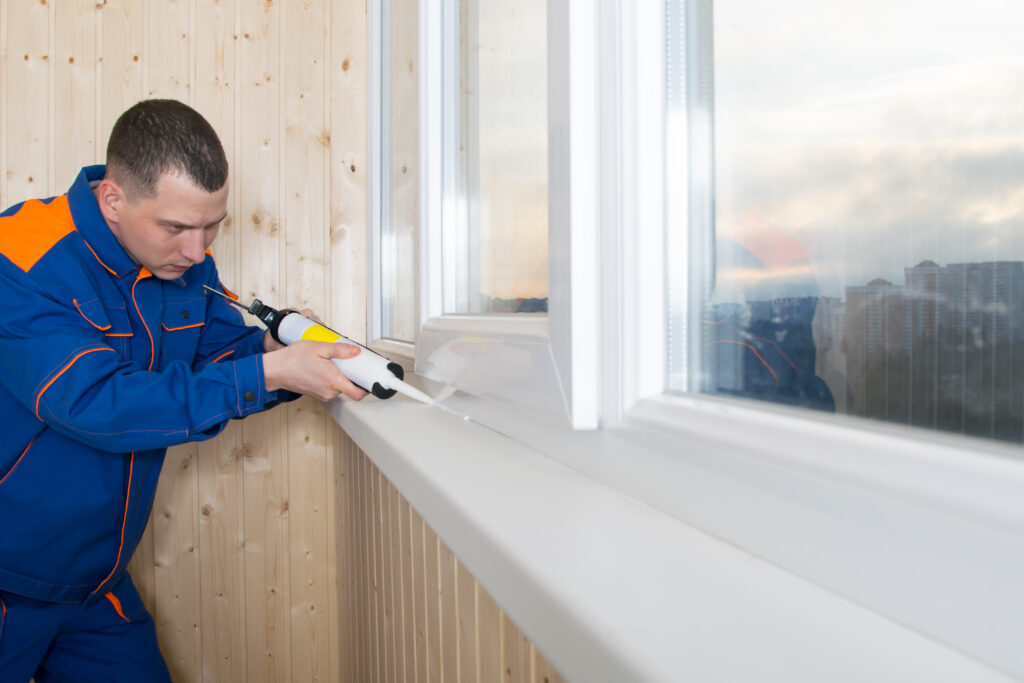
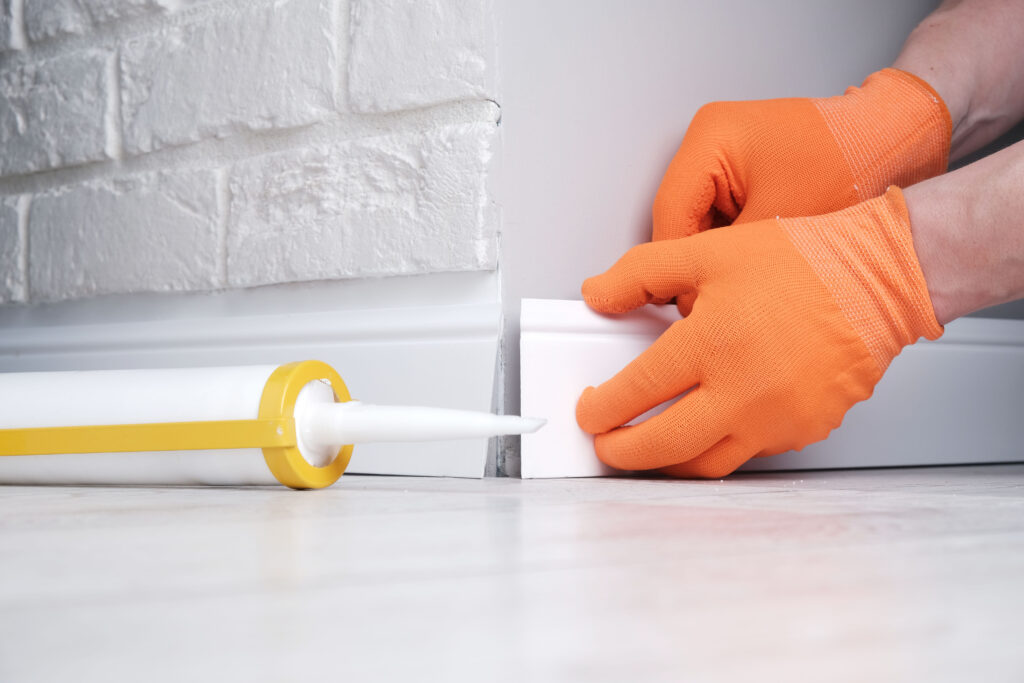
- Seal Any Gaps with Sealant: Inspect the floor for any gaps or openings and seal them with an appropriate sealant to ensure a tight and moisture-resistant fit.
Step 4: Shed Door and Windows
Don’t forget to insulate your shed’s door and windows to maintain energy efficiency:
- Upgrade Shed Doors and Windows: Replace or upgrade your shed doors and windows with double-glazed options to minimize heat loss and seal any gaps effectively.
- Apply Weather Stripping: Use weather stripping to seal any remaining gaps around doors and windows, ensuring a tight seal.
Additional Tips for Proper Shed Insulation
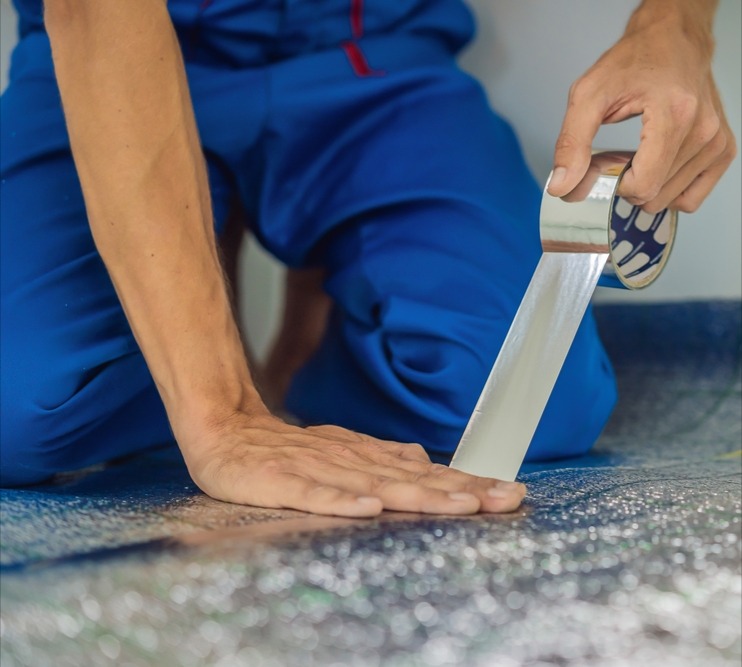
For metal sheds, consider adding a layer of foil-backed bubble wrap between the insulation and the shed’s interior to combat condensation.
When insulating electrical outlets or wiring in your shed, use expandable spray foam to seal gaps and prevent heat loss.
Properly measure your shed’s dimensions and calculate how much insulation material you’ll need to avoid unnecessary waste or shortages.
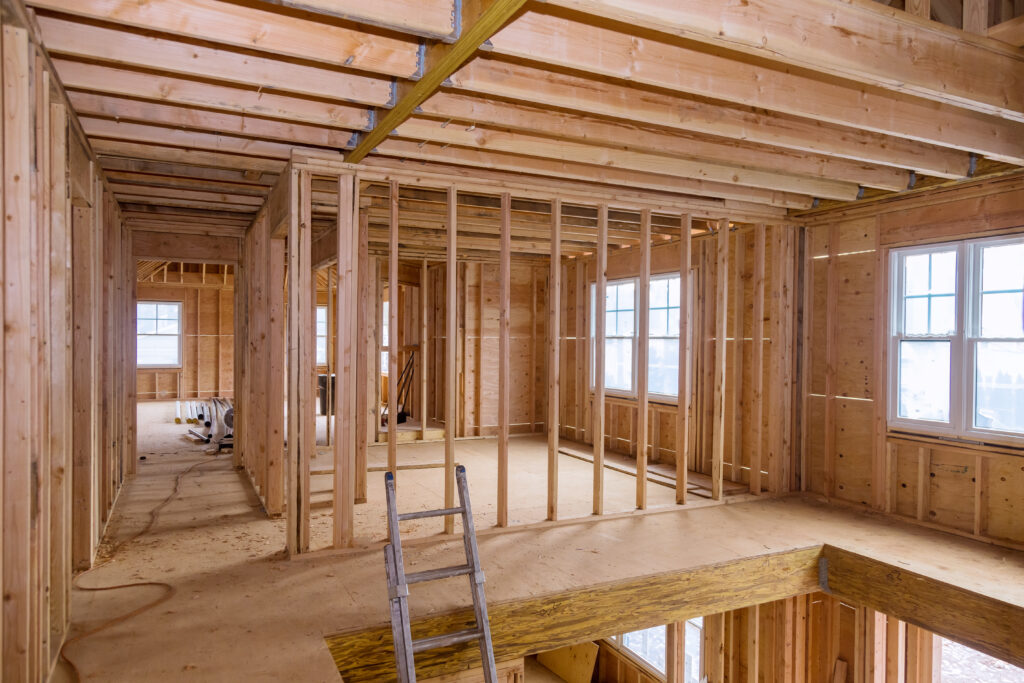
If your shed has wall studs, insulate between them with fibreglass or batt insulation to improve thermal efficiency.
Ensure the shed’s frame is in good condition before applying insulation to prevent any structural issues.
Conclusion
By following these steps and selecting the right insulation materials, you can effectively insulate your shed. With the proper insulation, you’ll enjoy a shed that remains warm in the winter, cool in the summer, and free from moisture-related problems, all while saving on energy costs.


