How To Remove Skirting Boards
| by Holly Wood
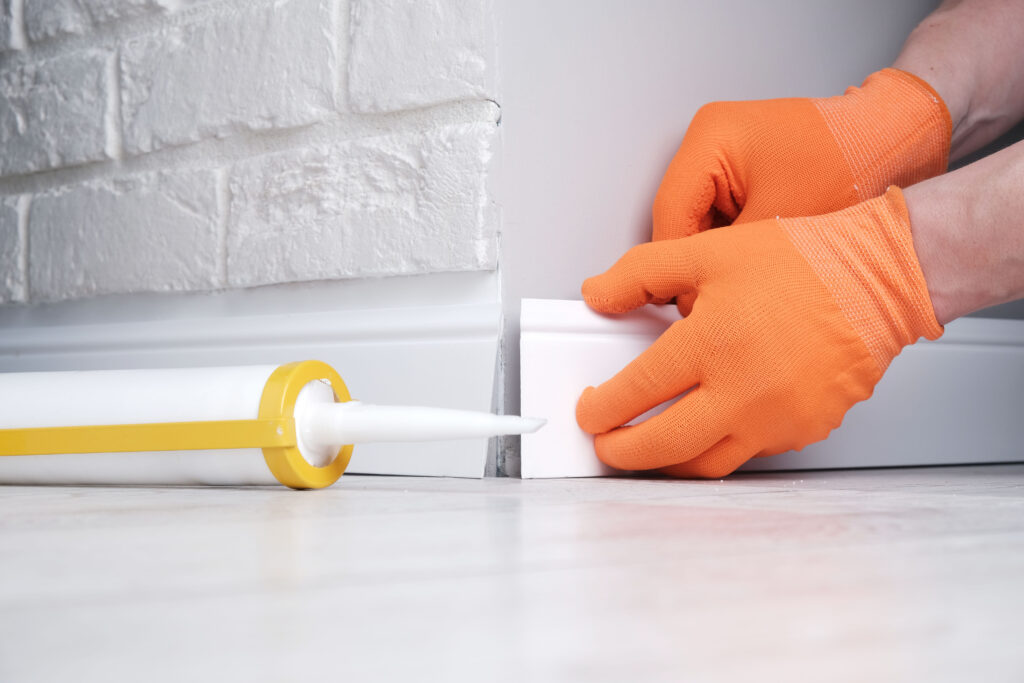
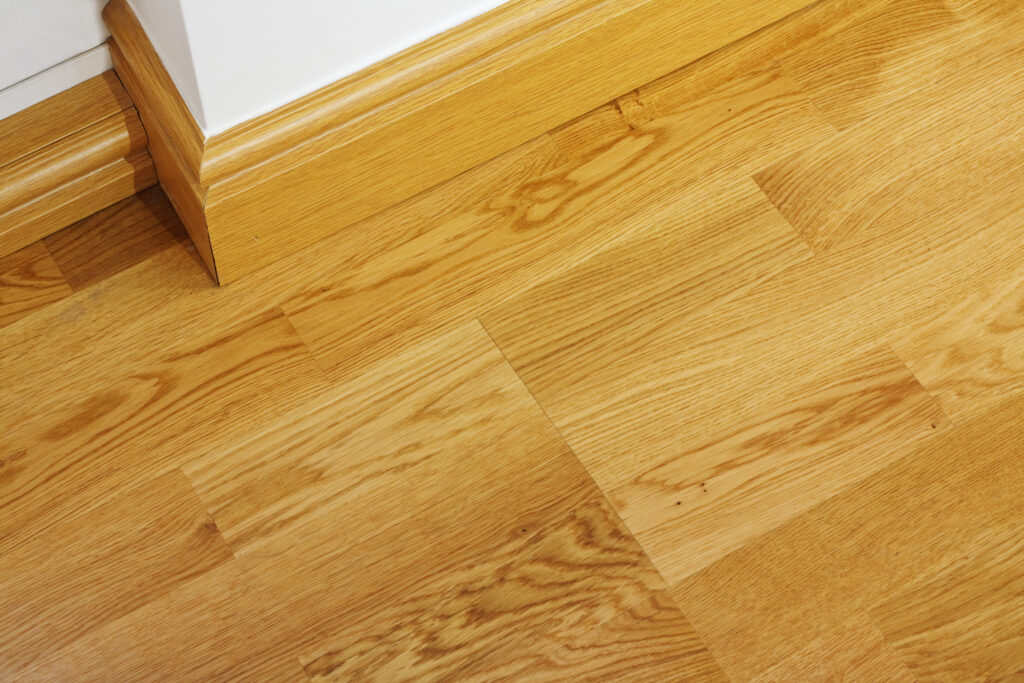
Skirting boards, also known as baseboards, play an essential role in finishing the aesthetics of your home. They not only cover the gap between the wall and the floor but also add a decorative touch to your interior design. However, there are times when you need to remove old skirting boards, whether for a DIY project, to fit new skirting board, or to install laminate flooring. In this comprehensive guide, we will walk you through the step-by-step process of how to remove skirting boards efficiently and without causing damage to the plaster or walls.
Gather the Right Tools
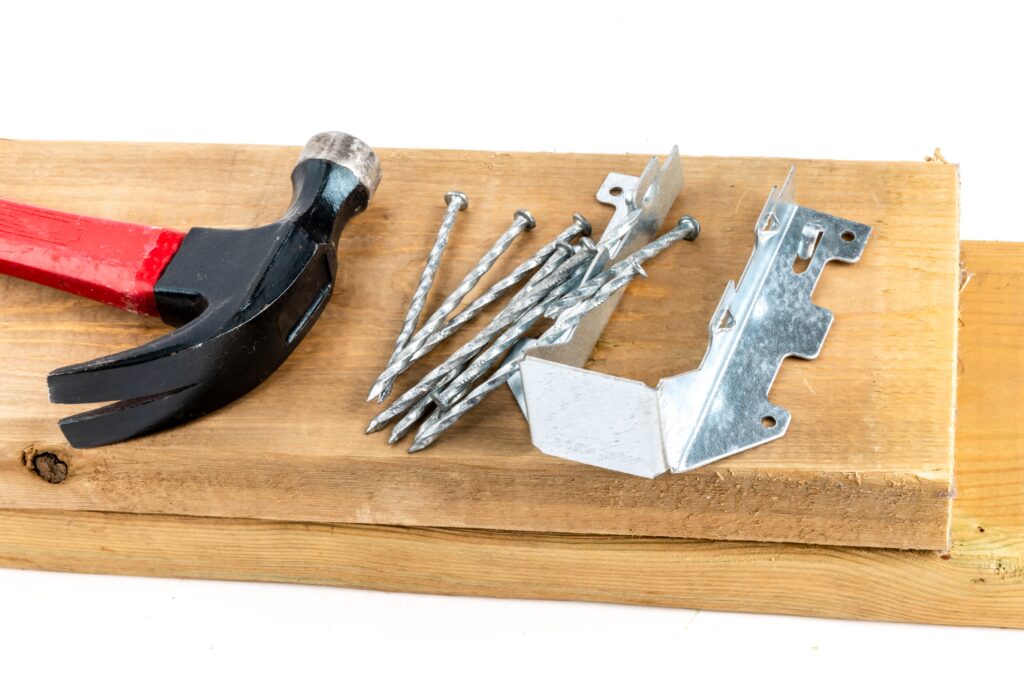
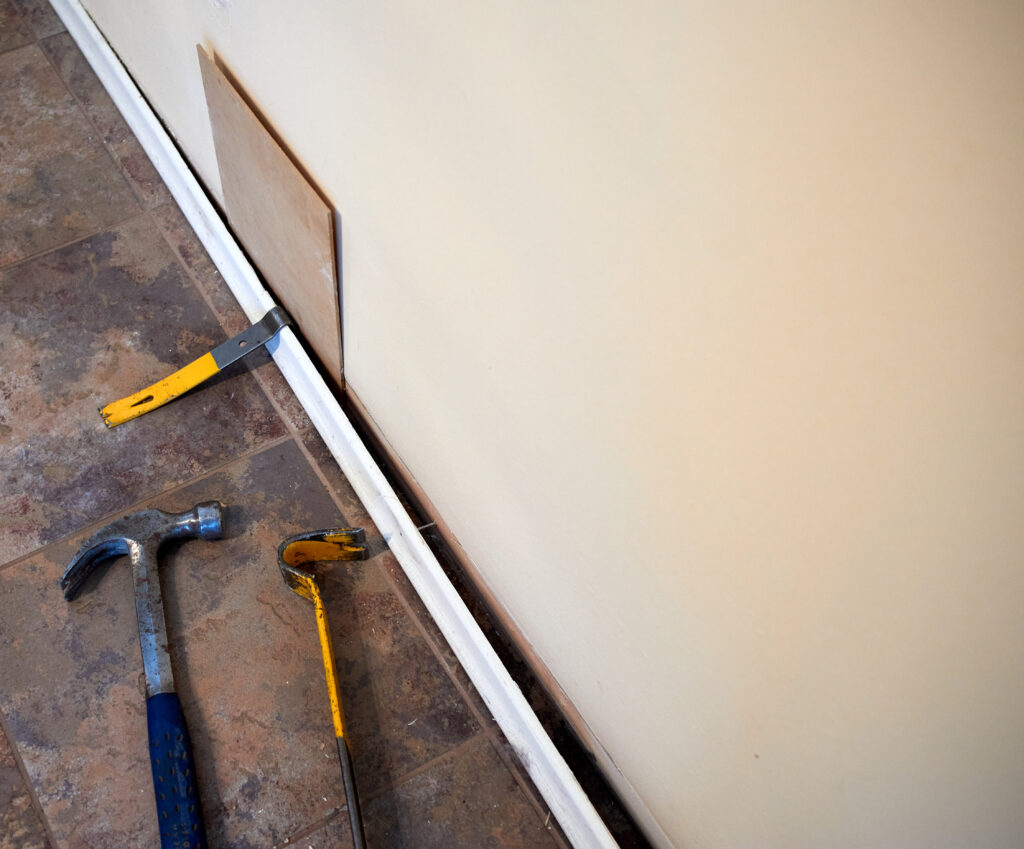
Before you begin the removal process, it’s essential to have the right tools at your disposal. Here’s a list of tools required for this task:
- Claw hammer
- Stanley knife
- Crowbar or pry bar
- Block of wood
- Pliers
Having these tools on hand will make the removal process much smoother.
Prepare the Area
Before you dive into removing skirting boards, it’s essential to prepare the room. Remove any furniture or obstacles that might be in your way.
It’s also a good idea to protect the floor by laying down a drop cloth or old towels to prevent damage to your flooring.
Additionally, if there are any wires or cables near the skirting, be sure to disconnect them to avoid damaging them during the removal process.
Start with a Small Section
To remove existing skirting boards successfully, start by choosing a small section to work on. Insert the flat part of the crowbar underneath the skirting board at one end, near the top edge.
Be sure to apply gentle pressure to avoid chipped wood or damage to the plaster.
Use a Block of Wood
To prevent damage to the wall when you remove skirting board, place a block of wood between the crowbar and the skirting board.
This will help distribute the force evenly and protect the wall from any gouges or dents as you pry the skirting away from the wall.
Apply Firm Pressure
With the block of wood in place, apply firm pressure on the crowbar to gently pry the skirting board away from the wall. Use a gentle pulling force to avoid any sudden movements that could lead to damage.
Remove Nails and Screws
As you work your way along the skirting board, you will encounter nails and screws holding it in place.
Use the claw hammer or pliers to remove these fasteners carefully. Ensure that you pull them out completely to allow the skirting to be removed easily.
Continue Along the Wall
Continue this process along the entire length of the skirting board, taking your time to avoid any damage to the plaster or walls. Once all the nails or screws are removed, you should be able to remove the skirting board with ease.
Patch and Paint
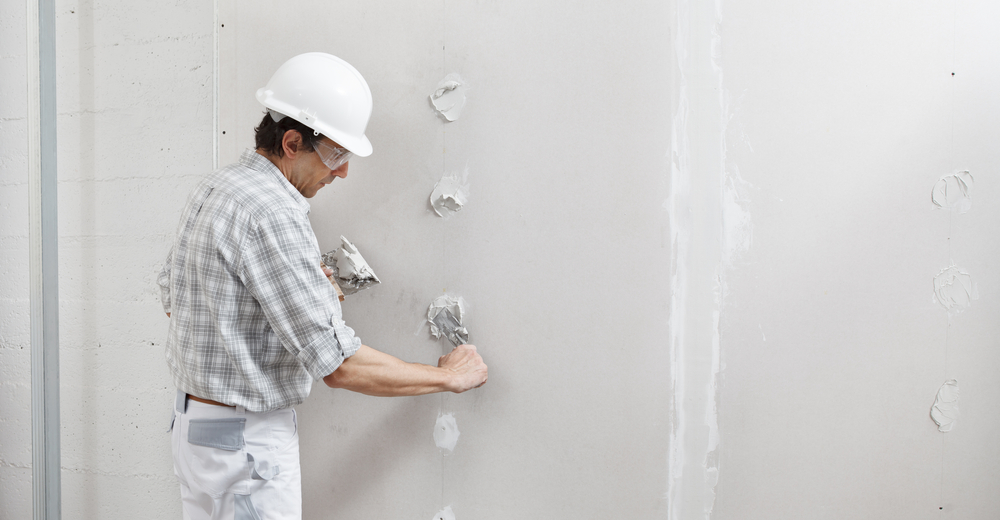
After removing the skirting boards, you may find small holes or damage to the plaster. These can be patched up using filler and then painted to match the wall’s colour. This step is crucial for achieving a seamless and polished look in your room.
Conclusion
Removing skirting boards is a straightforward task when you have the right tools and follow the correct procedure.
By using the right tools and applying gentle force, you can avoid damaging the plaster or walls while successfully removing the skirting boards.
Whether you’re renovating your space or installing new skirting boards for a contemporary design, this handy guide will help you accomplish the task with ease. Remember to take your time and protect the area to ensure a smooth and hassle-free removal process.
Related Posts
Chipboard vs MDF: Unveiling the Differences and Making the Right Choice

40 Financial Experts Reveal If Investing In Real Estate Is Worth It

International Men’s Health Week: Our study into men’s health and a medical guide to treating common ailments
Insulation Rolls vs Insulation Slabs: Which Type is Better in a Partition Wall

Battle of the Builder’s Brew! Best way to make tea revealed (it’s never milk first, FYI)

Tidy house, tidy mind: Over half of Brits start DIY and home improvement projects to help mental health

Best in the bedroom: Survey reveals tradesmen make the best lovers

32% increase in ‘Doomsday Preppers’ building bunkers and safehouses
