How To Lay Engineered Wood Flooring
| by Holly Wood
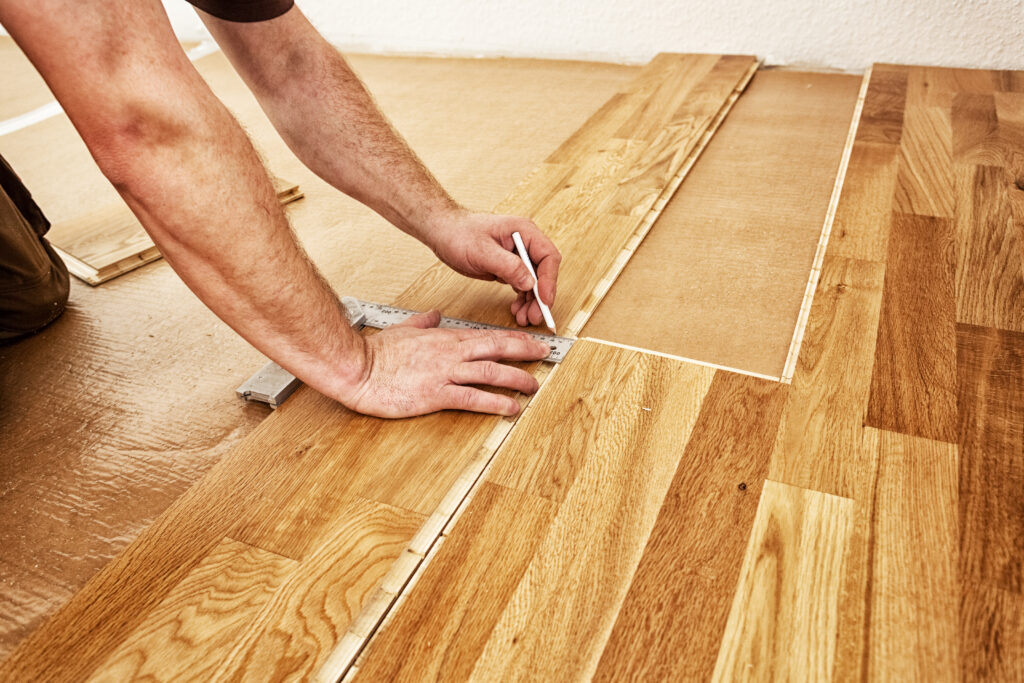
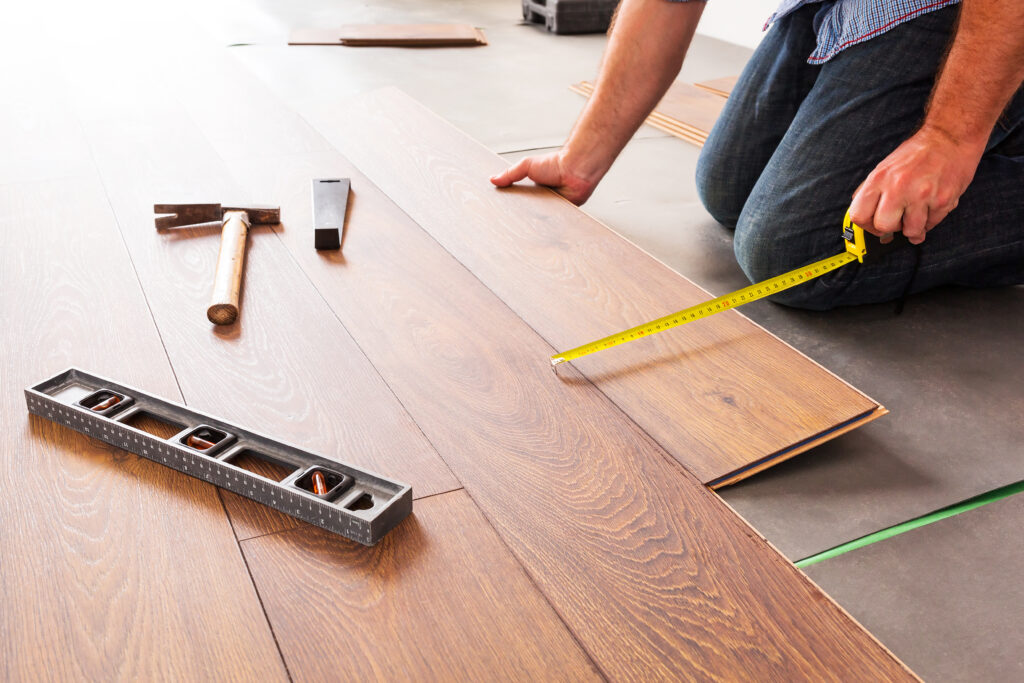
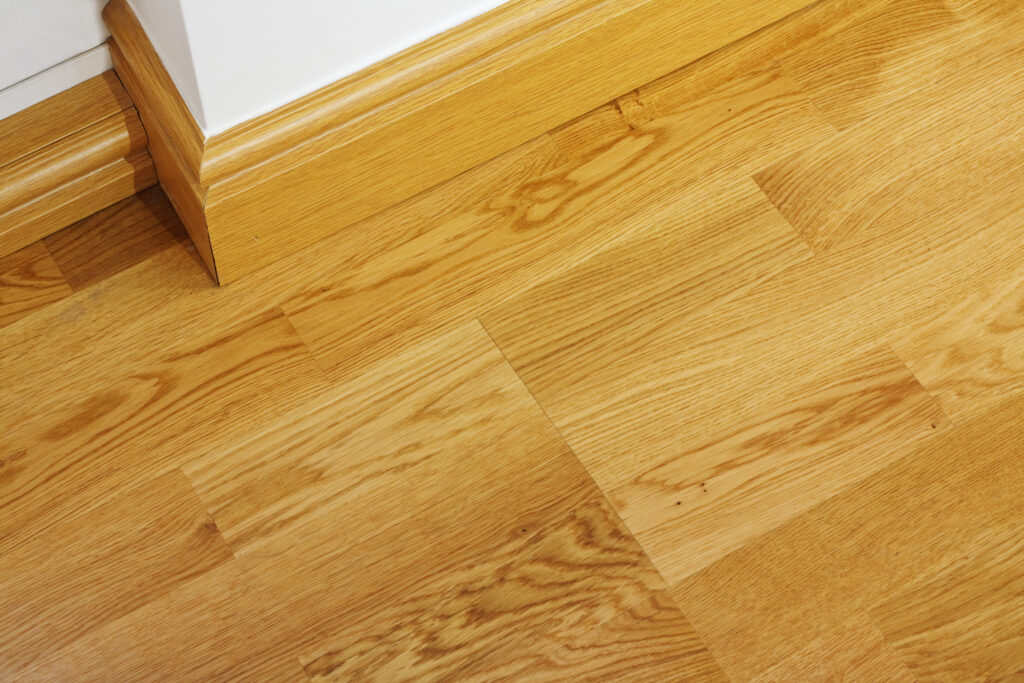
Engineered wood flooring harnesses the natural strength of solid wood flooring while triumphing over some of its limitations. When you lay engineered wood flooring you are effectively mimicking the appearance of natural wood while taking advantage of engineered flooring’s superior features, such as greater strength and flexibility,
Whether you’re dealing with click systems or tongue and groove profiles, this guide will equip you with the knowledge and skills essential to laying engineered wood flooring flawlessly.
Say goodbye to common installation mistakes and hello to a floor that exudes charm, strength, and flexibility.
Necessary Tools:
- Cutting Tool (Manual Saw)
- Pencil
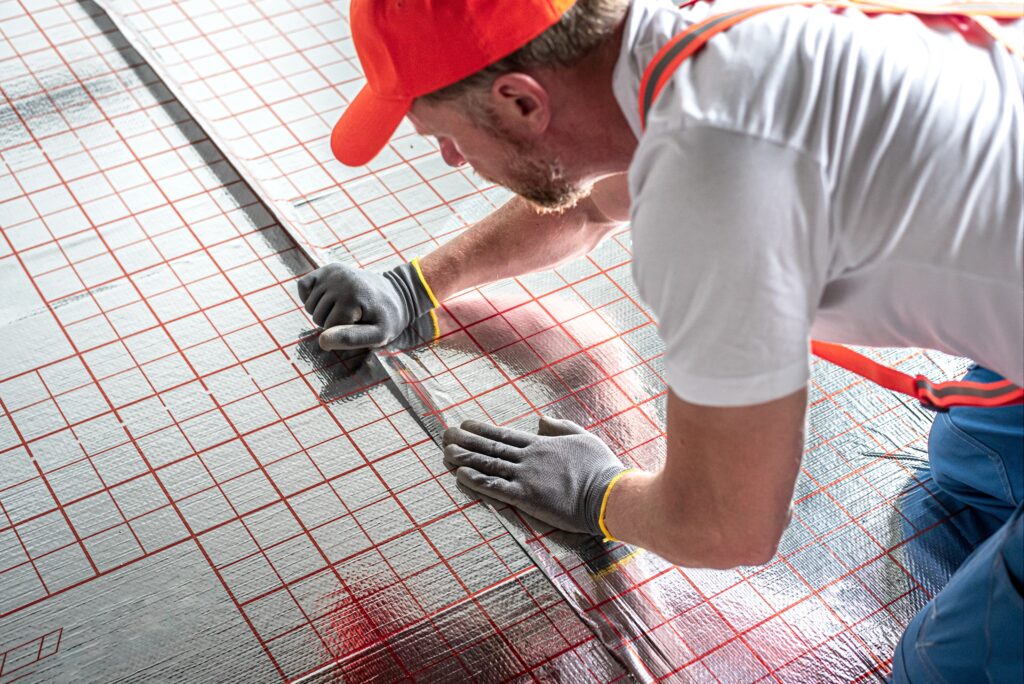
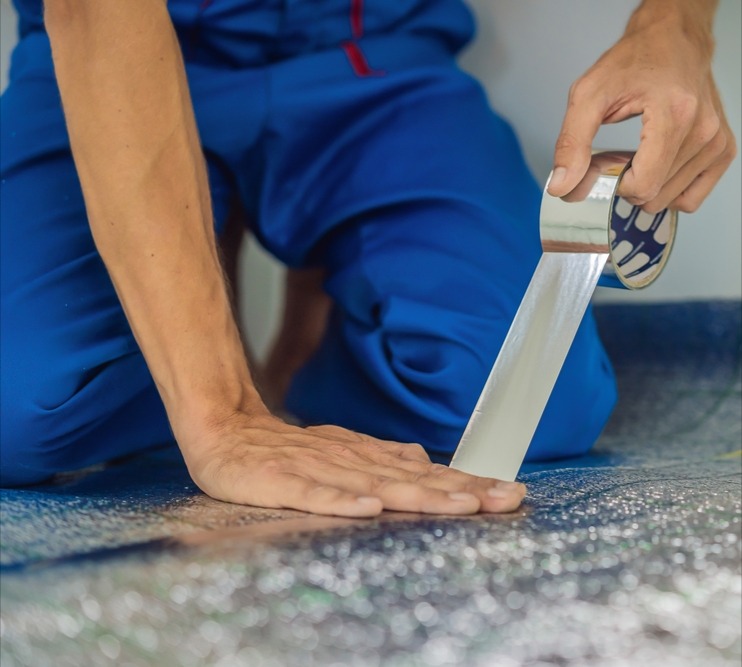
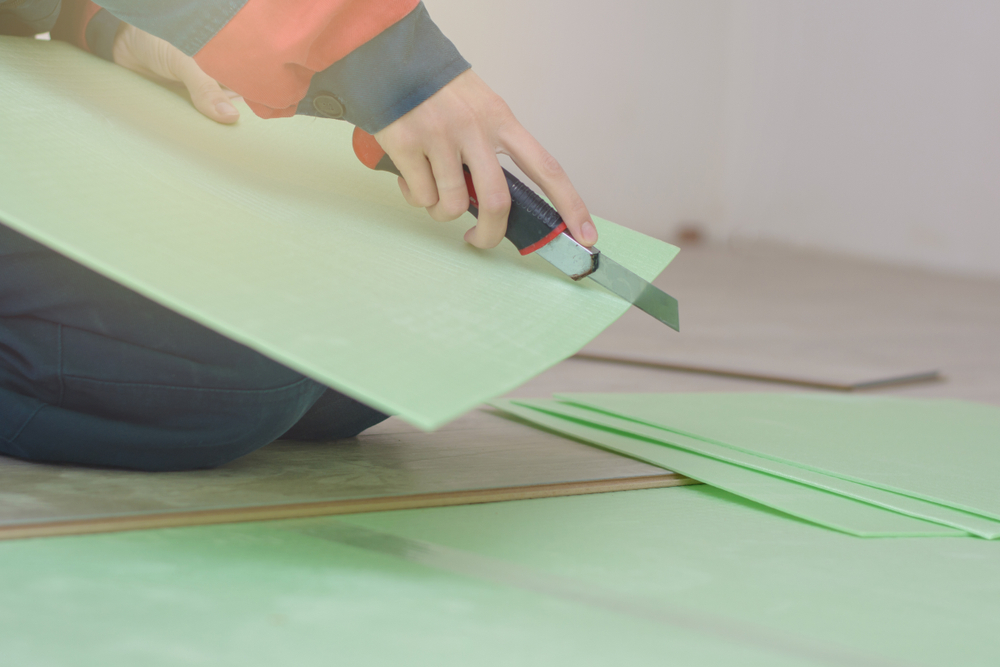
- Engineered Flooring Underlay (Floating Installation)
- PVA Glue/Wood Adhesive (Floating Installation)
- Pneumatic Nailer (Nail Installation)
- Flexible Wood Flooring Adhesive (Glue Installation)
- Tape Measure
Recommended Tools:
- Cushioned Knee Protectors
- Humidity Tester
- Spacers
- Pull Bar/Floor Fitting Tool
- Electric Chop Saw
- Sabre Saw/Scroll Saw
- 2-meter Long Bubble Level/Straightedge
Planning and Preparation
Before we get into the specifics of how to install engineered wood flooring, meticulous planning and preparation are key.
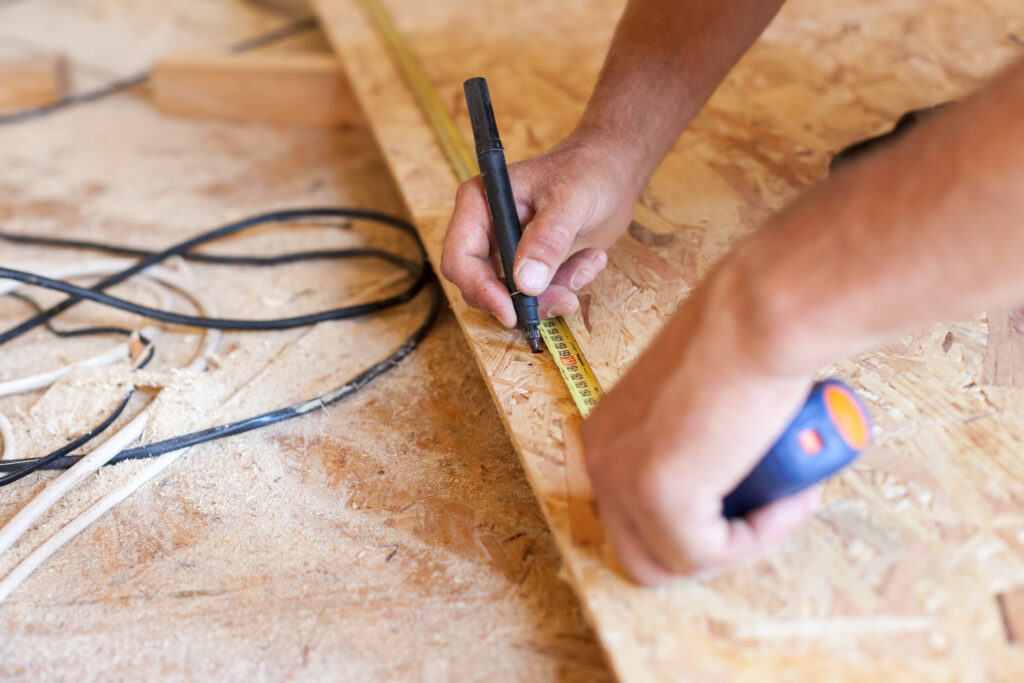
Start by measuring the space where you’ll be installing the flooring and determining the type of engineered wood flooring installation required, whether it’s a click system, tongue and groove, or glued/nail-down method.
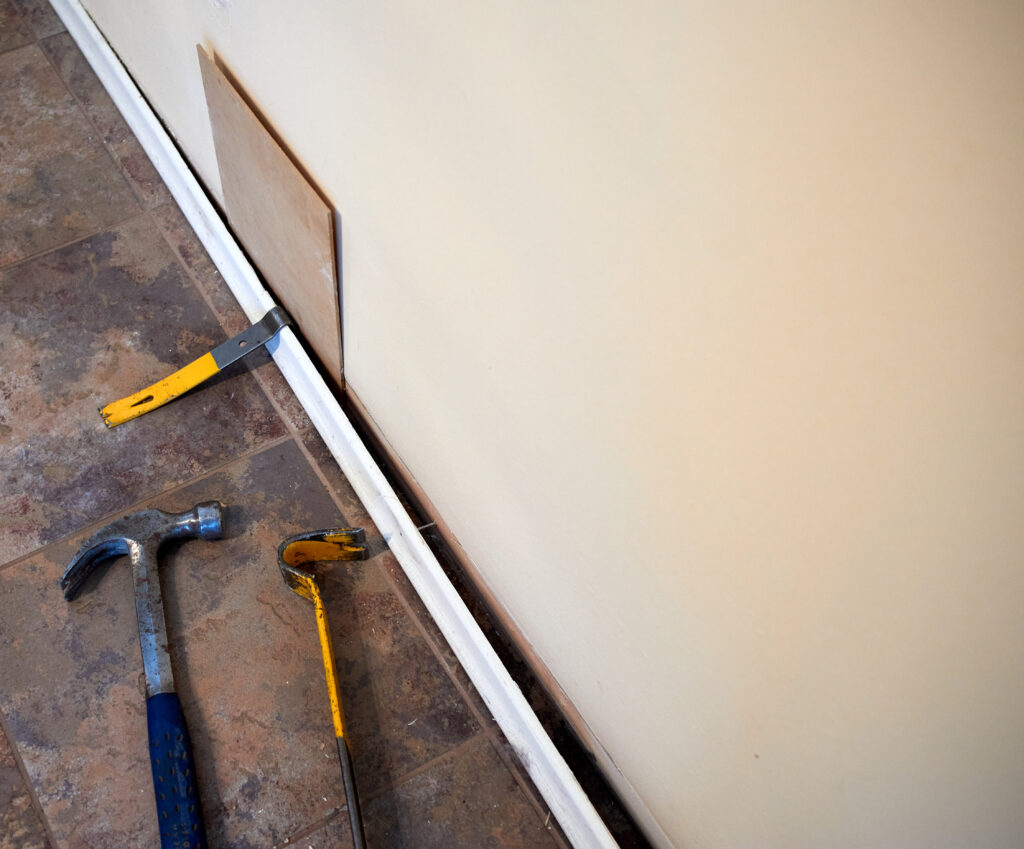
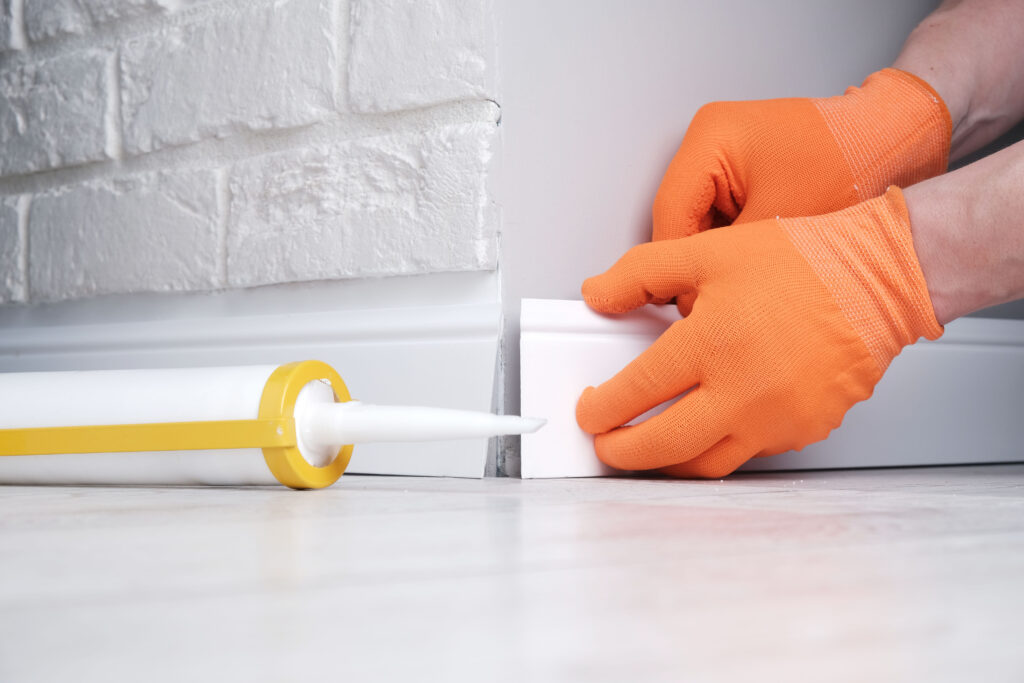
If you don’t intend to use any beading, remove the skirting boards to allow for their re-fitting once the new boards are in place.
Gather the essential tools and materials, including a hand saw, pencil, underlay (for floating installation), and recommended items like knee pads and a moisture meter.
Site Requirements for Fitting Engineered Wood Flooring
Understanding site conditions is crucial for a successful installation.
Test the air humidity, and moisture content of timber-based or concrete subfloors, and ensure the subfloor is level.
Address any issues with the site to create a safe and stable foundation for your engineered wood flooring.
Checking and Acclimatising the Engineered Wood Floor
Before installation, inspect the received flooring to ensure it meets your expectations in terms of colour and finish.
Rustic-grade wood flooring can vary, so it’s important to assess individual boards from different batches.
Acclimatise the flooring by leaving the boxes unopened and flat in the room for 5-7 days, allowing the moisture levels in the flooring to balance with the room’s moisture.
How to Lay Engineered Wood Flooring – Preparations
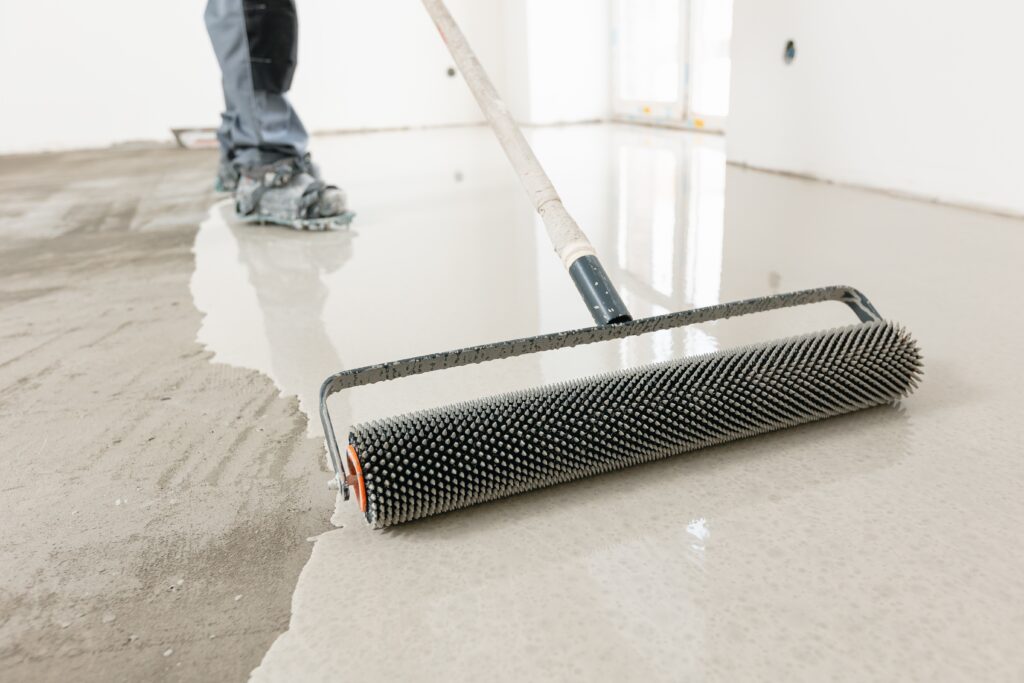
Prepare the subfloor by removing existing floor coverings and ensuring it is structurally sound and level.
Create an expansion gap around the perimeter, including obstacles like door frames, walls and radiator pipes.
For specificity’s sake, it is advisable to leave a recommended 10-12mm gap around the edges of your installation.
Types of Engineered Flooring & Installation Methods
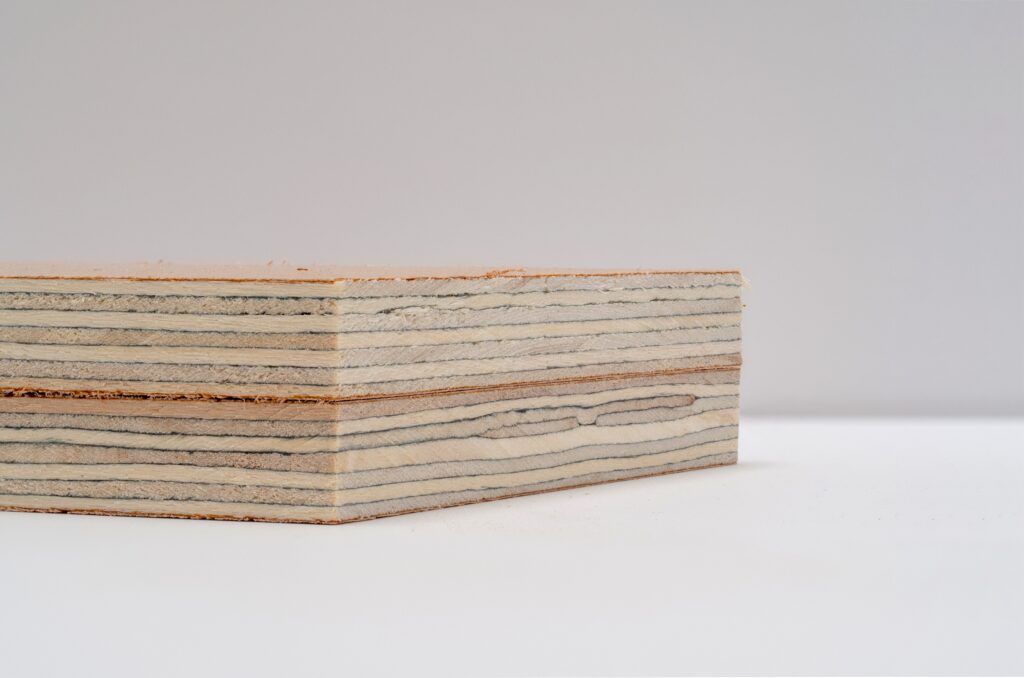
Engineered wood flooring comes in three common construction types: wood fibre-based, multi-ply, and 2-ply.
Wood fibre or HDF-based flooring often features a click system for easy installation.
2-ply and multi-ply engineered wood flooring can have a click system or a tongue and groove end.
Depending on your flooring type, specific installation methods will apply, such as:
- Using an underlay for click system.
- Nailing to a timber sub-floor.
- Glueing to a concrete floor using wood to concrete glue.
- Installing on an underlay with glued edges for tongue and groove flooring.
- Pay close attention to the manufacturer’s instructions to ensure a proper installation.
Floating Floor Installation Considerations
Flooring installations with the use of underlay are commonly referred to as “floating floors.”
To maintain the integrity and longevity of an engineered floating floor, it’s crucial to avoid placing heavy fitted units or furniture (weighing over 200kg when loaded) directly onto it or securing them to it. Doing so can restrict the floor’s natural movement, resulting in potential problems and potentially voiding manufacturers’ warranties.
Instead, opt for alternative solutions like plinths, rebates, or edging strips to achieve a seamless installation that preserves the beauty and functionality of your engineered flooring.
Installing Engineered Wood Flooring – Conclusion
By following this comprehensive guide, you’re well-equipped to handle different installation methods and navigate potential challenges.
Remember to prioritise proper planning (allowing an appropriate expansion gap for a door frame or fireplace, for example), site preparation, and acclimatisation to ensure a successful and visually stunning outcome.
For more Engineered Hardwood Flooring guides and FAQs, browse our many articles and get the answers you’re seeking today.
Happy installing!
Related Posts
Chipboard vs MDF: Unveiling the Differences and Making the Right Choice

40 Financial Experts Reveal If Investing In Real Estate Is Worth It

International Men’s Health Week: Our study into men’s health and a medical guide to treating common ailments

Insulation Rolls vs Insulation Slabs: Which Type is Better in a Partition Wall

Battle of the Builder’s Brew! Best way to make tea revealed (it’s never milk first, FYI)

Tidy house, tidy mind: Over half of Brits start DIY and home improvement projects to help mental health

Best in the bedroom: Survey reveals tradesmen make the best lovers

32% increase in ‘Doomsday Preppers’ building bunkers and safehouses
