How To Fit Architrave
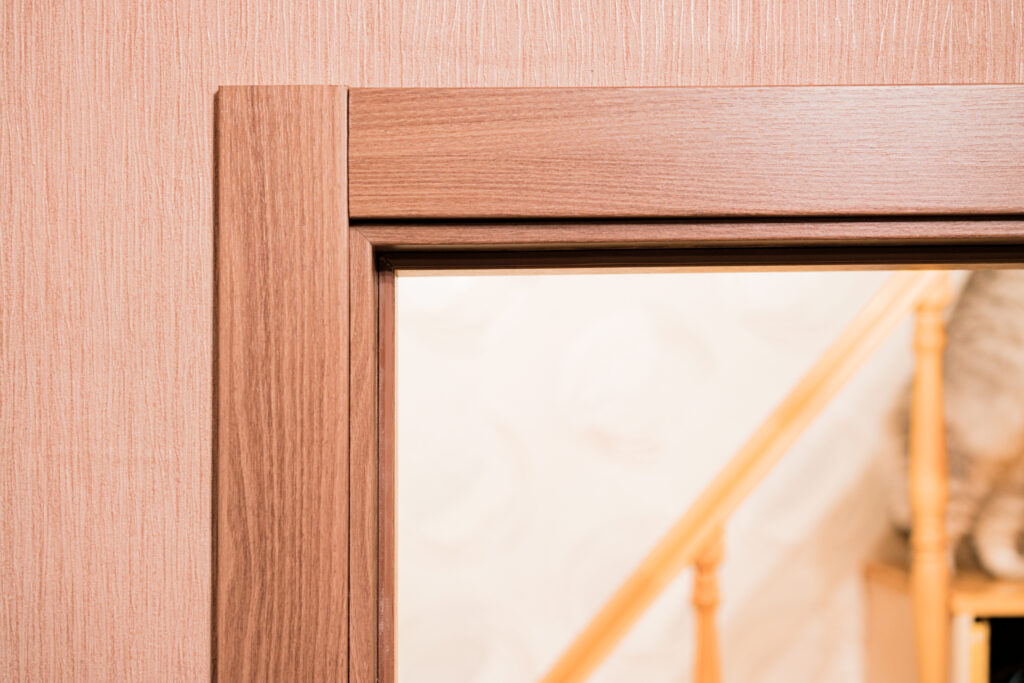
Architraves are a vital part of finishing the look of a door frame. They not only conceal the gap between the door lining and the wall but also add a decorative touch to the entire door surround. If you’re wondering how to fit architrave properly, you’ve come to the right place.
In this comprehensive guide, we’ll take you through the step-by-step process of fitting door architrave.
Whether you’re working with single doors, double doors, or external doors, we’ll cover it all.
Let’s get started!
Understanding The Anatomy of a Door Frame
A door consists of several essential components that work together to provide structure and functionality.
The door frame comprises the vertical elements known as door jambs, with specific designations for each side. The hinge jamb, located on the side with door hinges, facilitates the door’s swinging motion, while the strike jamb, found on the opposing side, accommodates the strike plate and interacts with the locking mechanism.
Additionally, the door frame includes the head jamb, which forms the horizontal top component. These three jambs collectively constitute the door frame, providing the framework for the door’s proper operation and security.
Tools and Materials You’ll Need
Before diving into fitting architrave around a door, make sure you have the following tools and materials ready:
- Tape measure
- Mitre box
- Combination square
- Cable detector
- Saw (with a fine-tooth saw blade)
- Nail punch
- Nail gun (optional)
- PVA glue
- Grab adhesive
- Wood filler
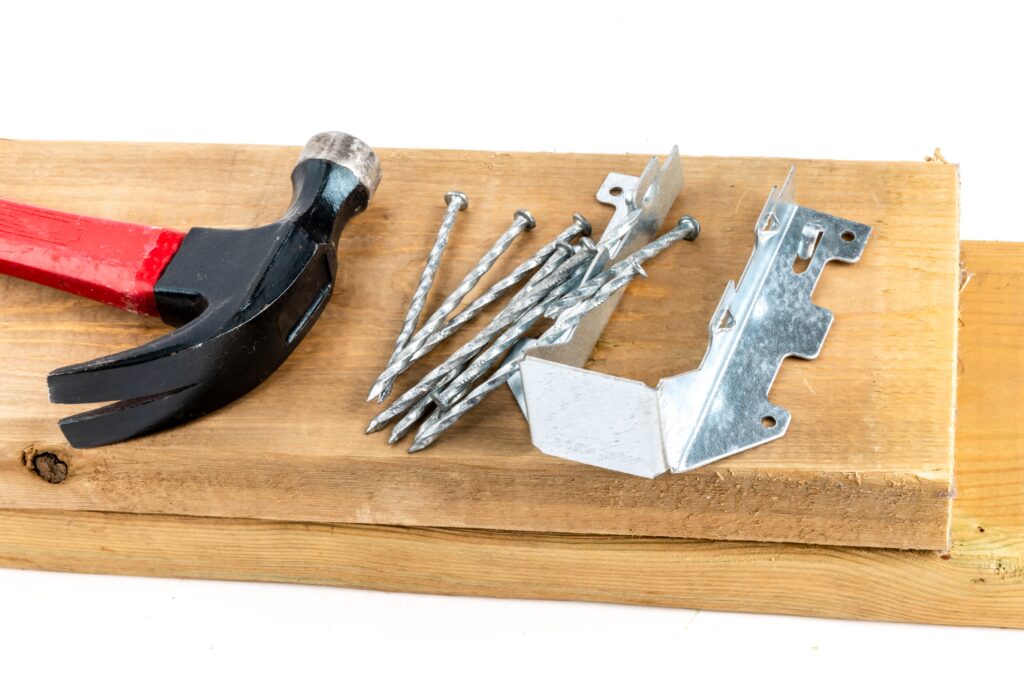
- Lost head nails
- Decorative architrave
- Skirting boards (if needed)
- Hardwood floors (if needed)
With these tools and materials at your disposal, you’re well-prepared to begin the process of fitting architrave.
Ensure a Clear Workspace
Begin by utilising a pipe and cable detector to confirm that there are no hidden pipes or cables in the area where you plan to work. door jamb
Precision Marking
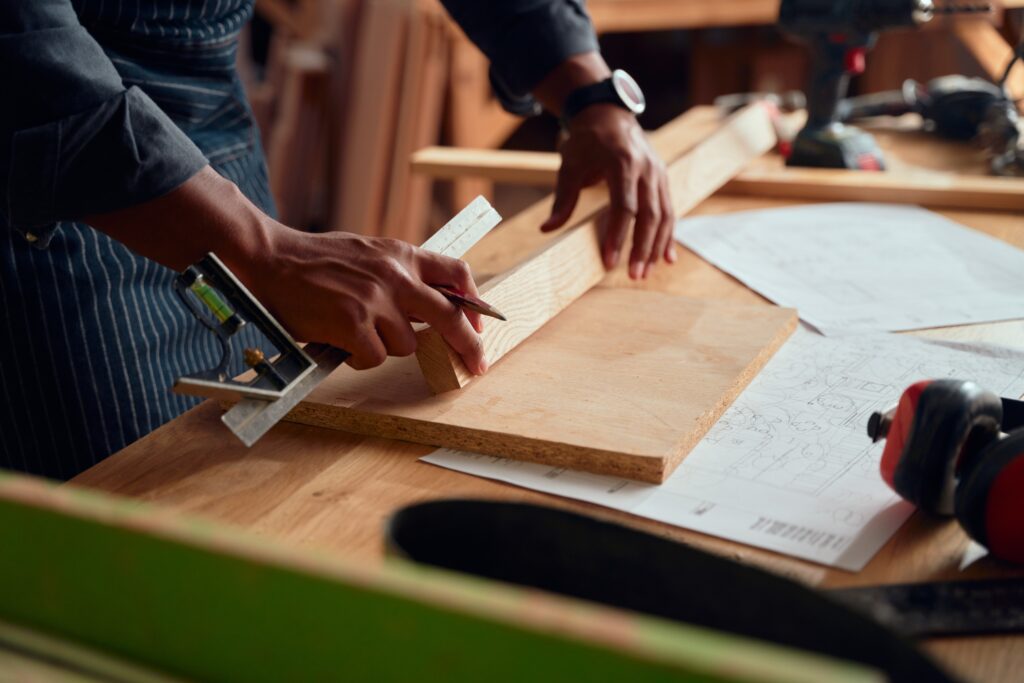
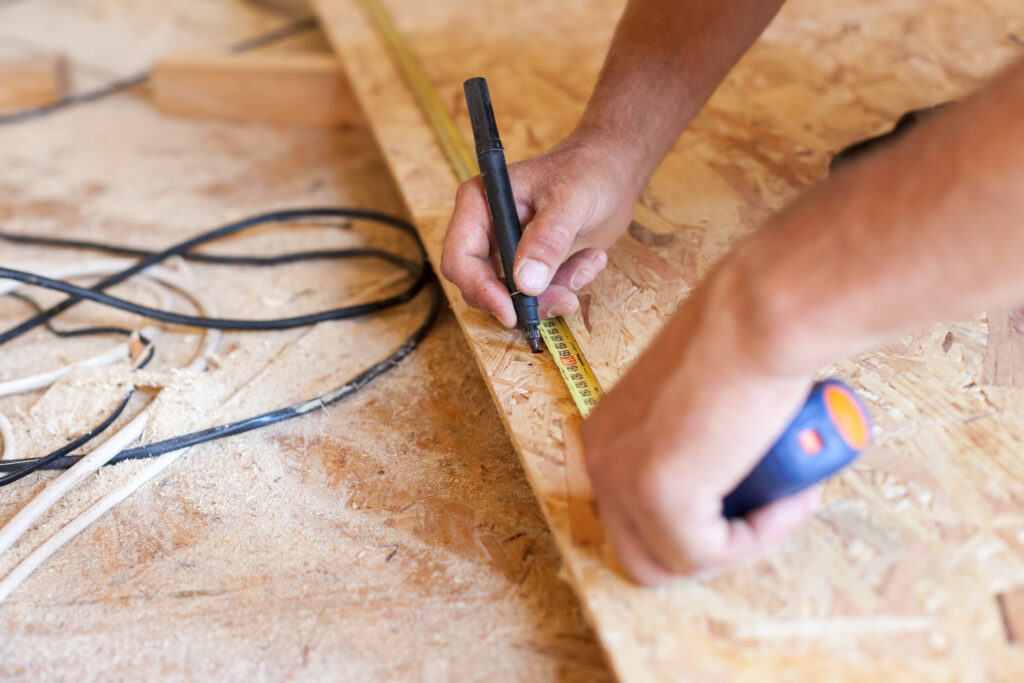
With either a combination square or a tape measure, create a set of marks, each situated 6mm away from the inner edges of the door lining.
Place these marks on both sides and the top of the door lining, then connect them using a straight edge or a spirit level. Extending these lines slightly beyond the frame corners will serve as indicators for the architrave placement.
These marked lines represent the attachment points for the architrave. The 6mm gap is crucial to allow the door to operate smoothly on its hinges while protecting the architrave from potential damage. It’s essential to avoid fitting the architrave flush with the door lining.
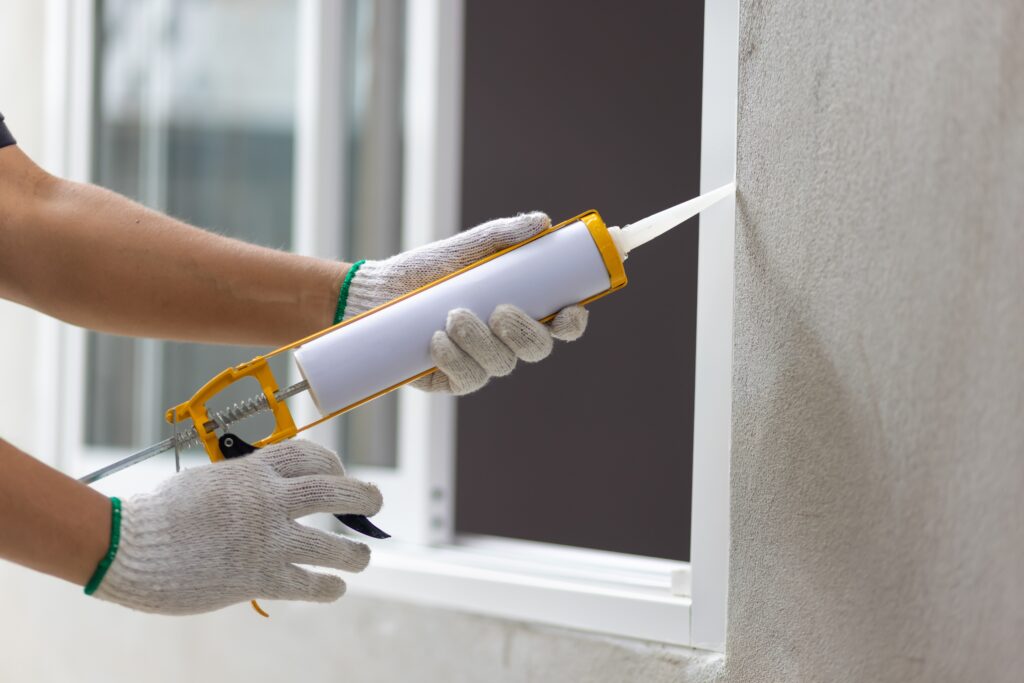
If your door casing isn’t perfectly vertical, prioritise achieving correct corner joints over absolute vertical alignment. Any minor gaps between the architrave and the door casing can be addressed later with caulk.
Starting with the Headpiece
Traditionally, the headpiece of the architrave is the first to be installed.
Measure the length along the top of the door, between the marked intersections, and transfer this measurement to the inner edge of your architrave piece. Be sure to account for the longer edge when measuring.
Lightly mark the intended direction of the cuts on the architrave.
Crafting the Mitre Cuts
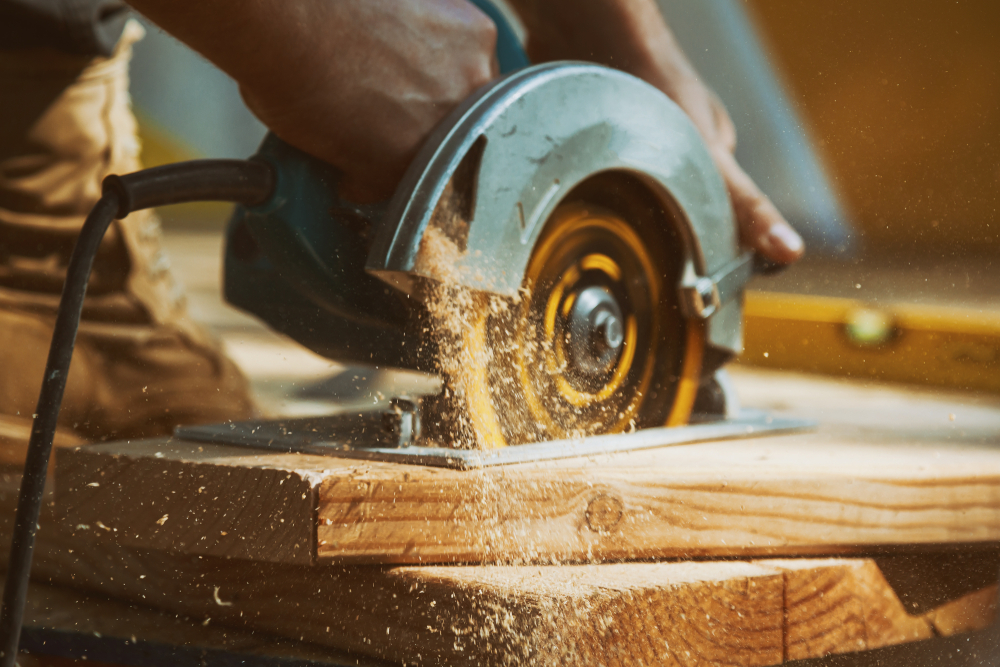
Position the architrave, flat side down, within a mitre box, and use either a tenon saw or a fine-tooth saw to create two mitre cuts. It’s crucial that these cuts angle in opposite directions, with the outer edge being the longer one.
After making the cuts, gently sand the ends until they achieve a smooth finish.
Confirm and Apply Adhesive
Verify that the headpiece fits correctly, and then proceed to apply grab adhesive to the rear side of the architrave, following the manufacturer’s provided instructions.
Installation of the Headpiece
Carefully position the headpiece along the 6mm line, ensuring that the bottom edge of the mitre joints aligns with the intersection marks.
Secure with Nails
To secure the architrave in place during adhesive curing, use a hammer to drive four 40mm lost head nails through the architrave and into the door casing.
Measuring and Cutting the Side Pieces
Measure from the floor to the bottom edge of the headpiece, marking this distance on two architrave sections that will serve as your side pieces. Indicate the intended direction of the mitre cut on the architrave. Keep in mind that the bottom end of each side piece will feature a simple square cut.
Applying Adhesive
Apply PVA glue to the mitred edge of one of the side pieces and to the corresponding edge of the headpiece.
Affixing Side Pieces
Apply grab adhesive to the rear side of the side piece and carefully position it in place. Secure the architrave using 40mm lost head nails. Repeat this process with the other side piece.
After successfully setting and securing the architrave, use a hammer and nail punch to sink the nails below the surface of the architrave. Finally, proceed to fill and sand down the small nail holes before embarking on the painting phase.
Conclusion
By following these instructions and using the right tools and materials, you can transform your door frames into elegant and sophisticated features of your home.
So, roll up your sleeves, take your time, and enjoy the satisfaction of a job well done as you fit door architrave with finesse and precision.


