How to Lay a Patio On Soil
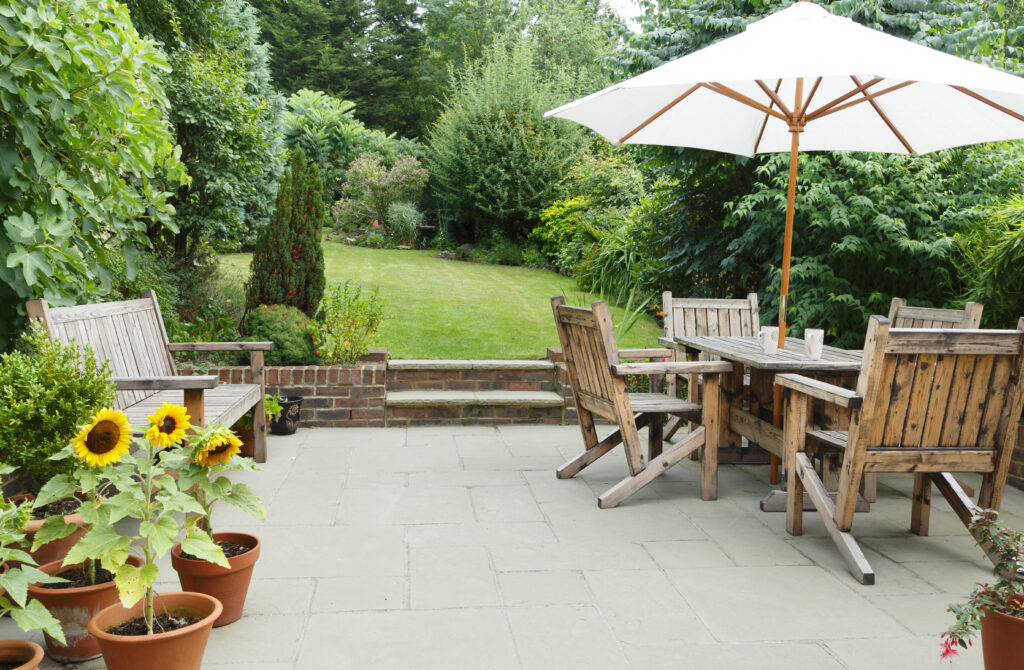
Are you ready to elevate your outdoor space with a stunning patio laid directly on soil? Whether you’re envisioning a serene spot for morning coffee or a lively entertainment area for gatherings with friends and family, laying paving slabs on soil can bring your vision to life.
In this comprehensive guide, we’ll take you through each step of the process, from planning and preparation to finishing touches, ensuring that you have all the information you need to create a beautiful and functional patio in your own backyard.
Planning Your Patio
Before you begin any physical work and begin to lay paving slabs, take the time to carefully plan your patio layout. Consider the following factors:
- Size and Shape: Determine the size and shape of your patio based on your available space and intended use. Sketching out your design on graph paper can help you visualise different layout options and make adjustments as needed.
- Location: Choose a location for your patio that complements your home’s architecture and provides easy access from indoor living areas. Consider factors such as sunlight exposure, privacy, and views when selecting the ideal spot.
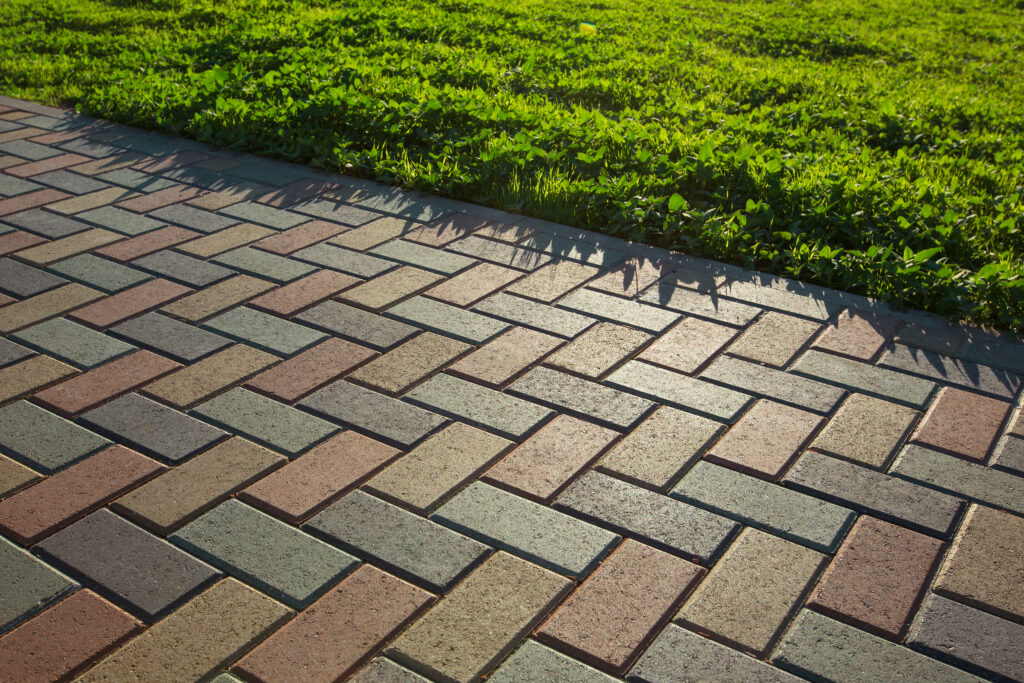
- Materials: Decide on the type of patio slab you want to use for your patio. Options include natural stone, porcelain paving, concrete, and block paving, each offering its own unique aesthetic and durability characteristics. At Materials Market, we offer Indian Sandstone Paving and Limestone Paving.
- Budget: Calculate the total cost of materials and any additional expenses, such as tools and equipment rental, to ensure that your project stays within budget.
Additional Equipment
- Cement Mixer: If you’re tackling a larger patio project or working with a significant amount of mortar, consider using a cement mixer to ensure consistent and efficient mixing of your mortar or concrete.
- Rubber Mallet: A rubber mallet is an essential tool for gently tapping the paving slabs into place during the installation process. Its soft, non-marring head helps prevent damage to the slabs while ensuring a tight and secure fit.
Preparing the Ground
Proper preparation of the ground is essential for a durable and long-lasting patio. Follow these steps to prepare the soil for paving:
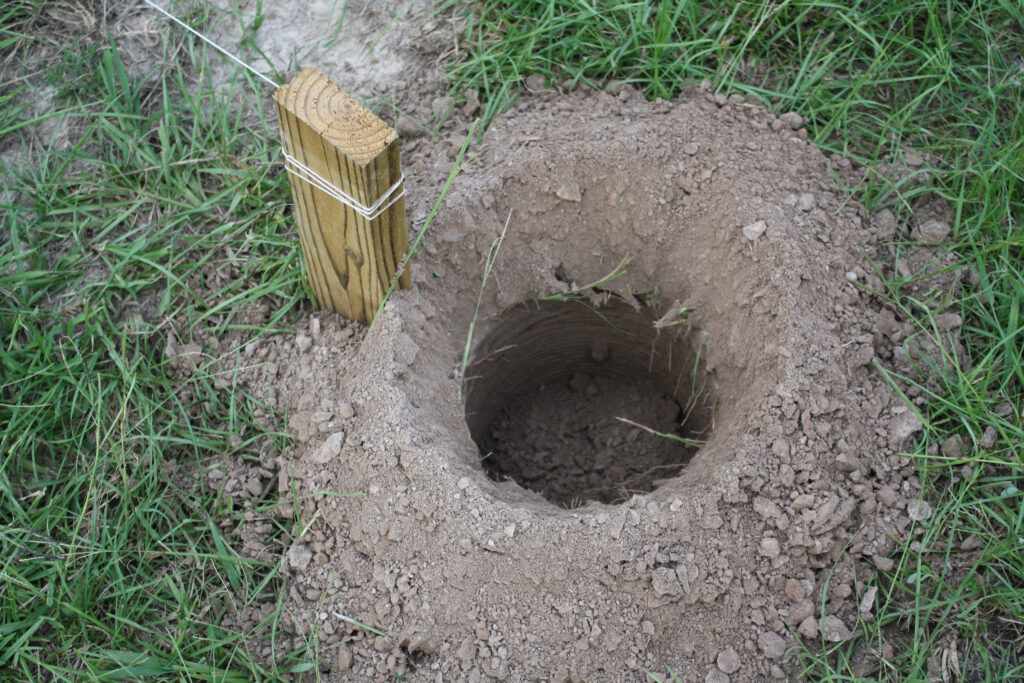
- Marking Out: Use string lines and stakes to mark out the perimeter of your patio, ensuring that it is square and level.
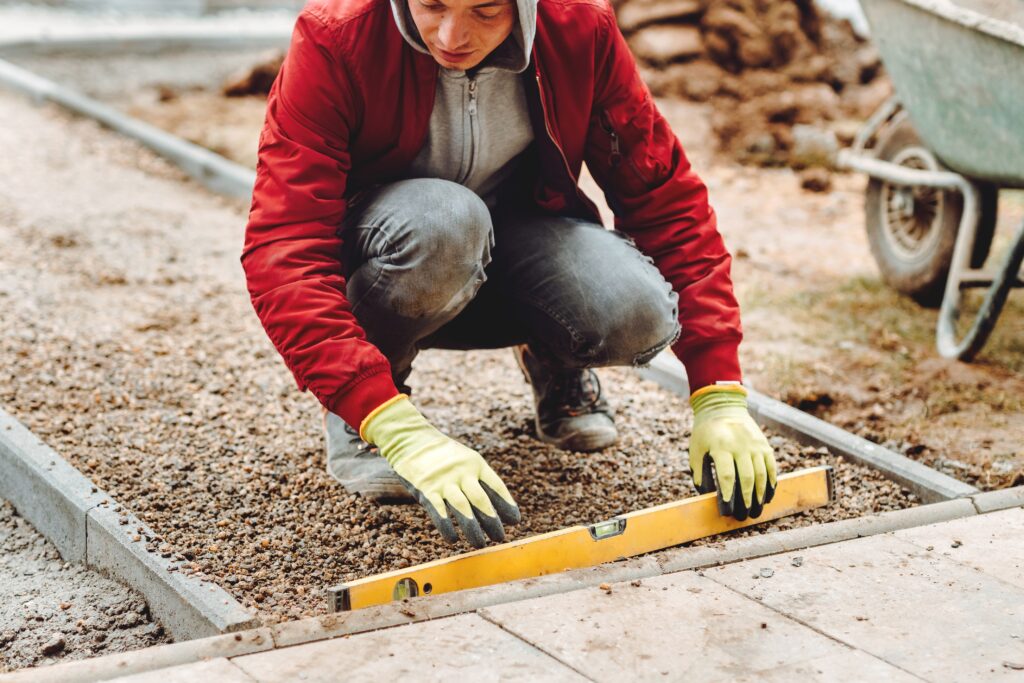
- Excavation: Dig out the area inside the perimeter to a depth of at least 6-8 inches, removing any grass, weeds, roots, rocks, or debris. Use a spirit level and a long straight edge to check for a consistent depth across the entire area.
- Sub-Base Installation: Once the excavation is complete, install a sub-base layer to provide a stable foundation for your patio. Use MOT type 1 or similar aggregate material, spread it evenly across the excavated area, and compact it using a plate compactor to create a firm and level surface.
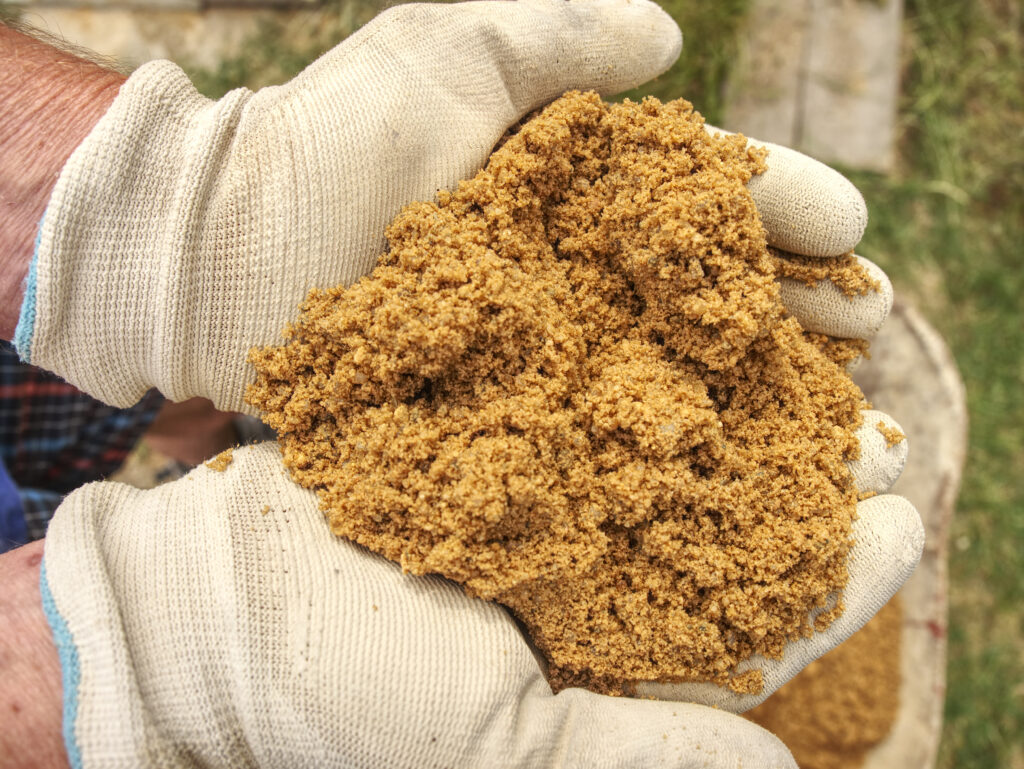
- Sharp Sand: Consider adding a layer of sharp sand to further stabilise the ground and provide a level surface for laying the paving slabs.
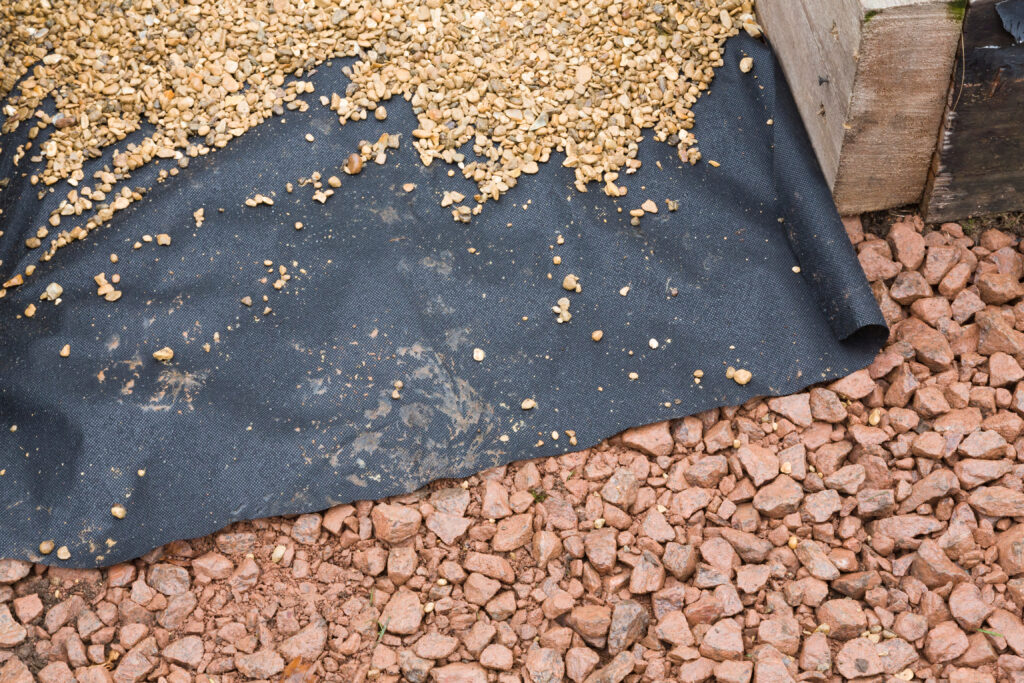
- Damp Proof Course: Depending on your local climate and soil conditions, consider installing a damp proof course to prevent moisture from seeping up through the soil and into your patio slabs. This can help prevent issues such as frost damage and efflorescence.
Laying the Paving Slabs
With the ground properly prepared, it’s time to start laying patio slabs. Follow these steps for a professional-looking installation:
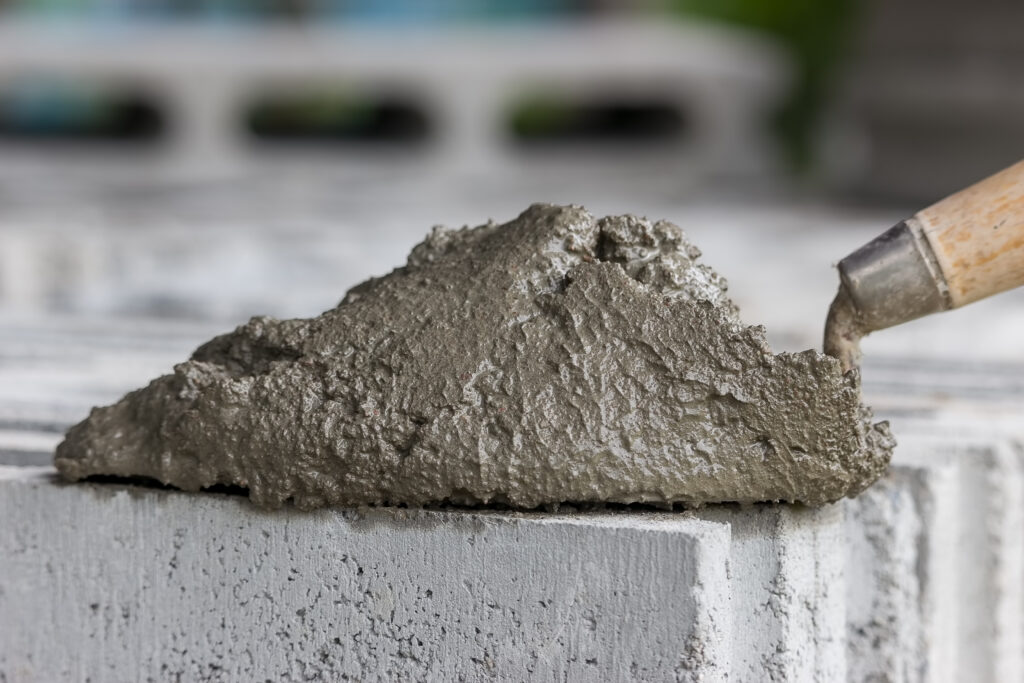
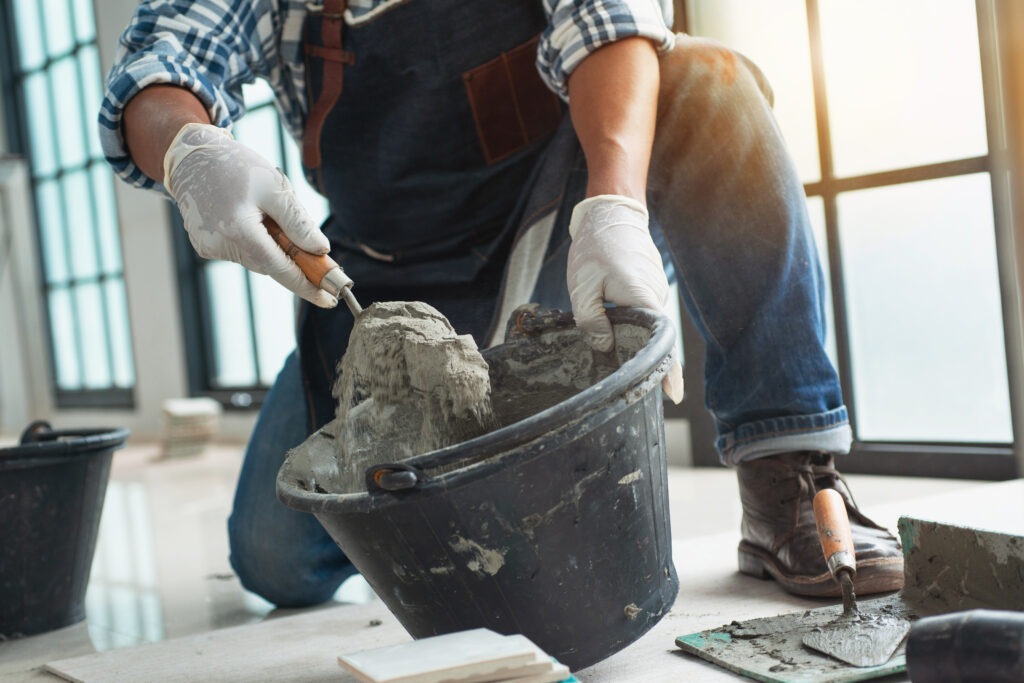
- Mixing Mortar: Prepare a mortar mix according to the manufacturer’s instructions, ensuring the correct ratio of cement, sand, and water for optimal strength and workability.
- Starting Point: Begin by laying the first paving slab at a fixed point, such as a corner or the edge of an existing structure, to ensure a neat and symmetrical layout.
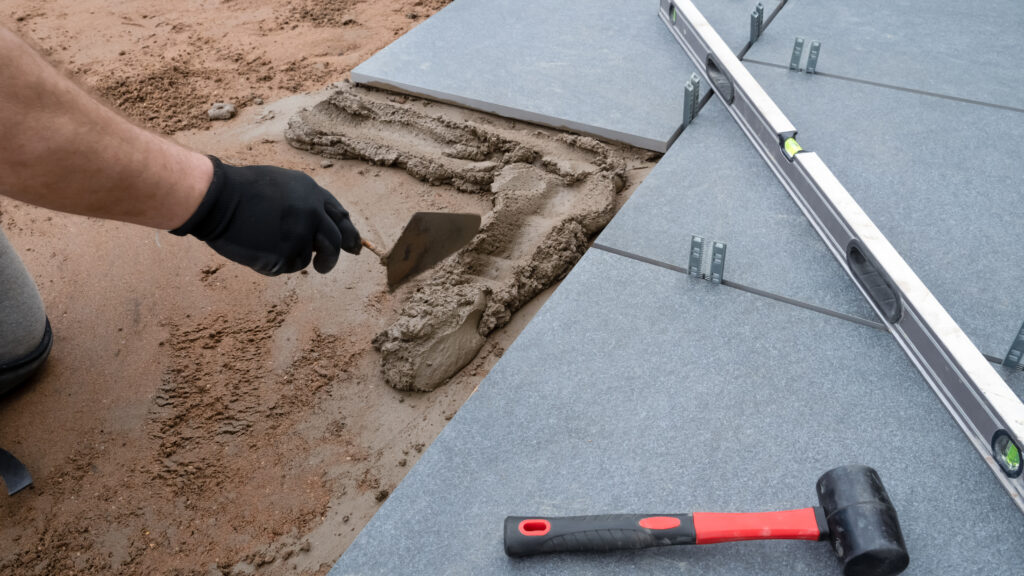
- Bedding in Mortar: Spread a layer of mortar onto the prepared surface using a trowel, ensuring an even thickness across the entire area. As you lay patio slabs, place each paving slab onto the mortar bed, pressing it down firmly to ensure good adhesion.
- Lay Slabs: When laying the paving slabs, ensure that each one is positioned correctly and securely in place. Use a rubber mallet to gently tap the slabs into position, ensuring a snug fit and even surface.
- Checking for Level: Use a spirit level to check that each paving slab is level and flush with its neighbours. Adjust the height of the slabs as needed by adding or removing mortar underneath.
- Creating Joints: Leave small gaps (typically 5-10mm) between each paving slab to allow for jointing material such as sand or a proprietary jointing compound. This will help accommodate any slight variations in size and ensure a uniform appearance.
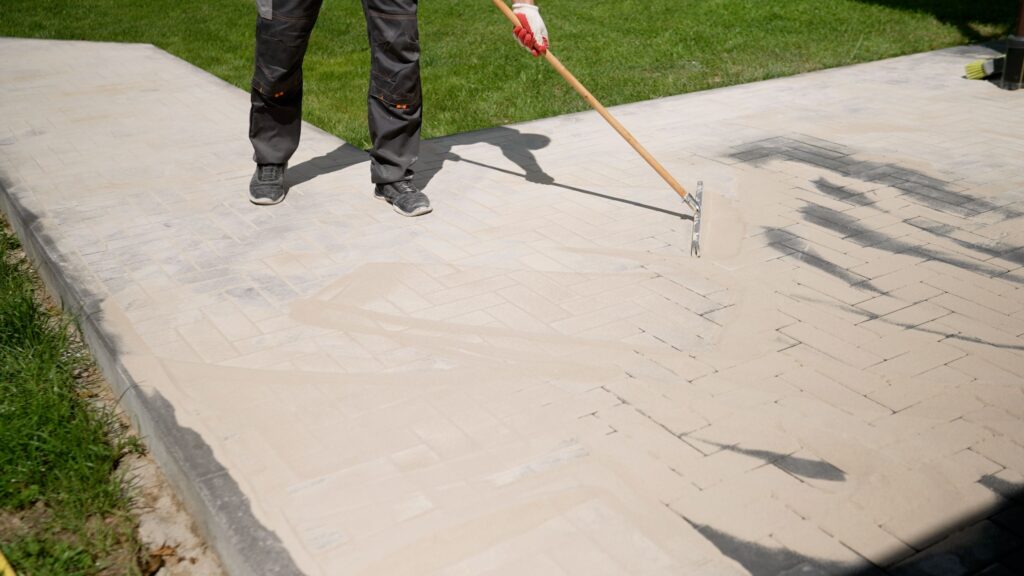
- Finishing Touches: Once all the paving slabs are laid, use a soft brush to sweep jointing material into the gaps between the slabs, filling them completely. Compact the joints using a pointing tool or the edge of a trowel to ensure a neat and tidy finish.
How to Lay a Patio On Soil – Final Steps and Maintenance
With the patio fully laid, there are just a few final steps to complete before you can sit back and enjoy your new outdoor space:
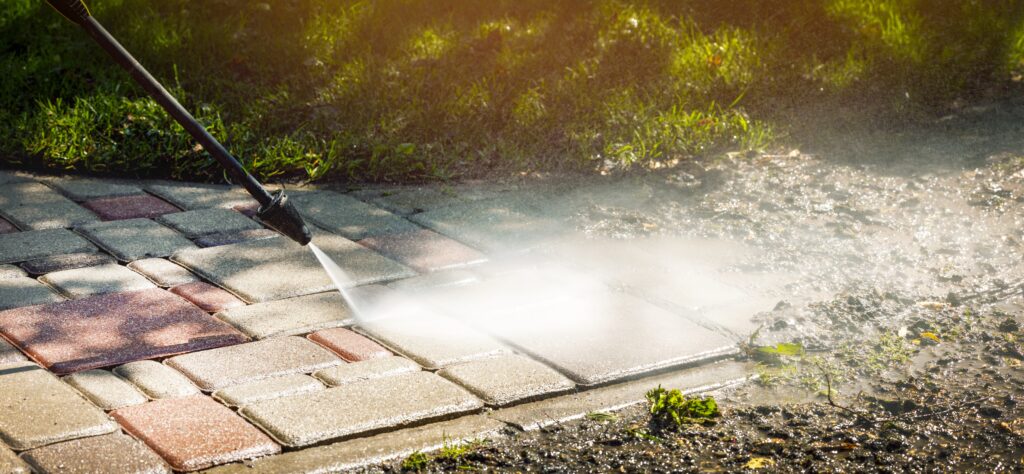
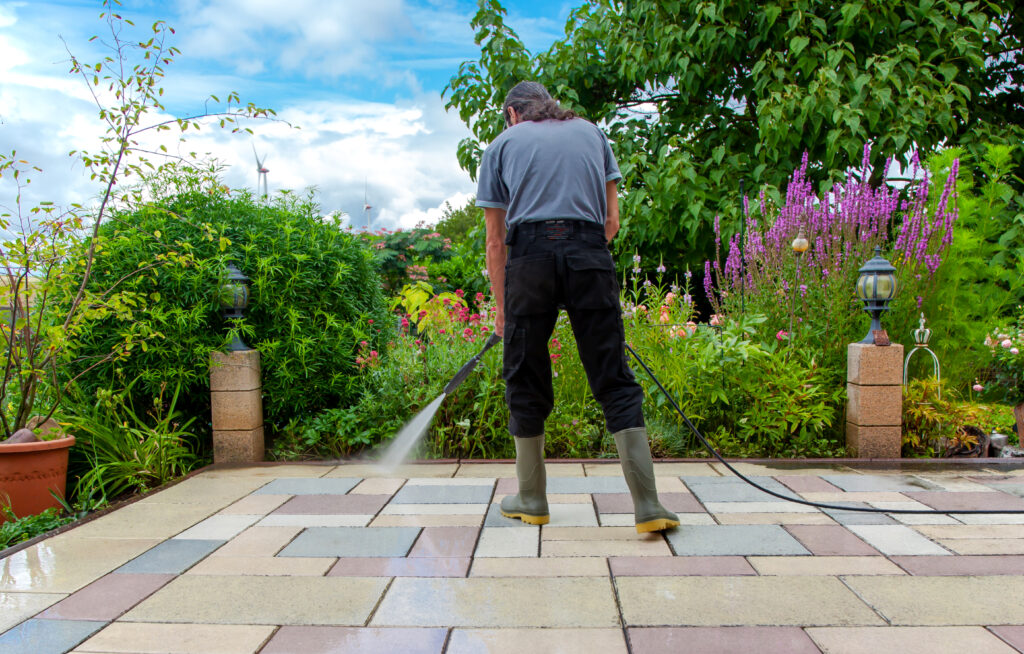
- Clean-Up: Remove any excess mortar or jointing material from the surface of the paving slabs using a brush or a damp sponge. This will help prevent staining and ensure a clean and polished finish.
- Sealing (Optional): Consider applying a sealant to the surface of the paving slabs to protect them from stains, water damage, and UV exposure. This is particularly important for porous materials such as natural stone and concrete.
- Regular Maintenance: Keep your patio looking its best by regularly sweeping away debris, weeds, and fallen leaves. Periodically inspect the joints between the paving slabs and top up with jointing material as needed to maintain a smooth and level surface.
- Enjoy Your New Patio: With the final touches complete, it’s time to relax and enjoy your newly transformed outdoor space! Whether you’re hosting a barbecue with friends, lounging in the sun with a good book, or simply admiring the view from your patio, take the time to savour the fruits of your labour.
How to Lay a Patio On Soil – Conclusion
Laying a patio on soil is a rewarding DIY project that can enhance your outdoor living experience and add value to your home.
By following the step-by-step instructions outlined in this guide and considering factors such as planning, preparation, and proper installation techniques, you can create a patio that is both beautiful and functional, providing years of enjoyment for you and your family.


