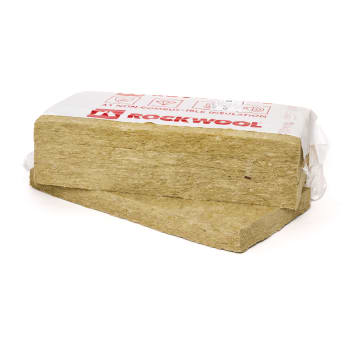
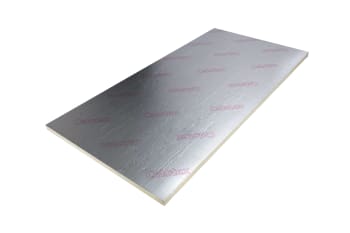
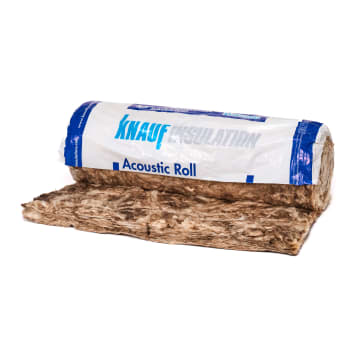
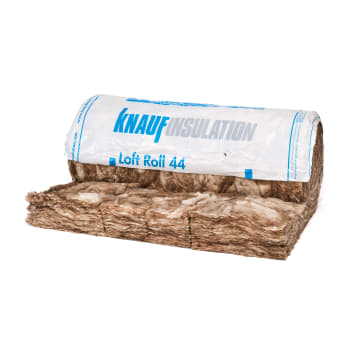
Insulation Material Type
(202 Products)Choosing the right insulation material goes beyond just keeping your space warm or cool. The material impacts energy efficiency, comfort, noise control, moisture resistance, and even the environmental sustainability of your building. By understanding how insulation works and considering your specific needs - whether it’s reducing heat loss, improving soundproofing, or choosing eco-friendly options - you can make an informed decision that will pay off in the long term.
Ultimately, the best insulation is the one that suits your specific environment, budget, and performance goals. Whether you're building from scratch or upgrading an existing structure, selecting the right insulation material is key to creating a more comfortable, efficient, and sustainable living or working space.


Why Picking the Right Insulation Matters
The right insulation choice can significantly affect your building’s energy efficiency, comfort, and overall environmental impact. Whether you’re looking to improve thermal performance, reduce noise, or use sustainable materials, understanding the options available helps make the best decision for your needs. The right material ensures long-term benefits like lower energy bills, increased comfort, and enhanced acoustic control.
Key Factors Affecting Insulation Suitability
- Climate and Environment: The local climate plays a large role in deciding which insulation material will perform best. For example, in colder climates, materials with higher thermal resistance are essential to prevent heat loss.
- Building Type and Use: The type of building (residential, commercial, industrial) and how it’s used can also influence material choice. For example, soundproofing is critical in office buildings or apartments, while thermal insulation is a top priority in homes.
- Sustainability: Increasingly, builders and homeowners are opting for eco-friendly insulation options, such as natural fibres or recycled materials, to reduce environmental impact.
- Budget: Cost is always a factor in material selection. Some high-performance materials may come at a premium, while others offer a more affordable solution with acceptable performance for most applications.
The Impact of Local Building Codes on Insulation Choices
Building regulations vary significantly from one region to another, as each jurisdiction tailors its codes to local environmental conditions, climate, and safety concerns. In some regions, the focus may be on improving energy efficiency to combat high energy costs, while in others, moisture control or fire resistance may be the primary concern due to the local climate or industrial conditions.
For example, in colder northern climates, building codes may prioritise insulation with low thermal conductivity to prevent heat loss, while in tropical or desert climates, reflective insulation that blocks heat from the sun may be more commonly required. The choice of insulation materials is often directly influenced by the region's regulatory requirements, as well as the specific needs of the building project.
Related Articles

How to Install XPS Insulation

How To Install Foil Loft Insulation

How to Install Foil Insulation on Walls

How to Insulate a Shed

How to Insulate Under Floorboards Without Removing

How to Insulate a Loft

Is Fibreglass Dangerous?

Cavity Wall Insulation Installation

How To Cut Insulation Rolls

Timber Frame Construction
How To Insulate A Garage

How To Build a Shed

How To Cut Plasterboard: A Step-by-Step Guide

How To Fix Plasterboard

How To Install Celotex Insulation Boards
How and Where Is Rockwool Manufactured?

What Is Dot and Dab?

Celotex Floor Insulation Guide

How To Soundproof A Floor
