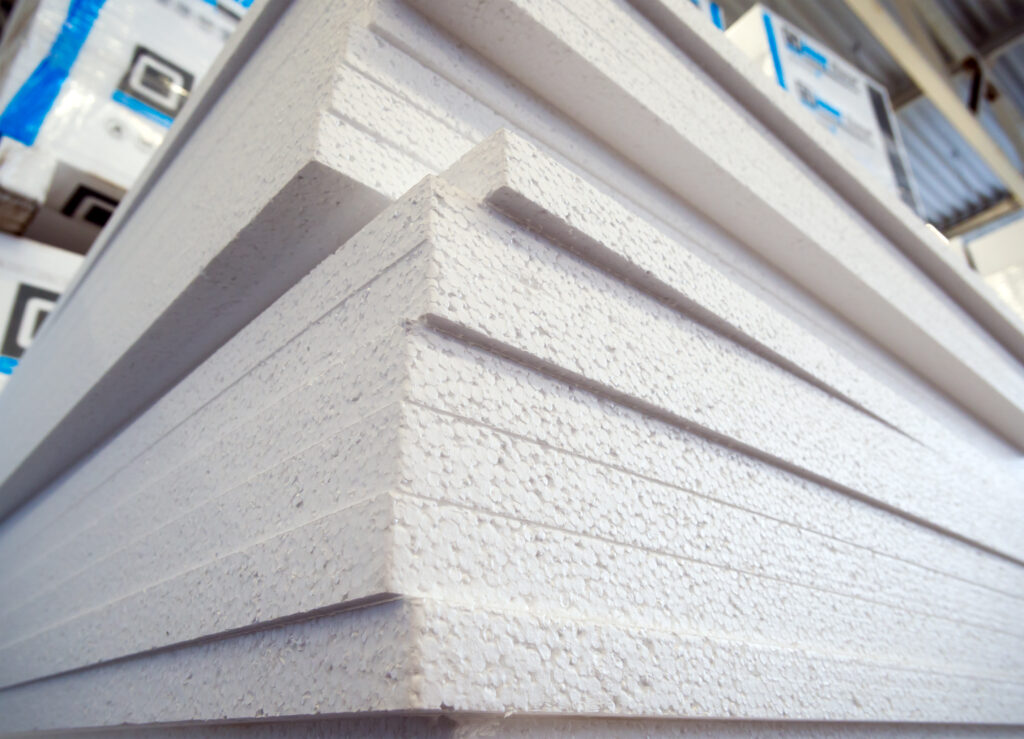
How To Install Celotex Insulation Boards
Looking for installation instructions? We’ve got you. We’ve put together our hard hats to come up with an informative Celotex installation guide so you can focus on the practical side of installing.
Always consider manufacturer or professional installation advice. In all cases, be sure to equip yourself with the following: protective gloves, a safety mask and suitable eye protection.
Celotex Floor Installation Guide
Insulating the floor in your home is a fantastic way to keep your property cosy whilst improving your living environment and cutting energy use. Celotex GA4000 boards are suitable for a number of different floor applications including:
- Concrete slab floors
- Beam and block floors
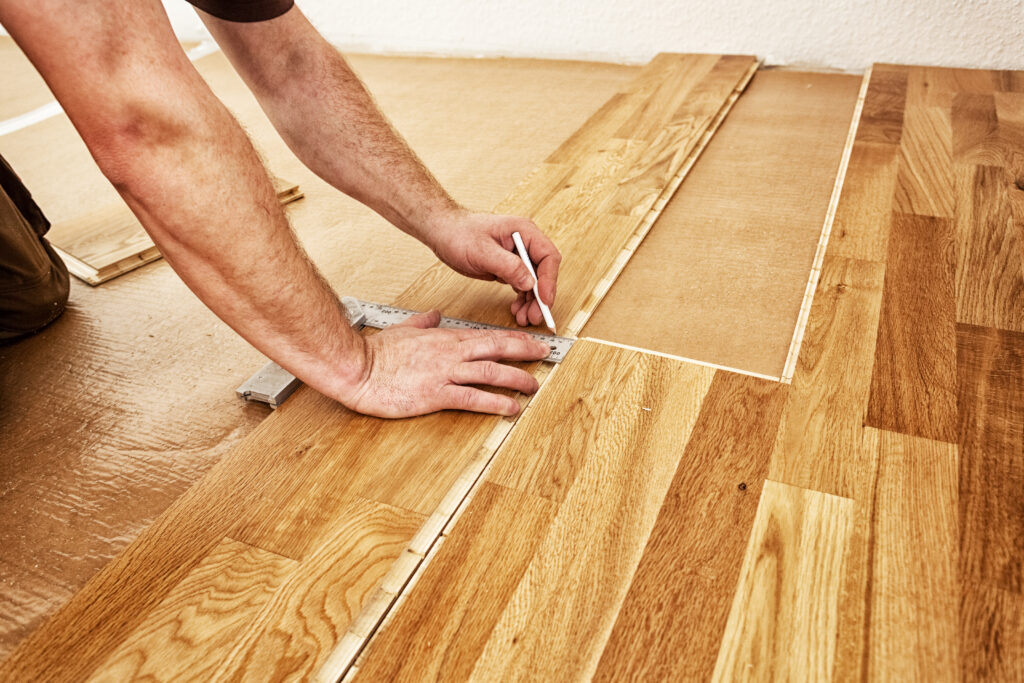
- Suspended timber floors
Installing Celotex PIR insulation boards in floors couldn’t be an easier process. The thickness and dimensions of the boards allow them to slot right into almost any construction space. The boards also provide excellent dimensional stability whilst reducing the risk of thermal bridging at floor edges.
Concrete Slabs:
What you need
- Celotex boards: GA4000 or XR4000
- Damp Proof Membrane (DPM)
- Polythene vapour control layer (VCL)
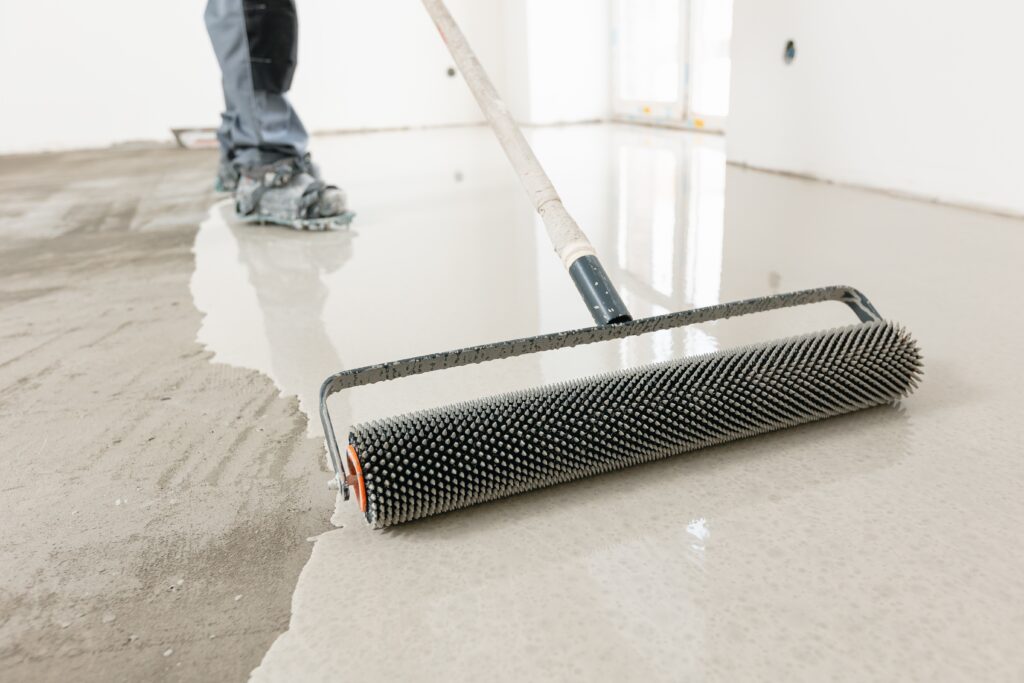
- Sand/cement or self-levelling screed
- Insulation saw
- Tape measure
- PPE
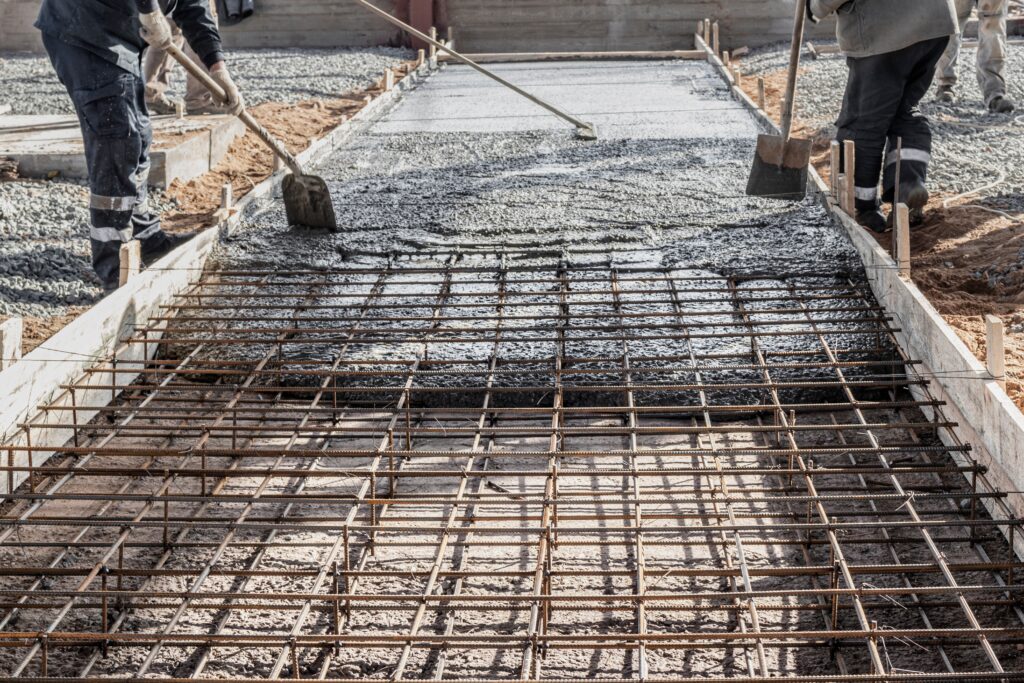
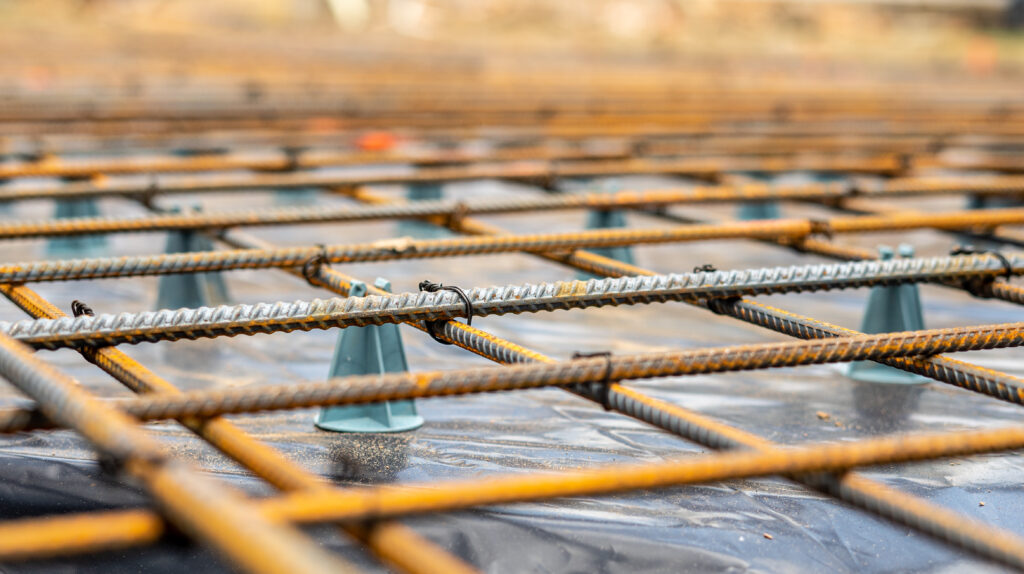
- When installing the boards over slab, first install a damp proof membrane below or over the slab. As the name suggests, this waterproof barrier keeps out moisture, lessening the chances of mould or mildew.
- Prior to installation, the slab surface needs to be levelled, smooth and free of any protrusions.
- Once the slab is clean and clear, cut and fit boards to the correct floor level. Make sure that the upstand depth equals the thickness of the screed and insulation (but watch that it does not exceed the skirting and wall plaster thickness).
- Next, install the Celotex GA 4000 floorboards onto the slab, making sure that all joints are loose-laid and brick-bonded. In order to prevent condensation, simply lay a vapour control layer over the insulation. To finish, apply a cement/sand or self-levelling screed over the vapour control layer and the boards (minimally 65mm thick).
Always consider manufacturer or professional installation advice.
Suspended Beam And Block Floors:
What you need
- Celotex boards: GA4000 or XR4000
- Insulation saw
- Polyethylene vapour control layer (VCL)
- Sand/cement or self-levelling screed
- Tape measure
Suspended floor construction is one of the most common flooring systems specified in residential construction. Beam and block concrete floors comprise a series of inverted T-beams made of pre-stressed concrete cut to specified lengths. The beam and block method is often used to replace traditional timber upper floors.
- Ensure the top surface of the beam and block structure is levelled with grout or a levelling topping. If a radon barrier is necessary, (if you are located in an area where it is estimated that 3% or more properties will be affected by high levels of radon) simply place this over the grouting layer and reach it across the wall cavity to the outer leaf.
- Install a suitable insulation upstand to the perimeter to prevent cold bridging. This should be no higher than the finished level of the screed and no thicker than the combined thickness of the wall plaster and skirting boards. The perimeter upstand should butt tightly against the floor insulation and any wall insulation so that there are no gaps.
- Next, you want to lay the PIR boards on top of the structural deck (or radon barrier). The insulation boards should be tightly butted in their formation and laid in a uniform layer until the entirety of the floor is covered. Where needed, cut the insulation boards neatly around service penetrations. Keep it as tight and accurate as possible to prevent heat loss through cold bridging.
- Once you’re happy with the fit, top the insulation boards with a polyethylene sheet to create a barrier between the insulation and the floor screed. This will prevent moisture from the screed from travelling into board junctions and causing condensation. If you’re planning on embedding heating pipes in the screed, a proprietary clip system should be used to keep flexible piping secure until the screed has been laid.
- Finish by applying the floor screed over the insulation boards (to a minimum thickness of 65mm), ensuring that the insulation boards are fully protected from damage in the process. And as simple as that, you’re done – not so hard, after all.
Insulation Below a Floor Screed
What you need
- Celotex boards: GA4000 or XR4000
- Damp-proof membrane (DPM)
- Insulation saw
- Polyethylene vapour control layer (VCL)
- Sand/cement or self-levelling screed
- Tape
Commonly confused with concrete, screed is actually a thinner layer of concrete that is most commonly poured over a base floor to help form a smooth floor coating which then works as a strong foundation for floor finishes.
- Prior to the installation, ensure that the concrete slabs have dried out and are nice and smooth. Beam and block floors should be level and grouted, while roughcast slabs should be smoothed using thin sand blinding.*
- Before installing the insulation boards, lay down a damp proof membrane (DPM) with joints well lapped and folded. Bring the membrane up the surrounding foundation walls until it is just high enough to connect with or form the wall damp proof course.
- Install a suitable insulation upstand to the perimeter to prevent cold bridging. This should be no higher than the finished level of the screed and no thicker than the combined thickness of the wall plaster and skirting boards. The perimeter upstand should butt tightly against the floor insulation and any wall insulation so that there are no gaps.
- When installing, make sure that the insulation boards are loose-laid brick-bonded with joints lightly butted.
- If you are to add another layer of insulation, make sure the joint placements in the first layer don’t coincide with the additional layer. To ensure this, the extra layer should always be horizontally offset so that the joints from first layer don’t line up with the joints in the second layer.
- Afterwards, lay a polythene sheet over the top of the insulation boards to act as a vapour control layer. Ensure the polythene sheet has 150mm overlaps, is taped at the joints, and turned up 100mm at the walls.
- The floor is now ready for screed application.
* A base layer of weak concrete or sand that is laid above a layer of hardcore to provide a clean, level and dry working surface.
Always consider manufacturer or professional installation advice.
Celotex Roof Insulation Guide
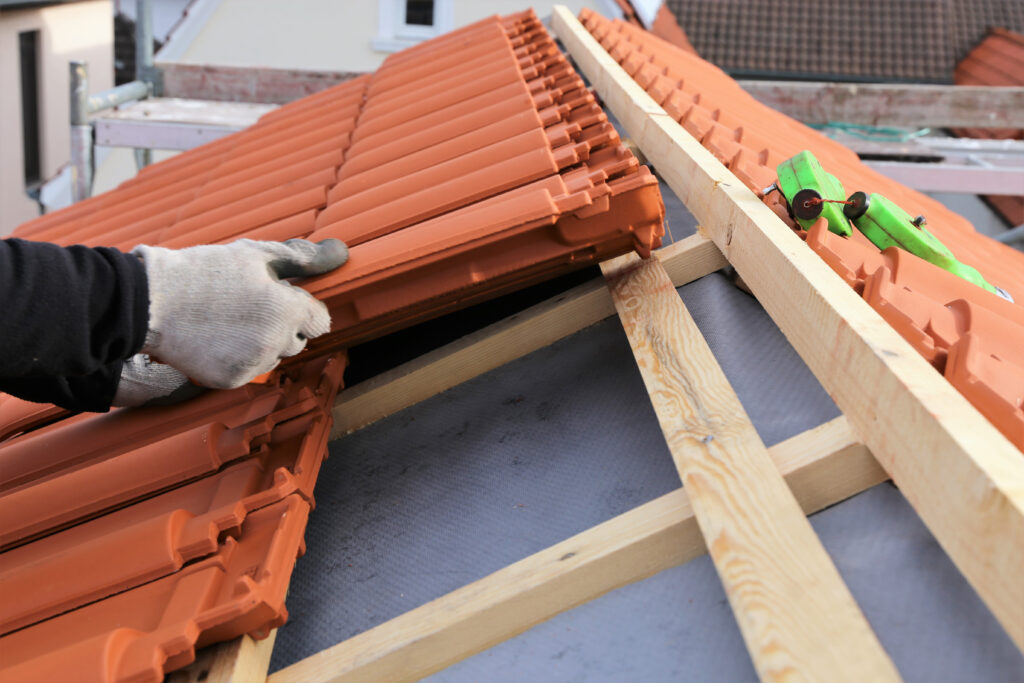
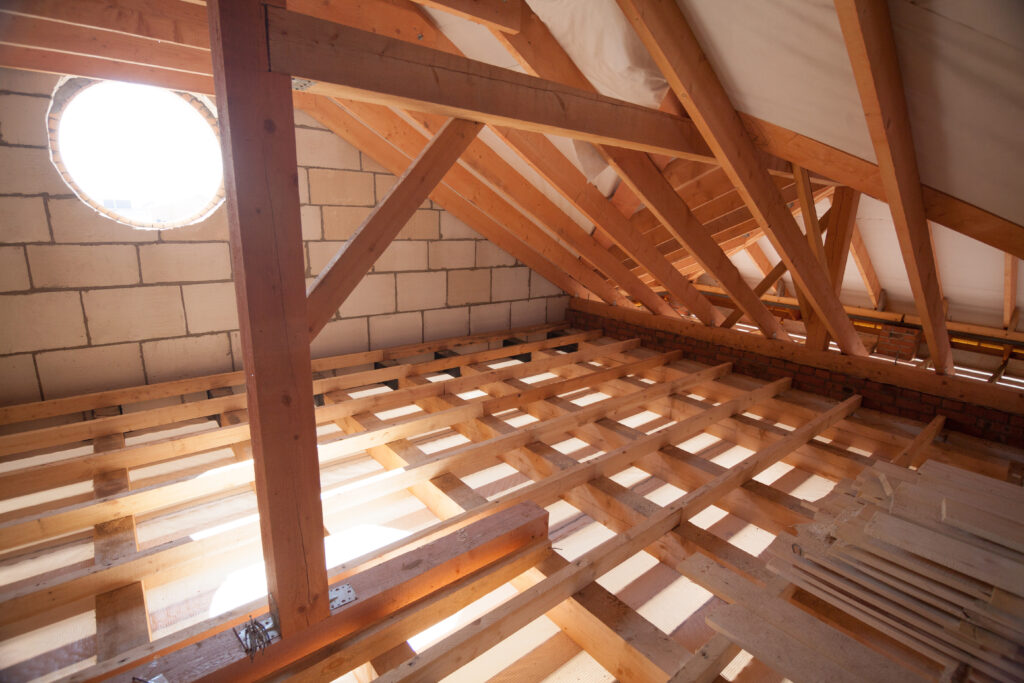
Padding out your roof with high thermal performance insulation is a crucial step in keeping energy costs down. One of the simplest and most effective ways to insulate your roof is to fit Celotex between the roof rafters. Installation is simple and will dramatically transform your insulation levels. It’s a fantastic insulation solution for both new and old builds, offering excellent thermal performance and rot resistance.
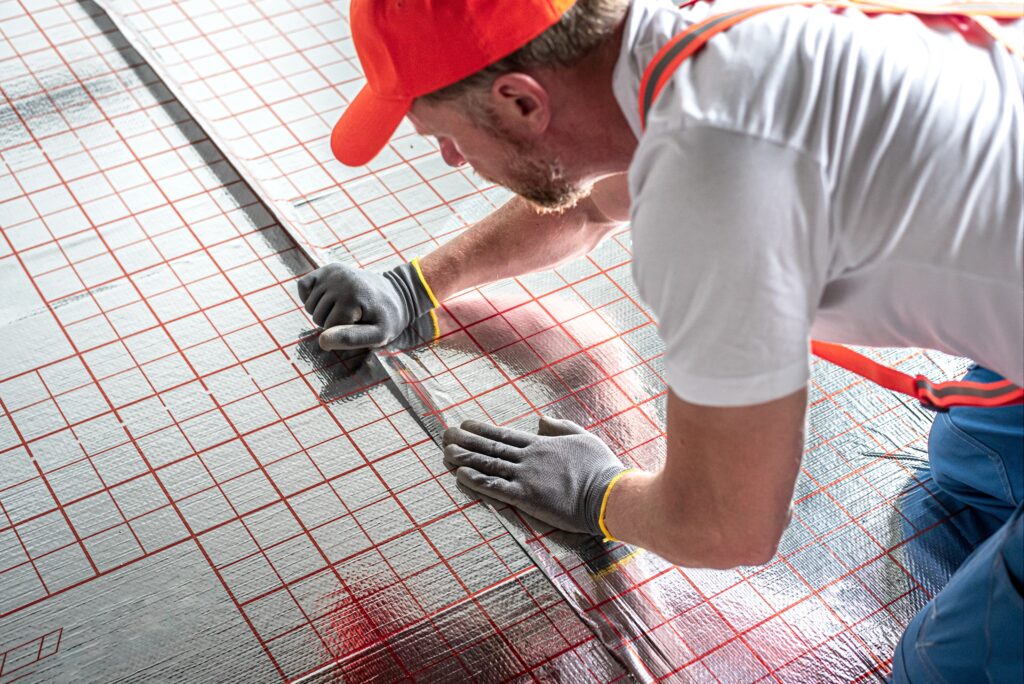
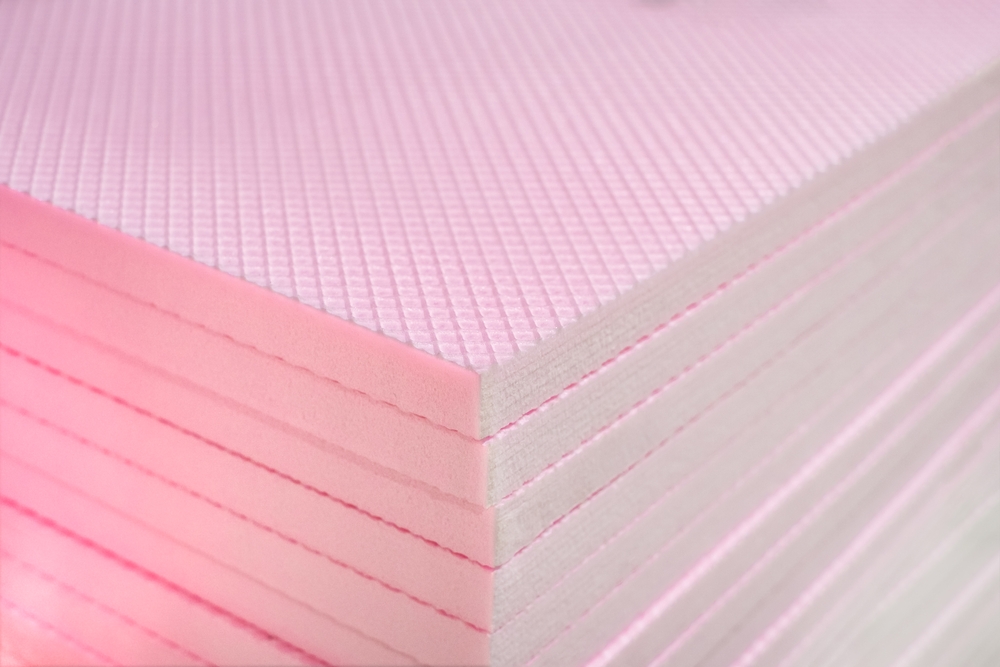
Celotex PIR insulation boards are among the most thermally efficient commonly available insulation materials on the market. Due to their low thermal conductivity (of 0.022 W/mK), they enable superb thermal performance with a singular layer, although they can also be used as a part of an insulation system, in combination with other insulation solutions. The grid markings on the boards also make the installation process a touch easier.
Rafter Insulation
What you need
- Celotex boards: GA4000 or XR4000
- Polyethylene vapour control layer (VCL)
- Nail gun
- Timber battens
- Tape measure
- Insulation saw
- Prepare the roof by making sure the space is clean and clear.
- Clear the space around the rafters so that you have easy access, as well as efficient space to work and move around. With that in mind, shift any obstacles out of the way and make sure your lighting gives you a clear view of your work.
- Inspect the work area for any existing issues and defects then rectify these before proceeding.
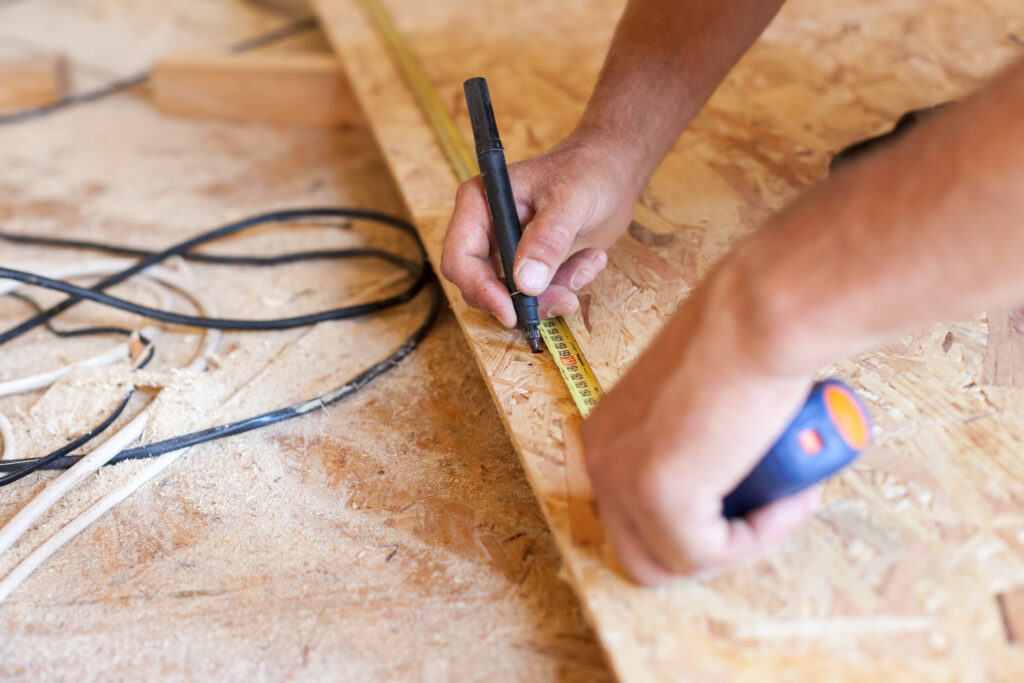
- Once you’re happy that the rafters are clear and clean, it’s time to go ahead and measure the full dimensions of the roof rafters. The full area should be carefully and accurately measured, including joist centres and depths.
- Your next step is to create an air gap. It’s essential to create a space between your Celotex boards and the roof itself, to allow air to circulate. This will then help prevent damp and condensation, and in turn, mould. A sensible air gap, we would recommend, is somewhere around 25mm-50mm.
- The best way to achieve this gap is to fix wooden battens to the rafters using a nail gun or by screwing them in.
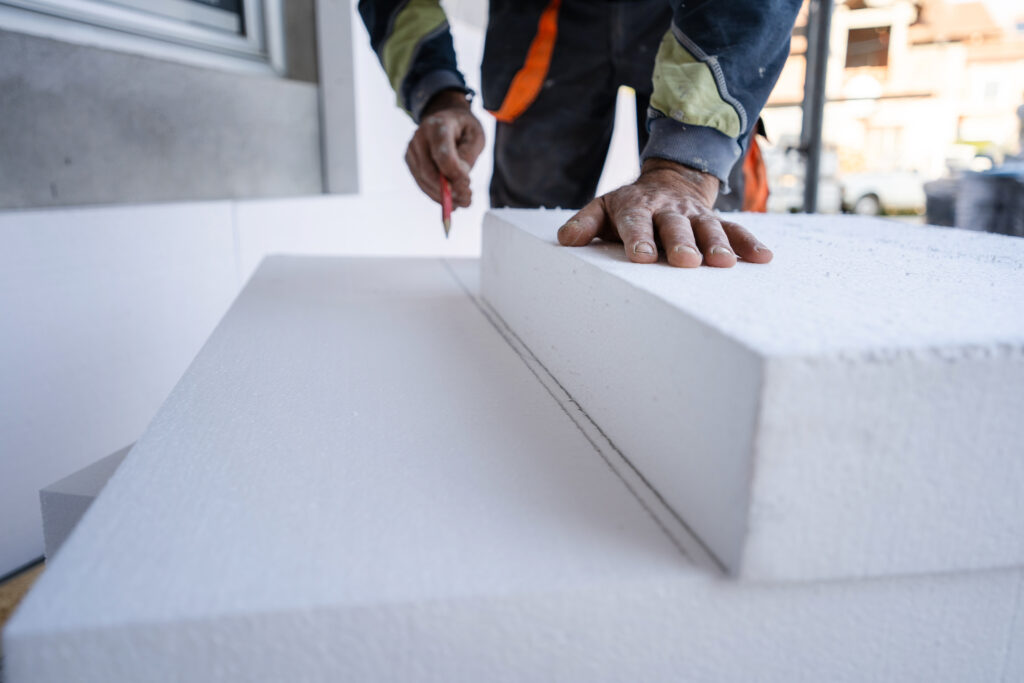
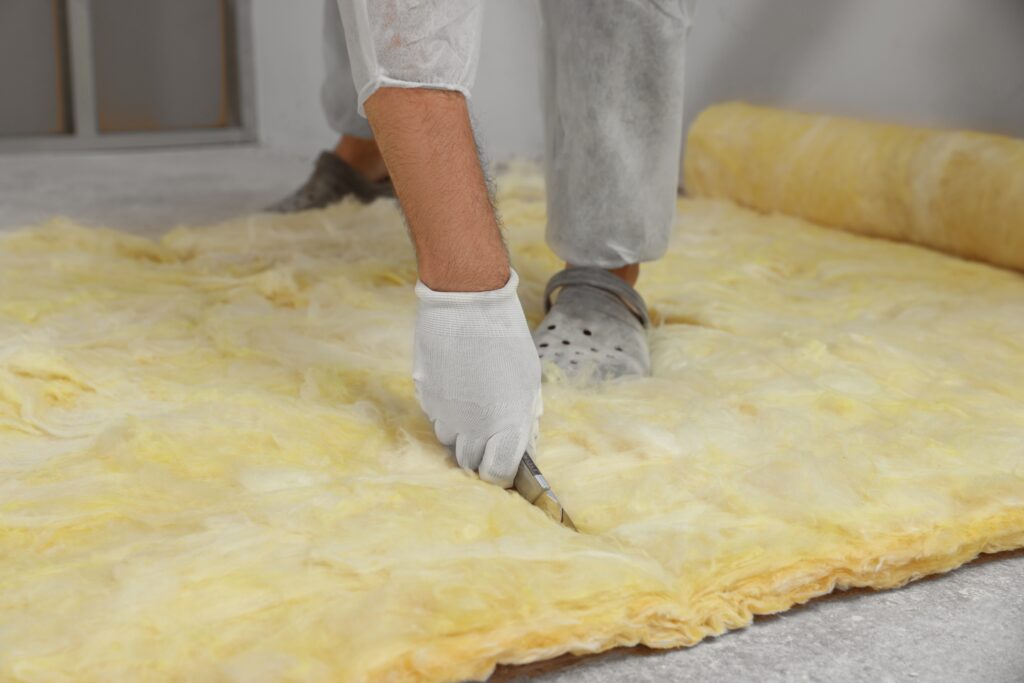
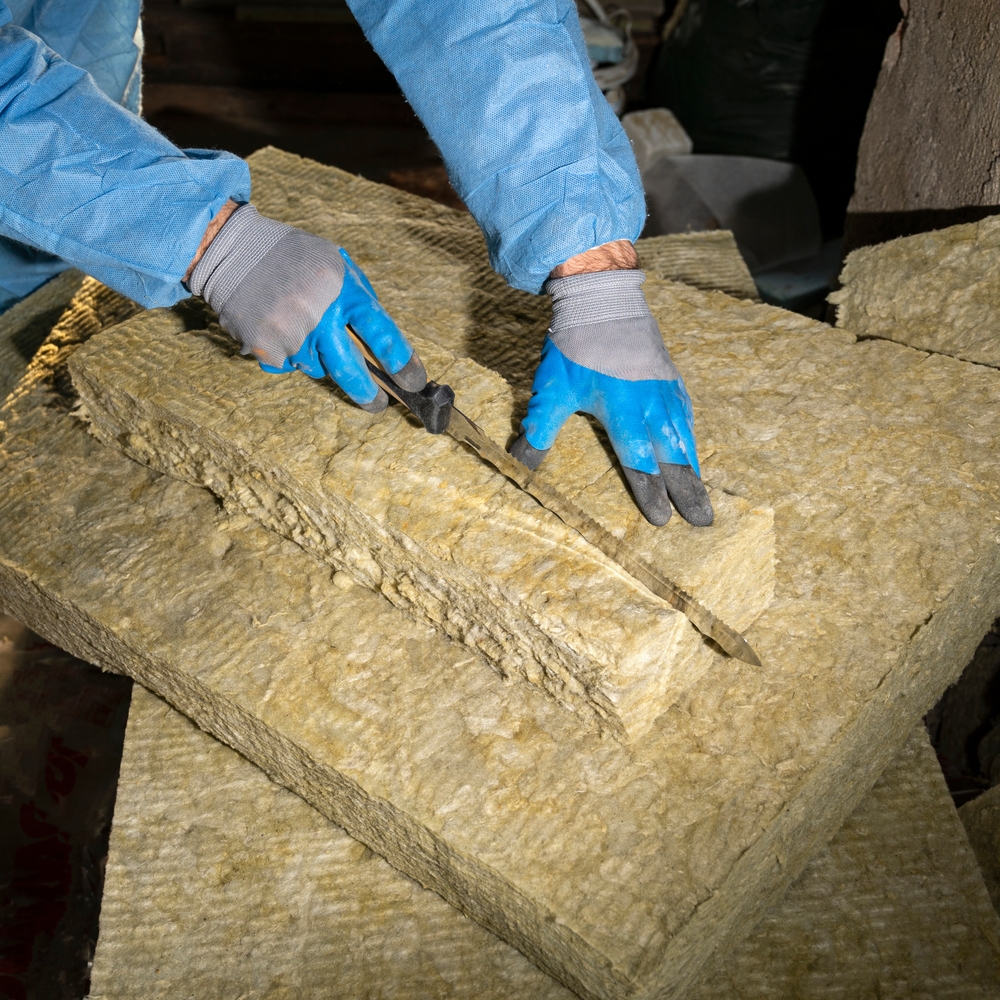
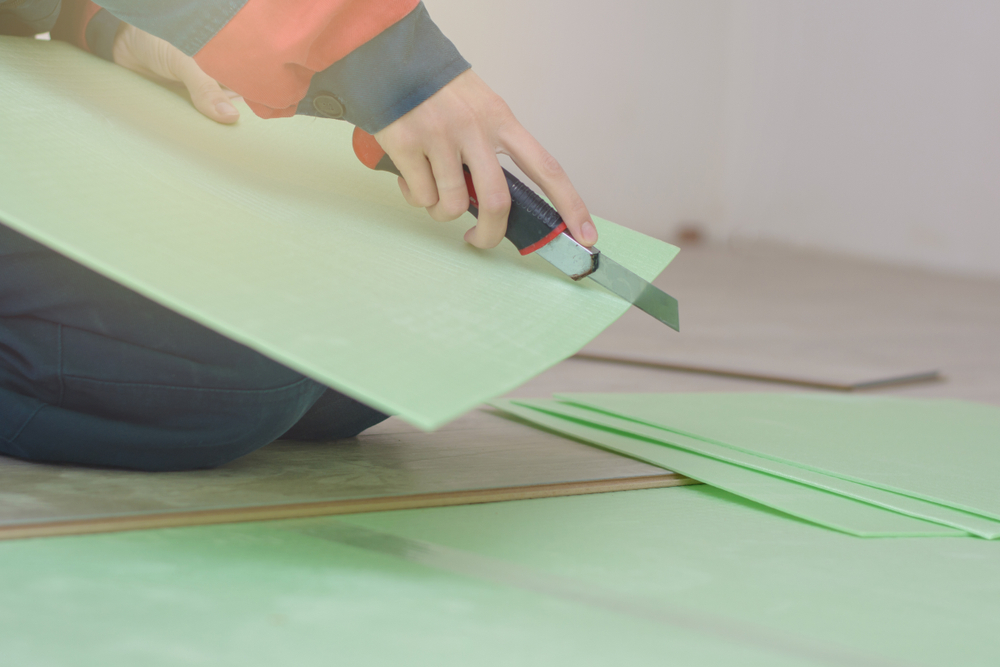
- With your measurements to hand, you’ll next need to cut your boards to fill the exact spaces you have between the rafters. When cutting your Celotex boards make sure they slot snugly between the rafters and watch you don’t cut yourself on any sharp edges.
- When they are cut ensure there is a relatively tight fit between the edges. The wooden battens that sit further in the rafter will act as an automatic stabiliser, so the boards could easily sit on top of them.
- The insulation boards should butt directly against these battens so that they are kept in position.
Using rigid insulation boards requires more accuracy when measuring and cutting than fibreglass or mineral wool insulation products. If you are in doubt please consult a professional. Always consider manufacturer or professional installation advice.
Celotex Wall Installation Guide
Wall insulation is not only good for your energy efficiency, it’s good for your pocket too. Insulating walls reduces the amount of heat loss, which, in turn, cuts down your energy use and lowers your energy bills. Walls are actually considered the most important thing to insulate, as within a typical house the walls will lose around 30 to 40 per cent of the heat.
Solid Masonry Walls
What you need
- Celotex boards: TB4000, GA4000, PL4000
- Treated timber/metal battens
- Insulation tape
- Wall ties
- Drill
- Rule plugs
- Breather membrane
- Galvanised steel staples/nails
When it comes to external wall insulation, you want a solution that will not impact the size of your interior space. Celotex GA4000 boards achieve this whilst greatly reducing the risk of thermal bridges formed by mortar joints.
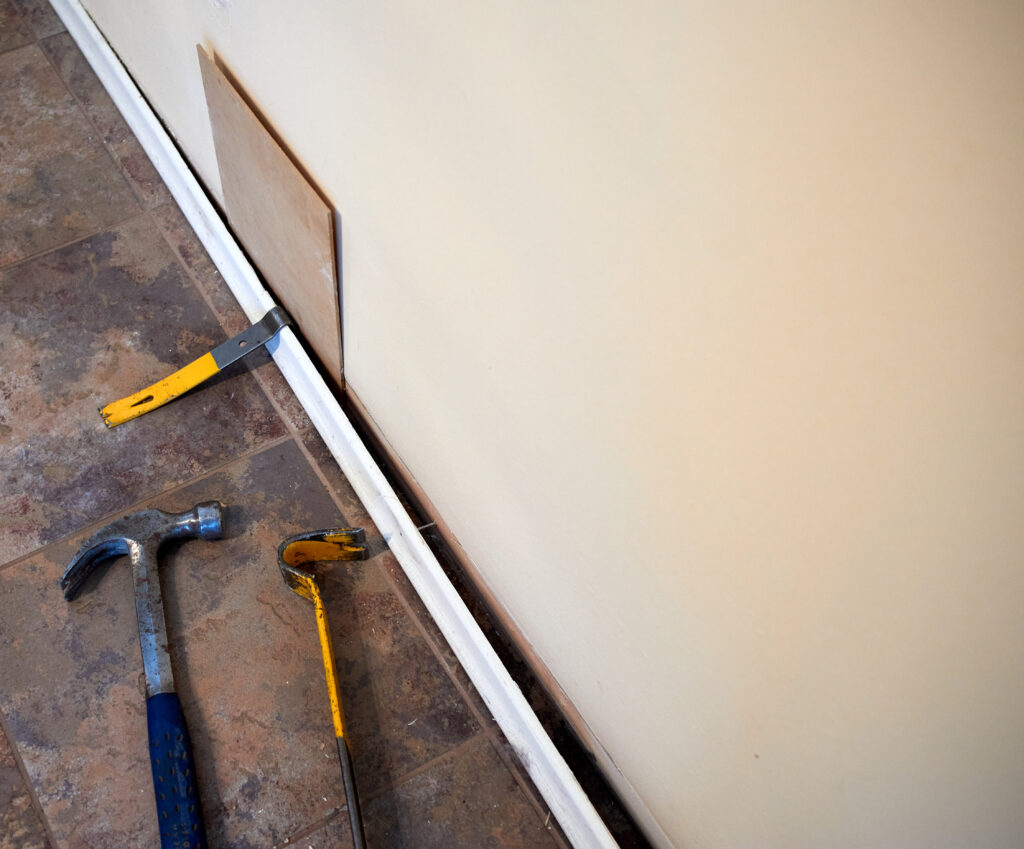
- First off, you want to remove any skirting boards and architraves so you’re getting a nice, clean starting point. By clean we literally mean remove everything, including the electrics ( so you can see how much cable there is attached to the back of the electric). Remember that electrical items will need to be brought forward by the depth of the insulation and plasterboard lining.
- Measure up the wall to find out the height of the floor to ceiling then mark up the wall battens that go across.
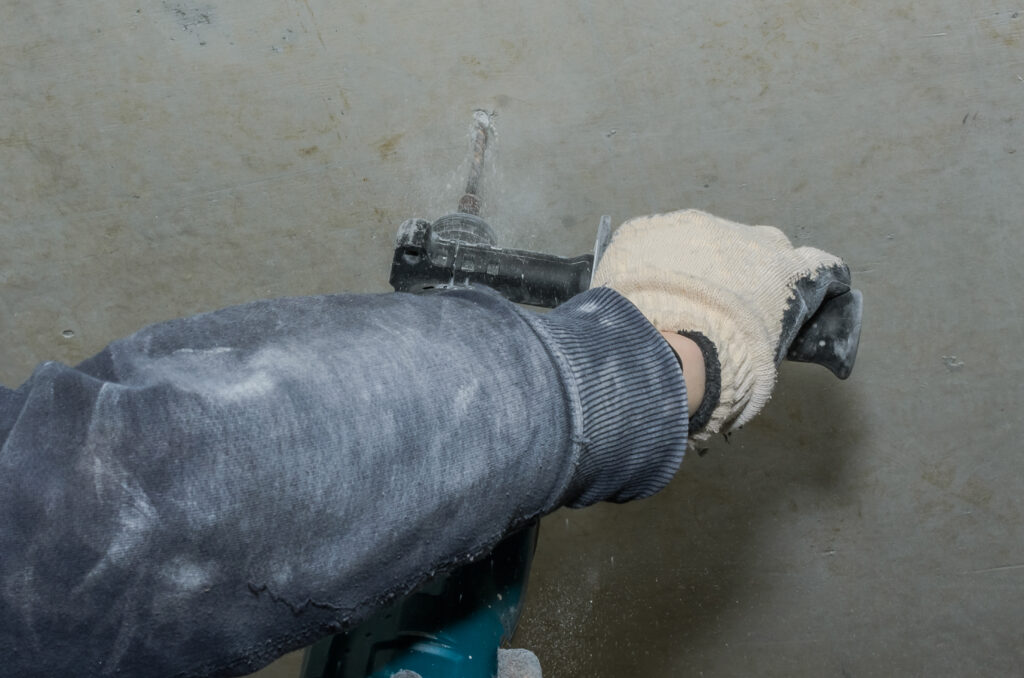
- Drill some pilot holes into the battens so that these can later be drilled to the wall. Battens give you something to fasten the plasterboard to.
- Line and level the battens in the correct positions on the wall, mark the holes and drill.
- Insert wall plugs into the holes and fix back the battens into place.
- Next, you need to size and fit the Celotex. Electrical sockets, pipes etc must be carefully cut out of the insulation prior to the installation of plasterboard.
- Celotex should be measured, cut and fitted into place between the battens with a breather membrane installed over the face of the insulation.
- Before installing the breather membrane, it is essential that you mark out where the frame is to ensure the fixings align neatly with the frame.
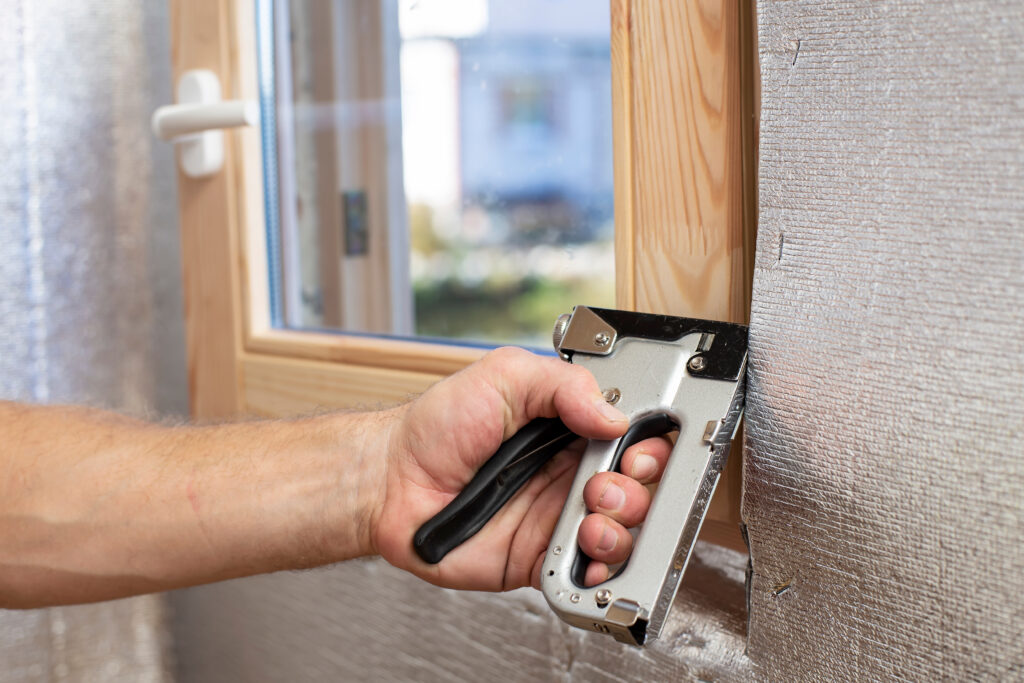
- When fixing the breather membrane, we recommend using galvanised stainless steel nails or staples. Install the membrane at regular intervals to the frame to ensure stability.
- Joints should be lapped according to manufacturer’s instructions, but typically 150mm. Some membranes require that tape be used at joints.
- Treated timber battens should then be vertically installed over the breather membrane and insulation boards.
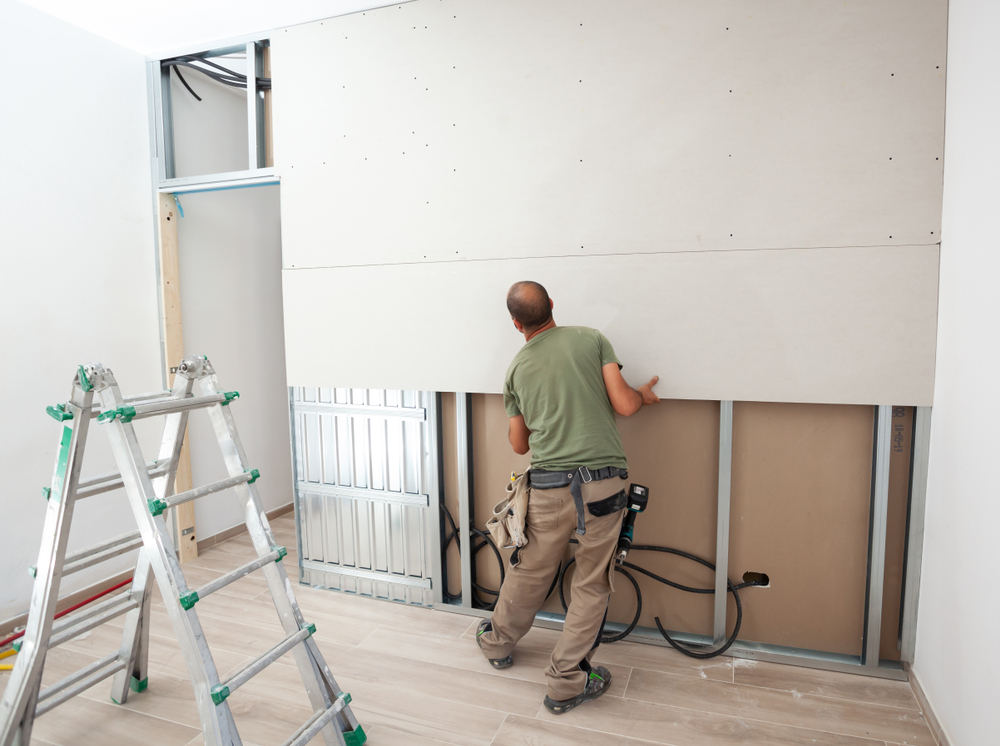
- Install plasterboard to the battens – again penetrations such as pipes, cables and electrical sockets should be carefully measured and cut out.
Always consider manufacturer or professional installation advice.
Timber Frame Walls
What you need:
- Celotex boards: GA4000, XR4000, TB4000.
- Board cutting tool
- Plasterboard lining
- Plasterboard nails/screws
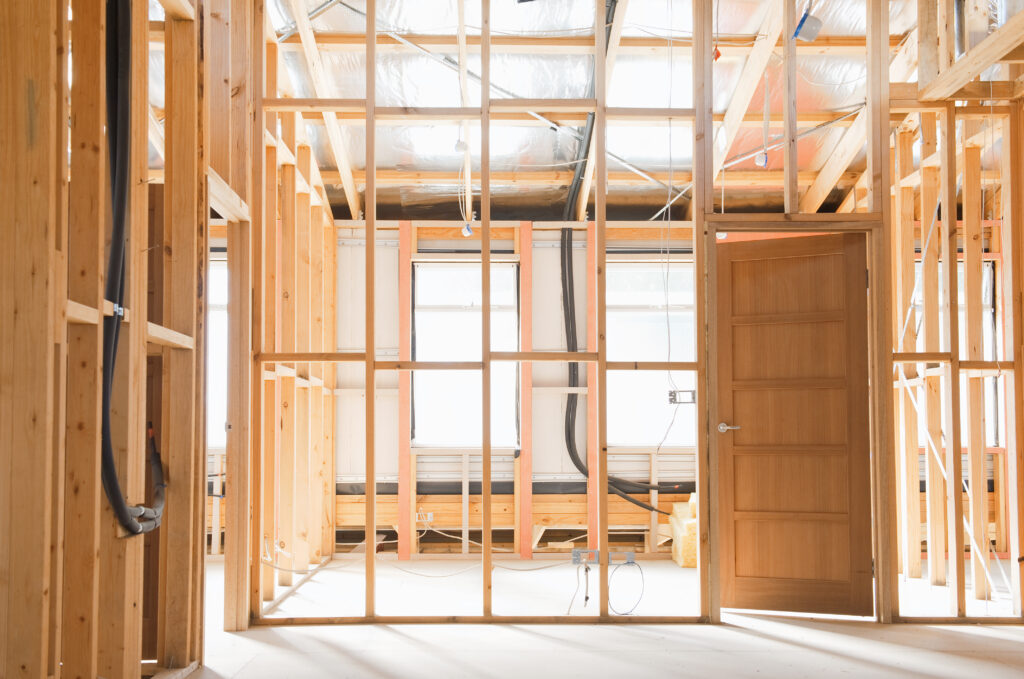
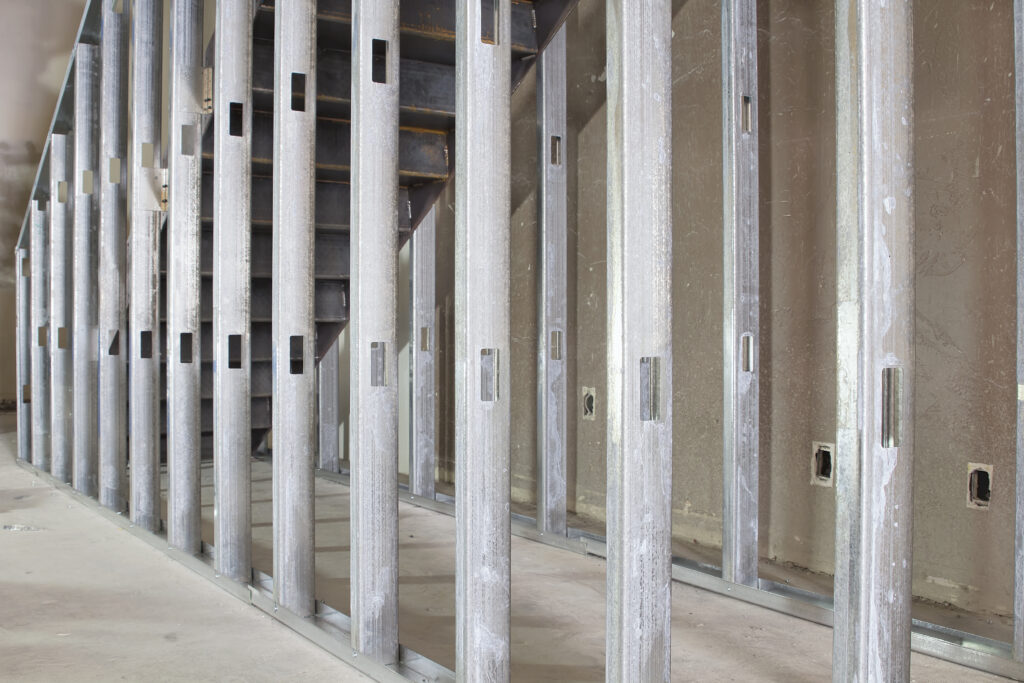
- Begin by making sure that all services are installed and both studs and battens are secure without projections.
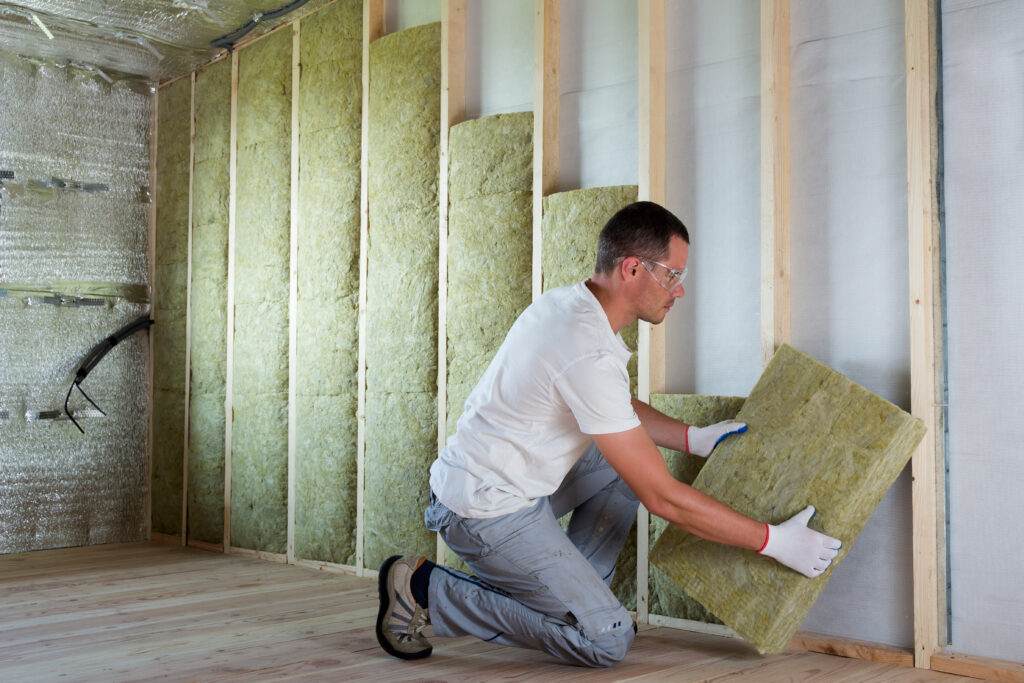
- Slot the insulation into the framing, pushing back to the plywood sheathing. If needed, fit services into the cavity and cut the boards to fit snugly between the studs and battens. Measure, cut and install accurately to maintain thermal performance.
- Throughout, make sure the wall insulation continues with the floor perimeter.
- Due to the rigid nature of this material, smaller pieces and off-cuts can be successfully utilised for smaller apertures or pieced together provided that the joints are tightly butted together.
- Once you’re gap-free, install a vapour control layer over the warm side of the stud work.
- Last step! Fix plasterboard lining over the vapour control layer using suitable plasterboard nails or screws.
Always consider manufacturer or professional installation advice.
Partial Cavity Fill Walls
What you need:
- Celotex boards: CW4000, PL4000
- Wall ties (BBA approved – not butterfly)
- Retaining clips (BBA approved)
- Mechanical fixings
- Insulation saw
CW4000 is a Celotex insulation board that has been specifically designed for partial fill cavity wall applications. Just like other Celotex boards, CW4000 is manufactured from rigid polyisocyanurate (PIR) and sized specifically to fit the standard wall tie spacing requirements. So, no cutting is required, and the board is quick and easy to install.
- Start by installing the first row of wall ties at least one course below the damp proof course. You want to position these ties at maximum 600mm centres horizontally. This will provide minimum support of two ties per 1200mm board.
- Next, install the second and following rows of ties at 450mm centres vertically with a maximum of 900mm horizontally.
- Slot the boards between the wall ties, securing each one with a retaining clip on each tie – here, you want to make sure that both full and cut boards are held by no less than three ties around their perimeters. Ensure both horizontal and vertical joints are butted tightly together to form a uniform layer. For both internal and external angles, ensure the thickness of the board remains consistent around the angle – continuing to make sure suitable wall ties are used.
Note: For windows and doors or other openings prone to heat loss, use proprietary insulated cavity closers.
- For cavities closed at or below DPC level by a methane barrier membrane, use mechanical fixings to secure the board to the brickwork above the DPC.
Note: Be extra careful not to puncture the gas barrier membrane. If the membrane is punctured this can increase the risks of damage caused by moisture ingress.
Always consider manufacturer or professional installation advice.
Timber Frame Wall Sheathing
What you need:
- Celotex board: GA4000, XR4000, TB4000.
- Galvanised clout nails/suitable insulation fixings – screws with insulation washers
- Stainless steel wall ties
- Simply secure your Celotex sheet to external sheathing using galvanised clout nails. A clout nail is a somewhat short, thick nail with a wide, flat head and is your best friend when it comes to attaching sheet material to wooden frames or sheet. You want to position the nails 400mm centres in the centre of the board and 300mm centres around the parameter.
- Make sure that the unprinted foil surface is facing towards the air cavity for maximum thermal efficiency. Additionally, you want to ensure that all fixings are meticulously aligned with underlying studs, sole plates and headrails.
- Next, align your boards firmly together using off-cuts to fill in around waist rails – making full use of the material.
- Afterwards, tie back brickwork to timber framing with stainless steel wall ties – driving your insulation board into studs. Insert the ties approx. 10mm to 20mm above brick course so a slight ‘crank’ can be applied, ensuring the tie slopes downward from the sheathing to the outer brickwork.
Always consider manufacturer or professional installation advice.
PL 4000:
What you need:
- Mixer
- Spirit level or laser
- Straight edge
- Trowel
- Bucket
Celotex PL4000 is Celotex’s very own insulated plasterboard. PL4000 boards are a fantastic solution for internal wall insulation. These boards combine insulation and plasterboard into one sole product helping reduce installation time and offering maximum flexibility. PL4000 is suitable for both direct bonding (dot and dab) and mechanical fixing installations.
The direct bonding method is not only quick but it also allows for variable flatness of the wall. The ‘dot & dab’ method involves fixing the rigid insulation boards directly to the internal wall or exposed brickwork (if not prone to damp or black mould). These internal wall insulation boards possess an excellent in-built vapour control layer and can be used in both old and new build applications.
- Prior to installation, it’s important to ensure that the wall is secure, free from contaminants and dry. Concrete should be dampened prior to application and on occasion, a primer may be necessary. The drywall adhesive should be prepared, mixed and applied in line with manufacturer instructions.
- In all instances, the background should be plumbed for alignment, making allowances for high spots on the masonry.
- Mark chalk lines on the floor and ceiling to establish the new wall plane. Vertical guidelines on the wall should be marked at 1200mm centres to indicate the positioning of the boards.
- The installation should start from an internal corner, a window or a door reveal.
- All conduits and piping should be installed prior to the commencement of all works. The insulating backing of the laminate should not be removed to accommodate services.
- With each dab approximate to 50mm x 250mm in dimension, individual dabs should not bridge boards. Typically the adhesive dabs should cover at least 20 percent of the board area.
- Use the trowel to dot and dab the wall. The dabs of adhesive should not exceed 25mm thickness.
- Dabs should be applied where the plasterboard edges will be placed, but no more than 25mm from the edge of the plasterboard.
- A continuous bed of adhesive should be applied around the perimeter of the wall as well as around any services or other openings. This is crucial when ensuring the airtightness of your build.
- Add one to two additional rows of adhesive in the center of where the board will be placed.
- Straighten and level the plasterboard with a spirit level.
- Slowly press the plasterboard onto the adhesive, starting from the bottom. Once the plasterboard is vertical, push the bottom of the board until it lines up with the chalk line on the floor.
- With the spirit level against the plaster board, slowly push it onto the adhesive until the bubble indicates that the board is level. Wipe away any excess adhesive.


