How To Build A Shed
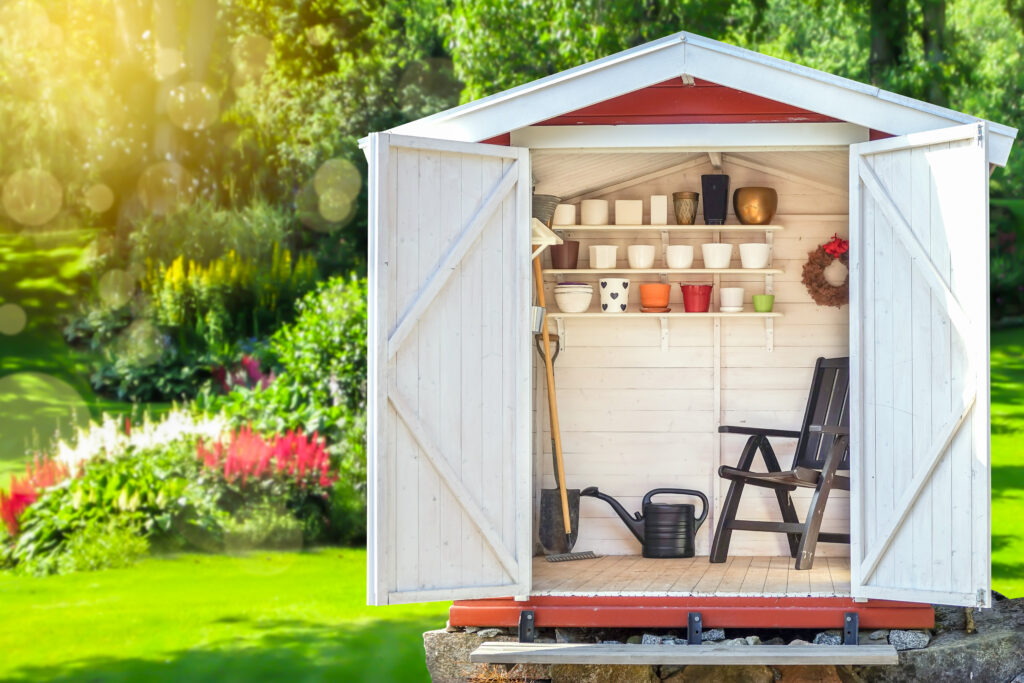
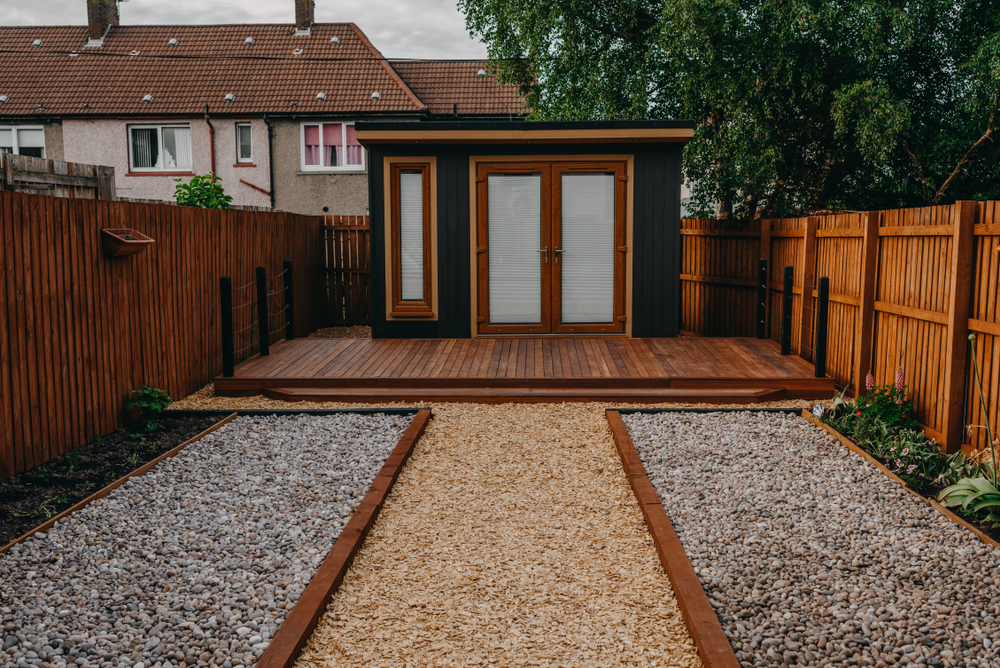
Building your own shed can be an immensely rewarding project, providing you with bespoke additional storage, a dedicated workshop, a garden office, or simply a peaceful retreat. Unlike using a pre-fabricated shed kit, devising your own shed plan allows you to tailor every aspect, making the project and the resulting space entirely your own. It’s an opportunity to create a structure that not only meets your exact needs but can also become a valuable and attractive addition to your property.
Whether you’re aiming for a more elaborate design than standard market offerings – perhaps incorporating stylish fascia boards for a polished look, robust double doors for easy access, or additional windows for natural light – this comprehensive guide provides detailed step-by-step instructions and expert insights on how to build your very own garden shed from the ground up.
Note: It is essential to consult with your local planning authority to verify the Permitted Development criteria, any regional restrictions, or whether full planning permission is required for your intended structure. Building Regulations may apply, especially for larger sheds (e.g., over 15m² internal floor area, or over 30m²), if the shed contains sleeping accommodation, is sited very close to a boundary, or if electrical work is involved (Part P). Always verify these requirements before commencing any construction.
Additionally, this guide provides a general overview and may not cover every specific detail. It’s always recommended to consult professional builders or contractors if you have any doubts or questions.
Planning and Preparation
Defining Your Shed – Purpose, Size, and Design
Thorough initial planning is the most critical phase for a successful and satisfying shed build.
Clarify the Shed’s Purpose
How will you primarily use the shed? This is the first question to answer as it dictates many subsequent design choices.
- Storage: For tools, garden equipment, bikes? Security and shelving might be priorities.
- Workshop: For DIY projects or hobbies? Good natural light, ample headroom, robust flooring, and potentially power supply will be essential.
- Garden Office/Studio: Insulation, good lighting (natural and artificial), power, ventilation, and a comfortable internal environment will be key.
- Potting Shed: Lots of light (south-facing windows or clear roof panels), staging, and easy access to the garden. Consider both your current and potential future needs to ensure the shed remains functional for years to come.
Determine Optimal Size & Dimensions
Based on its purpose and the available space on your property, decide on the length, width, and internal height. Remember to think about:
- Internal Usable Space: Don’t just consider the external footprint; think about how much room you’ll actually have inside after accounting for wall thickness.
- Headroom: Especially important for workshops or if you plan to spend significant time inside.
- Item Sizes: Ensure doors are wide and tall enough for any large items you plan to store or move (e.g., lawnmowers, furniture). For constructing the outer frame, a common and logical order is to build the floor first, then construct and erect the back wall, front wall (incorporating door/window openings), and finally the sidewalls.
Select a Roof Type
Common designs offer different advantages:
- Pent Roof: Features a single sloping surface. It’s generally simpler to construct and is ideal if you want the shed positioned against an existing taller wall or fence, allowing water to run off to one side.
- Apex Roof: The traditional pitched roof with two sloping sides meeting at a central ridge. This design provides more headroom in the centre and ensures good water run-off to two sides.
- Lean-to: Similar to a pent roof but typically implies one wall of the shed is formed by an existing building.
Create Detailed Plans
Develop detailed sketches or use shed design software. Your plans should be clear and include:
- Precise dimensions for all components: floor, walls, and roof members.
- Specified timber sizes for framing elements.
- Joist and stud spacing (e.g., 400mm or 600mm centres).
- Exact positions and rough opening sizes for doors and windows.
Choosing the Ideal Location for Your Shed
The placement of your shed is a significant decision that impacts its usability, longevity, and potentially planning regulations.
Ground Conditions & Drainage
- Select a relatively level area to simplify foundation work.
- Ensure the location has good natural drainage. Avoid low-lying or boggy spots where water tends to collect, as this can lead to damp issues around and under the shed.
- If necessary, consider creating a slight slope away from the shed or installing French drains around the perimeter to manage surface water.
Access & Usability
- Think about how you will get materials to the site during construction.
- Consider day-to-day access: is it convenient to get to from your house or garden? Will you be able to easily move items like wheelbarrows, lawnmowers, or bicycles in and out?
Sunlight & Orientation
- For Workshops/Potting Sheds/Offices: Maximising natural light might be desirable. Consider orienting windows to the south or west (in the UK) for more sunlight, but also think about potential overheating in summer.
- For General Storage: A shadier spot might be preferable to protect stored items from excessive heat or UV degradation.
- Observe how sunlight patterns move across your garden at different times of the day and year.
Proximity to Boundaries & Existing Structures
- Be acutely aware of required setback distances from property boundaries, fences, and your house, as stipulated by Permitted Development rules or any planning conditions. Building too close can lead to disputes or enforcement action.
- Avoid placing the shed directly under overhanging trees where falling leaves, branches, or sap could cause issues, or where roots could disturb the foundation.
Proximity to Utilities
- If you plan to install electricity, consider the distance and route for running an armoured cable from your house (all electrical work must be done by a qualified electrician).
- Proximity to a water butt or outdoor tap might be useful for a potting shed.
Gathering Your Materials and Tools
A well-prepared list will save time and prevent interruptions.
Create a Detailed Materials List
Timber
- Framing: Specify quantities and lengths of C16 or C24 graded structural softwood (e.g., pine or spruce) for floor joists, wall studs, top/bottom plates, and roof rafters/trusses.
- Ground Contact Elements: All timber for floor bearers (if used) and potentially the main floor joists (if very close to the ground) must be pressure-treated (tanalised) to Class 3 or 4 for resistance to rot and insect attack.
- Cladding: Calculate the area needed for your chosen cladding (e.g., shiplap, tongue & groove (T&G), featheredge boards, or exterior-grade plywood sheets) and remember to account for overlaps.
Sheet Materials
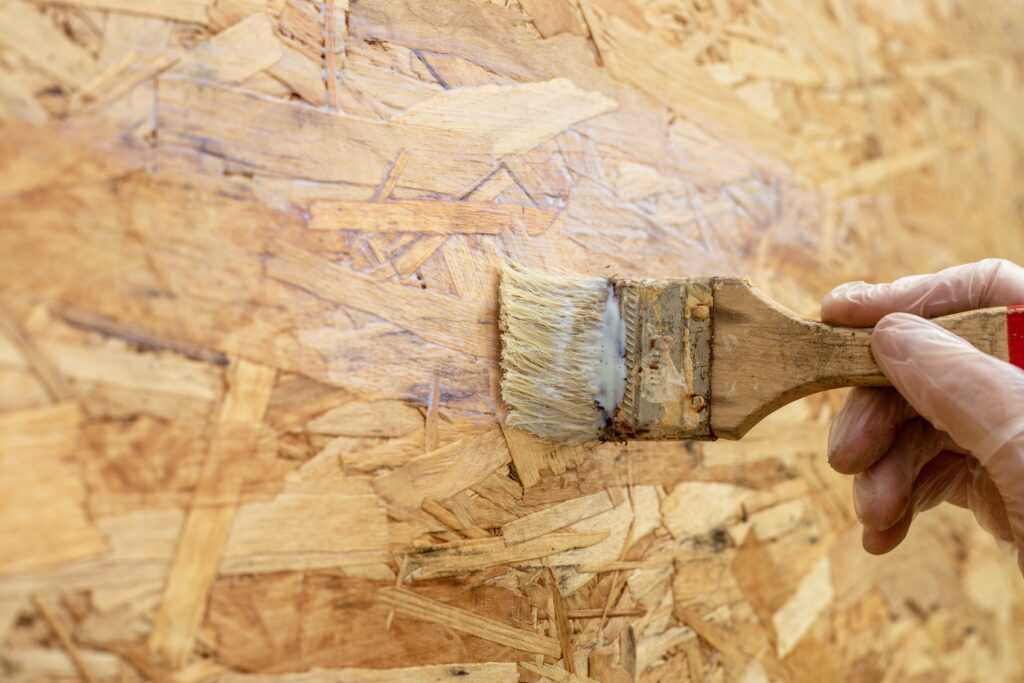
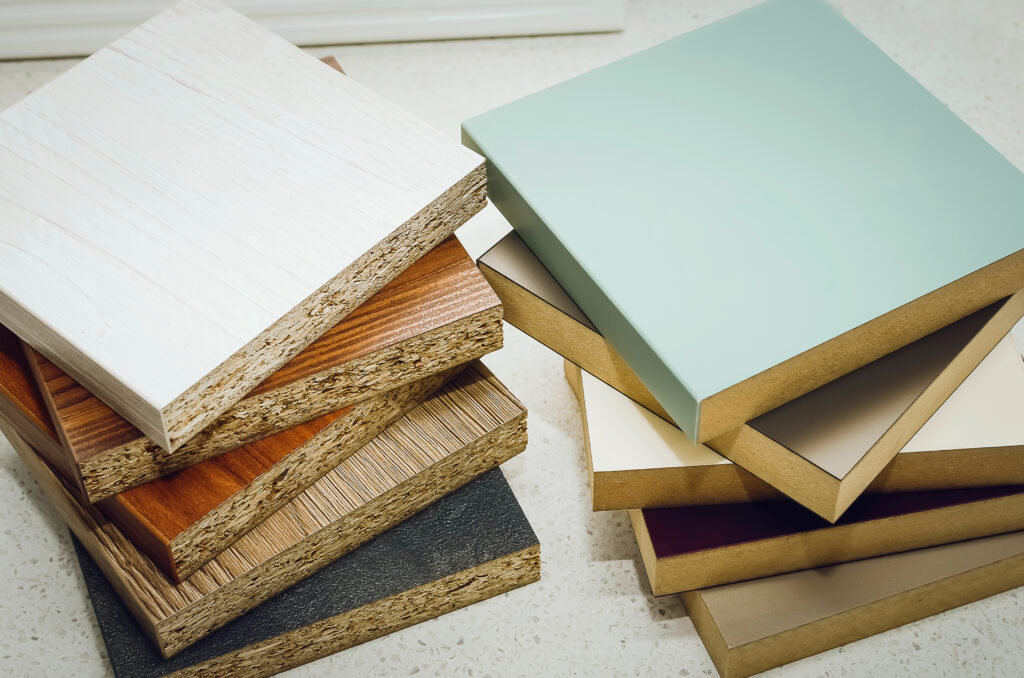
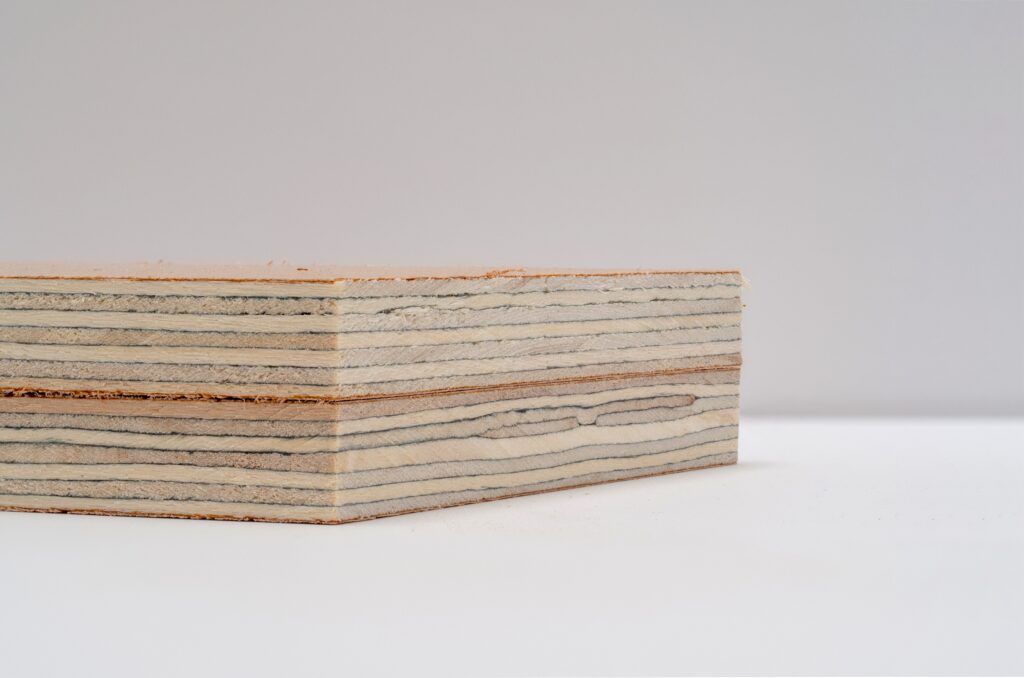
- OSB3 (Oriented Strand Board): Suitable for floor decking, wall sheathing, and roof decking due to its structural properties and moisture resistance. Common thicknesses are 11mm for walls/roofs and 18mm for floors.
- Exterior-Grade Plywood: Exterior grade plywood can be used as an alternative for sheathing and decking.
Roofing Materials
- Underlayment: Breathable roofing membrane or traditional mineral-surfaced roofing felt.
- Primary Covering: EPDM rubber (for flat/low-slope roofs), bitumen shingles, corrugated bitumen/metal/plastic sheets, or timber shingles/shakes. Include all necessary fixings, adhesives, and edge trims.
Foundation Materials
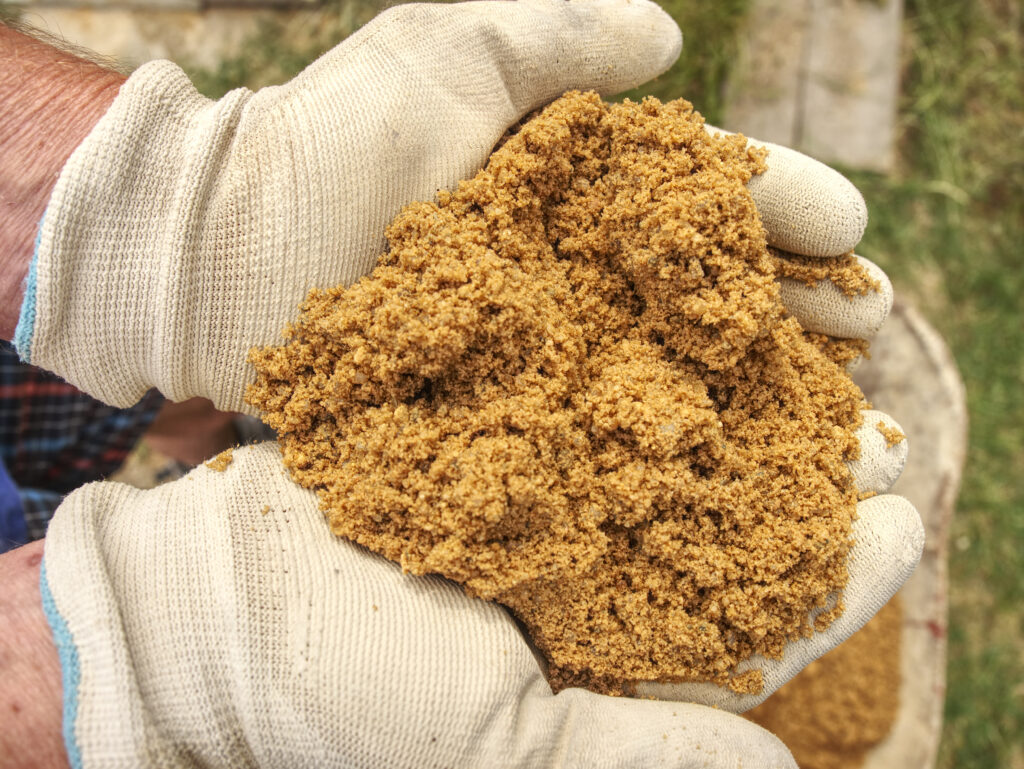
- Cement, sharp sand, ballast/aggregate for concrete (or ready-mix), DPC strip (for under timber sole plates on concrete).
- Damp Proof Membrane (DPM): If laying a concrete slab foundation or using a timber floor system directly over the ground.
Fixings
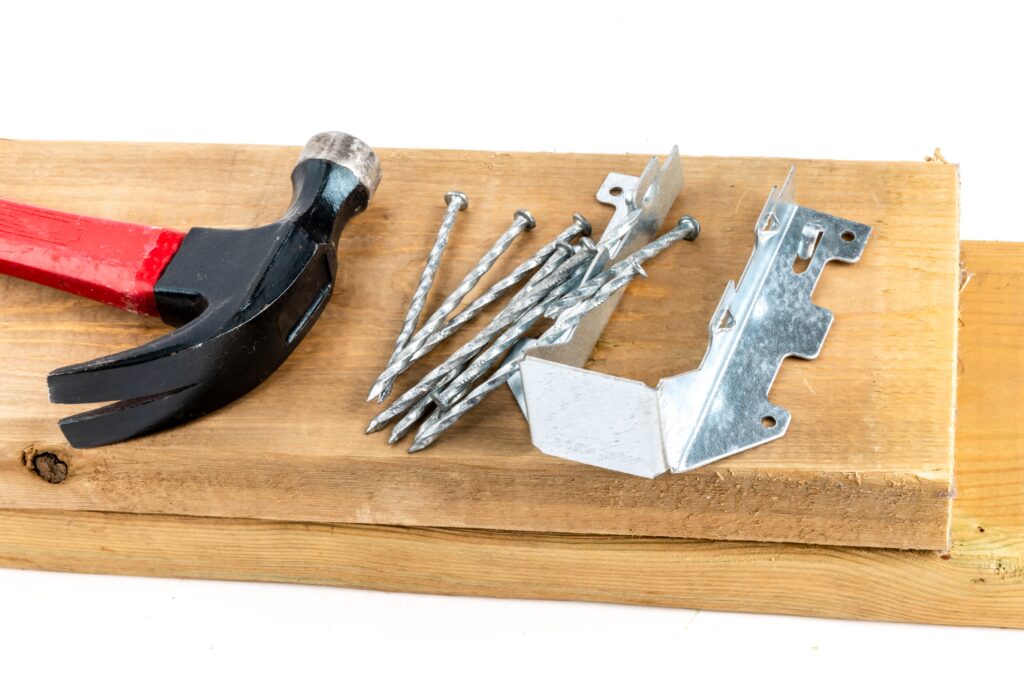
- A comprehensive list of corrosion-resistant (e.g., galvanised or stainless steel for exterior use) screws (various lengths and gauges for framing, decking, cladding), nails (framing, cladding), joist hangers, angle brackets, and other connectors as per your design.
Doors & Windows
- Pre-hung units or materials to construct your own. Include hinges, handles, locks, and glazing.
Insulation (Optional)
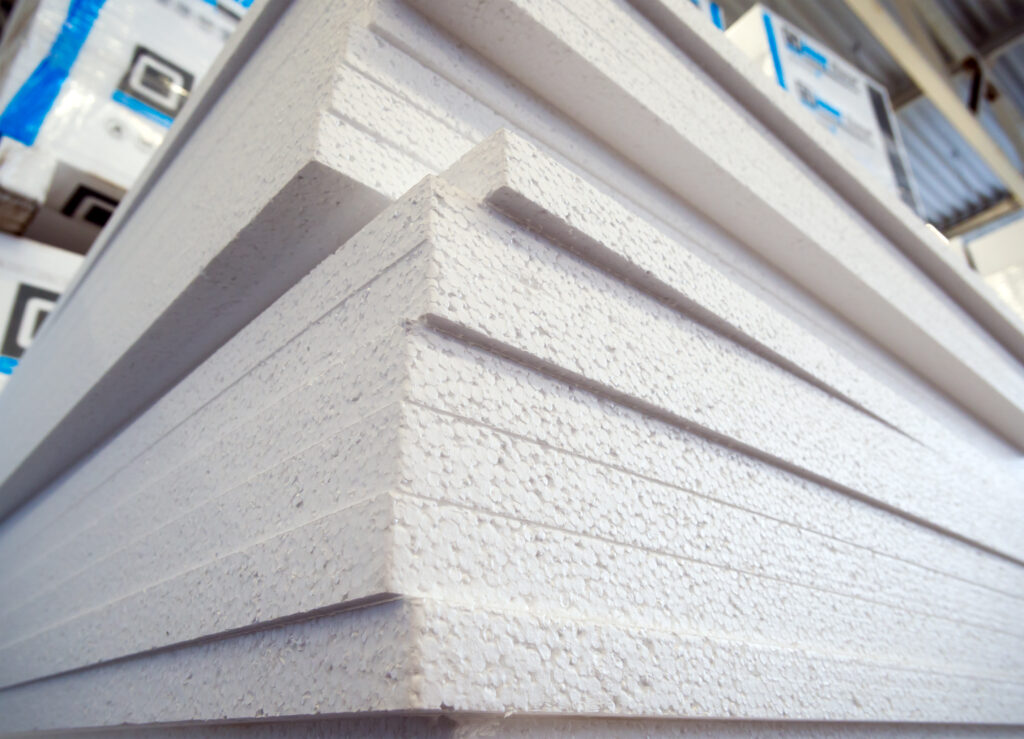
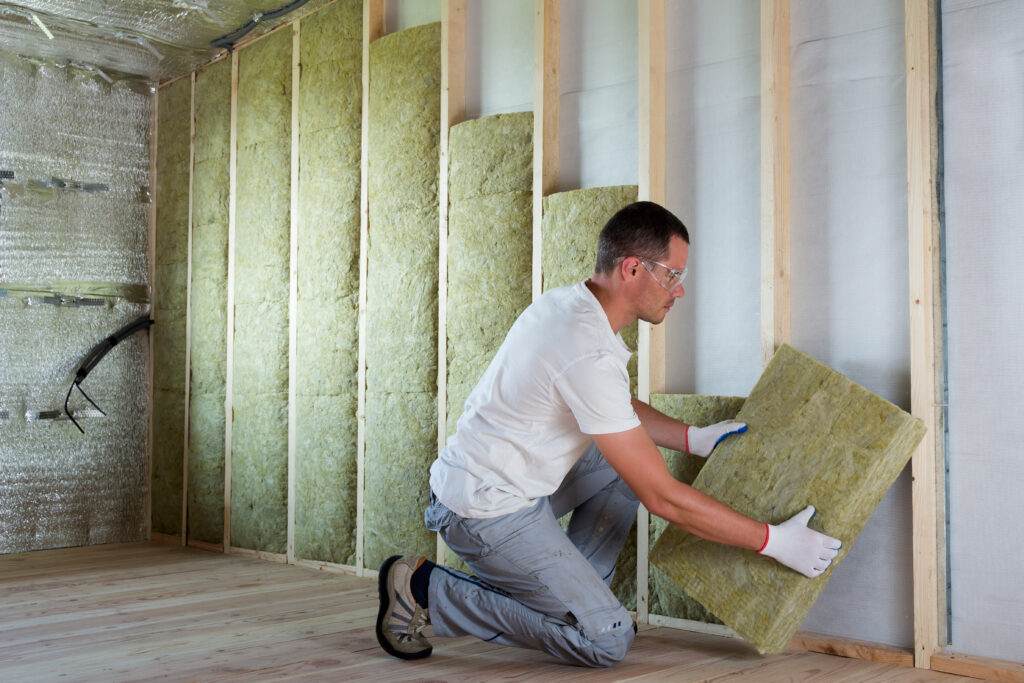
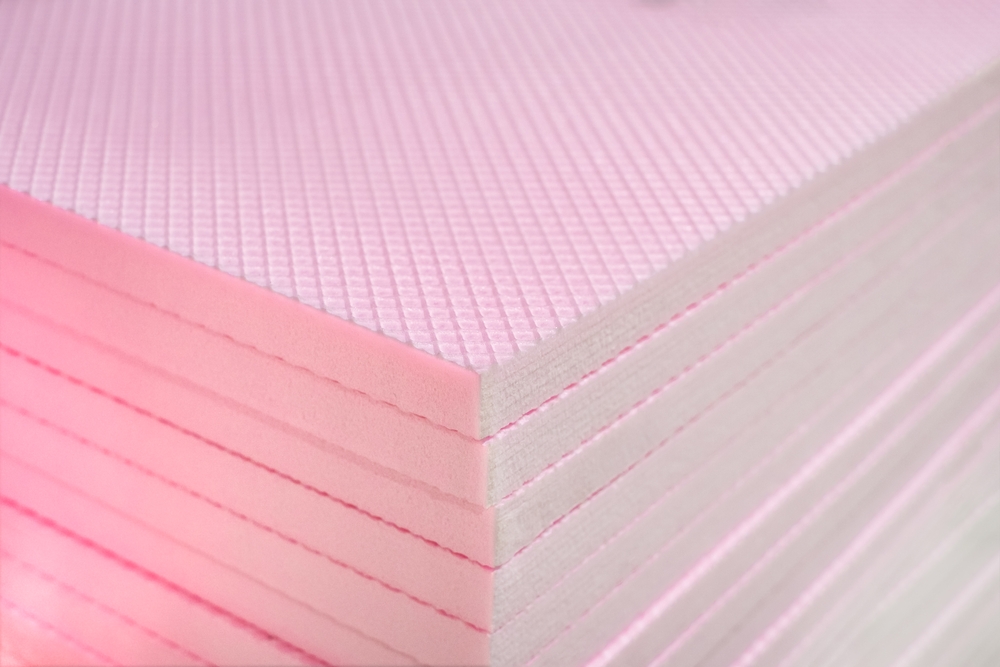
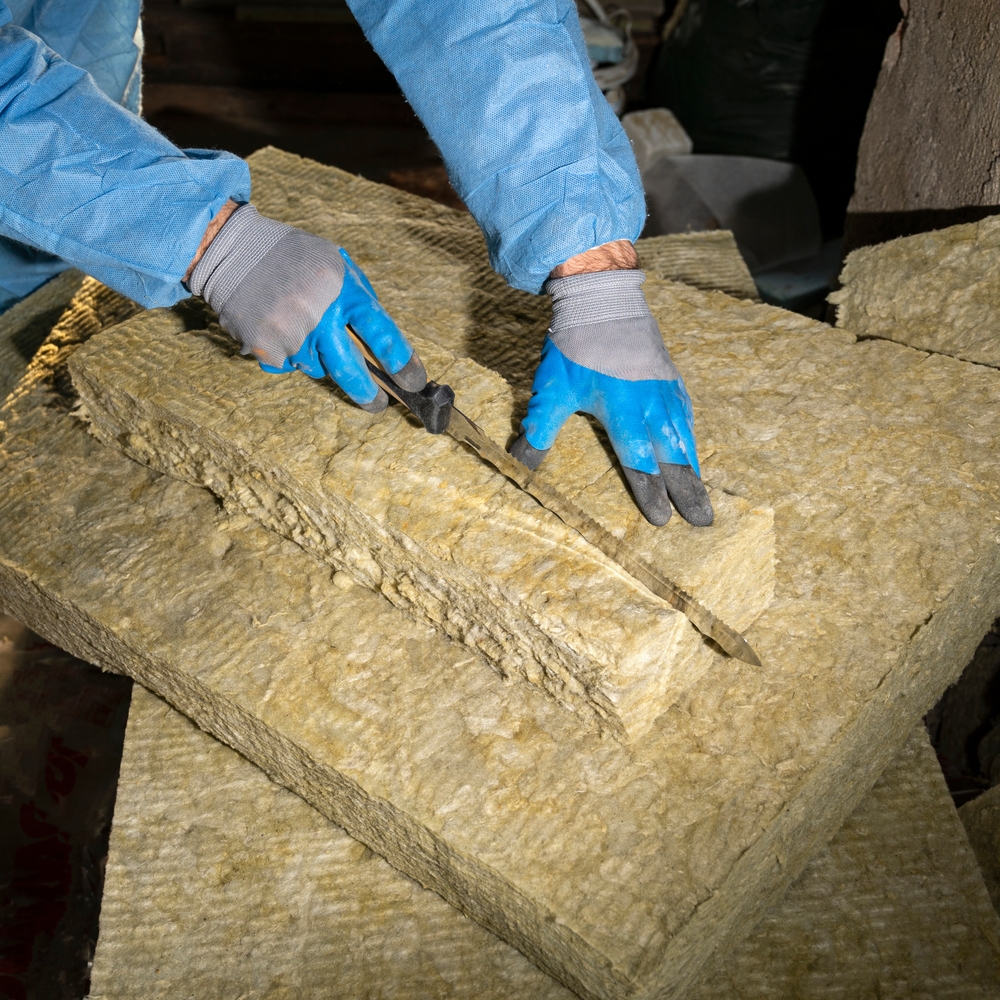
- Choose based on your needs – PIR Insulation Boards for high thermal performance, Mineral Wool Insulation Slabs (e.g., Rockwool, Knauf products) for thermal and acoustic properties, or Insulated Plasterboard for a combined insulation/lining solution.
Membranes (Optional but Recommended with Insulation/Sheathing)
- Breather Membrane: For wrapping exterior sheathed walls before cladding.
- Vapour Control Layer (VCL): For the warm (interior) side of any insulation to prevent interstitial condensation.
- Finishing: Wood preservative, exterior paint/stain, sealants, guttering, downpipes.
Assemble Your Tools
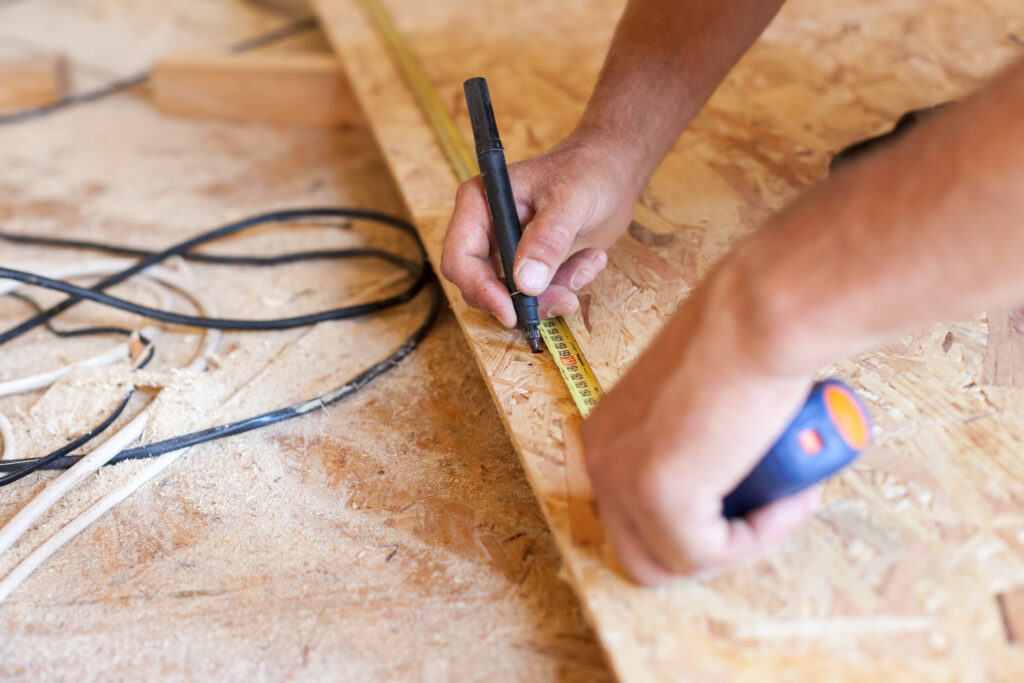
- Measuring & Marking: Tape measure (at least 5m), long spirit level (e.g., 1200mm or 1800mm), shorter spirit level (e.g., 600mm), combination square, framing square, pencils, chalk line, builder’s string line.
- Cutting: Hand saws (panel saw, tenon saw), circular saw (essential for efficiency and straight cuts in sheet materials and framing timber), mitre saw (highly recommended for accurate angle cuts on framing and cladding), jigsaw (for curves or cut-outs).
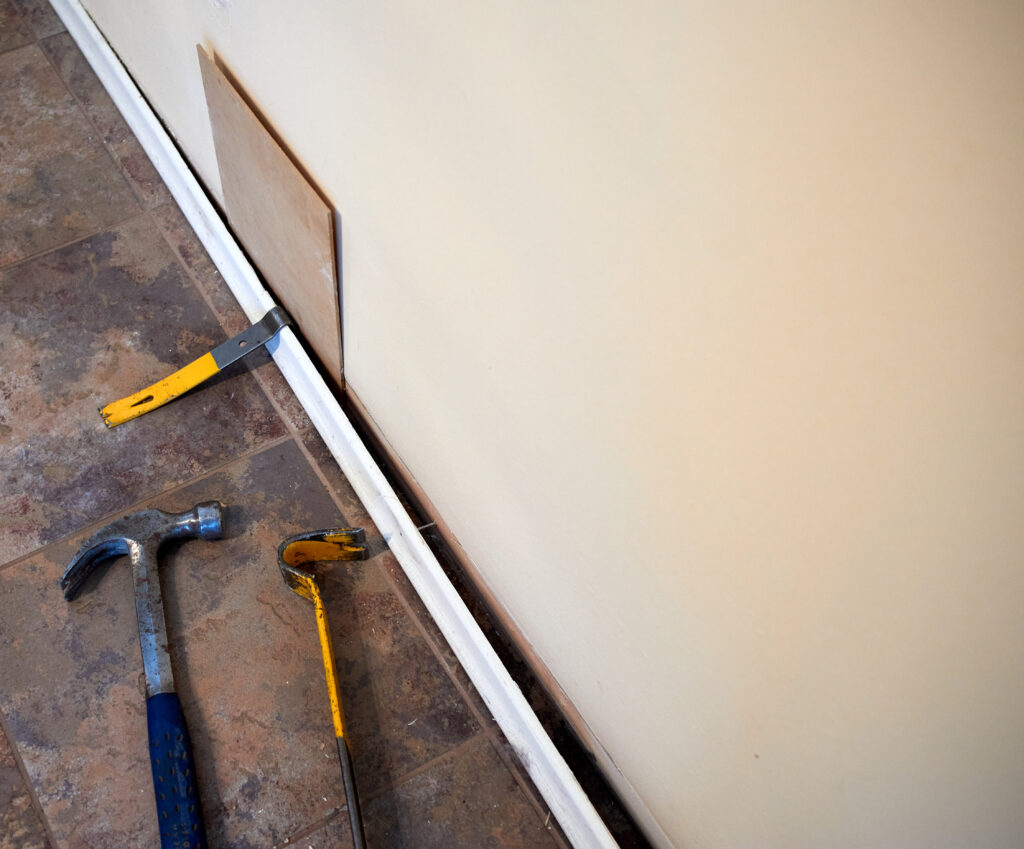
- Fixing: Claw hammer, club hammer (lump hammer), cordless drill/driver with a good set of drill bits and driver bits, nail gun (optional, but significantly speeds up framing).
- Foundation & Site Prep: Spade, shovel, rake, wheelbarrow, tamper (for compacting hardcore/soil), concrete mixing tools (cement mixer or mixing board/spot), buckets.
- Safety Equipment (Essential): Safety glasses/goggles, sturdy work gloves, dust masks (P2/P3 rated for cutting wood/insulation), ear defenders (when using power tools), steel-toe-capped boots, knee pads.
- Access: Step ladder, sturdy work platform, or scaffold tower if working at height for the roof.
Foundation and Site Preparation – Laying the Groundwork
A solid, level, and square foundation is paramount to a long-lasting and stable shed. Do not cut corners here.
-
Clear and Level the Site Meticulously
- Remove all grass, weeds, shrubs, rocks, and any other debris from the designated area.
- Excavate any soft topsoil until you reach firm, stable subsoil.
- Before any significant digging, use utility plans or a Cable Avoidance Tool (CAT scanner) to check for and locate any underground services (gas pipes, water pipes, electrical cables, drains). Accidental damage can be dangerous and costly.
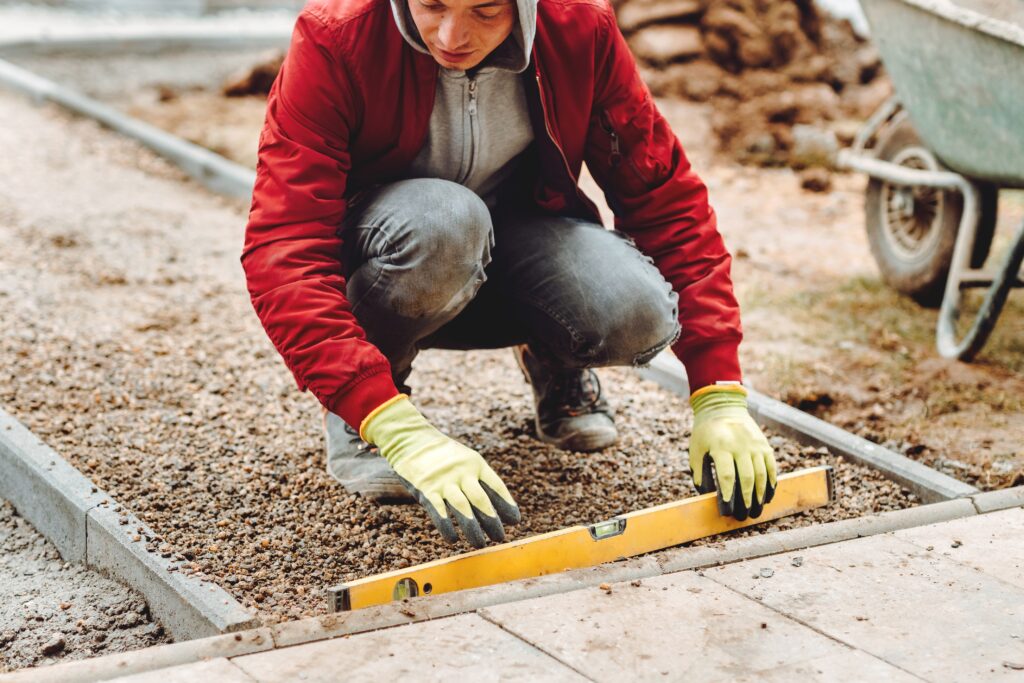
- Thoroughly level the ground. For larger areas, use a long, straight-edged piece of timber with a spirit level on top. Ensure the area is slightly larger than the shed’s final footprint to provide working room.
-
Accurately Mark Out the Shed’s Footprint
- Using your detailed shed plans, drive wooden stakes into the ground at each corner of the proposed shed.
- Run builder’s string lines tautly between these stakes to define the outer edges of the foundation.
- Critically, measure the diagonals of the marked-out rectangle. They must be exactly equal for the foundation to be perfectly square. Adjust stakes as necessary until the diagonals match.
-
Construct Your Chosen Foundation Type: The foundation must be appropriate for the shed’s size, weight, your ground conditions, and intended permanence.
Concrete Slab Foundation (Most Durable & Stable)
- Excavation & Sub-Base: Excavate the marked area to a depth that allows for a minimum of 100-150mm of compacted hardcore (e.g., MOT Type 1 aggregate) and the desired thickness of concrete (typically 100-150mm for a shed).
- Hardcore & Compaction: Lay the hardcore in layers (e.g., 50-75mm at a time) and compact each layer thoroughly with a whacker plate (plate compactor) until solid.
- Formwork: Construct timber formwork (shuttering) around the perimeter to define the edges of the slab and contain the wet concrete. Ensure the top of the formwork is set to the final desired slab height and is perfectly level.
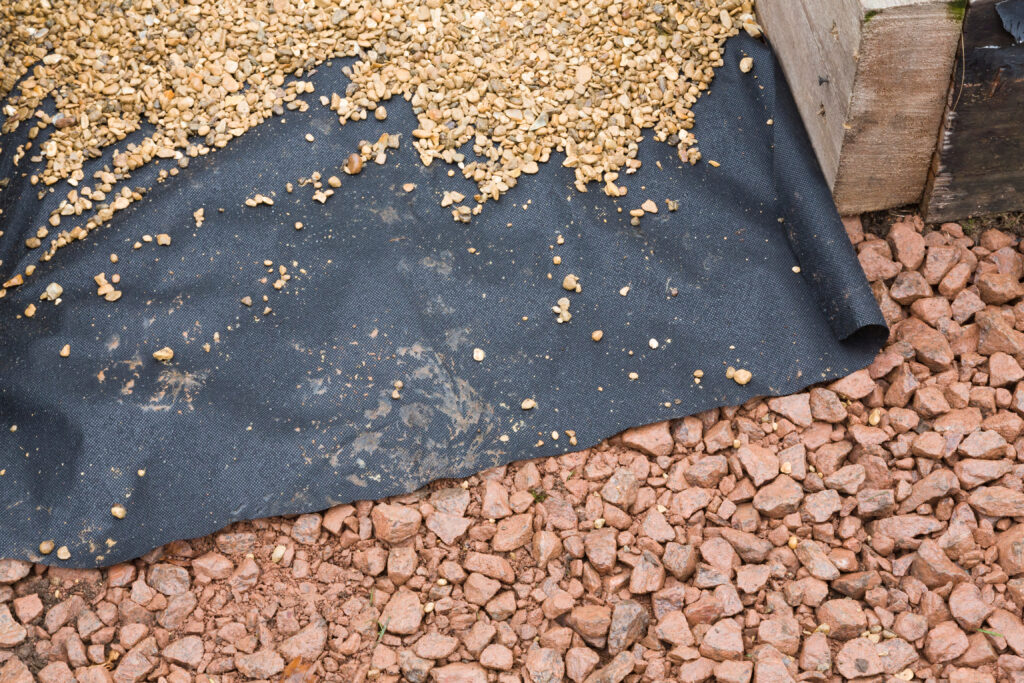
- Damp Proof Membrane (DPM): Lay a heavy-duty Damp Proof Membrane (e.g., 1000 or 1200 gauge / 250mu or 300mu) over the compacted hardcore/sand blinding. Ensure the DPM extends up the inside faces of the formwork. Lap any joints in the DPM by at least 300mm and seal meticulously with DPM jointing tape.
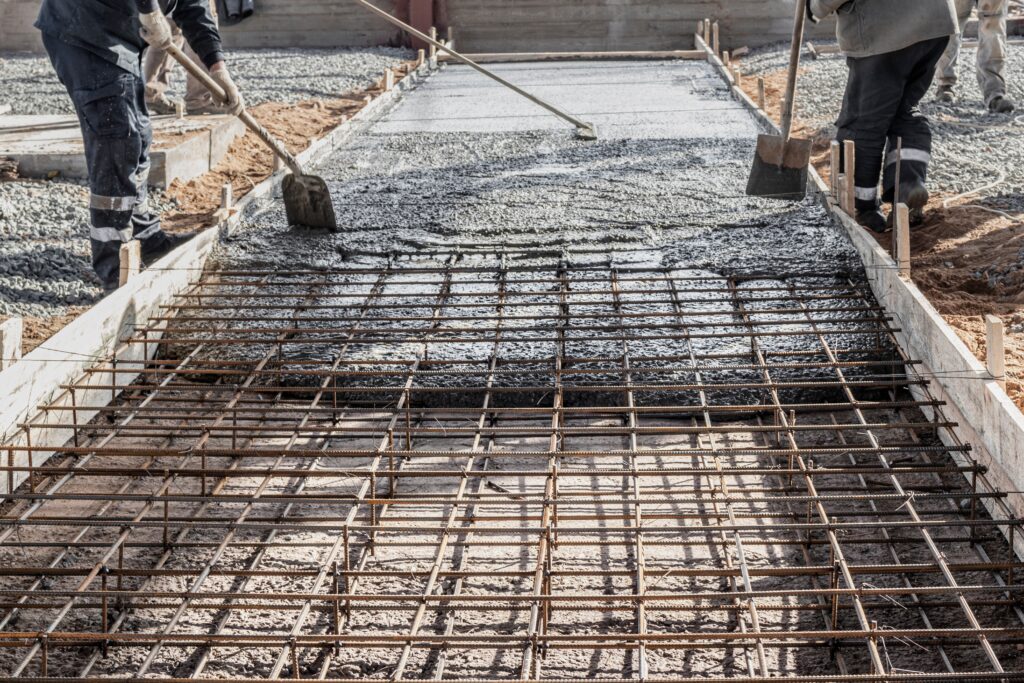
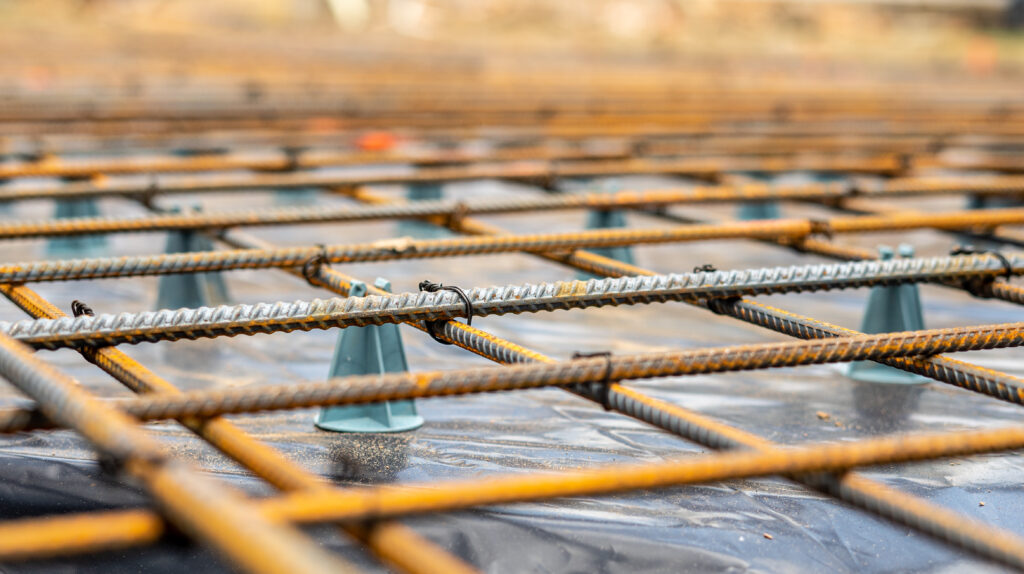
- Reinforcement (If Required): For larger sheds, or those intended for heavy loads (like a workshop with machinery), a layer of steel reinforcement mesh (A142 or similar) may be necessary, supported on plastic spacers (chairs) to position it within the middle third of the concrete’s depth.
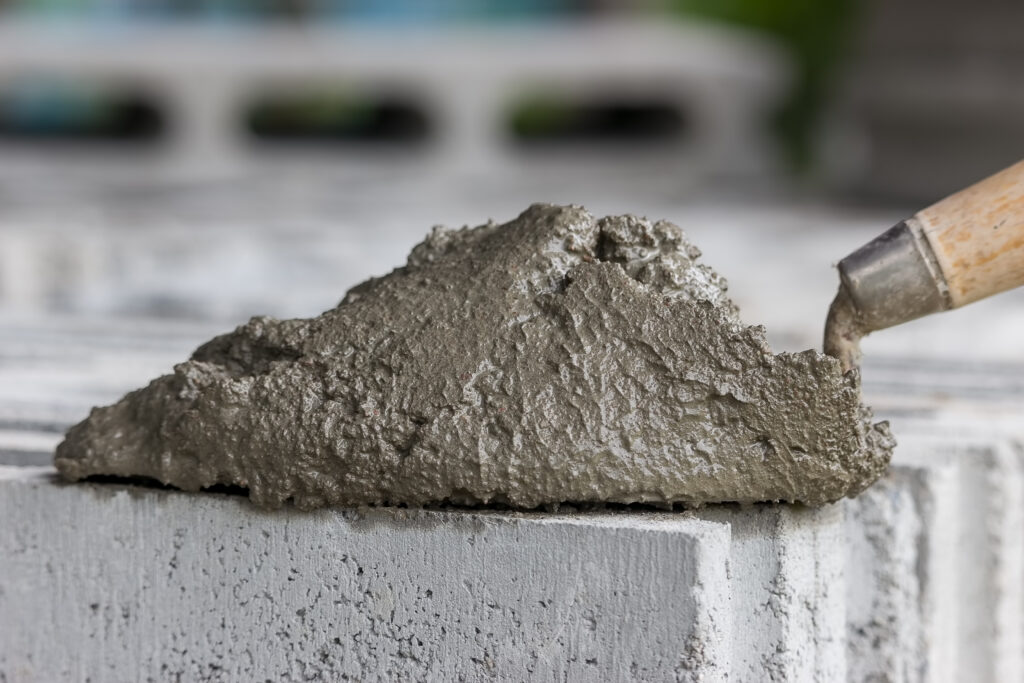
- Concrete Pour: Pour concrete into the formwork, ensuring it fills all corners. Distribute and compact it well (e.g., by tamping with a heavy timber) to remove air pockets.
- Levelling & Finishing: Screed the concrete level with the top of the formwork using a long, straight piece of timber. A float finish can then be applied for a smoother surface.
- Curing: Allow the concrete to cure slowly (typically for at least 7 days, longer in cold weather). Cover with polythene sheeting or damp hessian in hot/windy weather to prevent premature drying and cracking.
Concrete Piers or Padstones (Good for Sloping/Uneven Ground)
- Mark the precise positions for each pier according to your shed plan (typically at corners and at regular intervals under main load-bearing points or floor bearers).
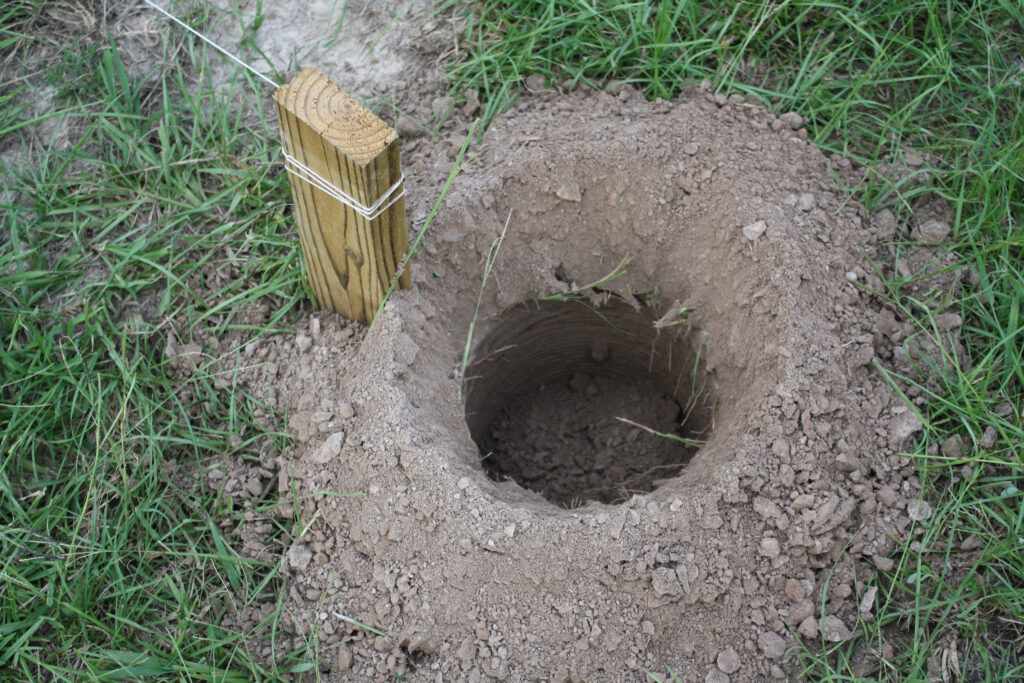
- Dig square or circular holes for each pier. Depth should generally be below the frost line (check local conditions, often 450mm-750mm in the UK) and down to firm ground. The base of each hole should be wider than the pier for stability.
- Pour a concrete footing pad (approx. 100-150mm thick) at the bottom of each hole and allow it to set.
- Build up brick/block piers on these pads, or place pre-cast concrete padstones, or pour concrete into formwork tubes to create piers.
- Crucially, ensure the top surface of every pier is perfectly level with all other piers. Use a laser level or a long spirit level with a straight edge spanning between piers. This is vital for a level shed floor.
Timber Bearer/Skid Foundation (For Smaller/Lighter Sheds on Reasonably Level Ground)
- Prepare a level and firm area, potentially by removing turf and topsoil and laying a compacted gravel base (50-100mm deep).
- Lay large, pressure-treated timber bearers (e.g., 100x100mm or 150x75mm) directly onto the prepared gravel base or onto individual paving slabs placed at regular intervals for support.
- Ensure the bearers are perfectly level, parallel, and correctly spaced to support your shed’s floor joists. Check for squareness.
- Good airflow beneath the bearers is important to prevent damp. A ground DPM can be laid beneath the gravel to suppress weeds and reduce rising ground moisture into the sub-floor void.
Framing and Construction
Framing the Shed – Erecting the Skeleton
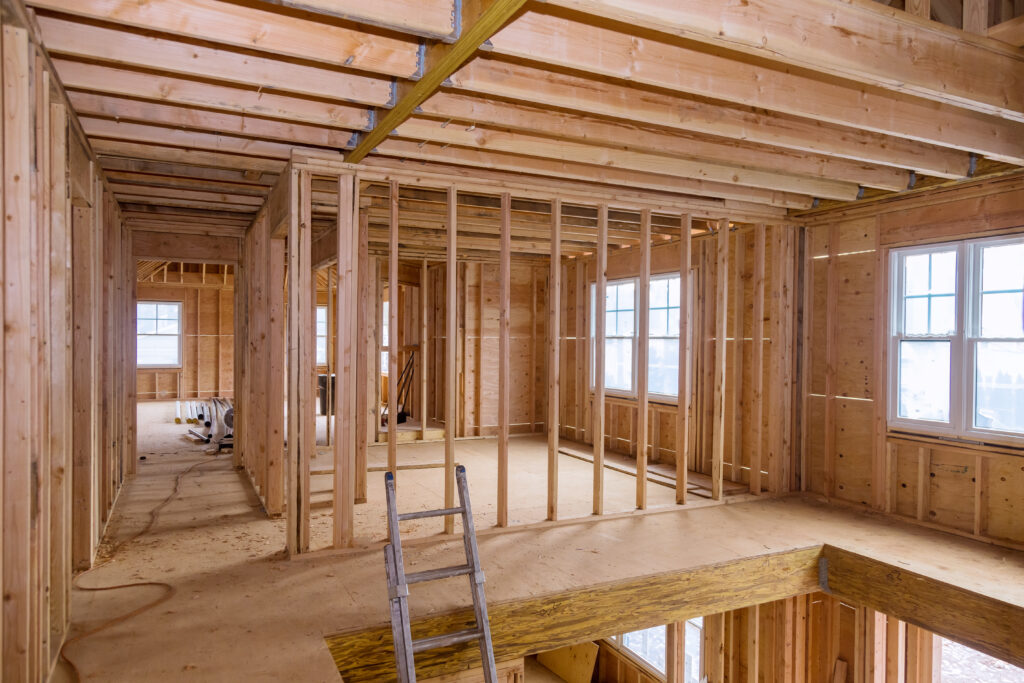
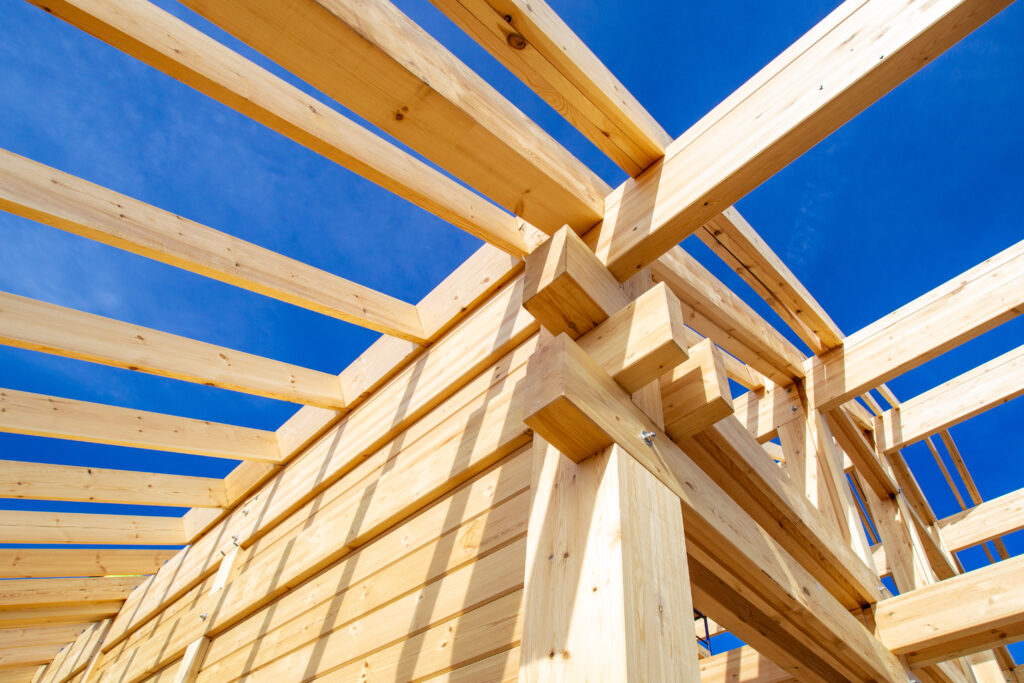
With your foundation perfectly prepared, the next stage is to construct the shed’s framework. This forms the structural backbone and requires precision to ensure a stable and square building. We’ll cover the floor (if not a concrete slab floor), walls, and roof framing.
Floor Frame Construction (For Timber-Based Floors)
(Skip this if your foundation is a concrete slab that will act as the shed floor; in that case, ensure a DPC strip is used under timber wall sole plates.)
- Materials: Use C16/C24 graded, pressure-treated softwood for joists and outer frame members (rim joists). Common sizes are 100x50mm or 150x50mm, depending on shed size and load. Treat any cut ends with end-grain preservative.
- Assembly: Construct the rectangular outer frame, ensuring it’s perfectly square by checking that diagonal measurements are equal.
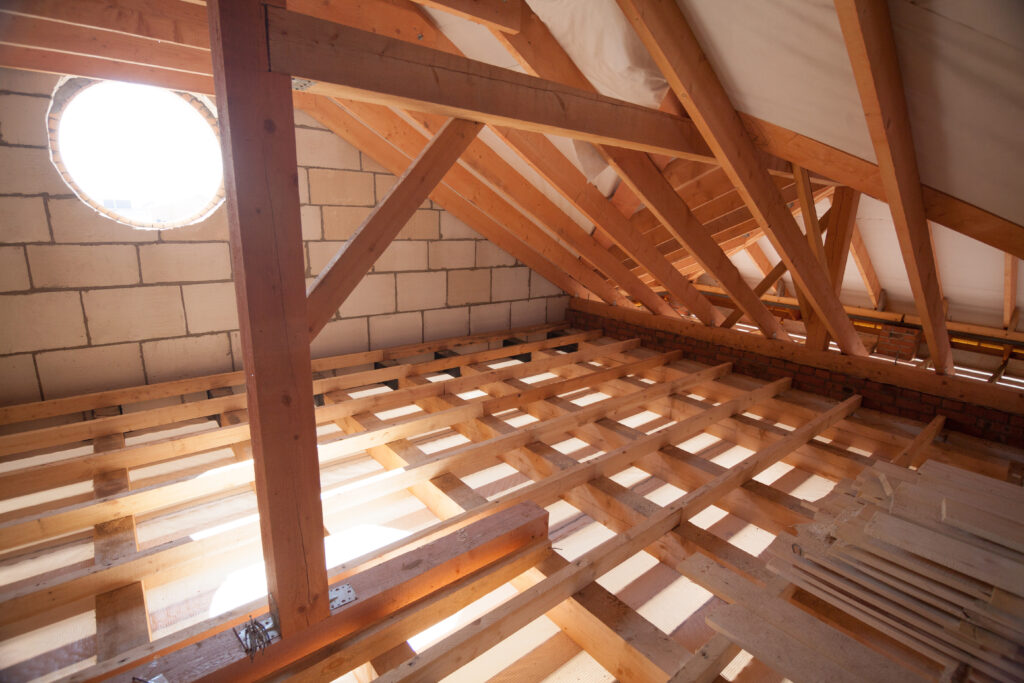
- Joists: Install internal joists at 400mm or 600mm centres, fixing them securely to the outer frame using galvanised joist hangers for strength. Ensure all joist tops are level.
- Noggins: Fit noggins (short timber pieces) between joists, typically at mid-span in a staggered pattern, to provide rigidity and prevent twisting.
- Secure to Foundation: Position the completed frame on your piers, padstones, or bearers. Ensure it’s perfectly level, using shims if necessary, and then securely fix it to the foundation (e.g., with angle brackets and masonry anchors or structural screws).
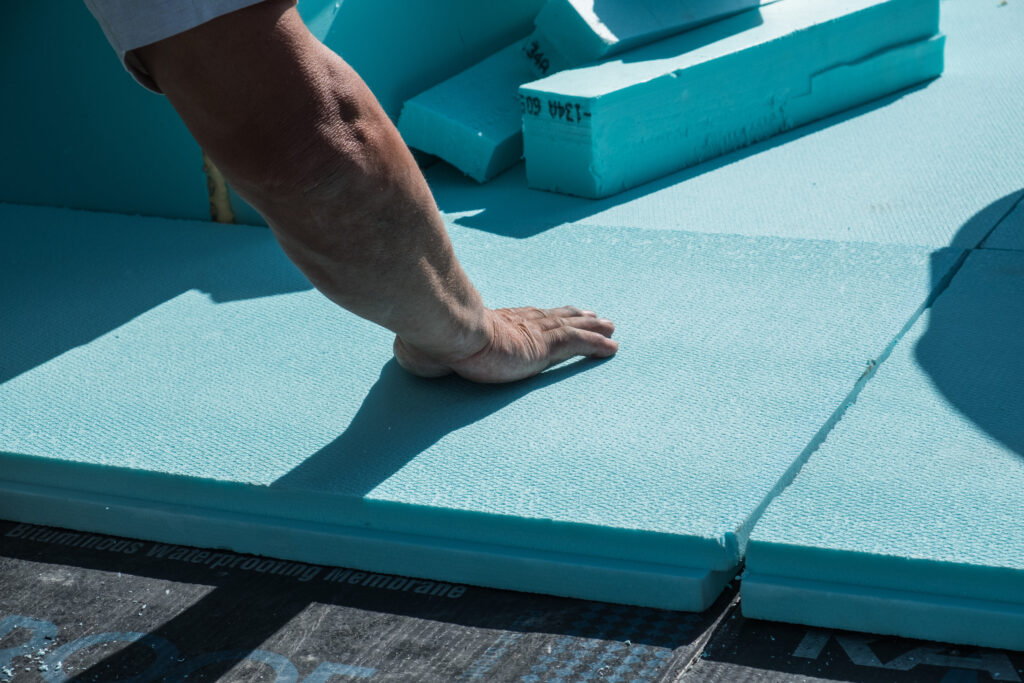
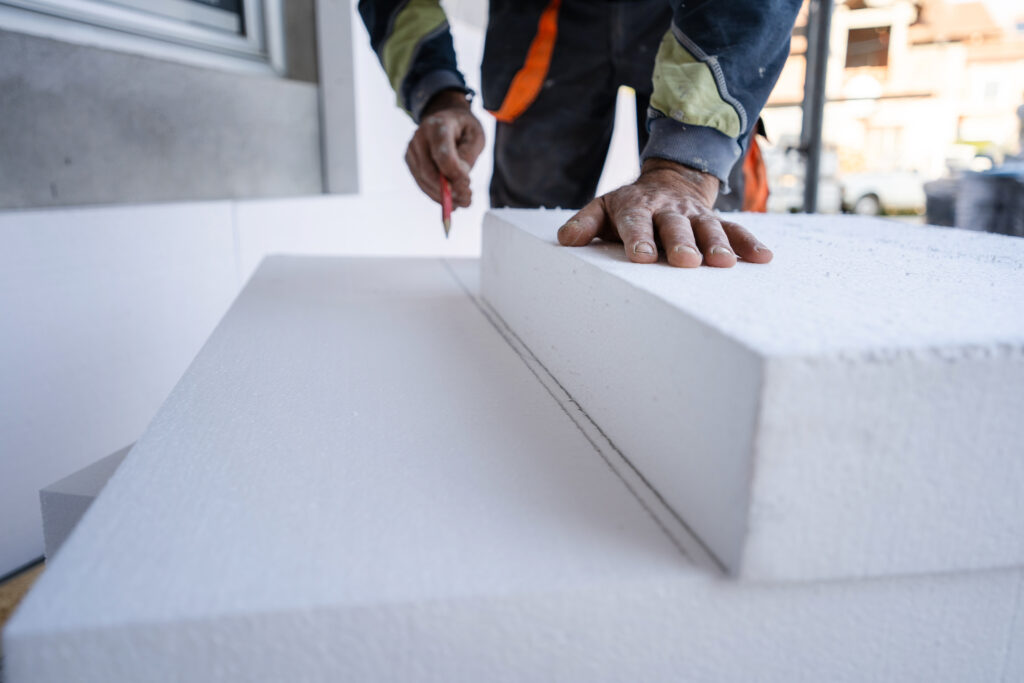
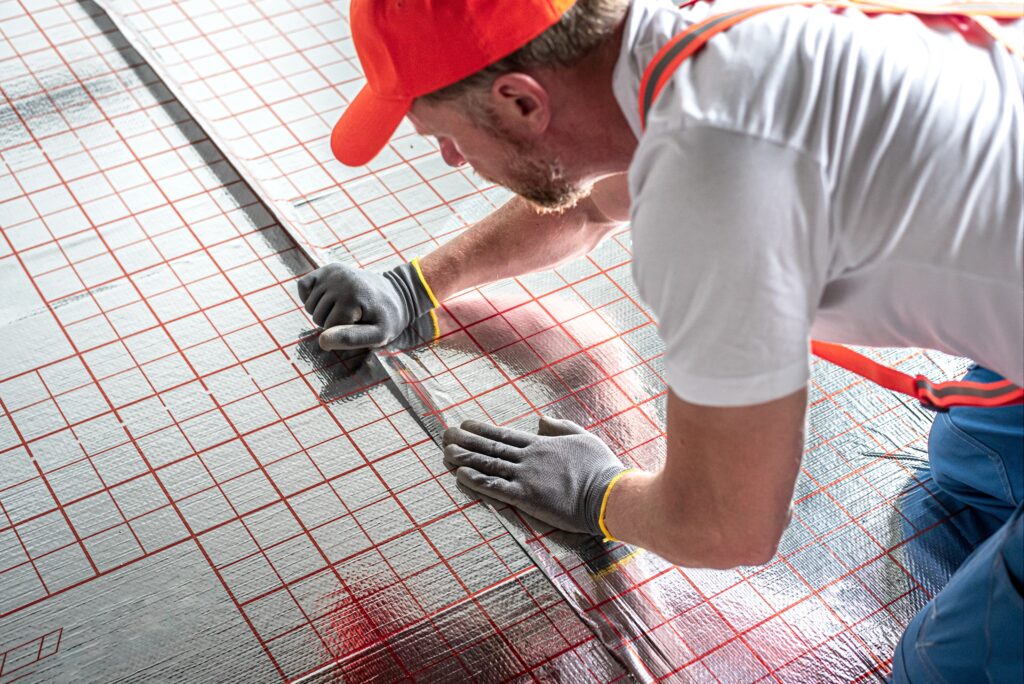
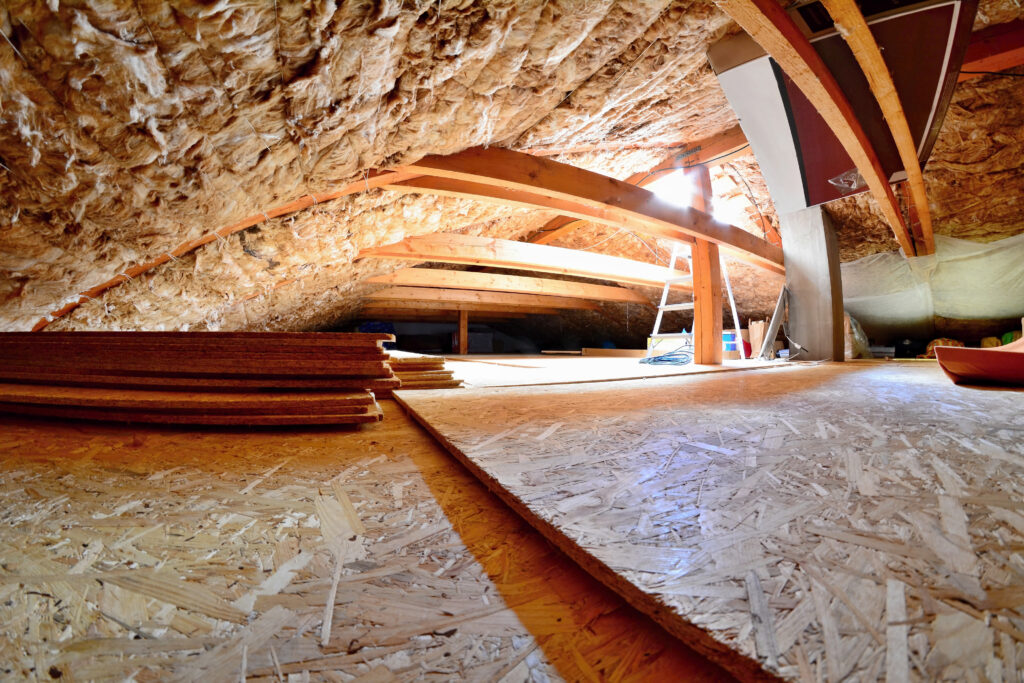
- Insulation (Optional): For enhanced comfort, especially in workshops or offices, consider installing PIR Insulation Boards or Mineral Wool Insulation Slabs (like Rockwool RWA45 Slab) snugly between the joists, supported by netting or battens.
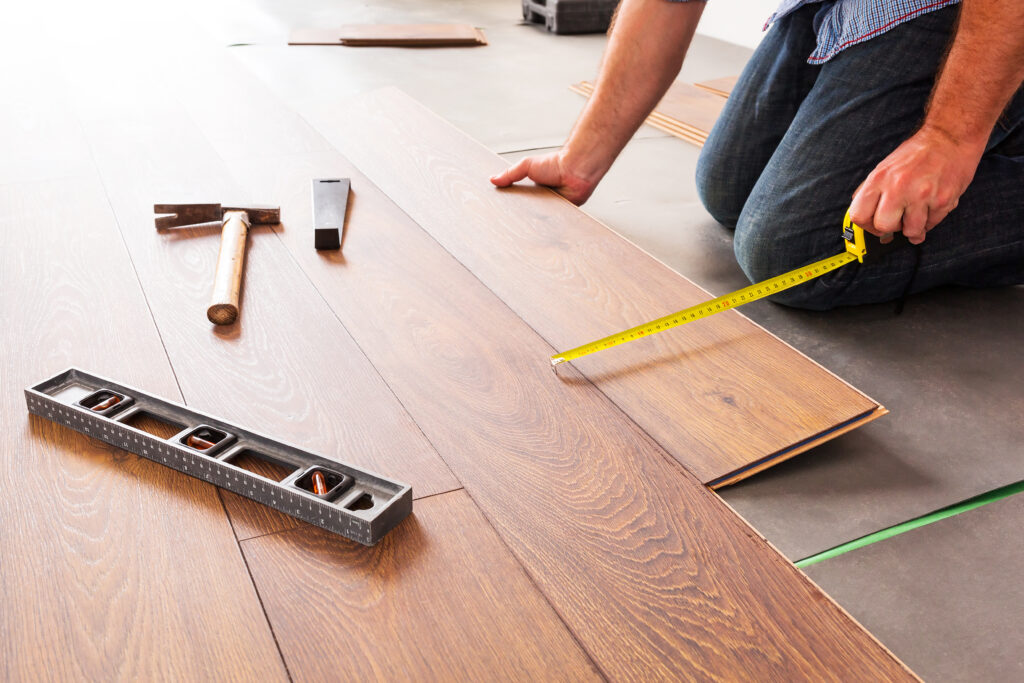
- Decking: Lay 18mm (minimum) OSB3 or exterior-grade plywood sheets over the joists, staggering joints. Secure with corrosion-resistant screws or ring-shank nails (approx. 150-200mm centres), leaving a small expansion gap between sheets and around the perimeter.
Wall Frame Construction & Erection
Wall frames are typically built flat on the shed floor, then lifted into position.
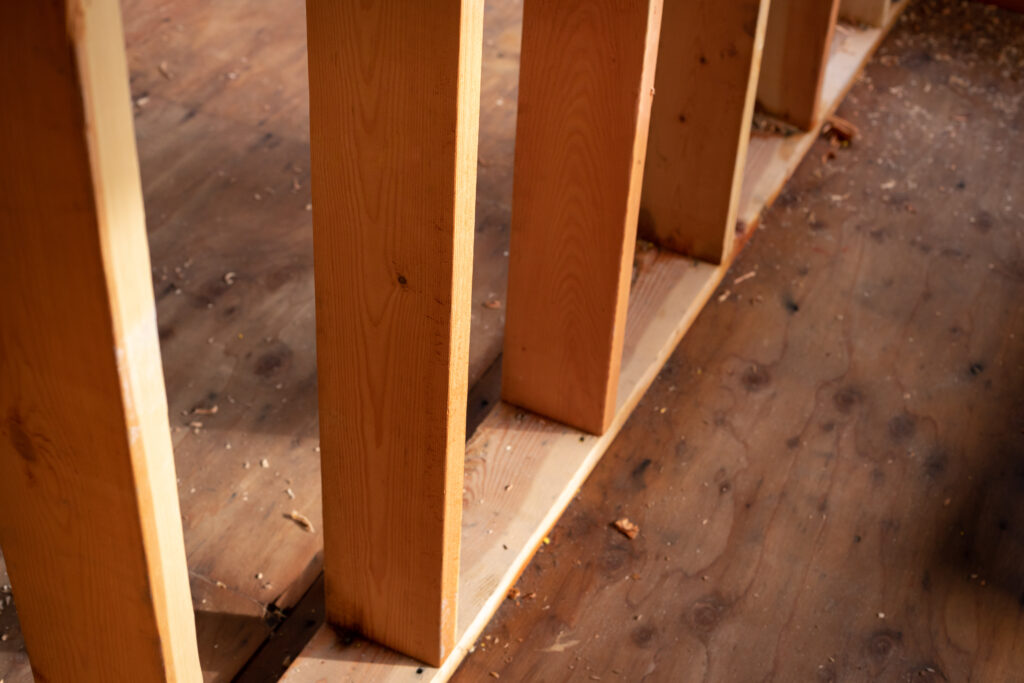
- Materials: Use C16/C24 graded timber (e.g., 75x50mm or 100x50mm) for top/sole plates and vertical studs.
- Frame Assembly: For each wall:
- Cut top and sole (bottom) plates to length.
- Cut studs to achieve desired wall height. Position studs at 400mm or 600mm centres.
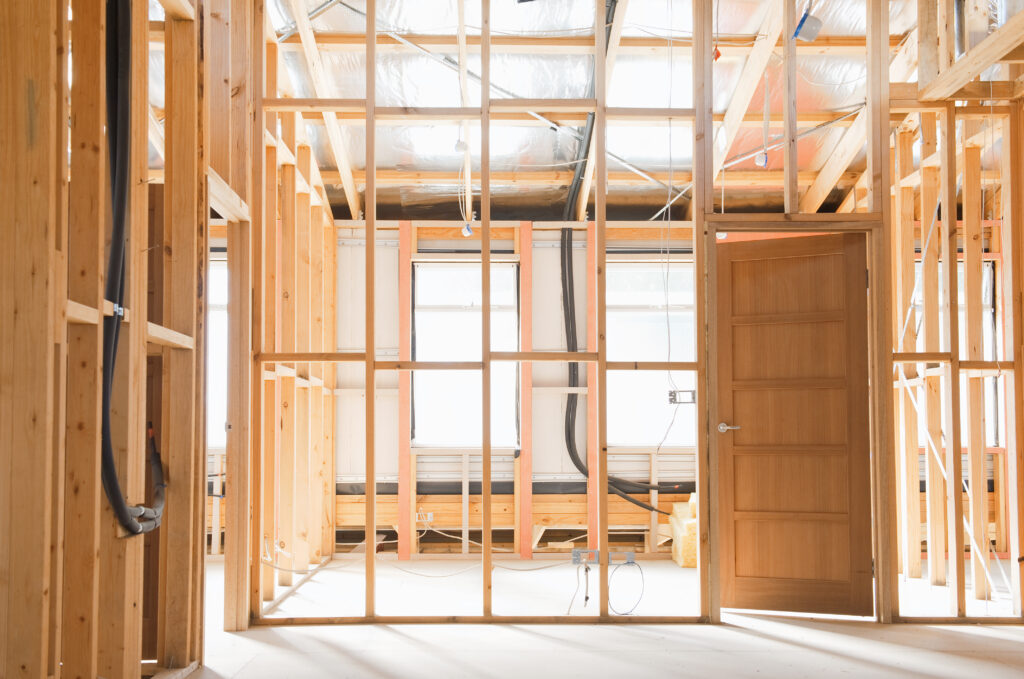
- Frame openings for doors and windows with doubled-up jamb studs and appropriately sized lintels above. Install cripple studs above lintels and below window sills.
- Fit noggins (horizontal bracing) between studs at mid-height to increase rigidity.
- Ensure each frame is perfectly square (check diagonals) before adding bracing.
- Bracing/Sheathing:
- Diagonal Braces: Inset timber braces diagonally for smaller sheds if not fully sheathed.
- Sheathing (Recommended): For superior strength and rigidity, fix 9mm or 11mm OSB3 or exterior-grade plywood to the entire exterior of each squared wall frame.
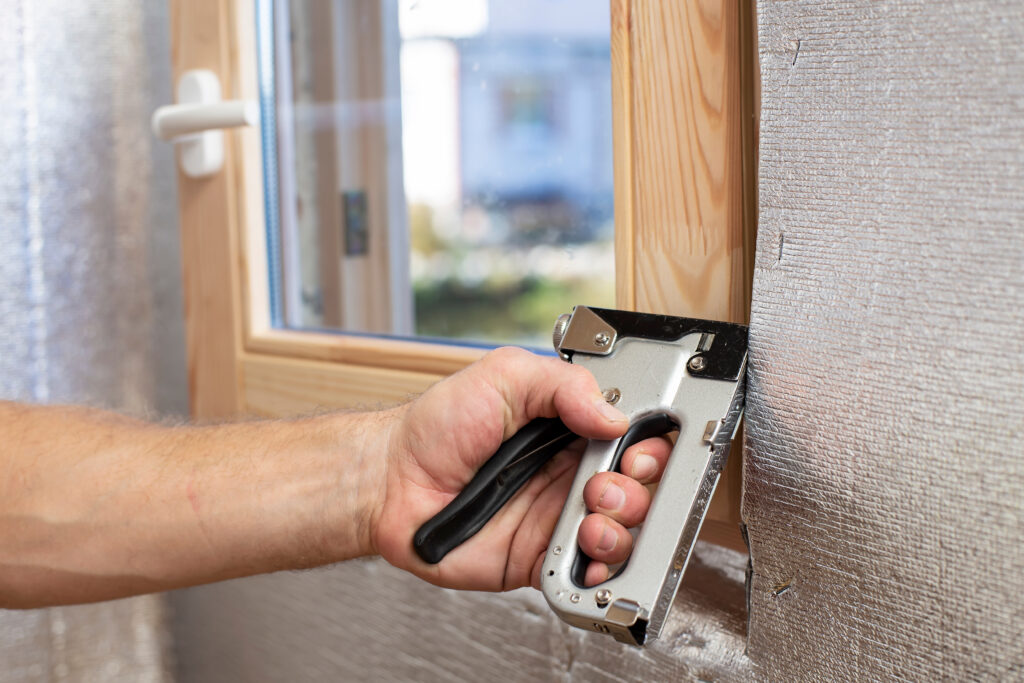
- Breather Membrane (if sheathed): Wrap the exterior of sheathed frames with a breathable Membrane. Lap joints (min. 150mm horizontal, 100mm vertical) and staple securely. Tape laps if specified for optimal weather resistance.
- Erecting Walls:
- With assistance, lift each wall frame onto the floor deck (or DPC-lined sole plate on a concrete slab).
- Start with the back wall, align it, ensure it’s plumb (vertical) using a spirit level, and temporarily brace it.
- Raise subsequent walls, ensuring they are plumb and square to adjacent walls and the floor. Secure corners robustly.
- Fix sole plates to the floor deck (into joists/rim joists) with screws or nails.
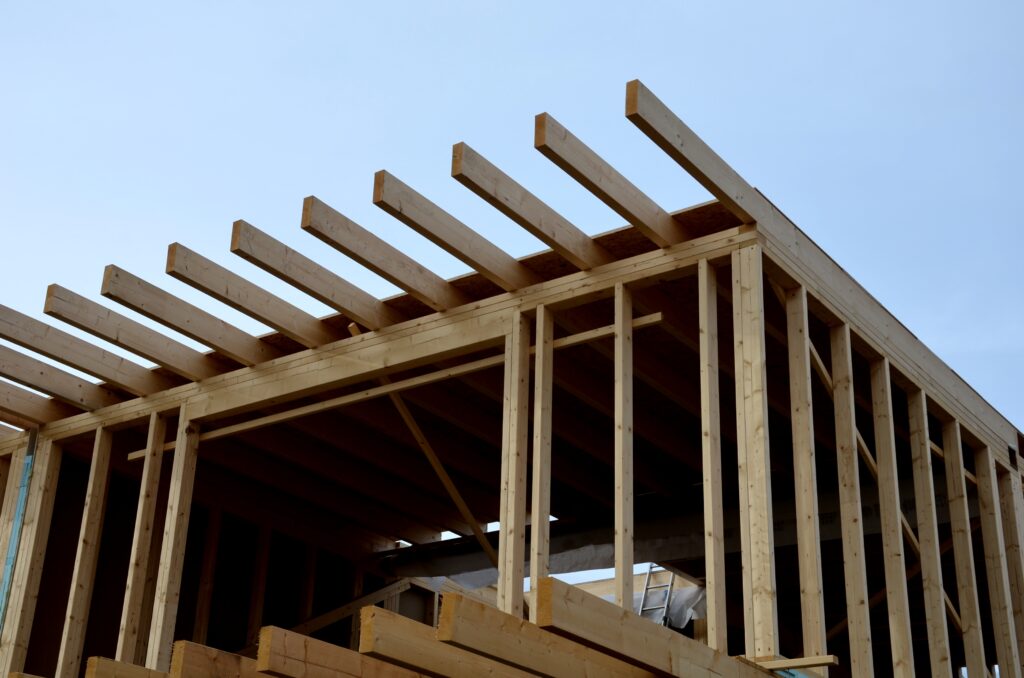
Roof Structure Construction
This provides shelter and locks the wall frames together.
- Design Choice: Choose an Apex (pitched) or Pent (single slope) roof design as per your plans.
- Rafters/Trusses:
- Use C16/C24 graded timber, sized according to span (e.g., 100x50mm or 125x50mm).
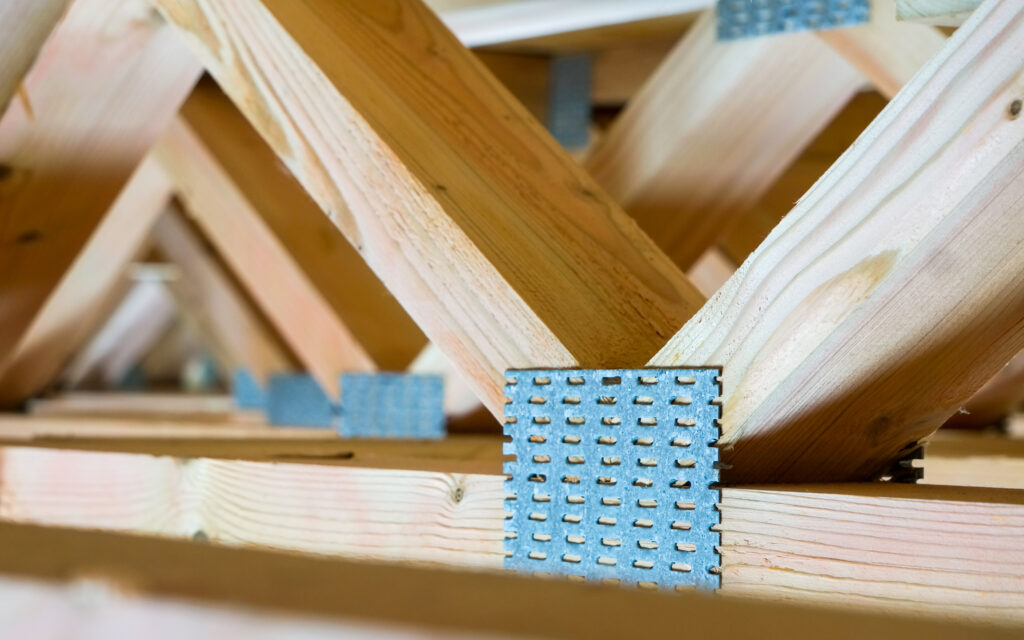
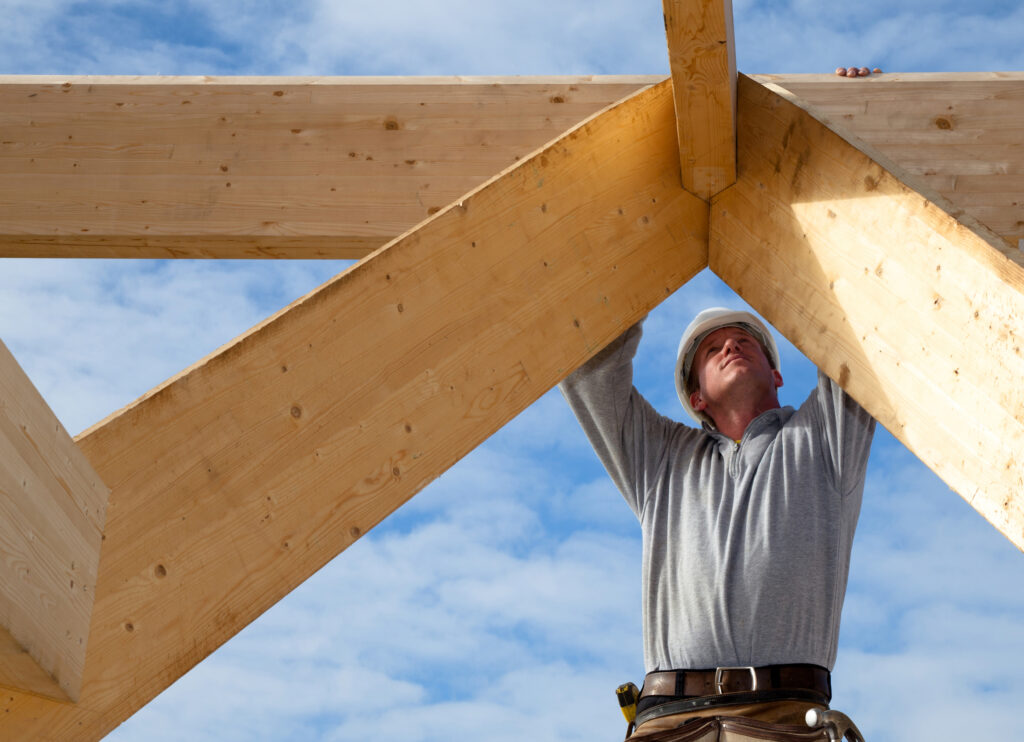
- Apex Roof: Cut pairs of rafters with birdsmouth cuts to sit on wall top plates and angled cuts to meet a central ridge board (e.g., 150x25mm).
- Pent Roof: Rafters span from a higher wall to a lower wall, creating the slope.
- Fix rafters at appropriate centres (400mm or 600mm) to wall top plates and the ridge board (if apex) using galvanised metal connectors (joist hangers, rafter clips) or secure nail/screw techniques. Ensure eaves overhangs (150-300mm typical) for weather protection.
- Stability: For wider apex roofs, install collar ties (horizontal timbers connecting opposing rafters) to prevent roof spread. Purlins might be needed for larger spans.
- Sheathing/Decking: Fix 11mm or 18mm OSB3 or exterior-grade plywood to the top of the rafters, creating a solid deck for the roof covering. Secure well with nails or screws.
Weatherproofing the Exterior Shell
With the main frame complete, the next step is to make it weatherproof.
- Apply Roofing Underlayment:
- Firstly, staple a breathable roofing membrane or traditional mineral-surfaced roofing felt over the entire roof deck. Start at the eaves, working upwards, with horizontal laps of at least 150mm and side laps of 100mm. This acts as a secondary water barrier.
- Install Final Roof Covering:
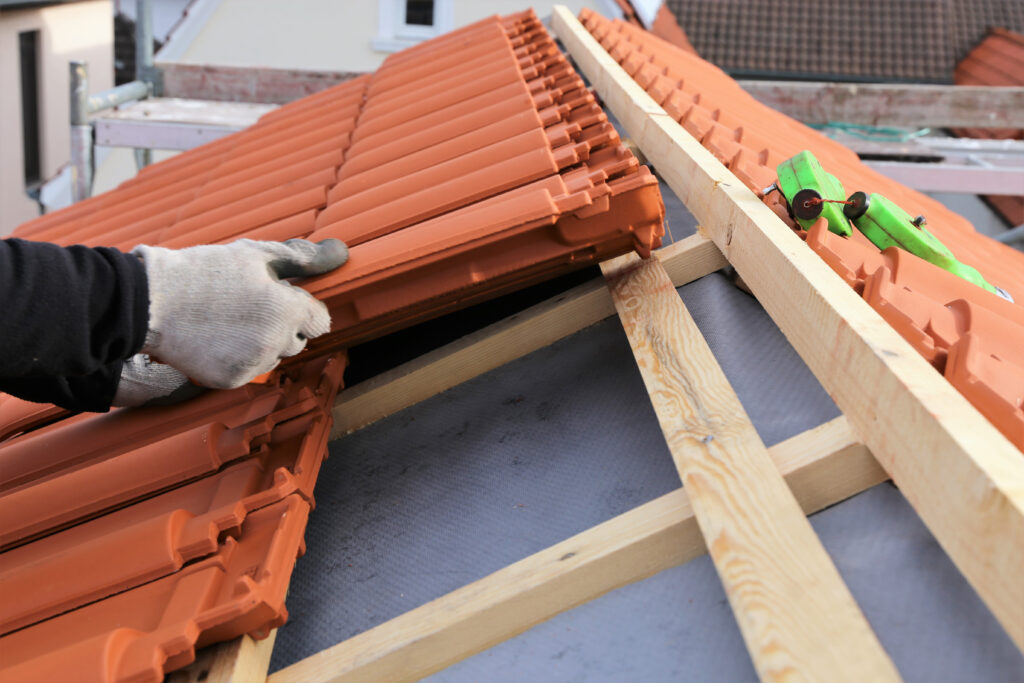
- Choose from materials like bitumen shingles, EPDM rubber (for flat/low-slope roofs), or corrugated bitumen/metal/plastic sheets.
- Follow the manufacturer’s specific installation instructions meticulously regarding fixings, overlaps, and edge details.
- Fit Fascias, Soffits, and Bargeboards:
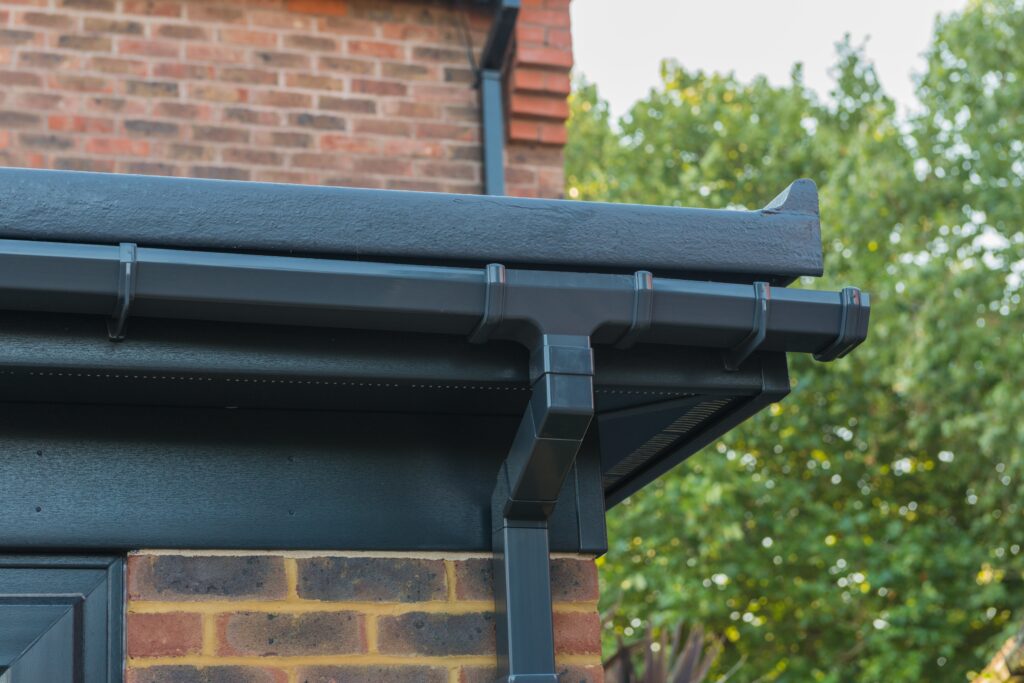
- Attach fascia boards to the rafter ends at the eaves to provide a neat finish and a fixing point for guttering.
- For apex roofs, fit bargeboards along the sloping edges of the gables.
- Soffit boards can be installed underneath the eaves overhang to enclose it, improving appearance and preventing pest entry. Use treated timber or uPVC for these exposed elements.
- Install Wall Cladding (Siding):
- Apply your chosen exterior cladding (e.g., timber shiplap, tongue & groove, featheredge, or weatherboard) to the wall frames (over the breather membrane if used).
- Start from the bottom, ensuring the first board is level and creates a drip edge below the sole plate. Overlap subsequent boards correctly according to their profile (e.g., shiplap interlocks, featheredge overlaps by 25-35mm).
- Fix securely with appropriate corrosion-resistant nails or screws. For timber cladding, ensure a small gap (around 25mm) is maintained between the bottom of the cladding and the ground/hardstanding to prevent moisture uptake.
- Install corner trims for a neat and weather-tight finish at external and internal corners.
Fitting Doors, Windows, and Interior Work
This stage focuses on enclosing the shed and starting any interior fit-out.
- Install Doors & Windows:
- Carefully fit your pre-hung door units or build and hang your custom door(s) using appropriate hinges. Ensure a good, weather-tight fit within the framed opening.
- Install windows according to manufacturer’s instructions, ensuring they are level, square, and operate smoothly.
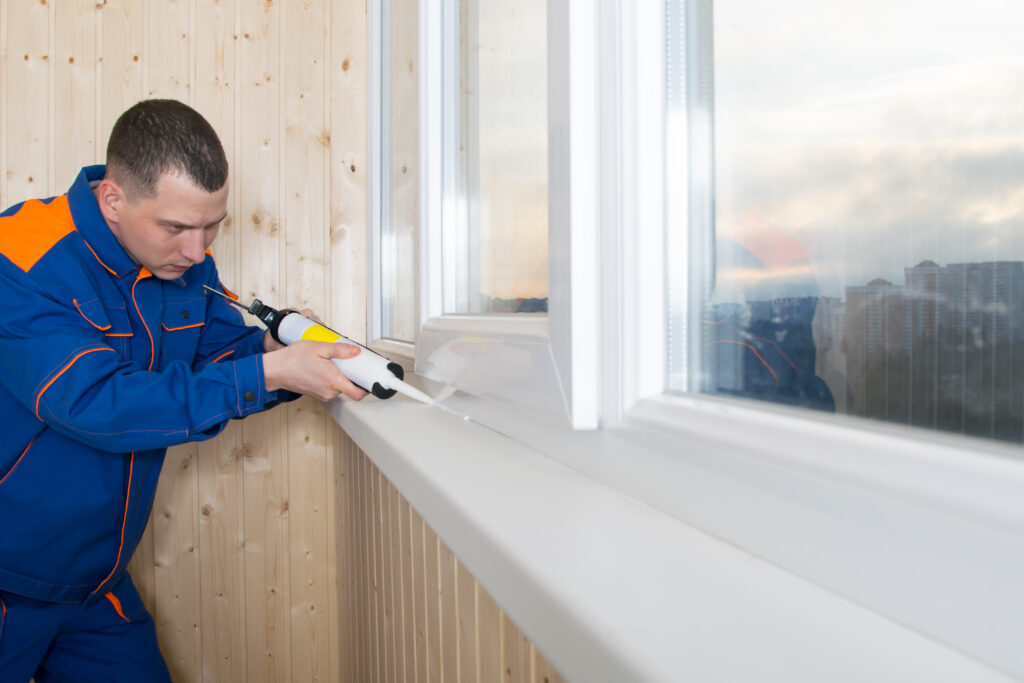
- Apply exterior-grade sealant (e.g., silicone) around all external window and door frames to prevent water ingress. Install weather bars or drip caps above openings if not integral to the design.
- Interior Lining & Insulation (Optional):
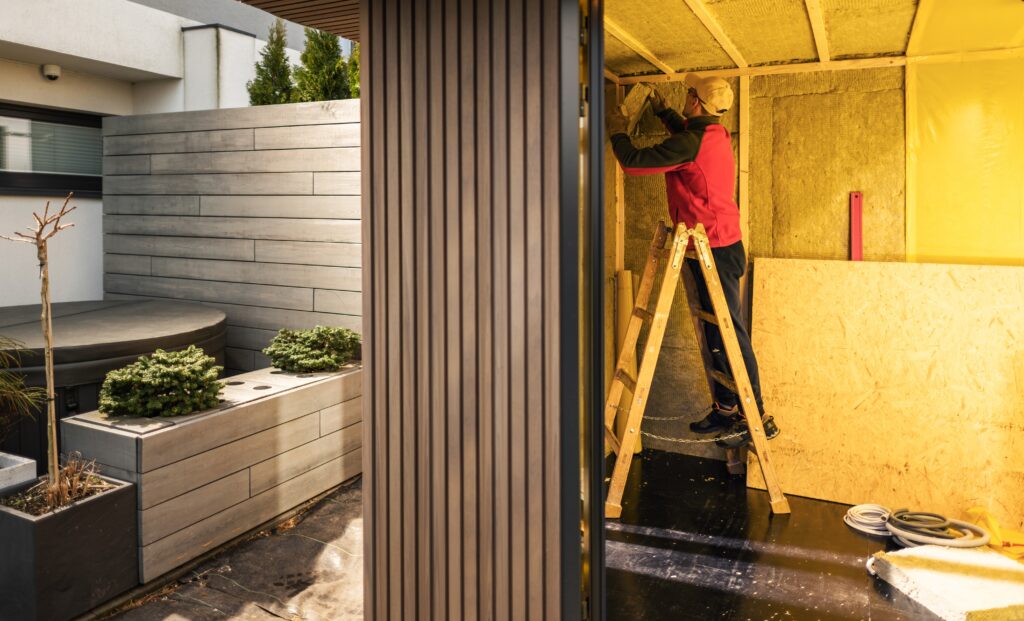
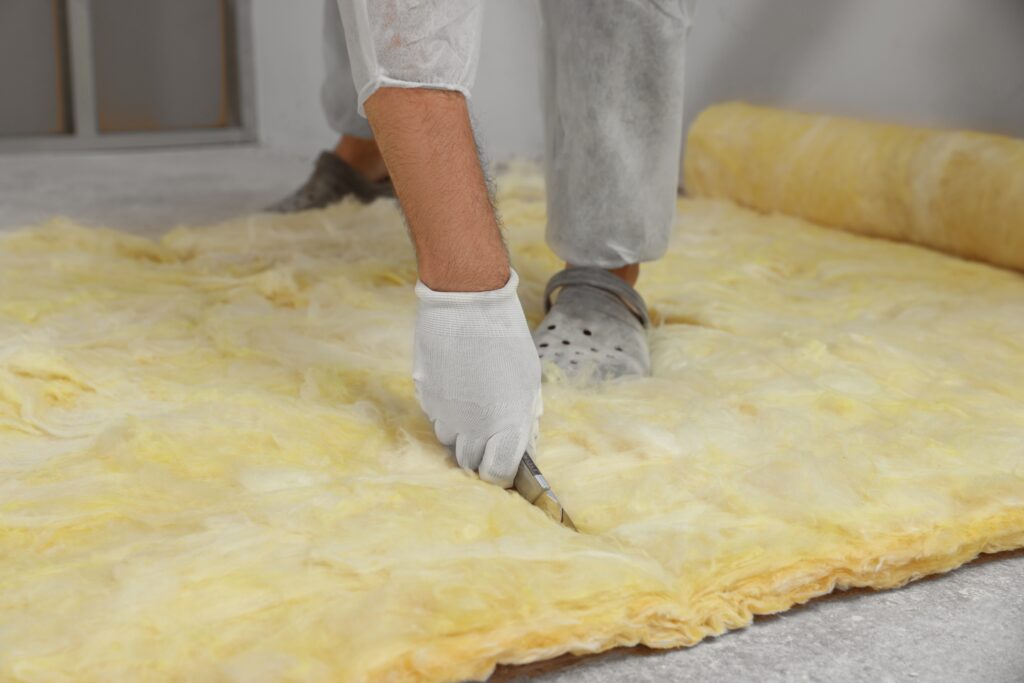
- If planned, install insulation now. PIR Insulation Boards (like Celotex or Kingspan) offer high thermal efficiency. Mineral Wool Insulation Slabs (e.g., Rockwool, Knauf) provide thermal and acoustic insulation between wall studs and roof rafters.
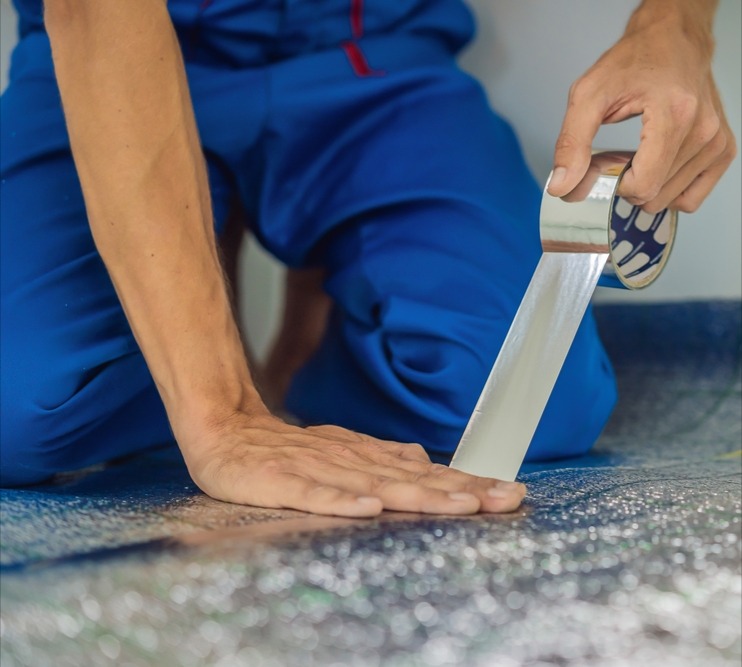
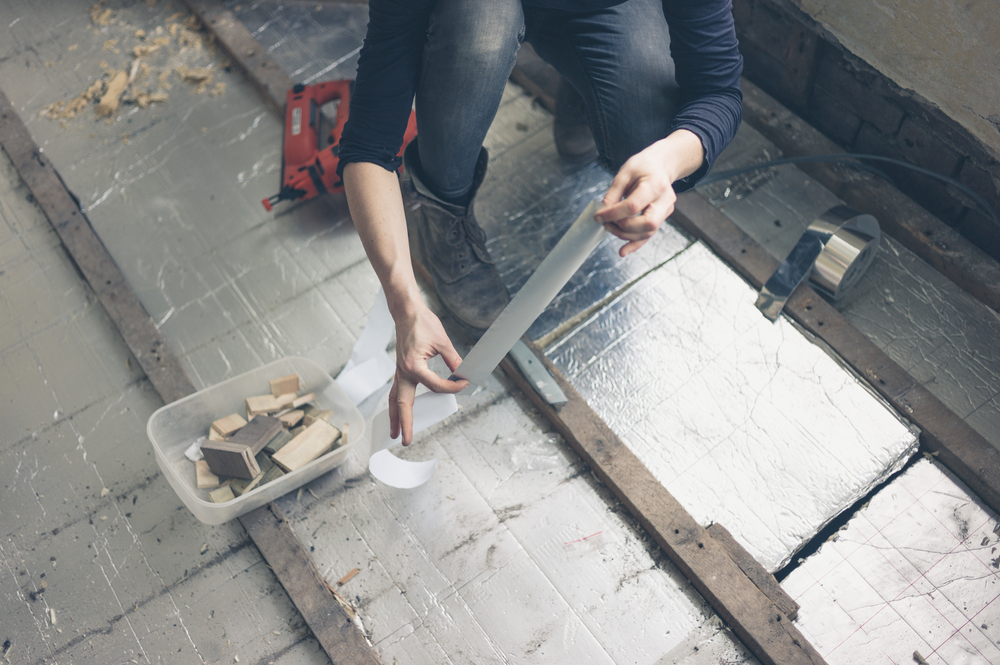
- Fit a Vapour Control Layer (VCL) on the warm side (interior side) of the insulation before applying internal linings. Lap joints by 100-150mm and seal with compatible Insulation Tapes. This prevents internal moisture vapour from reaching the cold structure and causing condensation.
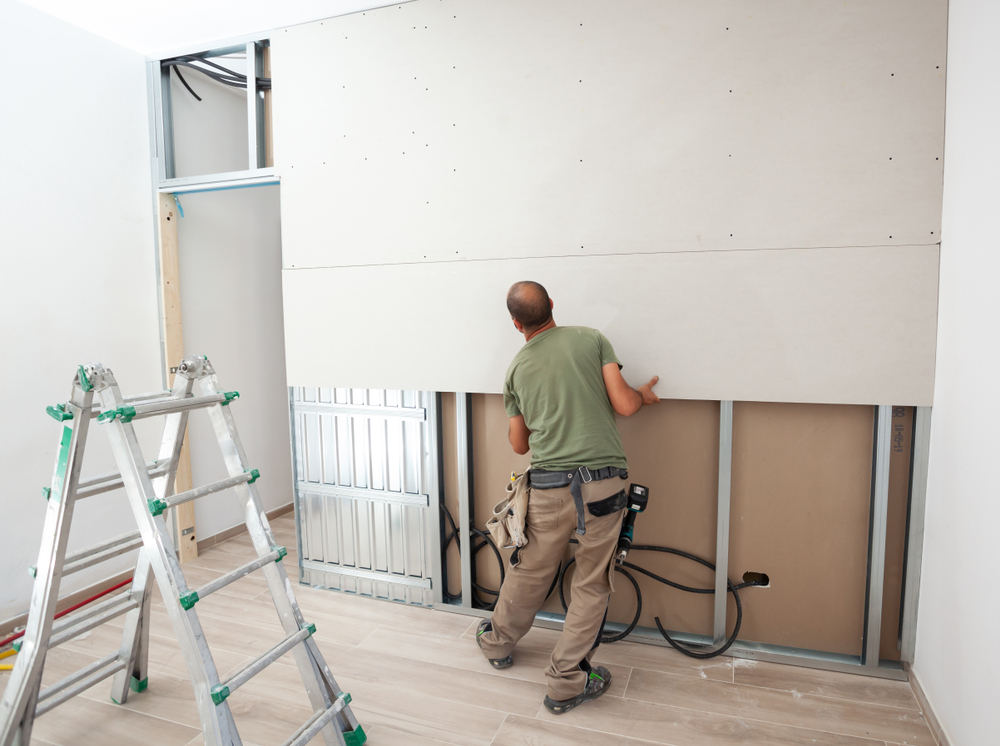
- Fix internal lining boards such as plywood, OSB, tongue & groove panelling, or insulated plasterboard to the studs and rafters.
- Shelving & Storage Solutions:
- Plan and install robust shelving, workbenches, tool racks, or cabinets to suit the shed’s purpose. Fix securely to wall studs or create freestanding units.
- Electrical Installation Considerations:
- All electrical work MUST be carried out by a qualified electrician and comply with UK Building Regulations Part P (Electrical Safety) and BS 7671 (Wiring Regulations).
- Discuss your needs (lighting, power sockets) with the electrician. Supply is typically via a dedicated circuit from your house consumer unit using steel-wire armoured (SWA) cable buried at the correct depth. A separate small consumer unit within the shed is common.
Final Finishing & Site Management
The last construction steps involve protecting your shed and tidying up.
- Exterior Protective Treatments:
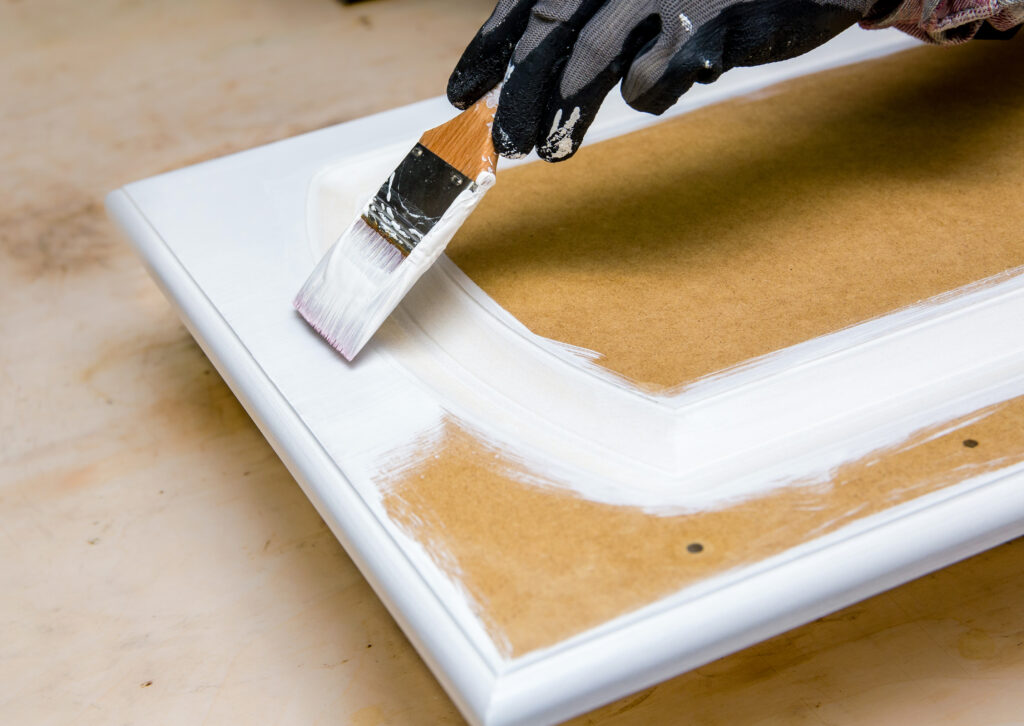
- For timber cladding and other exposed timber (fascias, doors, windows if timber), apply several coats of a good quality wood preservative, exterior stain, or paint. This protects against moisture, UV degradation, rot, and insect attack. Pay particular attention to cut end grains.
- Guttering & Water Management:
- Install guttering along the eaves, ensuring a slight fall towards the downpipe.
- Connect downpipes to direct rainwater to a water butt, soakaway, or suitable drainage point away from the shed’s foundation. This is crucial for preventing waterlogging around the base.
- Ventilation Check:
- Ensure any planned ventilation (e.g., high/low vents, opening windows) is unobstructed and functional to prevent condensation and maintain air quality.
- Landscaping Around the Shed:
- Ensure the ground immediately around the shed slopes gently away from the walls to aid surface water drainage.
- Avoid piling soil, compost, or storing items directly against timber walls, as this can trap moisture. Maintain a clear air gap.
- Site Clean-up:
- Remove all construction debris, offcuts, and packaging responsibly.
- Leave the site clean and tidy.
Safety First – A Constant Priority Throughout Your Build
Building a shed involves tools and tasks that carry risk. Safety should never be compromised.
Personal Protective Equipment (PPE):
Always wear appropriate PPE
- Safety glasses/goggles for all cutting, drilling, and hammering.
- Sturdy work gloves to protect hands.
- Dust masks (P2/P3 rated) when cutting timber, sheet materials, or handling insulation.
- Ear defenders when using loud power tools.
- Steel-toe-capped boots.
Tool Safety
- Read and understand the instruction manuals for all power tools before use.
- Ensure tools are in good condition with guards in place.
- Use the right tool for the job.
- Keep work areas clear and tidy to prevent trips.
Working at Height
- Use stable ladders, step ladders, or scaffold platforms. Do not overreach.
- For roof work, consider safety harnesses if appropriate.
Lifting
- Lift heavy items (like wall frames or large sheets) with assistance, using correct lifting techniques to avoid back injury.
- First Aid: Keep a well-stocked first aid kit readily accessible.
How To Build A Shed – Conclusion
In summary, building your own shed is a substantial but incredibly rewarding endeavour. With careful planning, attention to detail at each stage, and a commitment to safety, you can create a durable, functional, and attractive structure that perfectly meets your needs and enhances your property for many years. Stand back and admire your hard work – you’ve earned it!
Remember, if you encounter aspects of the build that are beyond your skills or if you have any doubts about structural integrity or regulatory compliance, don’t hesitate to seek guidance from qualified professionals.


