Painting Chipboard: Transforming Your Surfaces
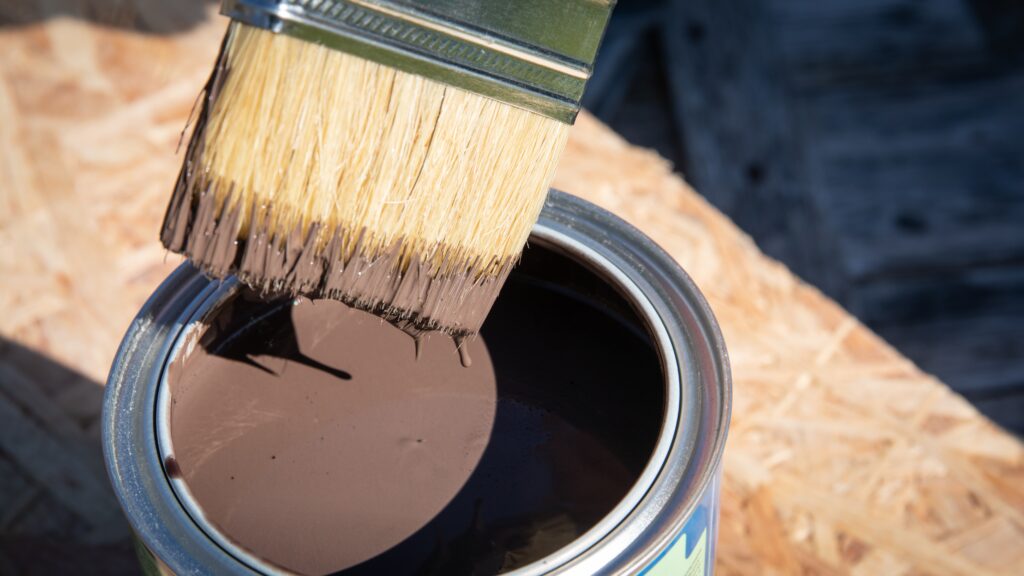
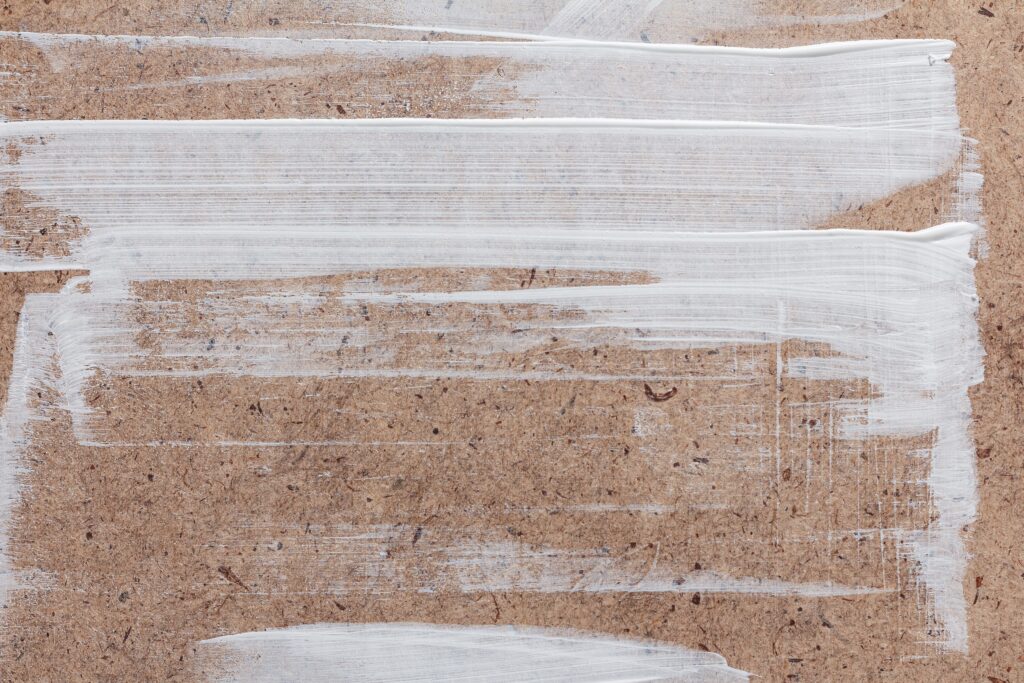
Chipboard, with its raw and unassuming look, often leaves much to be desired in terms of aesthetics. Painting chipboard, however, offers a quick way around this. In this blog post, we’ll explore the art of painting chipboard and how it can breathe new life into these otherwise dull-seeming surfaces
From dull to dazzling, we’ll guide you through the art of painting chipboard like a pro, helping you to breathe new life into your chipboard surfaces like never before.
Understanding Chipboard: A Versatile Canvas for Your Creativity
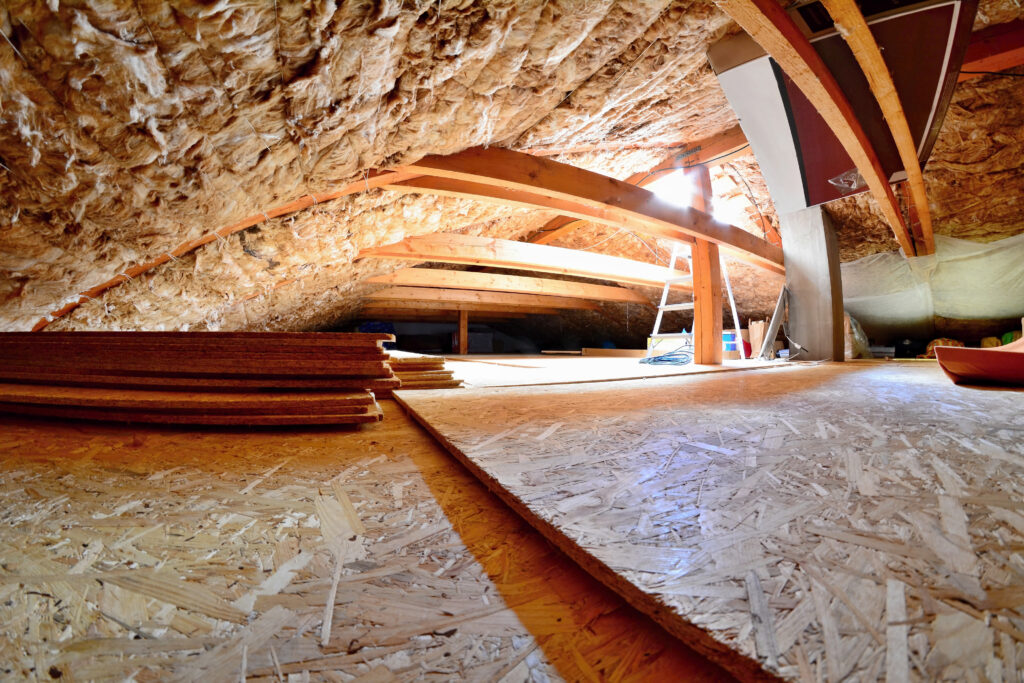
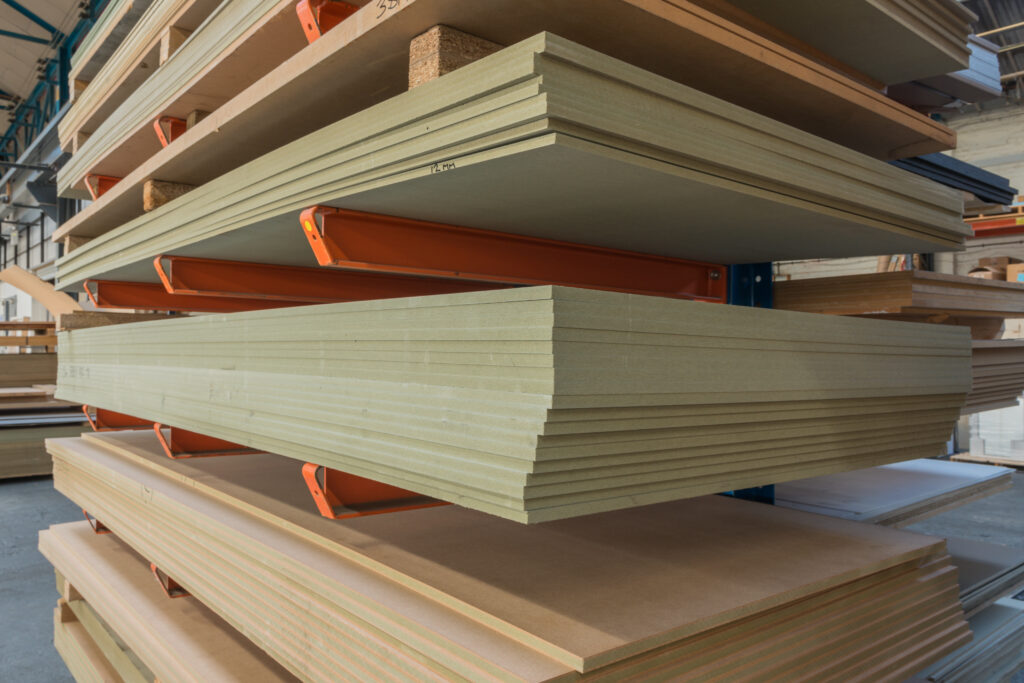
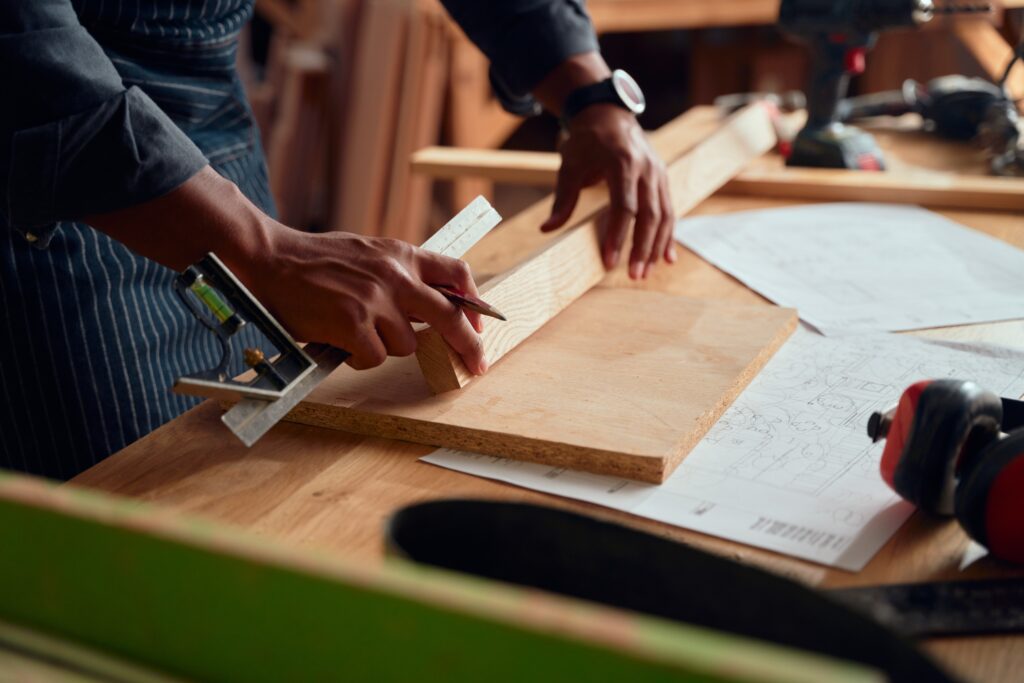
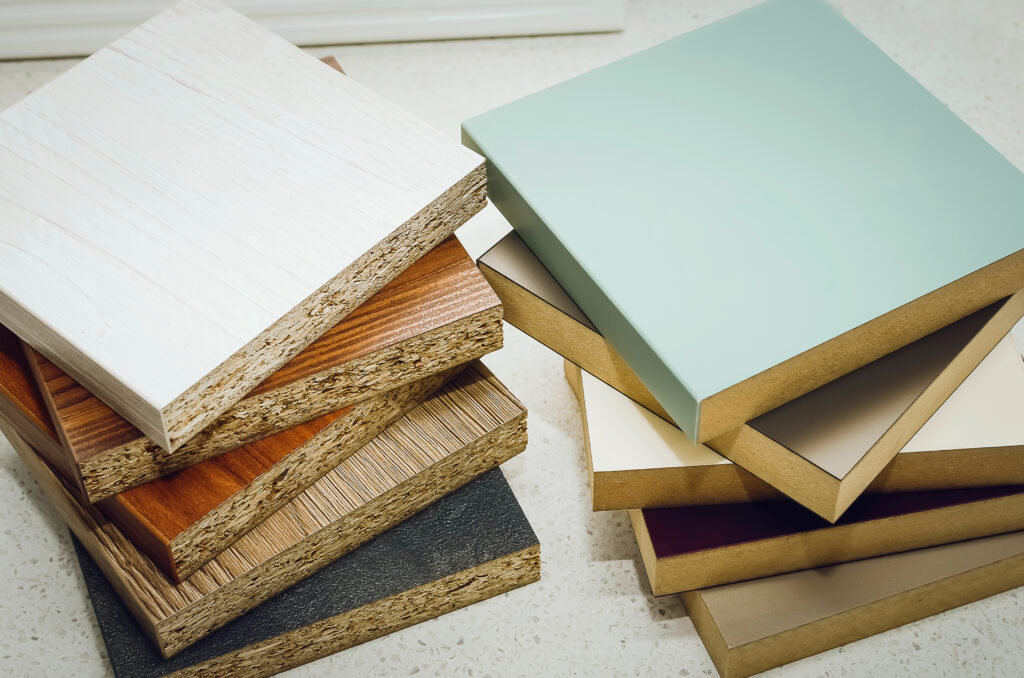
Chipboard, also known as particleboard, is a cost-effective and versatile material made from compressed wood particles and resin. It provides an excellent canvas for painting projects, offering a smooth and uniform surface to work with.
Chipboard is commonly used in furniture, cabinetry, and interior decor applications.
Understanding the composition and characteristics of chipboard will help you make informed decisions throughout the painting process.
Preparing Chipboard for Painting: Essential Steps for Optimal Results
Proper preparation is crucial to achieve a flawless and long-lasting paint finish on chipboard. Follow these essential steps to prepare your chipboard surfaces:
Cleaning: Begin by thoroughly cleaning the chipboard surfaces using a mild detergent solution or a dedicated wood cleaner. This will remove any dirt, grease, or contaminants that could affect paint adhesion.
Sanding: Use a medium-grit sandpaper to lightly sand the chipboard surfaces. This step helps smooth out any rough areas, removes imperfections, and provides better adhesion for the paint.
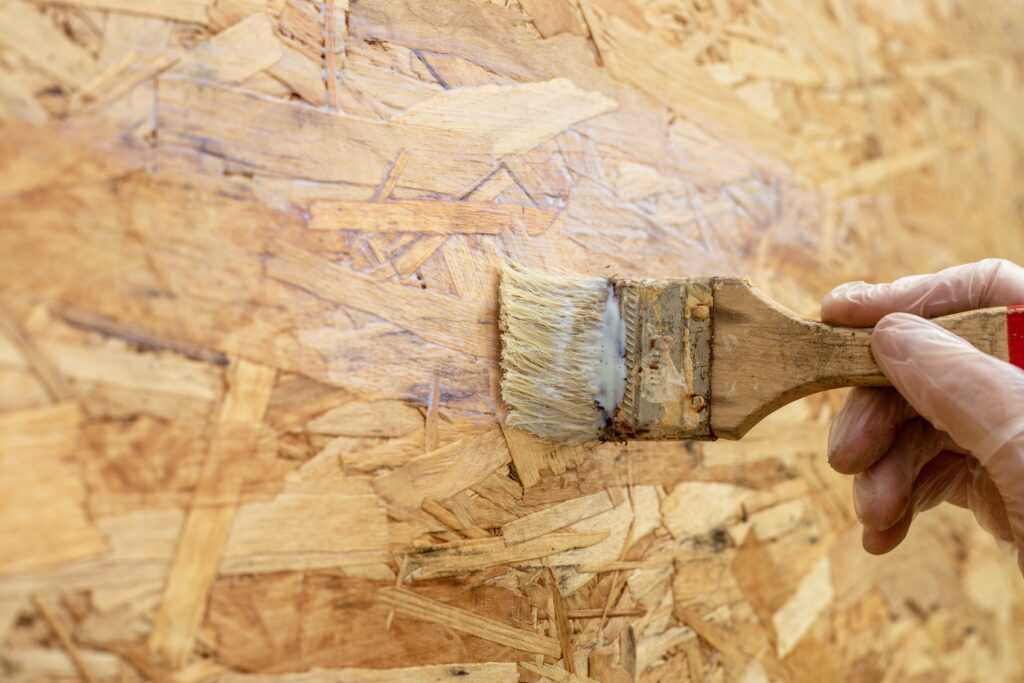
Priming: Apply a coat of high-quality primer specifically designed for chipboard. The primer seals the surface, improves paint adhesion, and ensures an even paint finish. Ensure that the primer is given ample time to dry before proceeding to the next stage.
Selecting the Right Paint for Chipboard: A Palette of Options
Choosing the right paint is essential for achieving optimal results on chipboard surfaces. Consider the following factors when selecting your paint:
Compatibility: Opt for paint that is compatible with wood surfaces, specifically formulated for chipboard or suitable for interior wood applications.
Durability: Look for paints with excellent durability, resistance to chipping, and easy maintenance. This is especially important for high-traffic areas or pieces of furniture that may endure regular use.
Colour Options and Finishes: Delve into an extensive array of colours and finishes to discover the ideal match for your project. From matte to satin, gloss, or even specialty finishes like metallic or textured, the choice is yours.
Remember to consider the environment where the chipboard surfaces will be placed. For example, if the piece will be exposed to moisture or heat, choose paint that is specifically designed for such conditions.
Mastering the Techniques: Painting Chipboard Like a Pro
Now that you’ve prepared the chipboard and selected the right paint, it’s time to master the techniques that will bring your chipboard surfaces to life. Here are some tips to achieve a professional-looking paint finish:
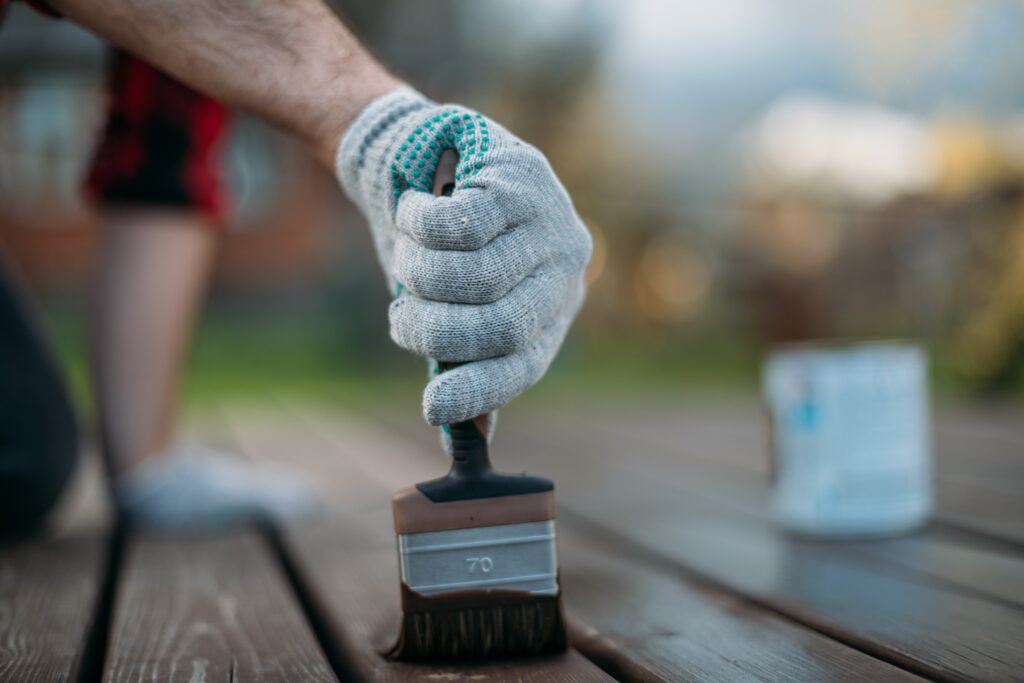
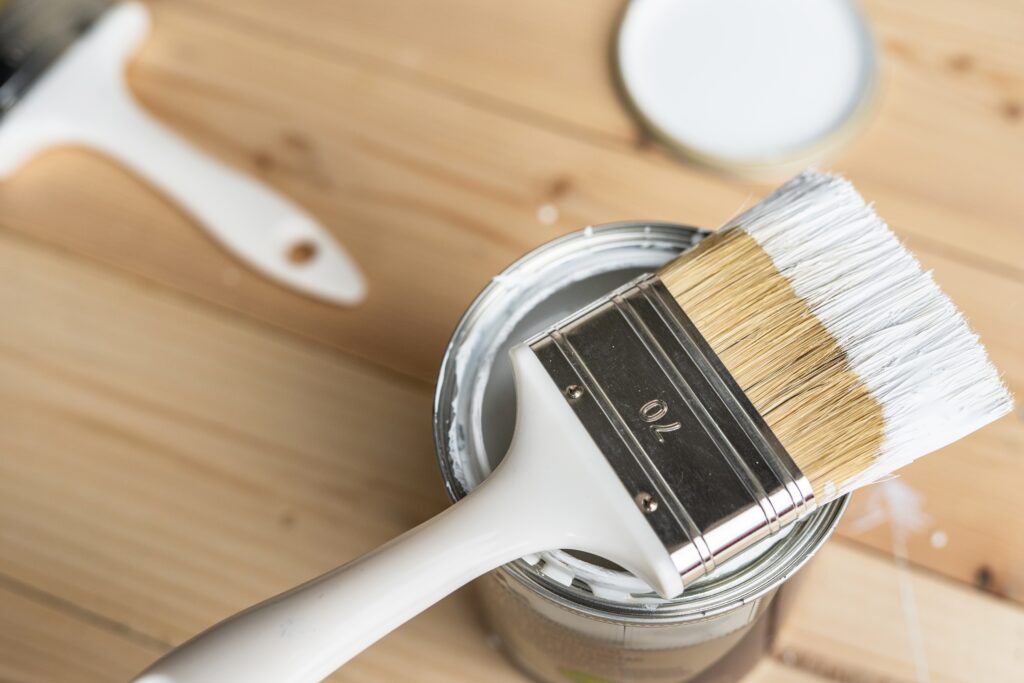
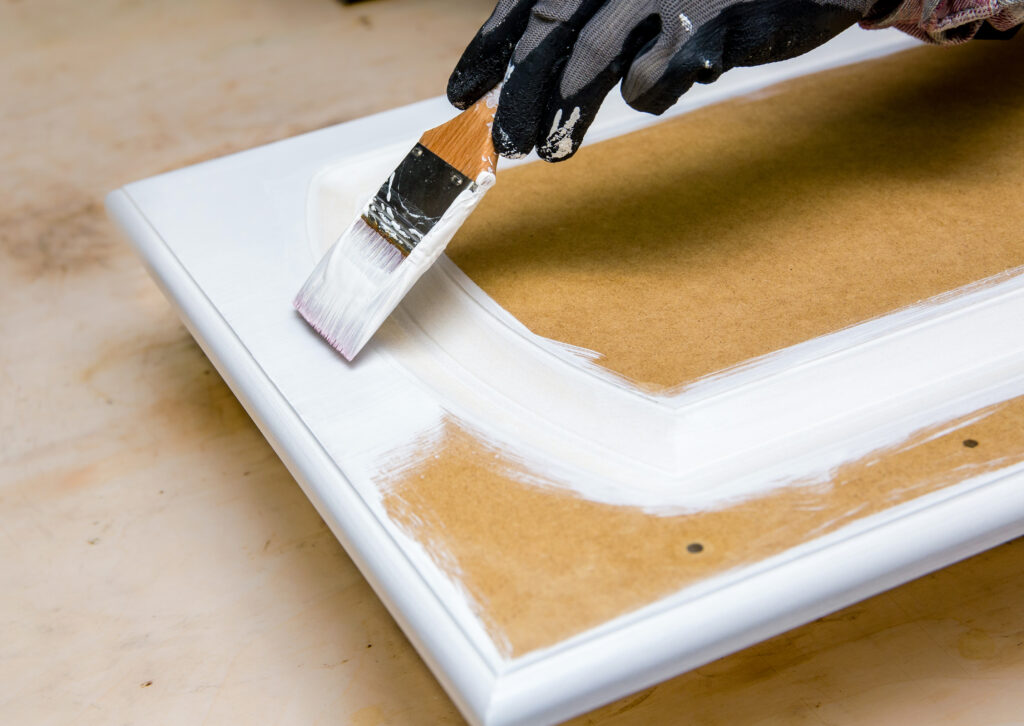
Brushwork: Use high-quality brushes with synthetic bristles designed for woodwork. Start by applying paint along the edges and corners, then work your way inward in smooth, even strokes. Feather out brush marks for a seamless finish.
Rolling: If you prefer to use a roller, choose a short-nap roller suitable for smooth surfaces. Roll the paint onto the chipboard in overlapping strokes, ensuring even coverage. Backroll the surface to smooth out any roller marks or bubbles.
Spraying: For larger surfaces or intricate designs, consider using a paint sprayer. Follow the manufacturer’s instructions and practice on a test surface before spraying the chipboard. Maintain a consistent distance and speed to achieve a uniform coat.
Remember to allow each coat to dry completely before applying additional coats, following the manufacturer’s recommended drying times.
Bringing Your Vision to Life: Design Ideas and Inspirations
Painting chipboard provides endless opportunities to unleash your creativity. Consider the following design ideas and inspirations for your chipboard projects:
Colour Schemes: Experiment with different colour combinations to achieve the desired mood or aesthetic. Opt for bold and vibrant colours to make a statement or choose subtle tones for a more understated elegance.
Patterns and Textures: Explore the use of stencils, geometric patterns, or faux finishes to add depth and visual interest to your chipboard surfaces. Consider using texture-enhancing techniques like distressing or layering for a unique look.
Accent Details: Pay attention to small details such as decorative trims, contrasting colors on edges, or artistic accents. These subtle touches can elevate the overall visual impact of your chipboard projects.
Longevity and Care: Maintaining Your Painted Chipboard
Once you’ve achieved a beautiful painted finish on your chipboard surfaces, it’s important to know how to care for and maintain them properly. Follow these tips to ensure the longevity and durability of your painted chipboard:
Regular Cleaning: Use a soft cloth or a mild cleaner specifically formulated for painted surfaces to remove dust and dirt regularly. Avoid abrasive cleaners or rough scrubbing that could damage the paint.
Touch-ups: Keep a small amount of touch-up paint for any minor chips or scratches that may occur over time. Touch up these areas to maintain a seamless appearance.
Protective Measures: Consider using coasters, placemats, or protective pads on painted chipboard surfaces to prevent scratches or moisture damage. Avoid placing hot objects directly on the surface to prevent heat damage.
Conclusion
Congratulations! You’ve reached the end of our comprehensive guide to painting chipboard. Armed with the knowledge and techniques shared in this article, you’re now equipped to embark on your chipboard painting projects with confidence.
Remember, proper preparation, paint selection, and mastering the techniques are the keys to achieving outstanding results.


