Door Knob Installation
| by Holly Wood

When it comes to enhancing the functionality and aesthetics of your internal doors, one of the fundamental tasks you might undertake is door knob installation.
Whether you’re looking to replace an existing one or add a fresh touch to a new door, this simple yet essential DIY project can make a significant difference in your home’s overall appeal.
In this comprehensive guide, we will take you through the process of installing a door knob, step by step, ensuring that you have all the knowledge and confidence needed to tackle this project successfully.
Step 1: Gather Your Tools and Materials
Before you begin the installation process, gather all the necessary tools and materials. You will need:
- New door knob
- Screwdriver
- Tape measure
- Wood putty
- Sharp chisel
- Electric drill (if needed)
- Screws provided with the door knob
- Latch mechanism
- Strike plate
- Square steel peg (for some models)
- Metal plate (for some models)
- Rectangular plate (for some models)
Step 2: Remove the Old Door Knob
If you are replacing an existing door knob, start by removing the old one. Most door knobs have screws that hold them in place. Use your screwdriver to remove these screws, allowing you to detach the old door knob from both sides of the door.
Step 3: Measure and Mark
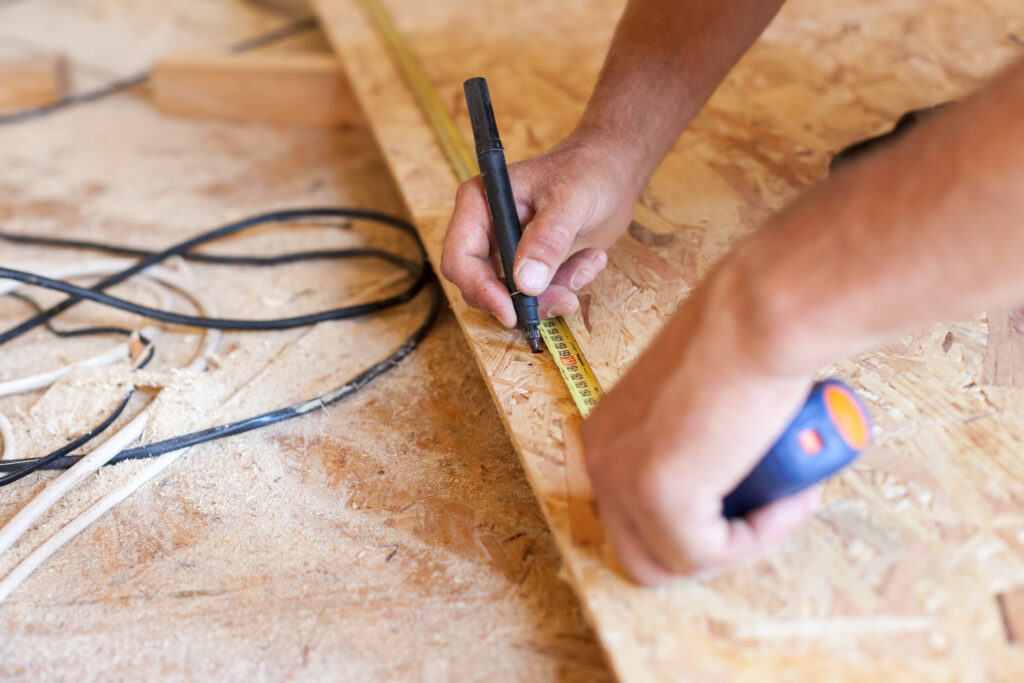
Measure and mark the locations for the new door knob and the strike plate. Ensure that they are at the correct height and align properly with the edge of the door.
Use a tape measure to be precise in your measurements.
Step 4: Install the Latch Mechanism
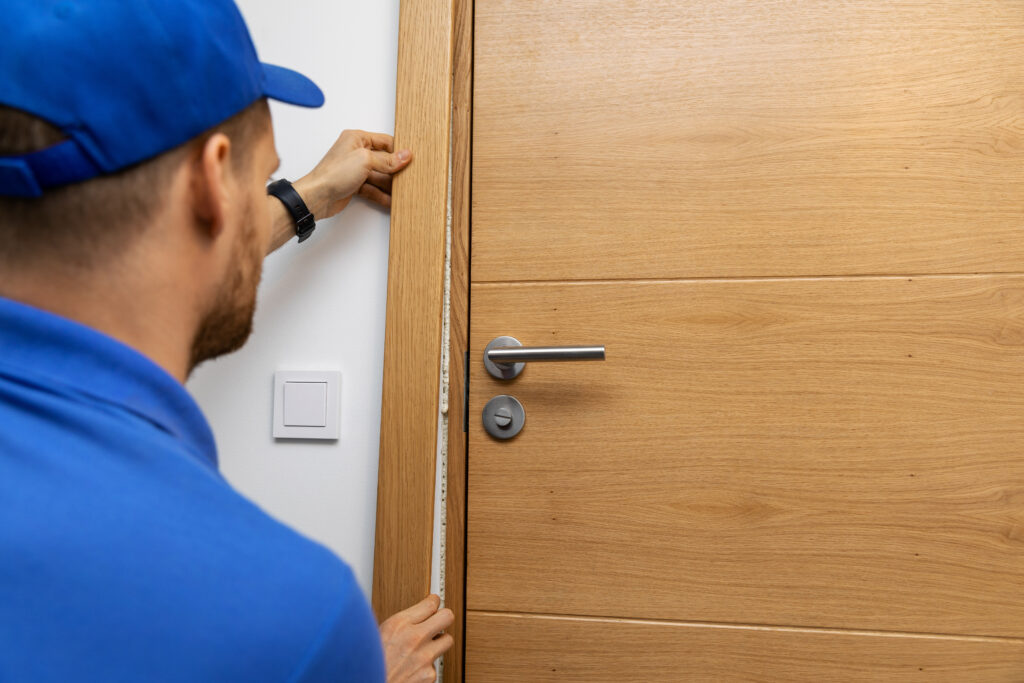
Install the latch mechanism on the edge of the door. The latch should sit flush with the edge of the door, and the square peg (if applicable) should slide into the corresponding hole in the door jamb. Secure the latch plate with screws.
Step 5: Install the Strike Plate
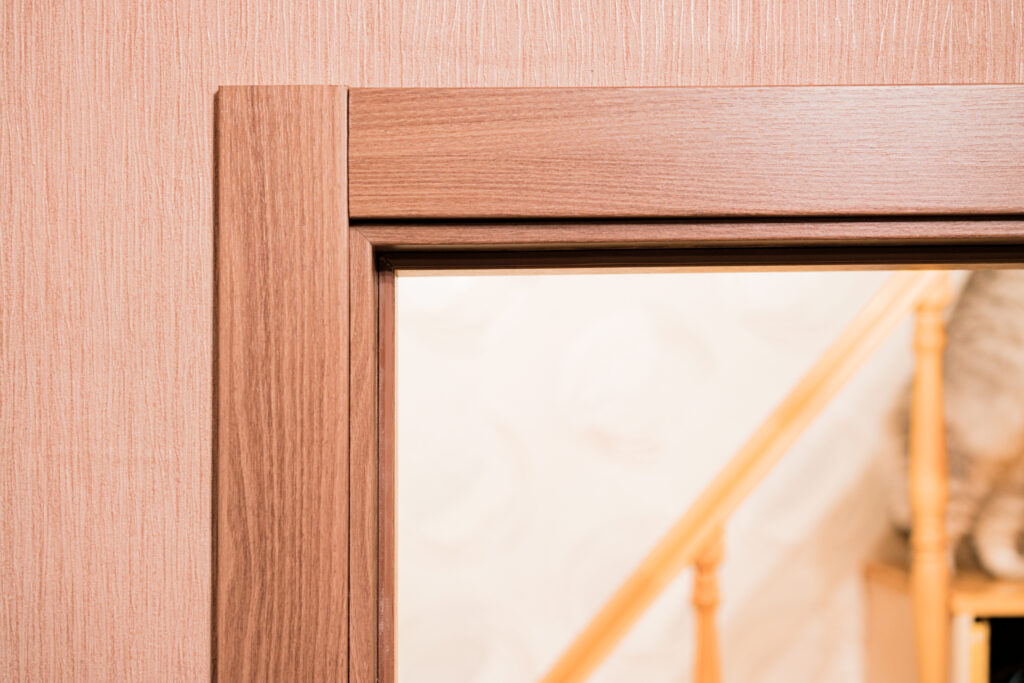
Next, install the strike plate on the door frame or jamb, aligning it with the latch. Make sure it is positioned correctly, and then use the provided screws to secure it in place. This step ensures that the door latch will securely engage with the strike plate.
Step 6: Attach the Knobs
Now, it’s time to attach the door knobs. Most door knobs consist of two halves – one for each side of the door. Insert the spindle through the latch and slide one half of the knob onto each end of the spindle. Make sure the knobs are oriented correctly, with the locking mechanism on the interior side of the door.
Step 7: Secure the Knobs
Secure the knobs by tightening the screws provided. These screws are typically concealed beneath decorative hardware or cover plates. Use your screwdriver to fasten them until the knobs sit firmly in place.
Step 8: Test the Door Knob
Before completing the installation, test the door knob to ensure it functions correctly. Turn the knob to engage and disengage the latch. The door should open and close smoothly without any issues.
Step 9: Finishing Touches
If there are any gaps or holes left from the old door knob, fill them with wood putty and allow it to dry. Once dry, sand the area smooth for a clean finish.
Step 10: Enjoy Your New Door Knob
Congratulations! You have successfully completed the door knob installation. Your door is now equipped with a functional and stylish knob that enhances both the security and aesthetics of your space.
In conclusion, installing a door knob is a manageable DIY project that can be accomplished with the right tools and careful attention to detail.
Whether you’re replacing an old door knob or installing a new one on an interior or exterior door, following this step-by-step guide will ensure a smooth and successful installation process. So, go ahead and upgrade your door with confidence!
Related Posts

Chipboard vs MDF: Unveiling the Differences and Making the Right Choice

40 Financial Experts Reveal If Investing In Real Estate Is Worth It

International Men’s Health Week: Our study into men’s health and a medical guide to treating common ailments
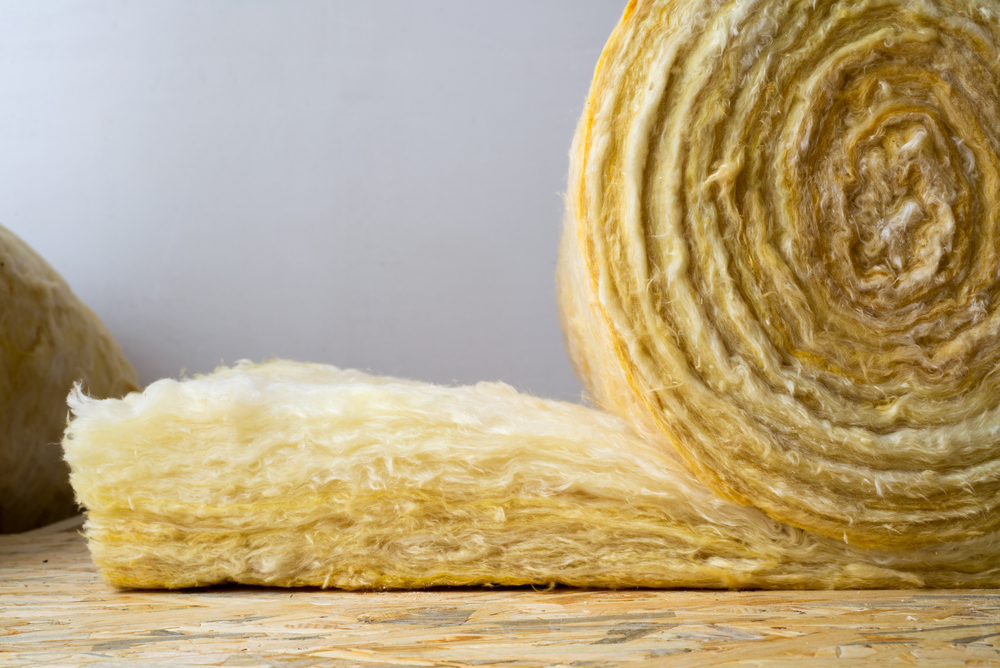
Insulation Rolls vs Insulation Slabs: Which Type is Better in a Partition Wall

Battle of the Builder’s Brew! Best way to make tea revealed (it’s never milk first, FYI)

Tidy house, tidy mind: Over half of Brits start DIY and home improvement projects to help mental health

Best in the bedroom: Survey reveals tradesmen make the best lovers

32% increase in ‘Doomsday Preppers’ building bunkers and safehouses
