Roof Batten Installation Guide
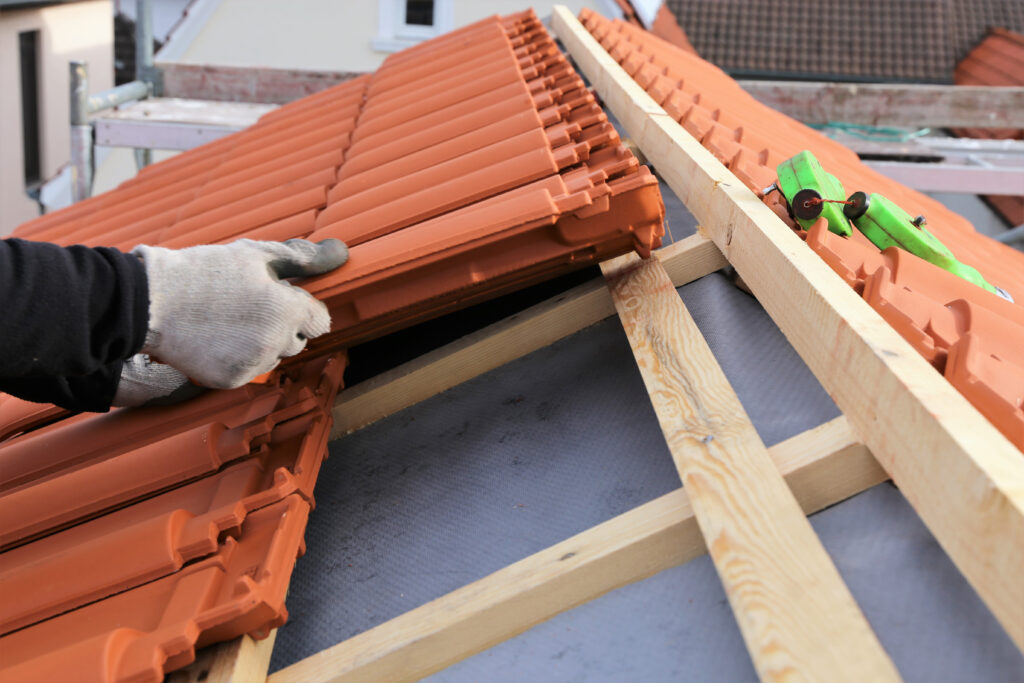
This Roof Batten Installation Guide is your essential roadmap when diving into the nuanced world of roofing.
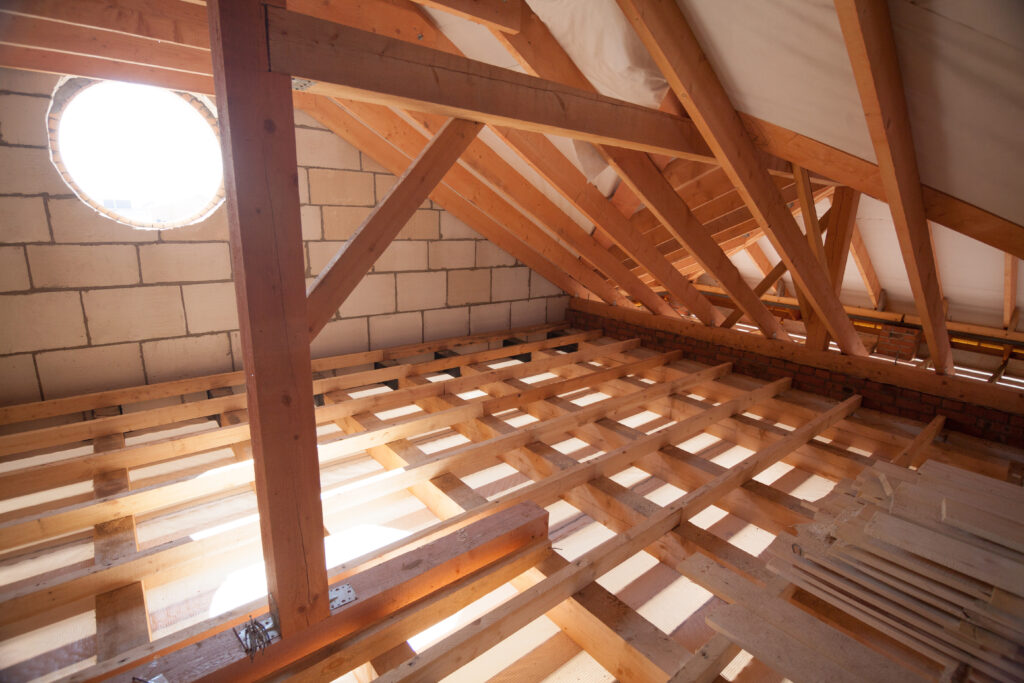
Battens set the stage for your roof tiles while also shielding your home from the elements.
In this Roof Batten Installation Guide, we will walk you through the step-by-step process of installing roof battens, ensuring that you have all the tools and knowledge needed to achieve a solid and well-protected roof.
Understanding Underlay
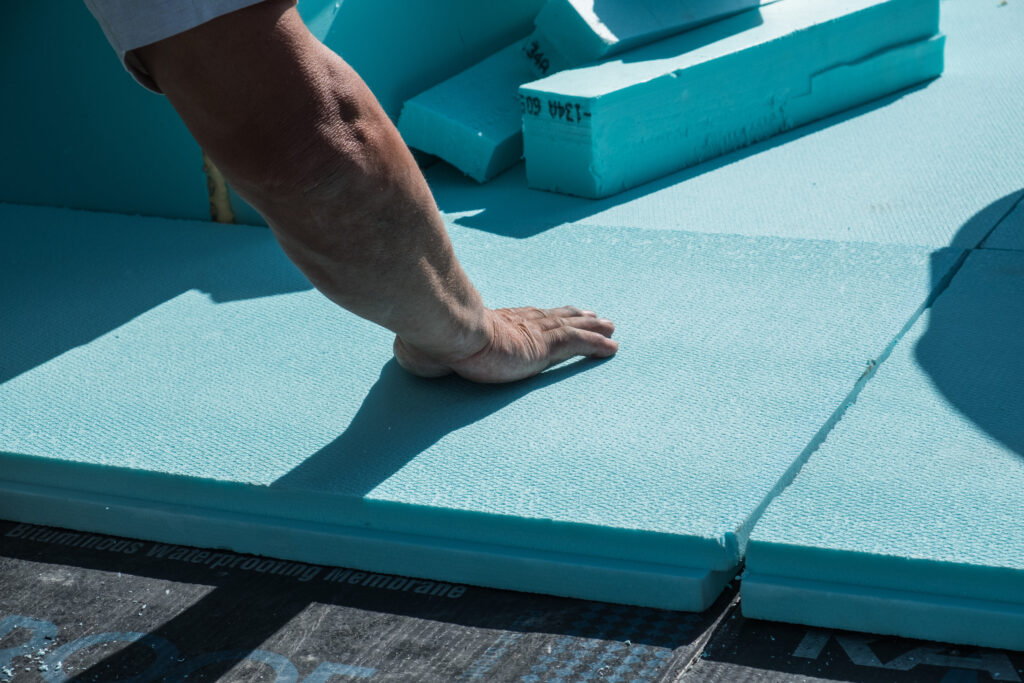
The underlay acts as a protective barrier, offering both insulation and an additional waterproof shield, safeguarding against any water trickling beneath the roof covering.
Traditional choices, like the Type 1F bitumen felt, although once popular, can grow brittle. Modern alternatives, however, offer durability combined with reduced weight.
This article provides a concise guide on how to install underlays when both the underlay and tile battens are fixed directly onto the rafters. For alternative situations, consult with both the tile and underlay manufacturers.
Basic Requirements:
- The underlay should, at a minimum, meet the wind uplift resistance specifications detailed in BS 5534.
- Typically, tile battens retain the underlay. However, if you need to use nails, consider extra large head felt nails, 20mm long with a 3.35mm shank diameter.
Underlay Installation Steps
- Initial Layout: Commence by laying the underlay parallel to the eaves. It’s crucial to maintain uniform tightness.
- Drainage: Keep a slight drape of about 10mm between the rafters. This aids in draining water into the gutter if it finds its way into the batten cavity. Using underlay support trays at the eaves can help, ensuring a 150mm overlap over these trays.
- Overlaps: Maintain a horizontal lap of at least 150mm. For roofs with pitches over 35 degrees, a lap of 100mm suffices. Ensure vertical laps are at least 100mm wide and align them with a rafter. Adjust headlap accordingly or secure with tape or nails.
- Verge Handling: For bedded verges, let the underlay extend over the outer brickwork or outer rafter. For dry verge systems, follow the tile manufacturer’s guidelines for overhanging.
- Ridge Considerations:
- Duo-pitch ridges: The underlays should overlap by a minimum of 150mm. Reduce this to 100mm for roofs with a pitch over 35 degrees. For dry fix ventilated ridge systems, adhere to the manufacturer’s overlap specifications.
- Monopitch ridges: The underlay must surpass the top fascia or masonry by at least 100mm.
- Hips and Valleys:
- Hips: Ensure a 150mm overlap at the hip line.
- Valleys: Aim for a 300mm overlap at the center or lay a continuous 600mm wide strip. If using metal valley linings, don’t place them directly over the underlay. Refer to the Tiling Section for detailed valley handling.
- Abutments:
- Side and Top: Turn up the underlay by 50mm.
- Back: Overlap the back material by at least 150mm, or 100mm for pitches over 35 degrees. Avoid water traps.
- Pipe Penetrations: When dealing with pipes or other protrusions, cut the underlay carefully and turn it for a tight fit. Place an additional underlay piece or a specialised underlay protector above the penetration. This ensures water is directed away from the opening.
Understanding Batten Gauge
The batten gauge is a term used to denote the spacing between roof battens. It’s essential for the proper placement and alignment of roof tiles.
Before you plunge into installing battens and counter battens, ensure that their size and batten spacing align with your chosen tiles. This directly impacts the weather resistance and aesthetic appeal of your roof.
BS 5534 provides clear directives:
- 25x50mm battens are apt for single-lap Modern roof tiles with a 600mm maximum rafter span.
- Battens should be securely fixed to rafters not spaced more than 600mm apart.
- They should cover at least three rafters with a minimum length of 1.2m.
- Joints should be varied for aesthetic uniformity and structural stability.
Gauge Calculation
For variable lap tiles, ascertain the gauge by dividing the distance between the initial and final batten by the maximum tile gauge. Round up to the nearest whole and divide the original distance by this number for the accurate gauge.
For tiles with a fixed gauge, examine the tile batch to figure out possible shunt between courses. If full courses aren’t achievable within the available shunt, consider a short course of cut tiles at the bottom or top.
Calculating Roof Batten Spacing & Installation
Initiating the Process:
Begin by pinpointing the first roof batten’s location at the eaves, which is the roof’s lowest part.
Place a sample tile (loosely, without fixing) ensuring its bottom edge extends past the fascia and gutter by the length specified in the tile manufacturer’s recommendations. The tile’s bottom edge should almost reach the gutter’s centre.
Taking Measurements:
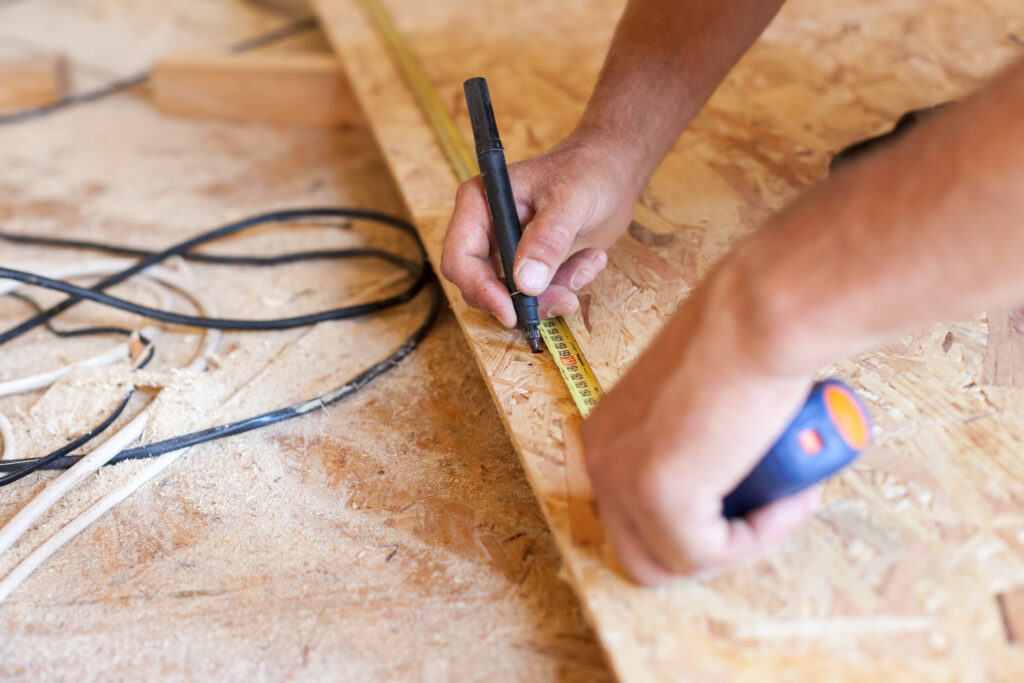
Document the tile’s entire length.
Next, measure the tile nib, which extends from the tile’s top to the nib’s bottom, and note this as well.
By subtracting the nib’s length and overhang from the tile’s total length, you will determine the distance between the initial two battens. You can then affix the second batten accordingly.
Positioning Near the Ridge:
Align a batten right beneath the ridge, which is the roof’s peak.
Place another sample tile on it. Ensure the batten’s position is such that the ridge tiles will exceed the primary set of roof tiles by approximately 75mm.
Once you’re confident of the positioning, secure the batten.
Calculating the Number of Courses:
Measure the span from the top edge of the lowest batten to the highest one.
Now, divide this by the manufacturer’s recommended maximum gauge, rounding the result to the closest whole number. This calculation will inform you of the required courses to tile the roof appropriately.
Considering Unequal Roof Pitches & Roof Slopes:
If two roof sections with different pitches converge at a hip or valley, adjust battens on both to match the gentler pitch.
Choosing the Right Batten
Aside from consulting this Roof Batten Installation Guide, always consult the manufacturer’s guidelines for your specific tile. They will detail the maximum tile gauge. This gauge represents the visible portion of the tile on the roof, excluding its overlap with adjacent tiles. This measurement will dictate the spacing between your battens.
Select timber species as per the standards laid out in BS 5534. Consulting with your timber supplier can offer additional insights.
For single lap tiles on rafters with a 450mm spacing, battens should measure 38 x 25mm. For spacings up to 600mm, a 50 x 25mm batten section is advised.
Batten Length and Joints
Opt for battens that are at least 1200mm long.
For roofs with a batten gauge exceeding 200mm, ensure no more than one joint is present across four consecutive battens on the same rafter. If the gauge is under 200mm, limit to three joints across twelve consecutive battens.
Make sure joints are square cut and they centre over the rafter. Use splay nailing for securement and offer full support at hips and valleys.
Appropriate Nails & Fixtures
Use galvanised, sherardised smooth round nails for attaching battens to each rafter. Options also include annular ring shank or helical threaded shank nails.
The suggested minimum nail size is 65 x 3.35mm. However, always refer to BS 5534 to determine the wind uplift resistance of your chosen fixing.
To ensure optimal fixation, nails penetrating a minimum of 40mm into the rafter are recommended. Starting from the lower edge, you should nail the batten squarely over the rafter, ensuring joints are skew-nailed.
Special attention should be given to batten ends set in mortar, making sure they’re appropriately treated.
Installing Roof Covering
Once each tile batten is securely fixed, you’re set to lay the roof covering. Your choices in tiles, slates, and other coverings are vast, ensuring the best fit for your project’s requirements.
To further elevate the quality and longevity of your roofing project, consider integrating dry-fix accessories, ventilation solutions, and more.
Conclusion
In summary, installing tile battens ready for roofing is a nuanced task. With the right materials and adherence to standards like BS 5534, you can ensure a robust and durable roof for your home.
Whether you’re a seasoned professional or a passionate DIYer, always prioritise quality materials and adherence to best practices for the best results.
Our Roof Batten Installation Guide is for guidance only. Always consult a professional.


