How to Clean Gravel
| by Holly Wood
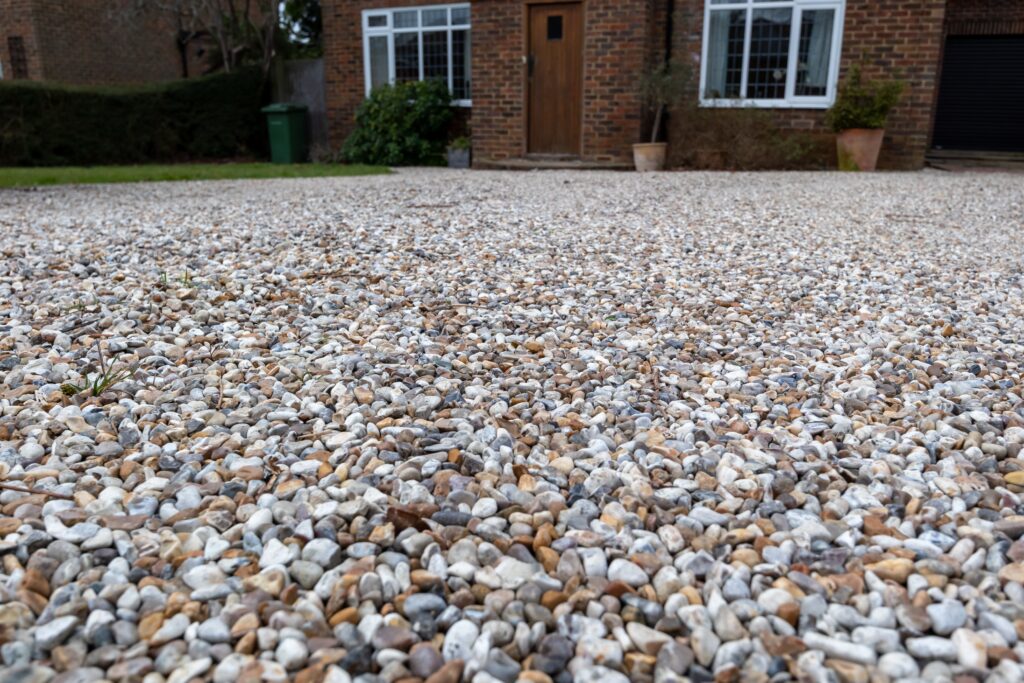
Gravel, whether in your garden, driveway, or any outdoor space, demands regular maintenance to stay looking great. In this comprehensive guide, we’ll walk you through a step-by-step process on how to clean gravel, ensuring your garden or driveway remains a visually pleasing and low-maintenance part of your home.
Understanding the Basics of Gravel Cleaning
Before diving into the cleaning process, it’s essential to know the types of dirt and debris you’ll be dealing with. Gravel, be it functional or decorative, can accumulate dirt, decomposing plant material, stubborn stains, and even weeds. Cleaning garden gravel isn’t just about aesthetics; it’s also about preventing damage and maintaining the surface layer of your gravel driveway or garden paths.
Supplies Needed
- Gardening gloves
- Garden rake
- Large outdoor broom
- Leaf blower
- Pressure washer or garden hose
- Metal hardware cloth or metal mesh
- Weed killer or weed spray
- Mild detergent or cleaning solution
- Small brush
- Geotextile fabric (optional)
Step 1: Remove Large Debris and Weeds
Start by wearing protective gloves and using a garden rake to remove larger debris such as leaves, sticks, and any visible weeds. If you have stubborn clusters of weeds, apply a weed killer a few days prior to your cleaning day.
Step 2: Loosen the Surface
Using a large outdoor broom or a leaf blower on a low setting, gently agitate the surface of the gravel. This helps loosen any dirt or small stones that are embedded in the gravel.
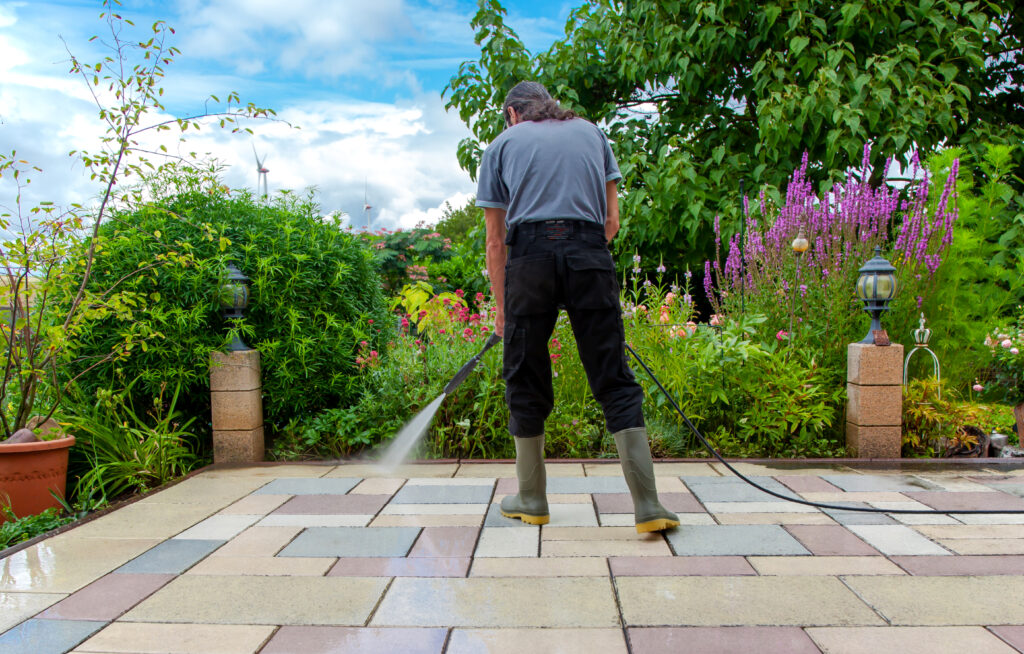
Step 3: Power Wash Gravel
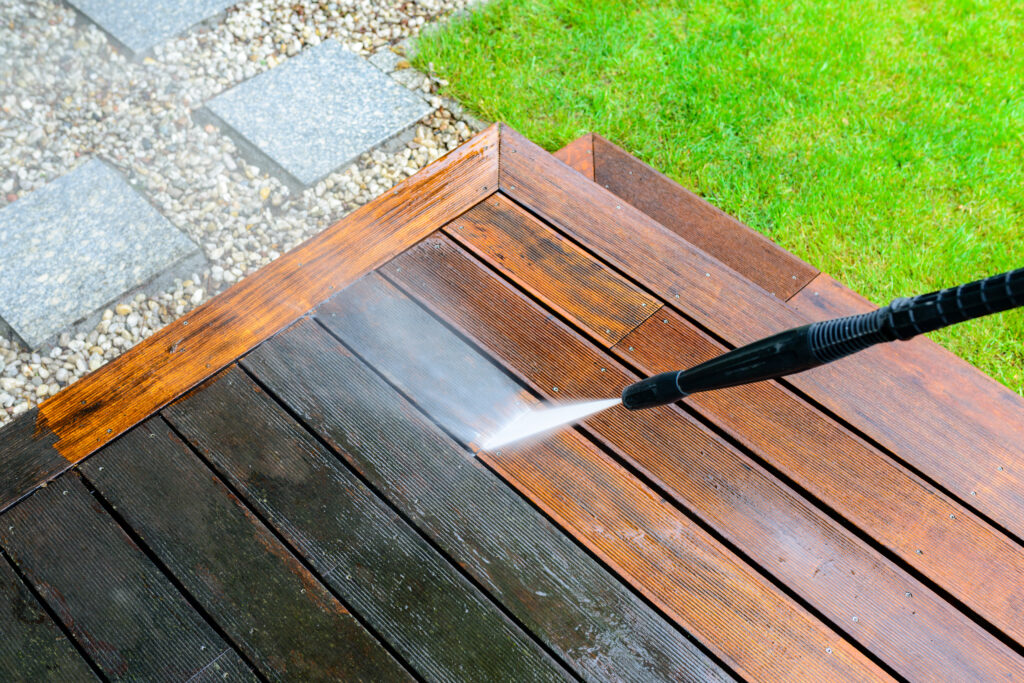
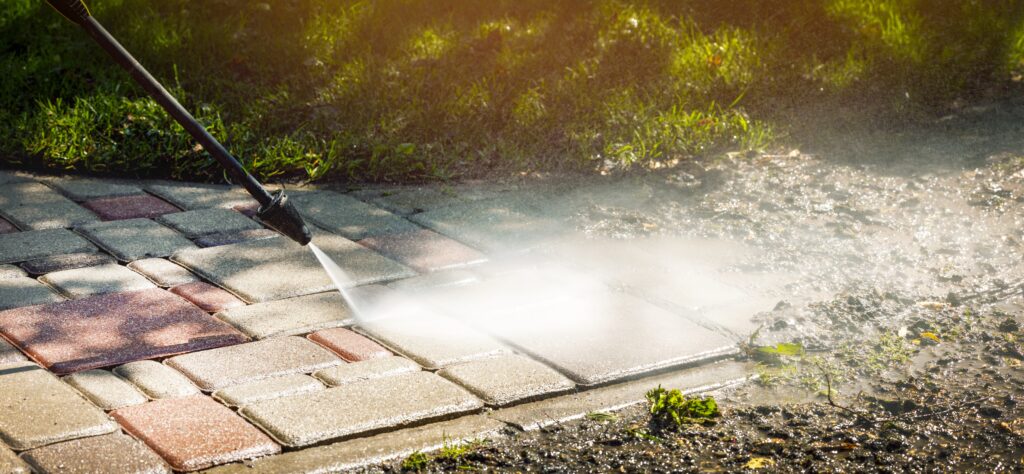
For a thorough cleaning, use a pressure washer. Start with a low-pressure setting to avoid displacing the gravel. We recommend power washing for stubborn stains and marks, however, always exercise caution and control the pressure to prevent damaging the gravel.
If you don’t have a pressure washer, a garden hose with a gentle spray attachment works as an alternative. This step helps remove dirt, dust, and other debris from the gravel.
Step 4: Target Stubborn Dirt and Stains
If you encounter stubborn dirt or organic stains, use a mild detergent mixed with water. Apply it to the affected areas and gently scrub with a small brush. Be cautious not to use too much pressure, as you don’t want to disturb the gravel’s placement.
Step 5: Rinsing
After scrubbing, rinse the gravel using a garden hose or pressure washer. Ensure you use a low pressure setting to prevent the stones from getting displaced.
Step 6: Drying and Replacing
Allow the gravel to dry. If you’ve noticed significant displacement of gravel, use this time to redistribute or add new gravel. For driveways or high foot traffic areas, consider using a metal hardware cloth or metal mesh to sieve the gravel, separating fine dirt from the stones.
Preventative Measures
- Regularly remove weeds and debris using a rake or leaf blower.
- Cut grass around the gravel area to prevent clippings from accumulating.
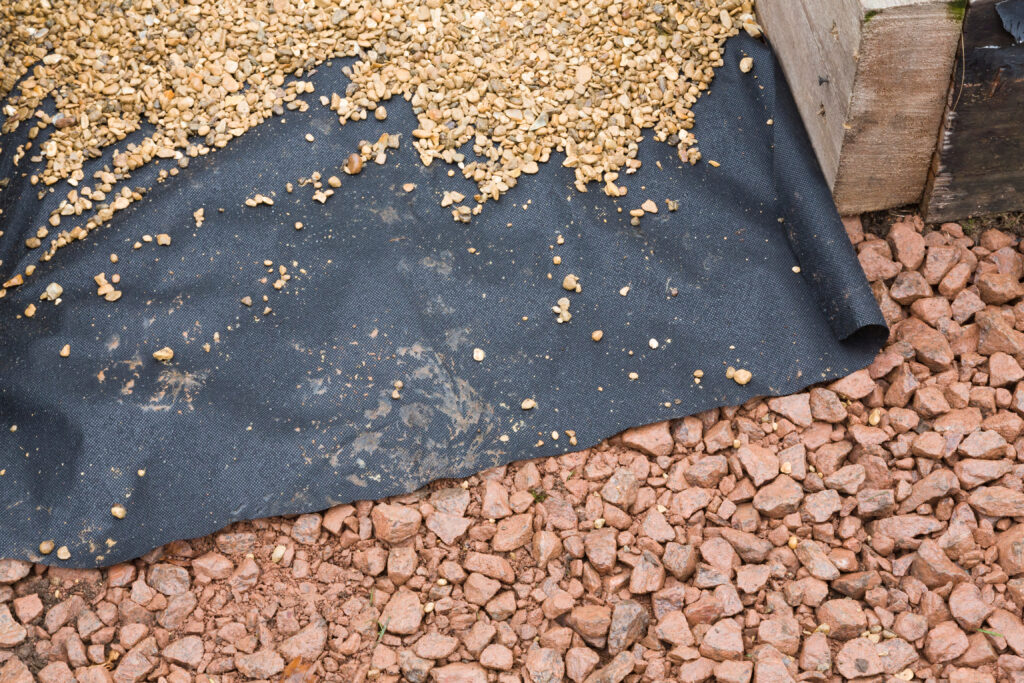
- For garden gravel, consider laying geotextile fabric underneath to prevent weeds.
- Regularly check for and fill any holes or dips to maintain an even surface.
Conclusion
Cleaning gravel, be it in your garden or driveway, is a simple yet effective way to enhance your outdoor space. By following these few simple steps and incorporating regular maintenance, you can keep your gravel looking pristine and functional for years to come.
Remember, the key to maintaining a beautiful gravel area is consistency. Regularly checking and cleaning your gravel can prevent the buildup of dirt and weeds, making the cleaning process much easier in the long run.
Related Posts

Chipboard vs MDF: Unveiling the Differences and Making the Right Choice

40 Financial Experts Reveal If Investing In Real Estate Is Worth It

International Men’s Health Week: Our study into men’s health and a medical guide to treating common ailments

Insulation Rolls vs Insulation Slabs: Which Type is Better in a Partition Wall

Battle of the Builder’s Brew! Best way to make tea revealed (it’s never milk first, FYI)

Tidy house, tidy mind: Over half of Brits start DIY and home improvement projects to help mental health

Best in the bedroom: Survey reveals tradesmen make the best lovers

32% increase in ‘Doomsday Preppers’ building bunkers and safehouses
