How To Build A Wall
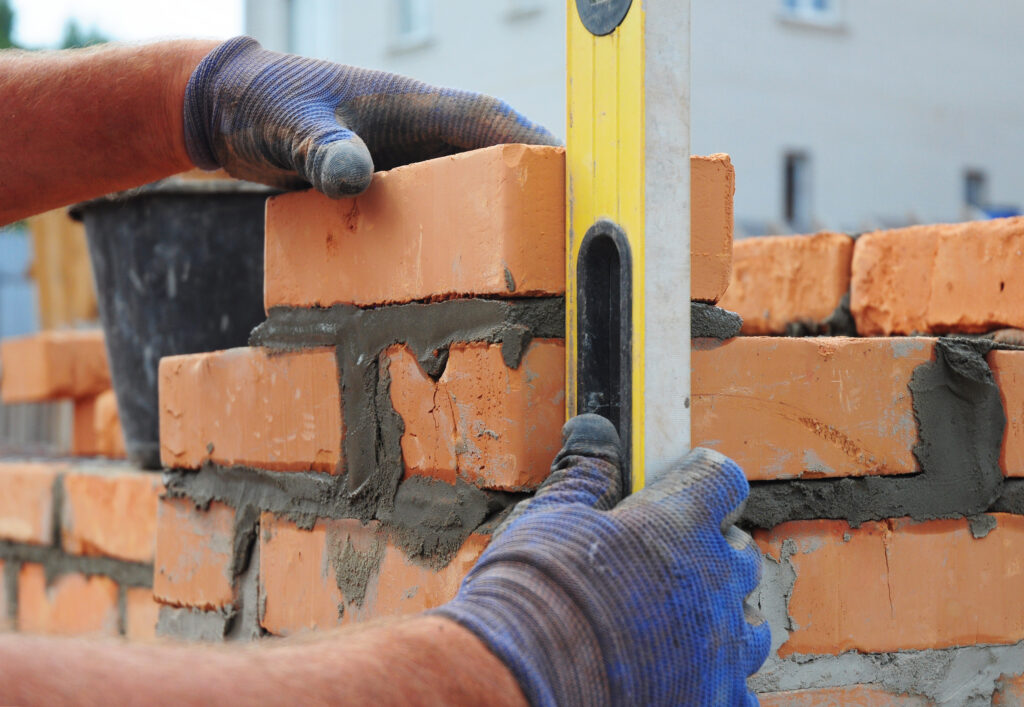
Building a brick wall is a substantial undertaking that demands precision, dedication, and know-how. It’s not just about stacking bricks; building a wall involves constructing a robust and functional structure that will stand the test of time and weather the elements.
From selecting the right bricks to mastering mortar techniques and ensuring structural integrity, we’re here to demystify the art of bricklaying.
Types of Walls Explained
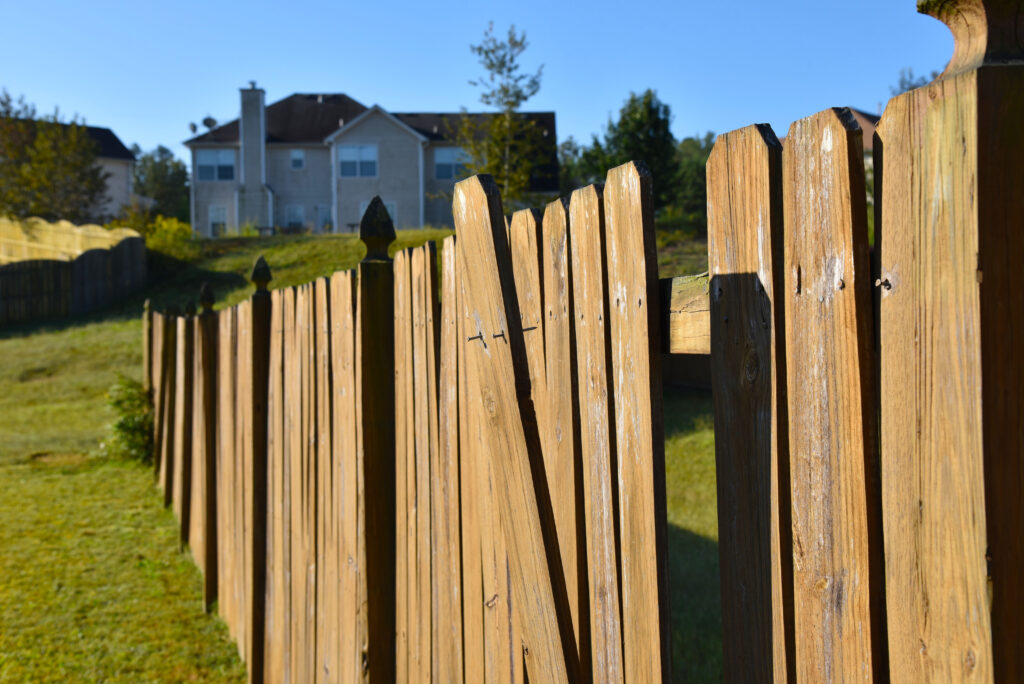
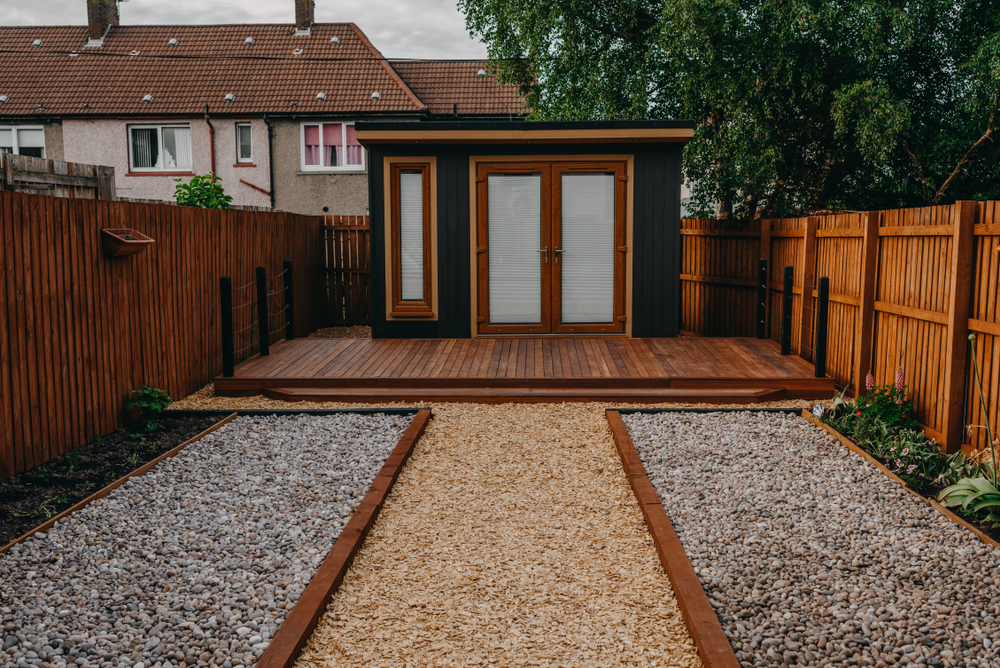
- Garden Wall: A garden wall is designed to define garden boundaries, create garden beds, or provide seating.
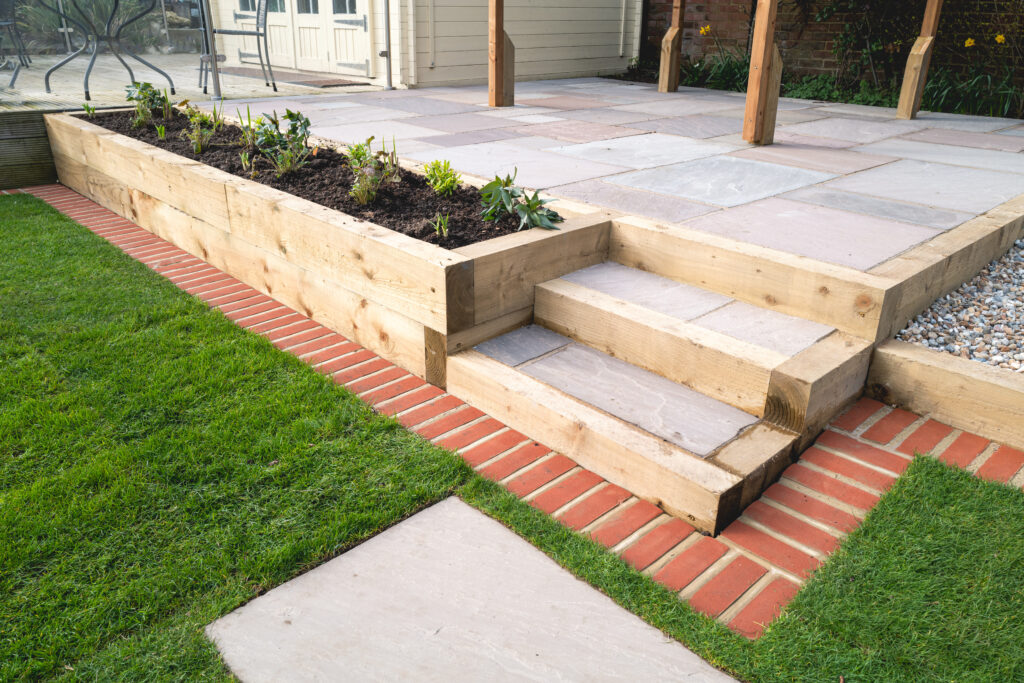
- Retaining Wall: Retaining walls are built to hold back soil or other materials, preventing erosion or controlling slope. They are an essential part of landscaping offering both functional and decorative features.
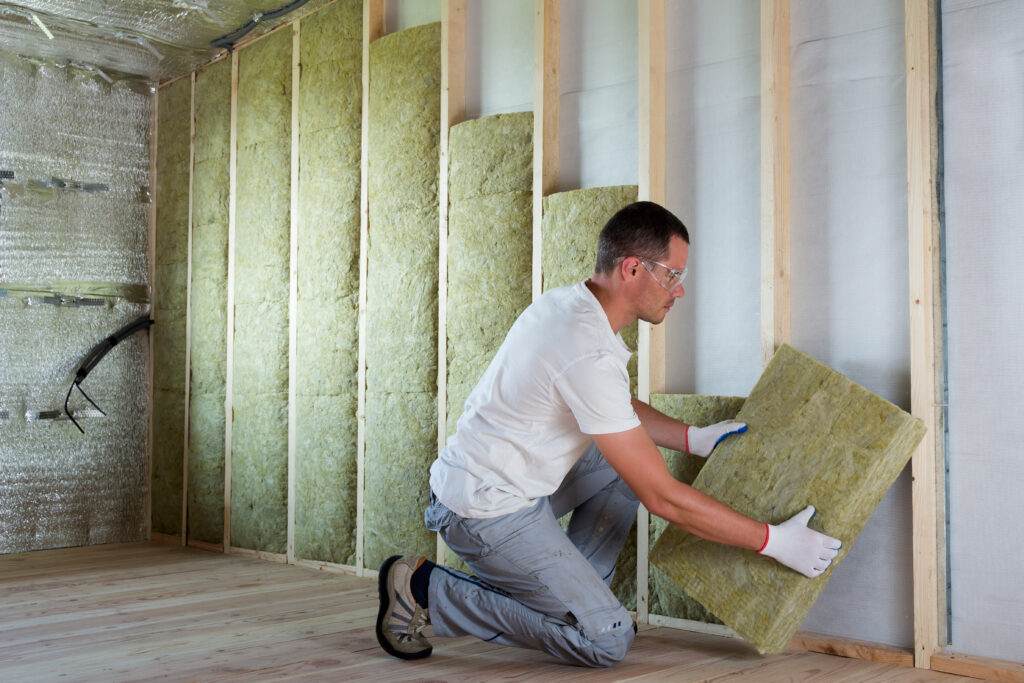
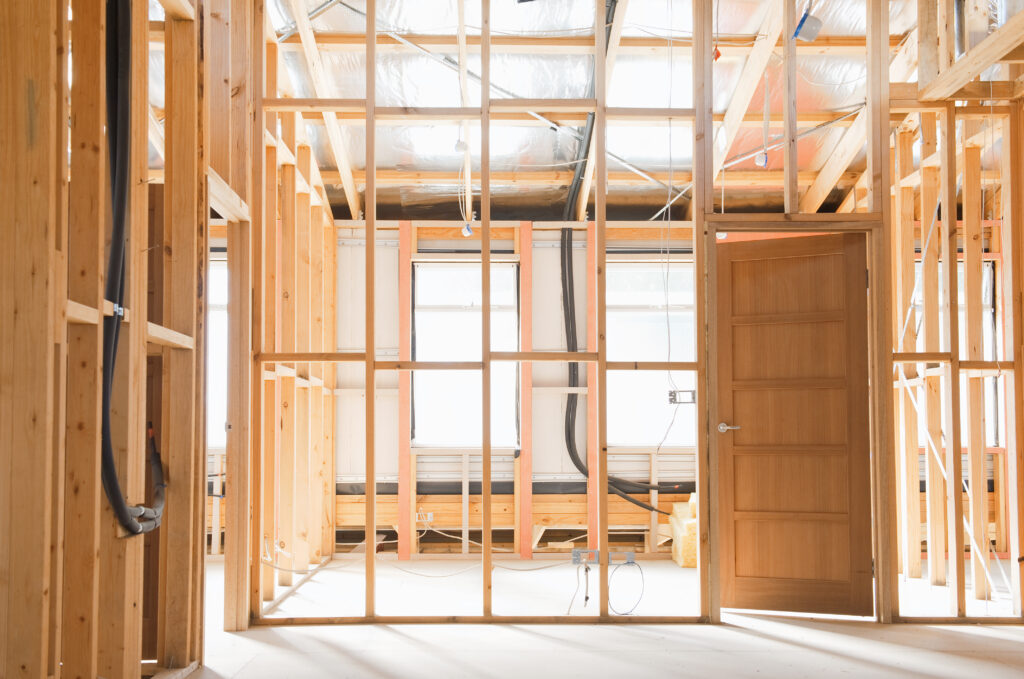
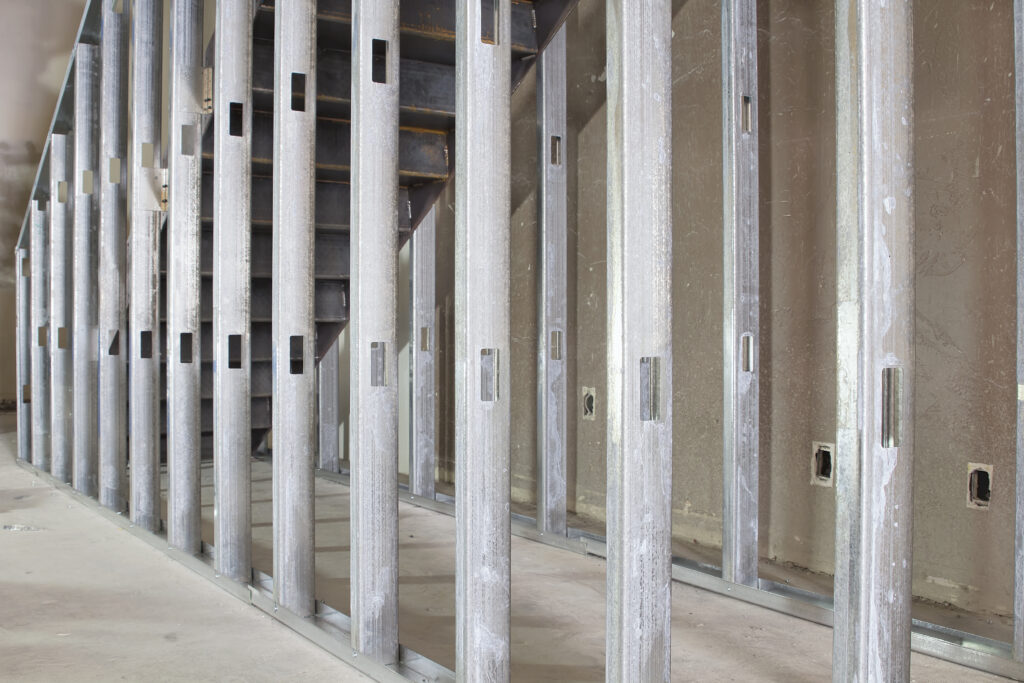
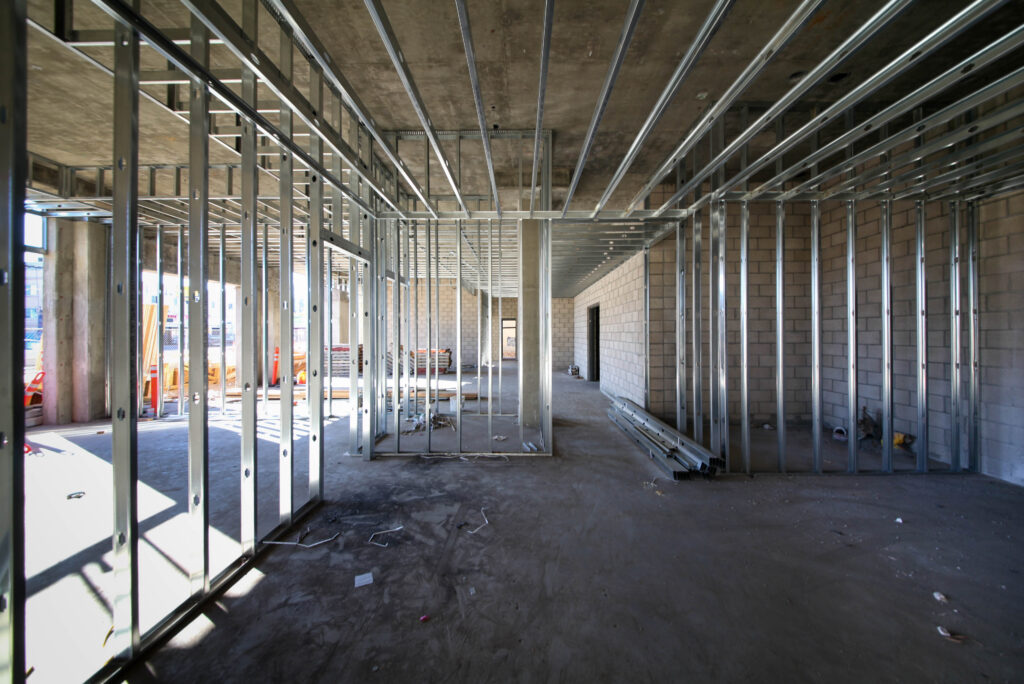
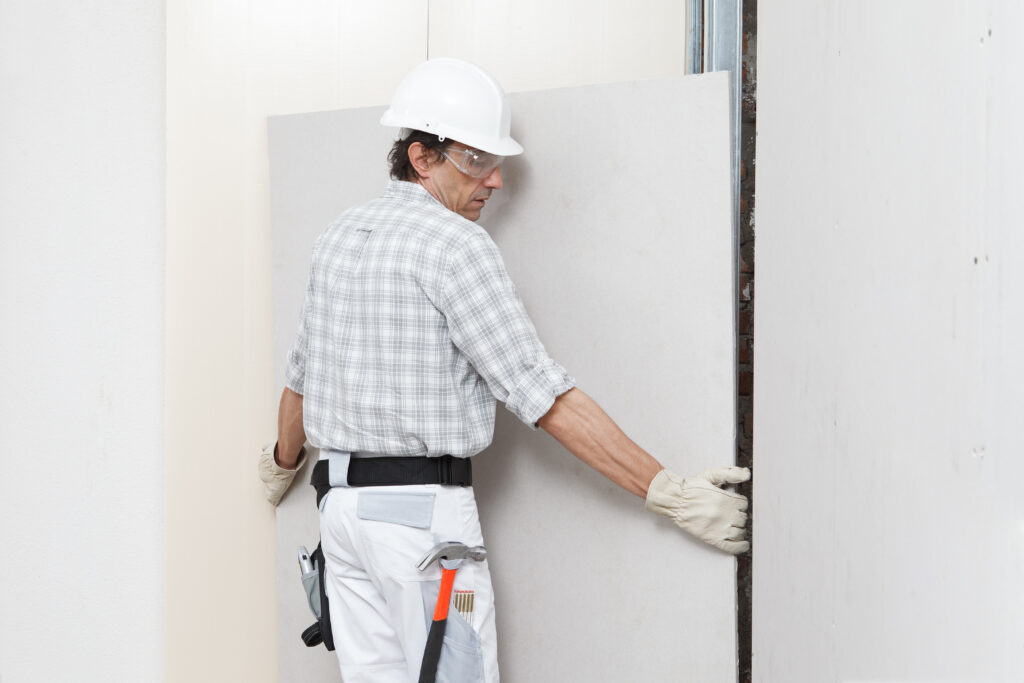
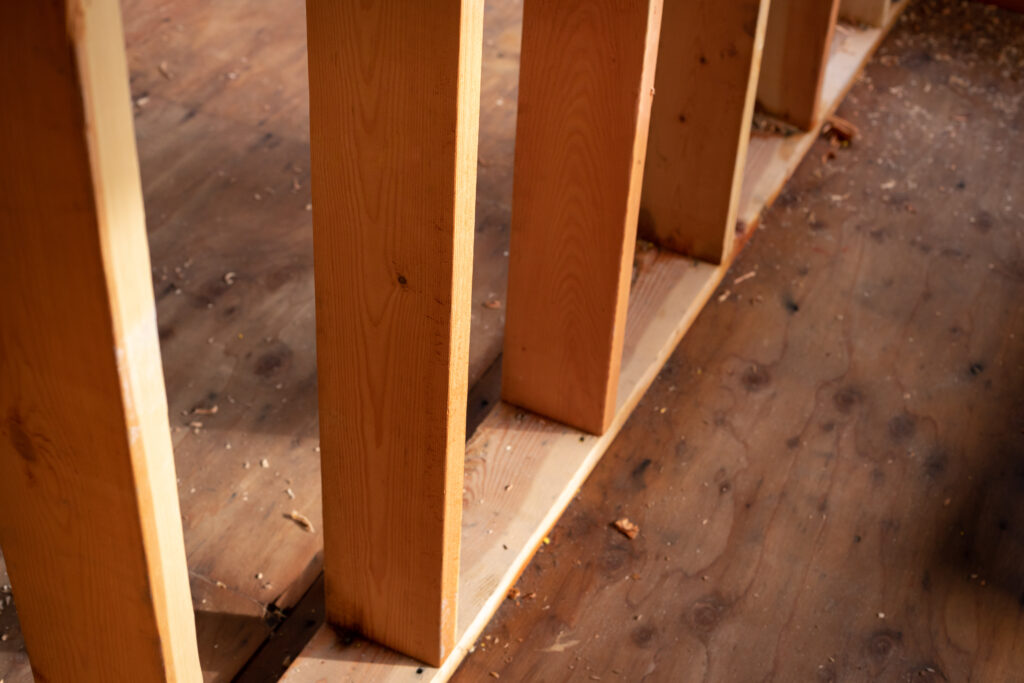
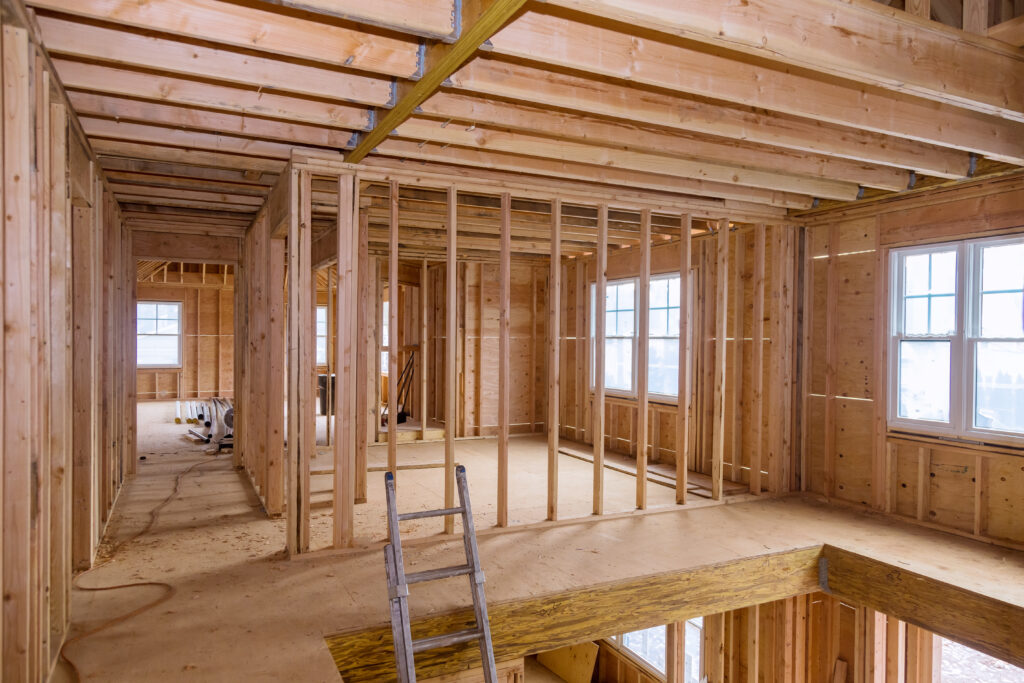
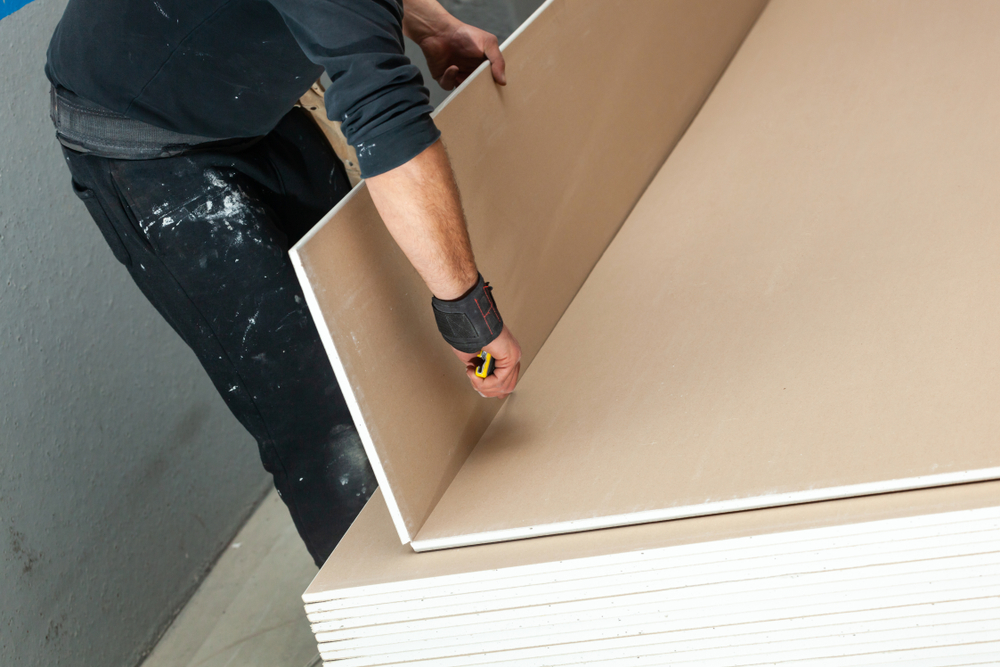
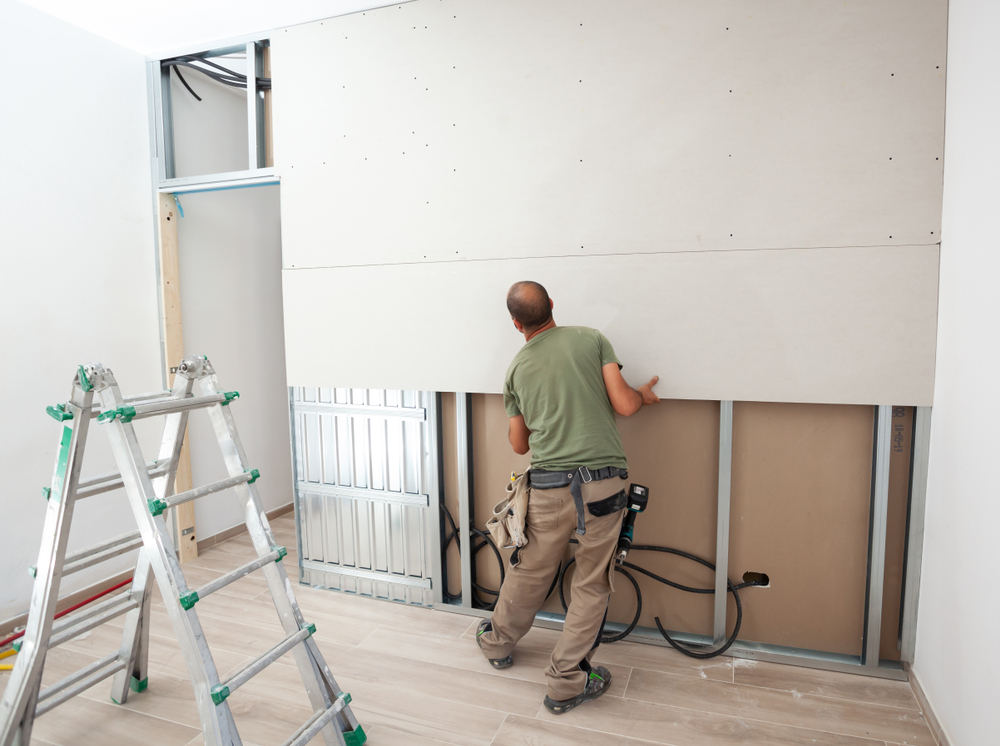
- Interior Wall: Interior walls divide living spaces within a building into rooms or sections, providing privacy, structural support, and insulation. They are integral to the layout and design of indoor spaces.
Building The Wall
Step 1: Gathering Your Tools and Materials
- Bricks: Selecting the right bricks is crucial, and your choice depends on the type of wall you intend to build.
Engineering Bricks: Engineering bricks are well-known for their exceptional resistance to water and frost damage, making them a popular choice for retaining walls. They can withstand soil pressure, ensuring the wall’s stability. To create a reliable defence against rising damp without compromising the wall’s structure, use a minimum of two courses of Engineering bricks or creasing tiles set in M12 category mortar at the wall’s base.
Facing Bricks: Facing bricks are an excellent choice for creating visually appealing garden walls due to their wide range of colours and textures. At Materials Market, we offer a variety of facing bricks, including:
For more brick options, navigate our designated bricks and blocks homepage.
Other Tools:
- Brick Jointer: Used to shape and finish mortar joints.
- Club Hammer/Bolster Chisel: Used together to shape and cut bricks.
- Wooden Stakes: Used for marking and alignment.
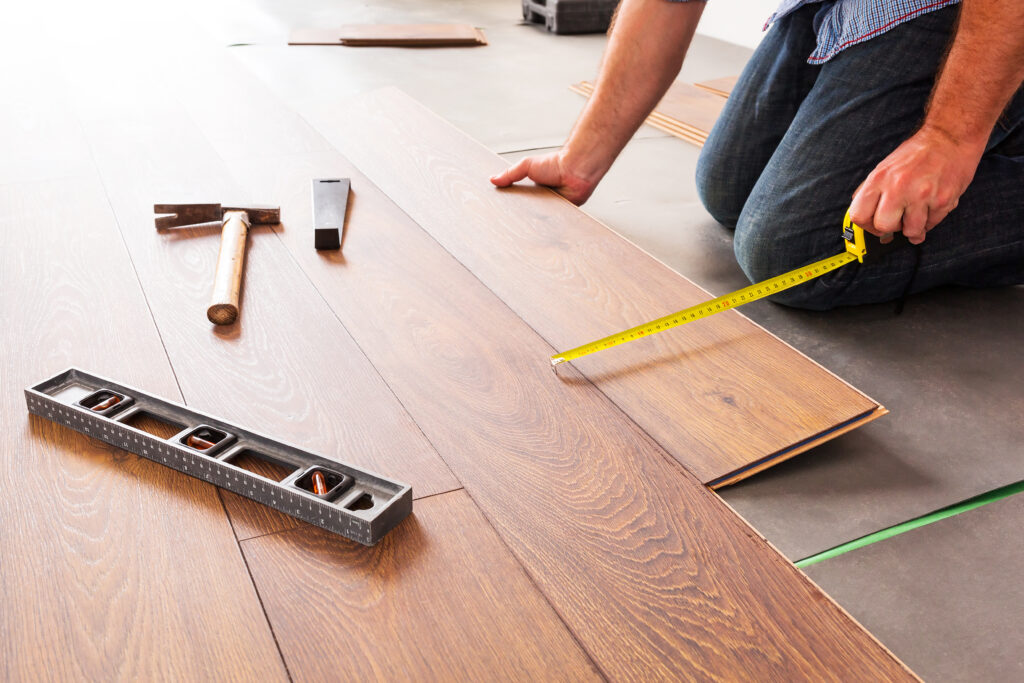
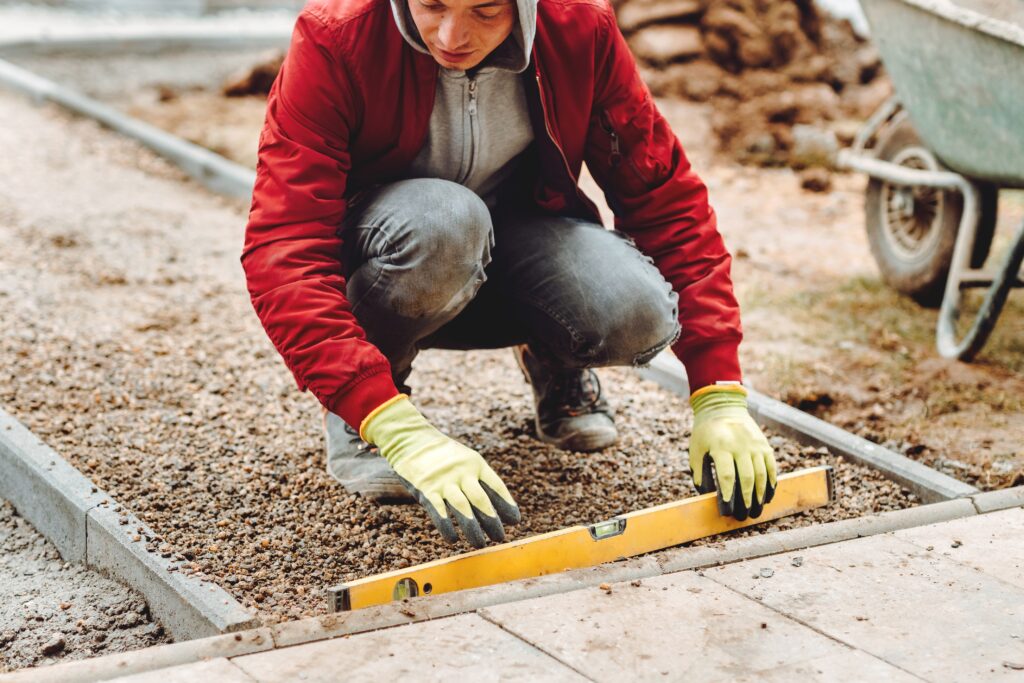
- Spirit Level: Ensures level and plumb bricks.
- Chalk Line/String Line: Used to establish straight and level alignment guides for brick placement.
- Tape Measure: Measures dimensions accurately.
- Plumb Bob: Ensures that the wall remains vertical as you build it.
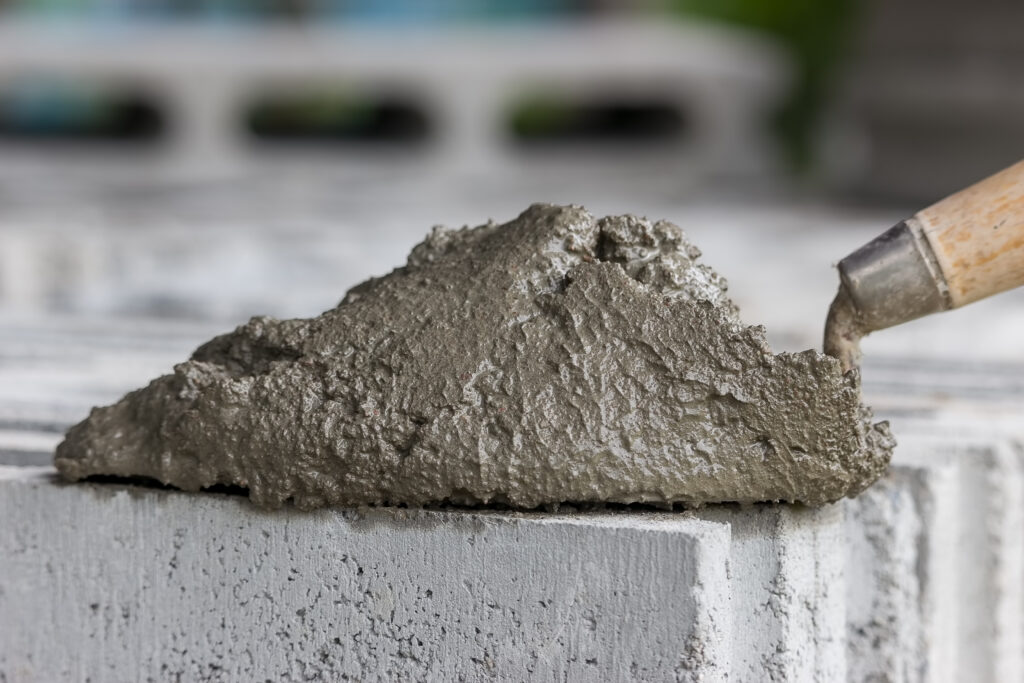
- Mortar Mix: Binds bricks together.
Step 2: Creating a Solid Foundation
A sturdy wall requires a strong foundation. To create one:
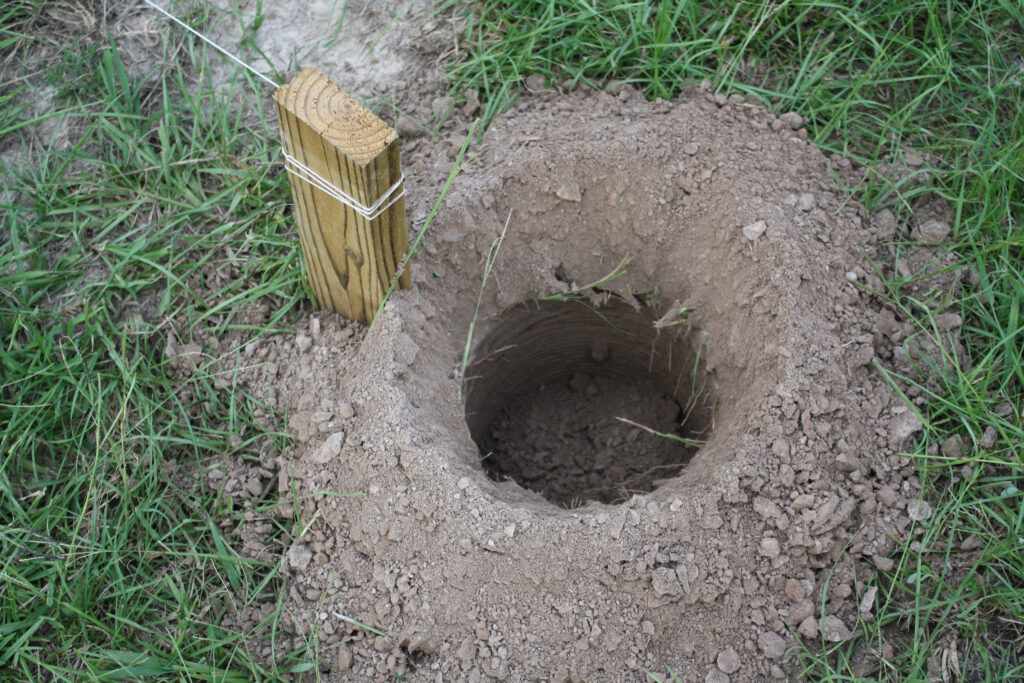
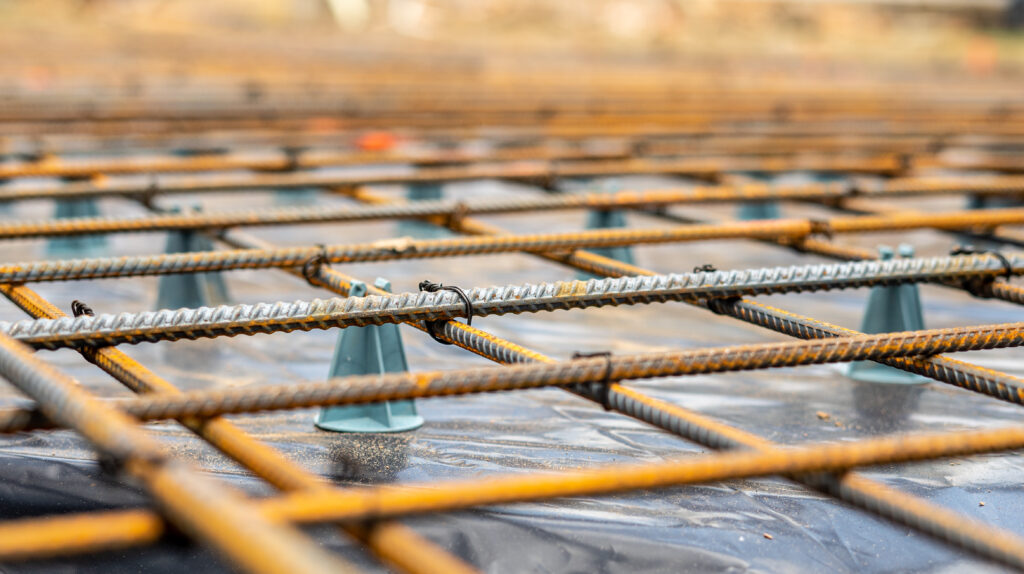
- Dig a trench for the footing. A footing is a trench dug into the ground to support the wall. The depth of the trench depends on the wall’s intended purpose and local building codes. Generally, it should extend below the frost line to prevent heaving. The frost line, also known as the frost depth, is the depth at which the ground freezes in winter. This depth can vary depending on the geographical location and climate. For example, in colder regions, the frost line might be deeper compared to warmer areas. You must place building foundations, such as footings, below this line to prevent the effects of frost heave. Heaving refers to the upward movement of the ground caused by the expansion of soil as it freezes. When water in the soil freezes, it expands and can push the ground and any structures on it upwards.
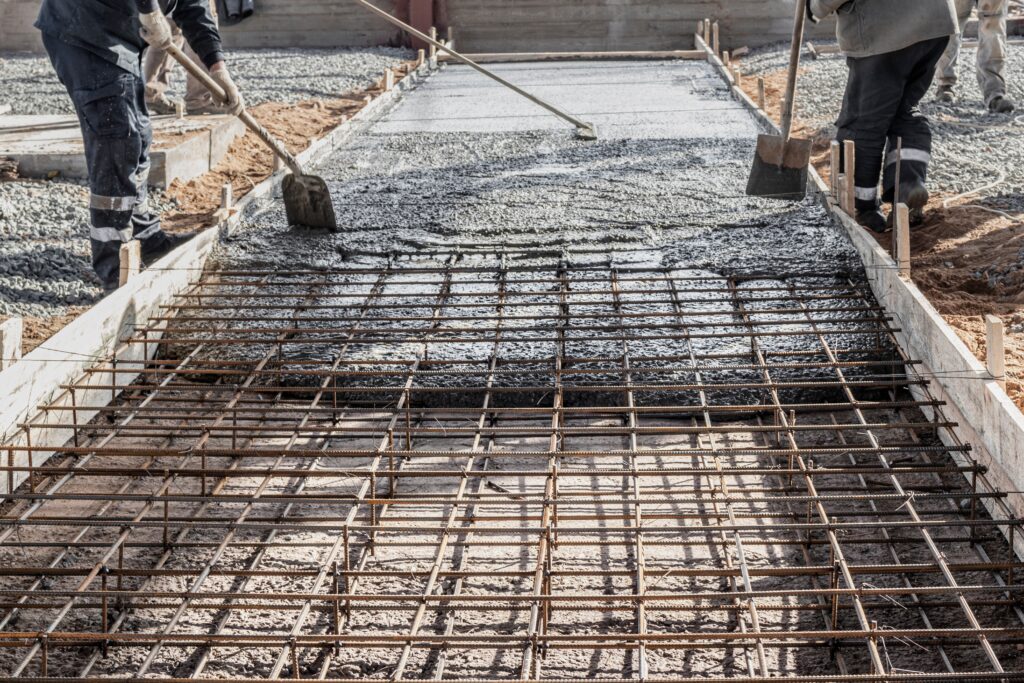
- Pour concrete into the trench. Mix concrete according to the manufacturer’s instructions. The amount of concrete required depends on the size and depth of the footing.
- Place wooden stakes at each end of the trench, ensuring they are level and aligned. Use a spirit level and a string line to achieve this. These stakes serve as guides for a straight wall.
Step 3: Laying the First Course of Bricks
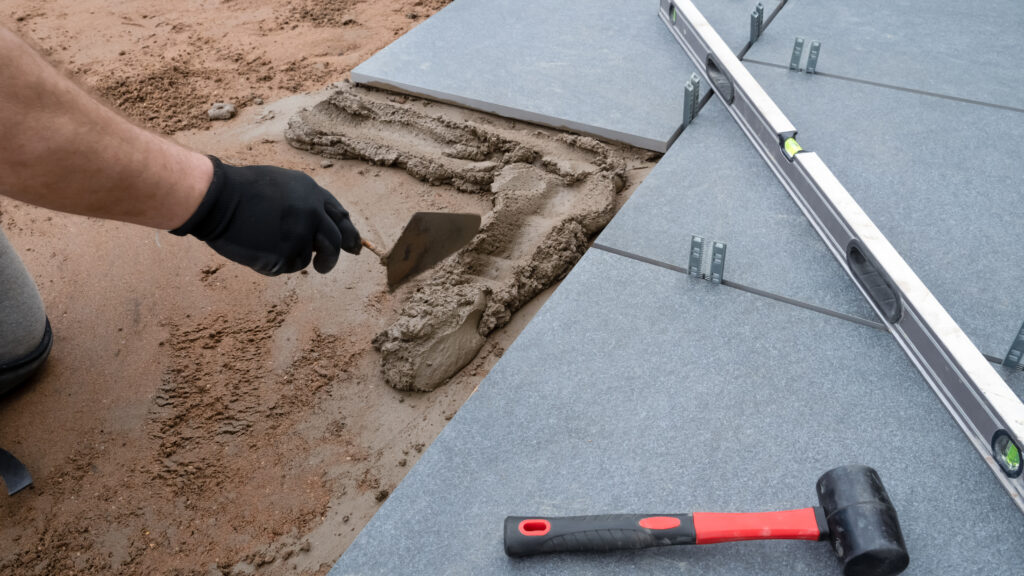
Typically, a layer of mortar is applied between the foundation and the first course of bricks. The mortar mix should be prepared following the manufacturer’s guidelines.
Begin laying the bricks along the mortared trench, using a spirit level to ensure that each brick is level and aligned.
Add mortar mix between each brick and remove excess mortar to create a neat and smooth finish. The amount of mortar between bricks should be sufficient to ensure proper adhesion and support.
Your first course of bricks is now in place.
Step 4: Building the Second Course and Beyond
For the second course and subsequent rows, stagger the bricks using a stretcher bond pattern.
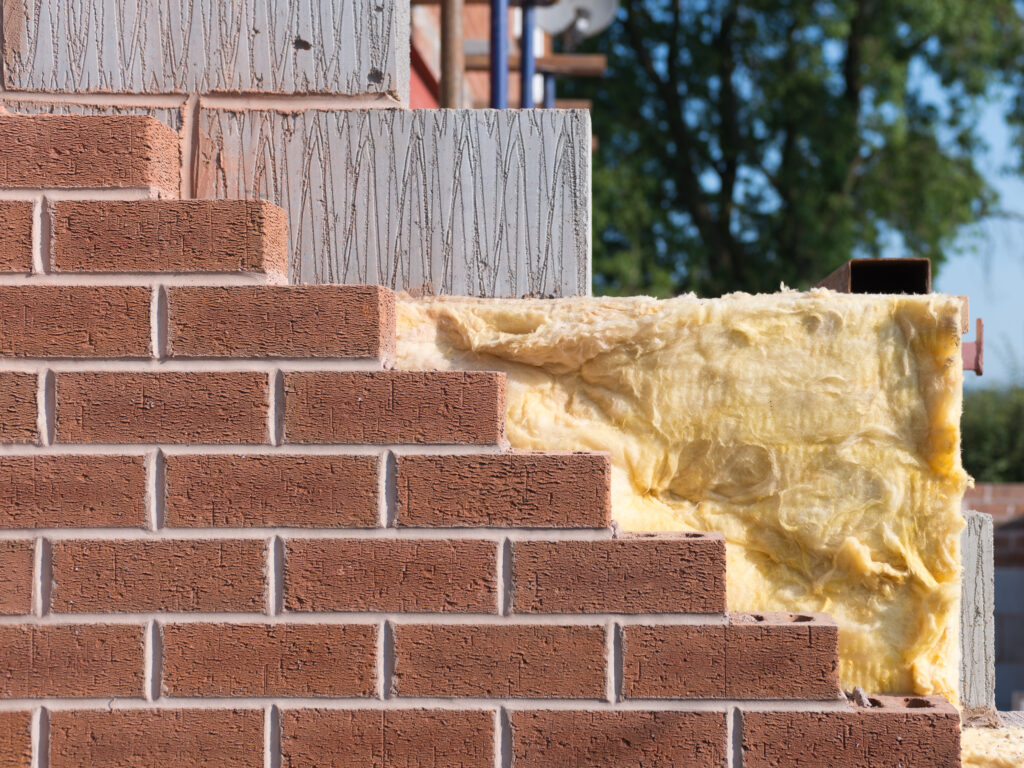
A stretcher bond pattern is a bricklaying technique where bricks are laid end to end, with each brick overlapping halfway with the one next to it. This pattern provides structural stability and a clean appearance.
Place the second brick beside the first, ensuring it overlaps halfway with the previous brick.
Repeat this pattern of offsetting the second course of bricks by half a brick for the entire wall, checking alignment with the string line and using a plumb bob to ensure verticality.
Attach a string line to stakes at each end of the wall and use the plumb bob to check for vertical alignment. A plumb bob consists of a weight attached to a string, which, when hung, provides a perfectly vertical line (plumb line) due to gravity.
Step 5: Cutting Bricks to Size
Use a bolster chisel and club hammer to make smooth cuts when you need smaller bricks, such as half bricks, soldier courses (a brickwork pattern where bricks are laid vertically on their ends with their long, narrow faces visible), or end bricks.
Step 6: Securing the Wall with Wall Ties
To enhance the stability of the wall, insert wall ties horizontally between courses at regular intervals. Wall ties are metal connectors that secure bricks together, preventing them from moving and shifting out of place.
Step 7: Checking for Plumb and Level
Throughout the construction, frequently use the spirit level and plumb bob to ensure the wall remains straight and level.
Step 8: Finishing the Wall
As you build upwards, continue to lay bricks, row by row, until you reach the desired height. For a professional touch, create a soldier course or a decorative finish on the top course of the wall.
A decorative finish can involve creating patterns or textures on the top course of the wall using specially shaped bricks or additional design elements. The exact finish depends on your creativity and preferences.
You can achieve decorative finishes by using bricks with unique shapes or by adding decorative capstones or coping stones.
Step 9: Allowing the Wall to Drip Dry
After completing the wall, allow it to drip dry naturally, ensuring the mortar sets correctly.
Conclusion
Building a wall may seem like a daunting task, but with the right tools, materials, and knowledge, it can be a rewarding and achievable project. Whether you’re constructing a privacy barrier or an accent feature, understanding the fundamentals—from planning and foundation work to laying bricks or stones and ensuring structural integrity—is key.
Remember to take your time, follow safety protocols, and seek professional advice if needed. With patience and precision, you’ll not only enhance your property’s aesthetics and functionality but also gain a valuable skill and a sense of accomplishment. Happy building!


