A Guide on Fitting Window Boards
| by Holly Wood
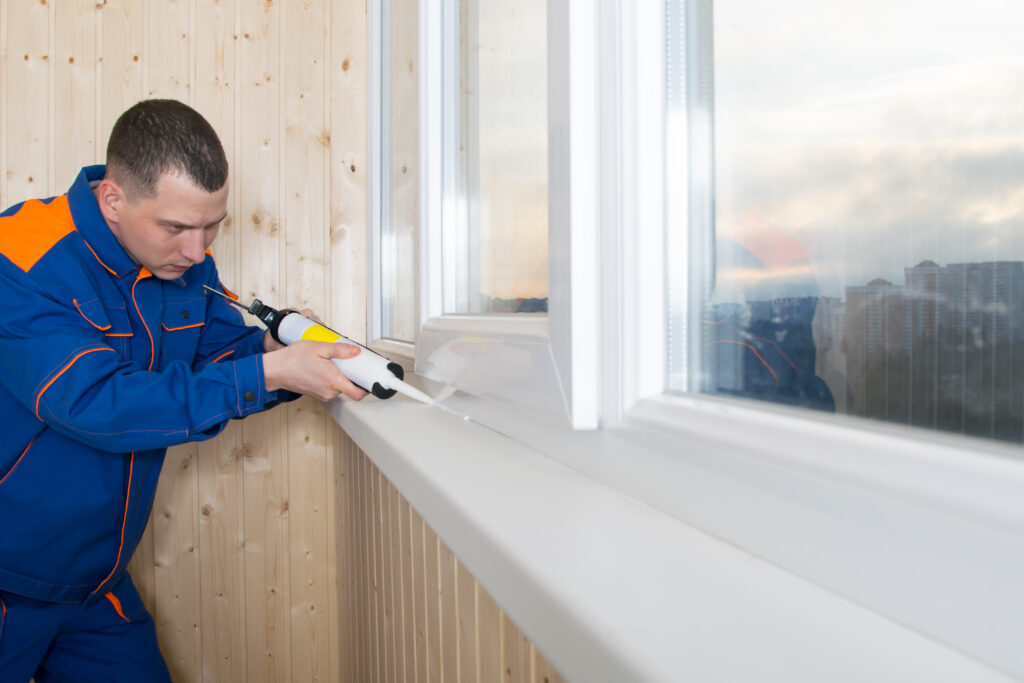
If you’re looking to improve the aesthetics and functionality of your windows, fitting window boards is an excellent project to consider.
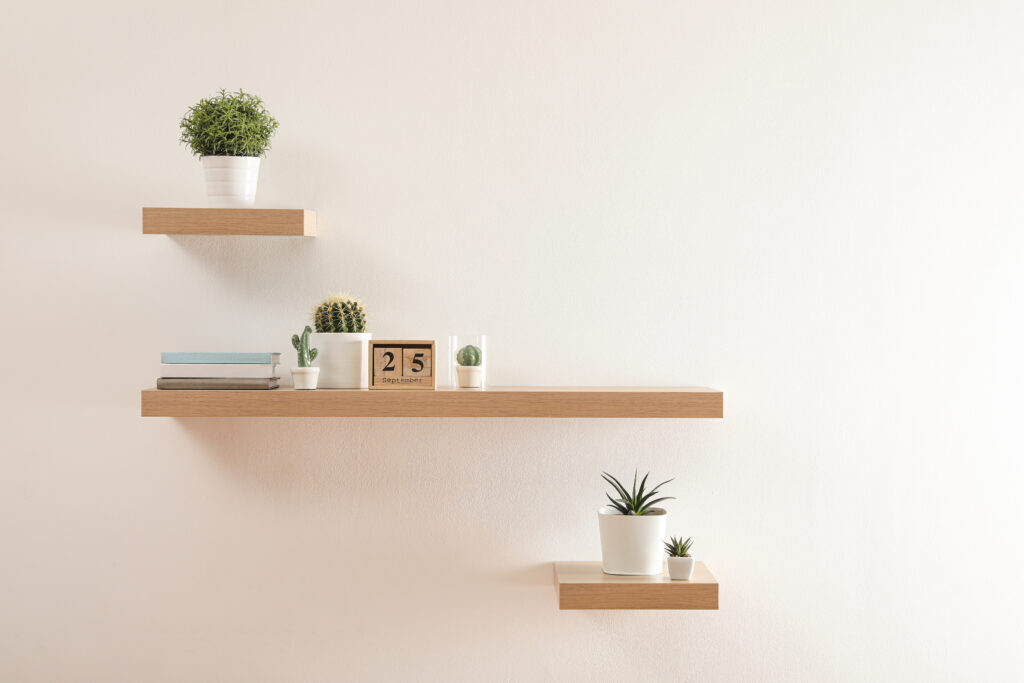
Window boards, also known as window sills, not only provide a finishing touch to your windows but also serve as a practical space for displaying plants or decor.
In this comprehensive guide, we will take you through the step-by-step process of fitting window boards, whether you’re replacing old ones or installing new ones.
Gather Your Materials and Tools
Before diving into the installation process, it’s essential to gather all the necessary materials and tools. Here’s a list of what you’ll need:
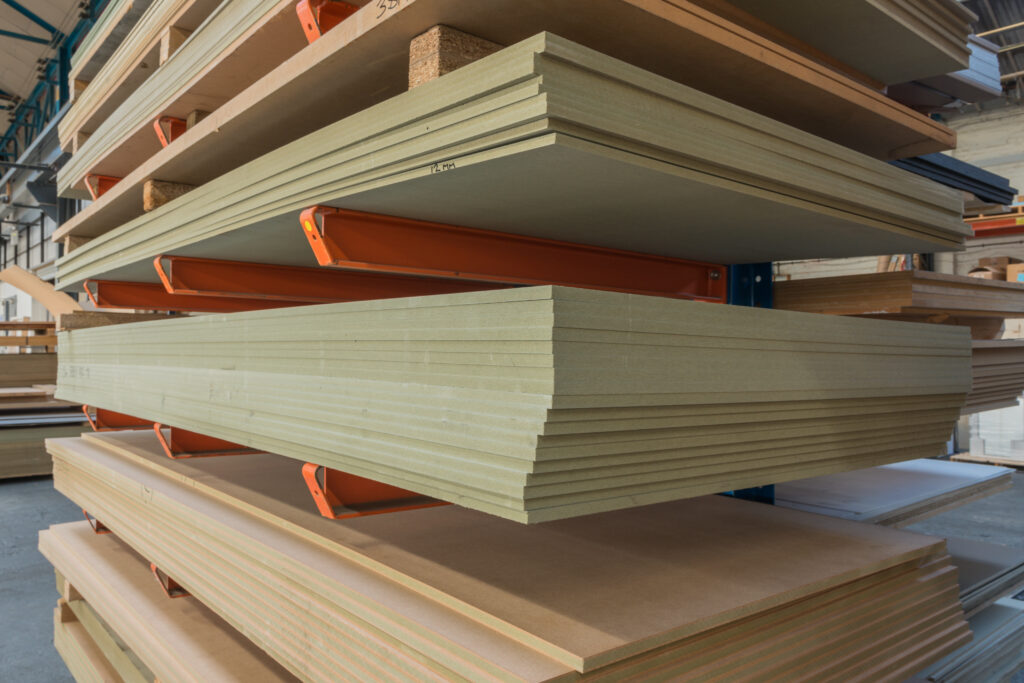
- MDF Window Boards: These are a popular choice due to their affordability and versatility. You’ll want to ensure they are the correct length and width for your window.
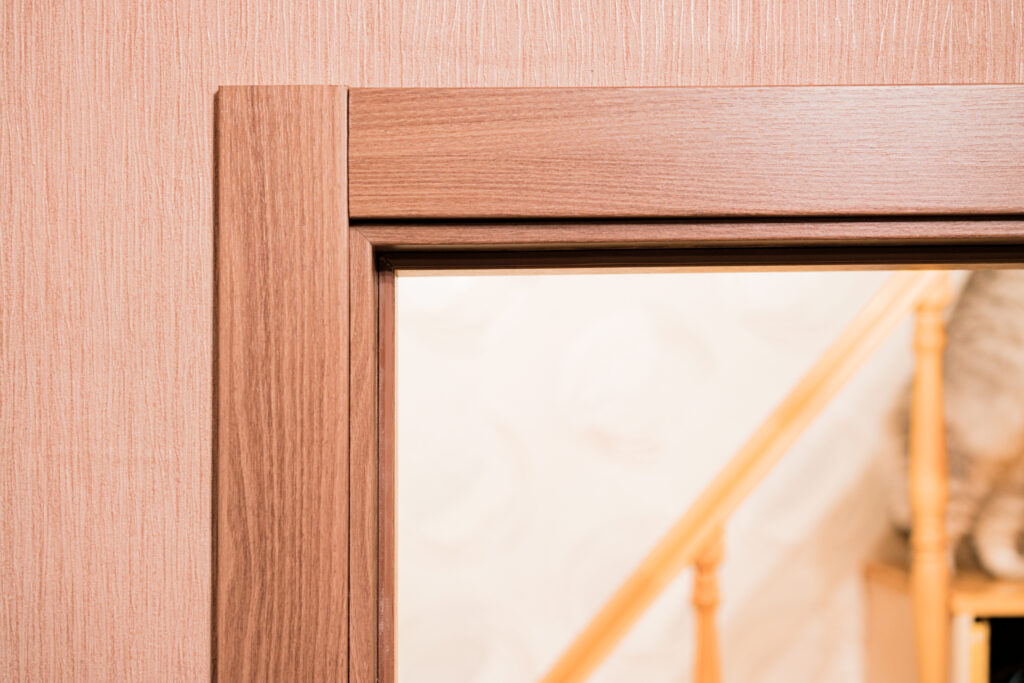
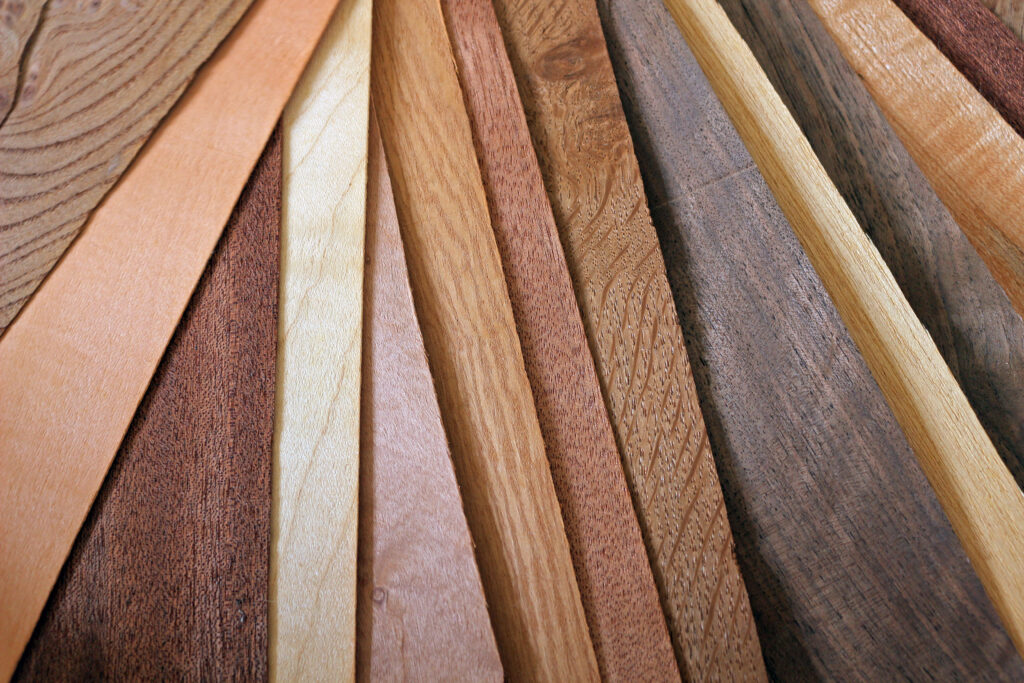
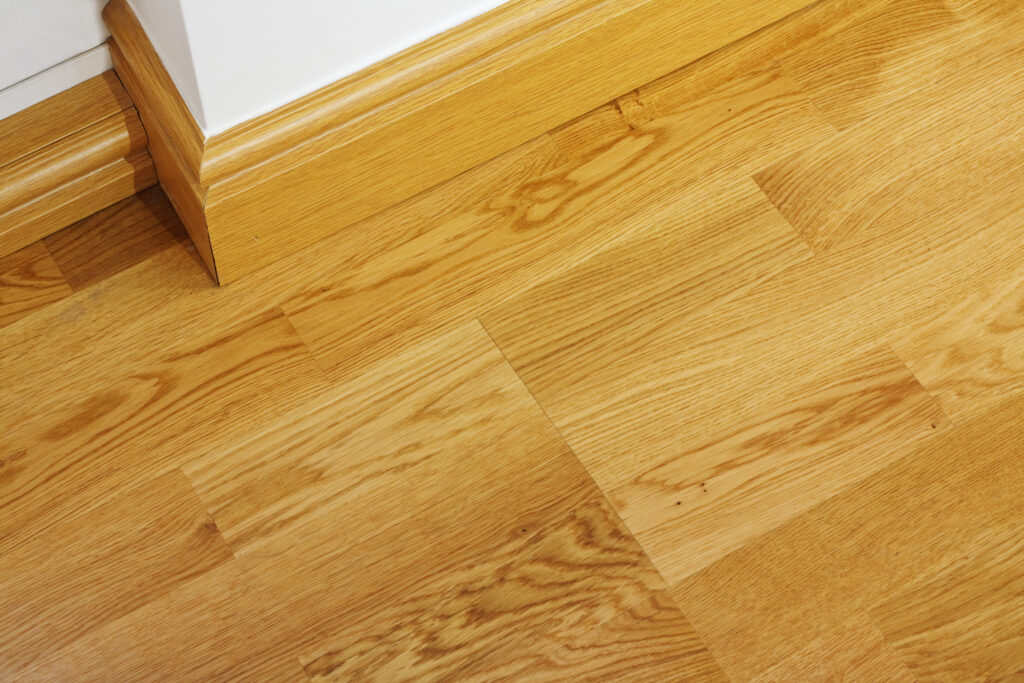
- Wooden Window Sills: If you prefer a more traditional look, wooden window sills are an excellent option. Make sure they match the style of your home.
- Screws: To secure the window boards to the window frame and wall.
- Adhesive: To provide additional support and stability.
- Finishing Nails: These will help you achieve a polished look.
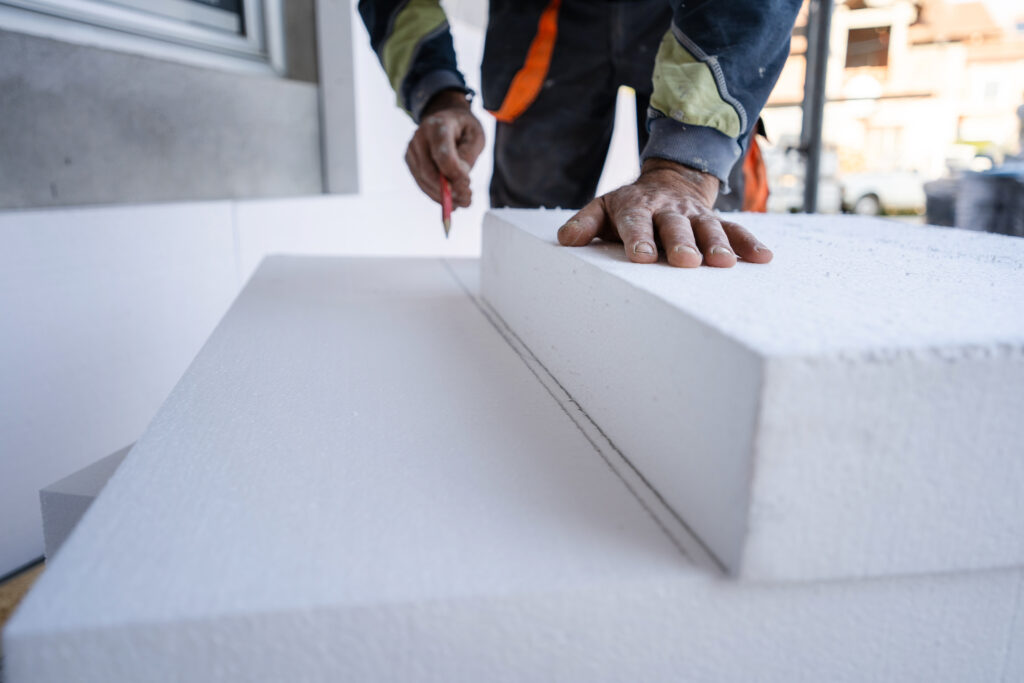
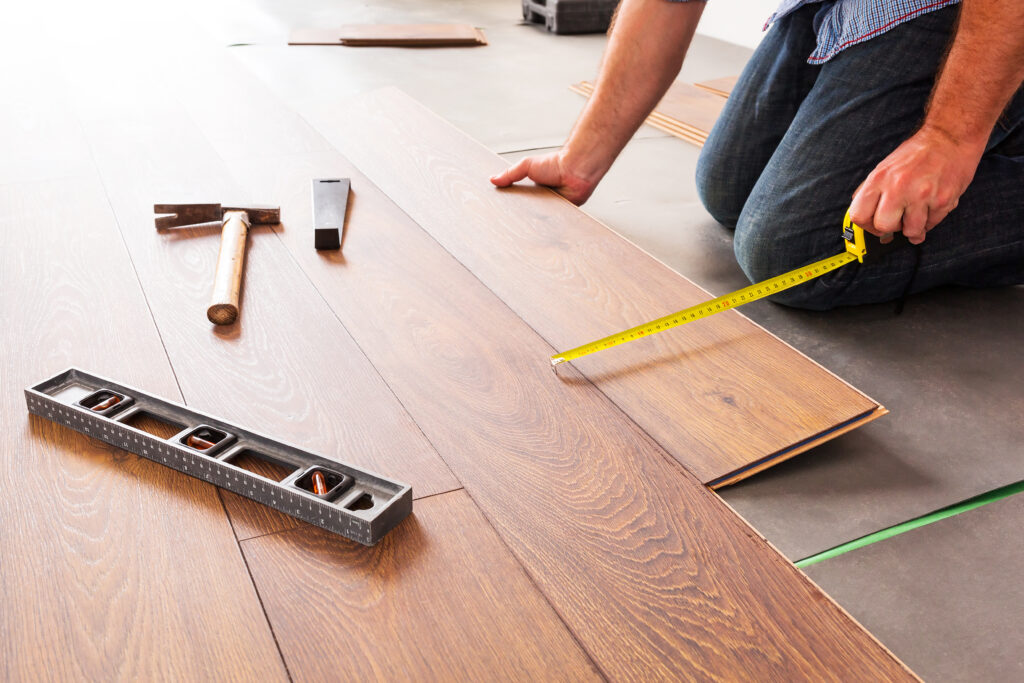
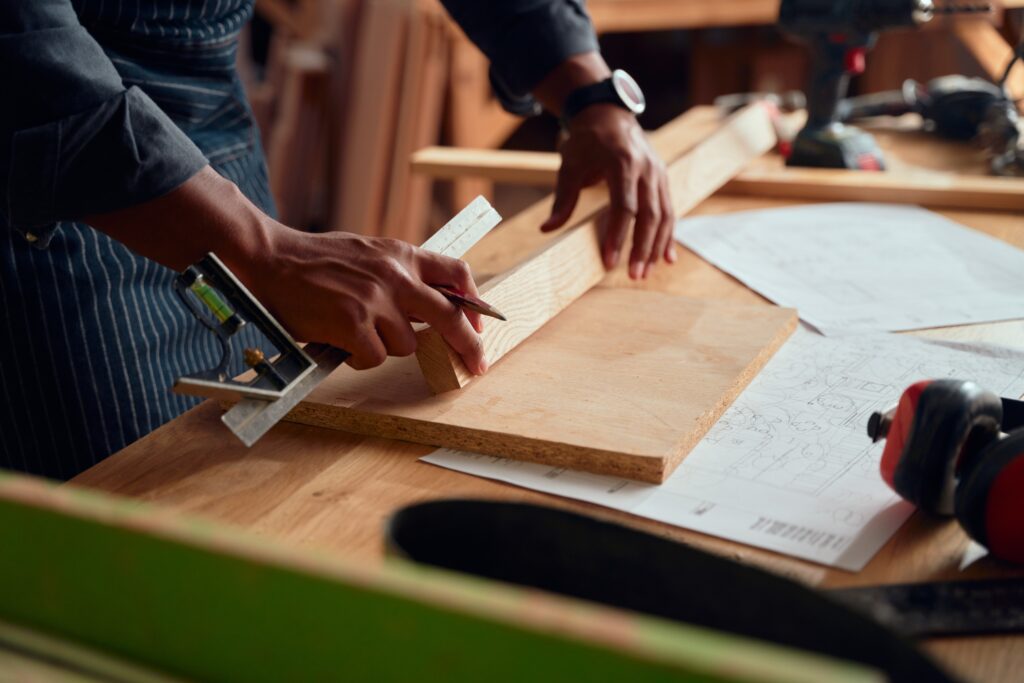
- Tape Measure: Essential for accurate measurements.
- Spirit Level: To ensure your window boards are perfectly level.
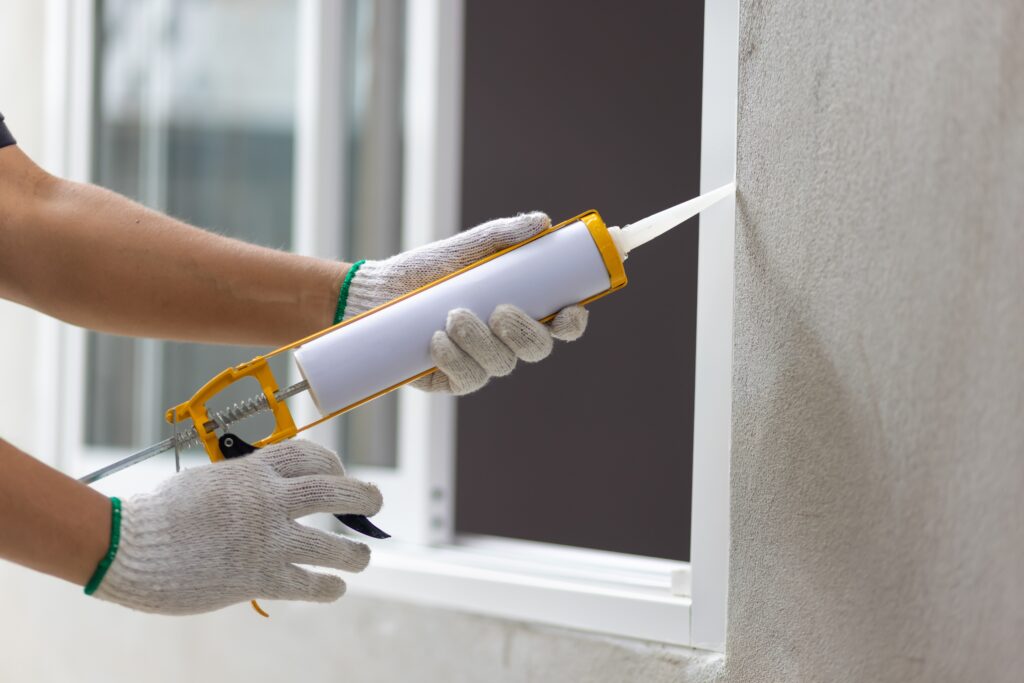
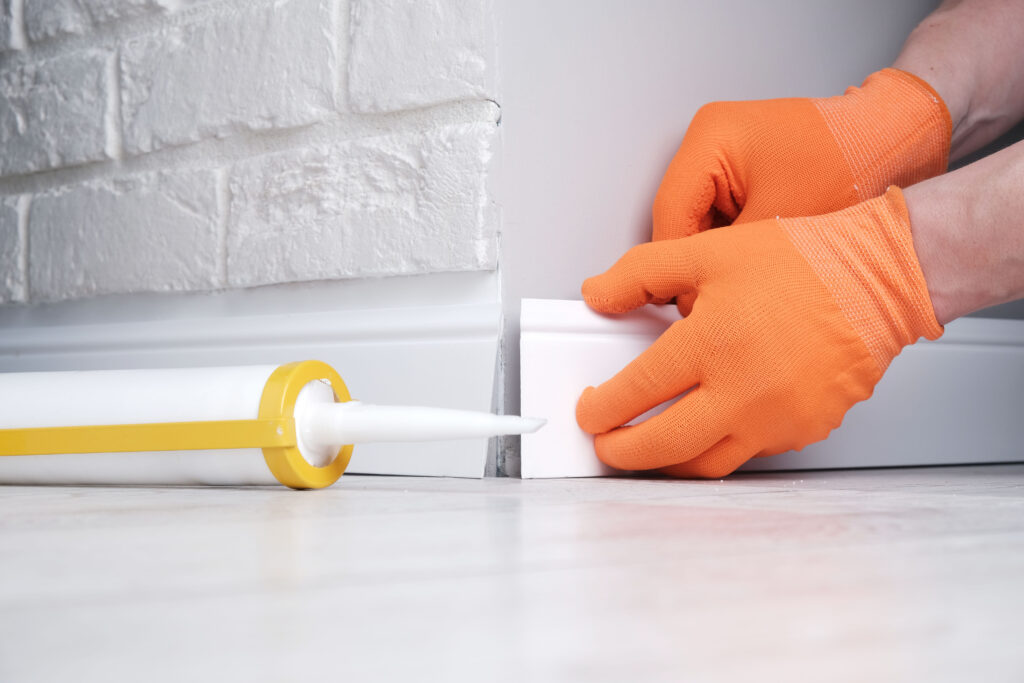
- Caulk: To seal any gaps and create a seamless finish.
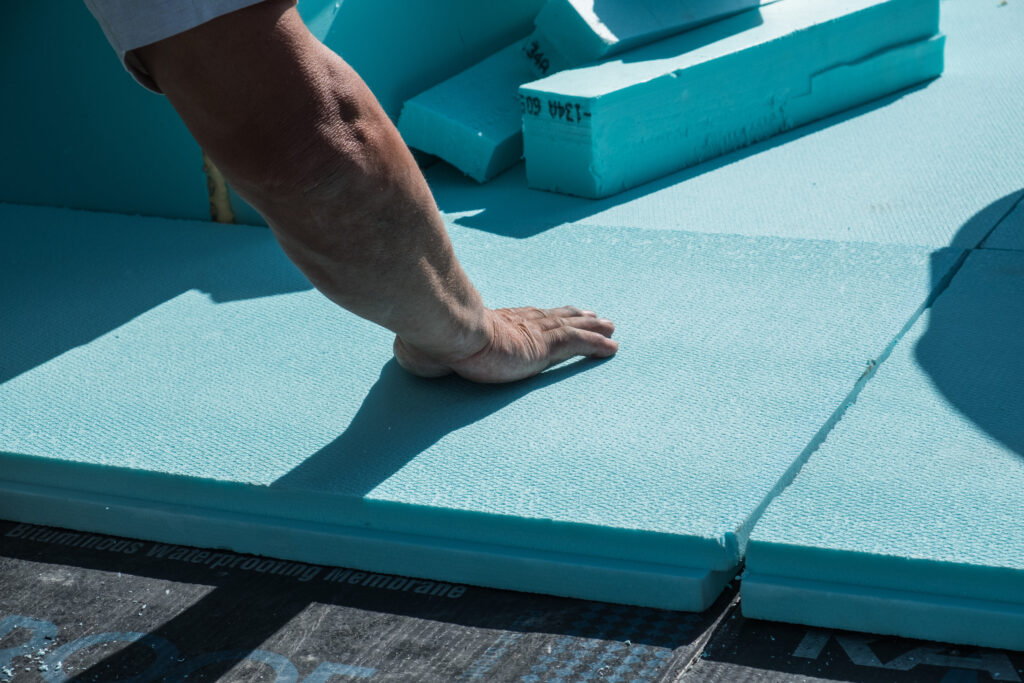
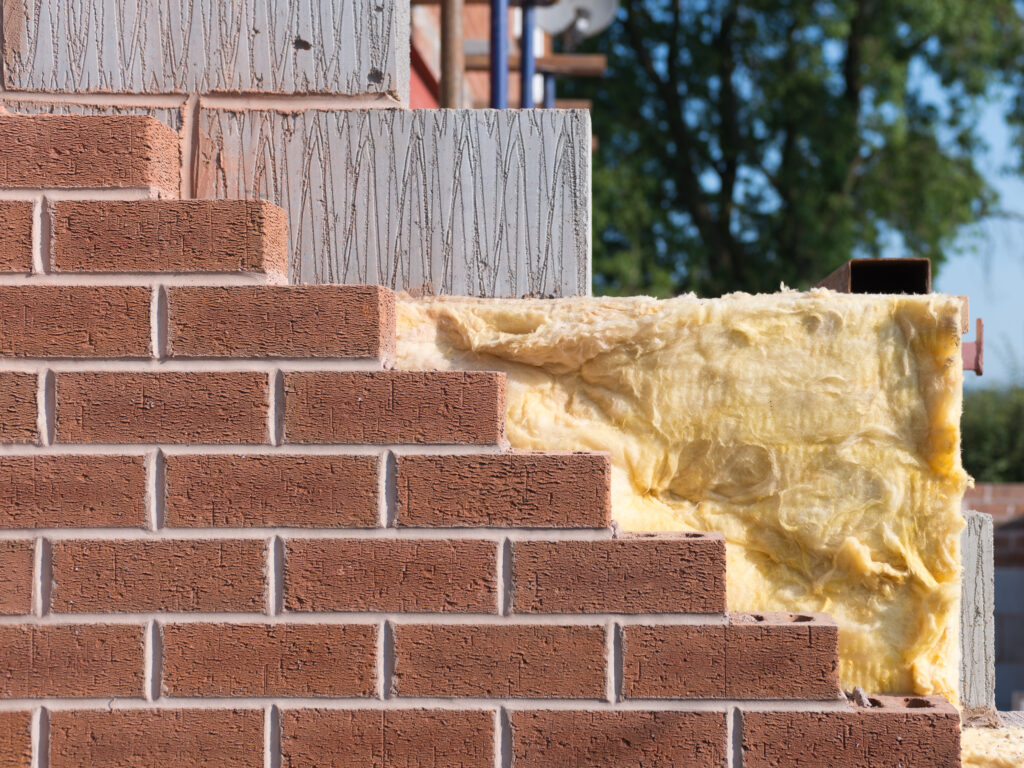
- Foam: For insulation and to fill any spaces between the window board and wall.
- Paint: To match the colour of your window boards to the rest of your room.
Measure and Prepare
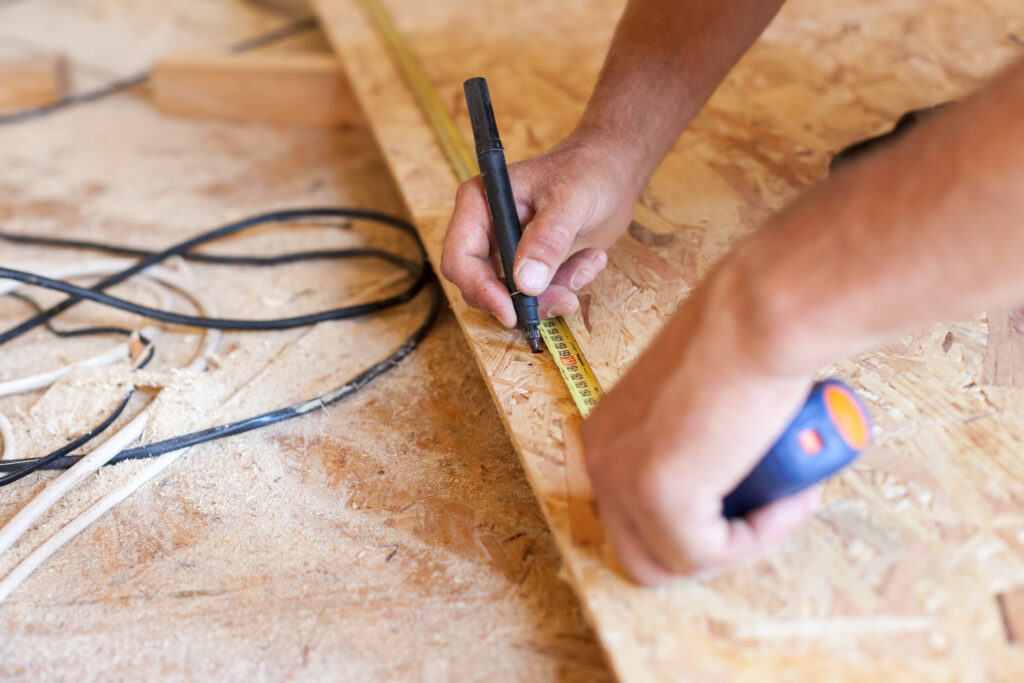
- Measure the Window: Start by measuring the width and length of your window frame. This will help you determine the size of your new window sill.
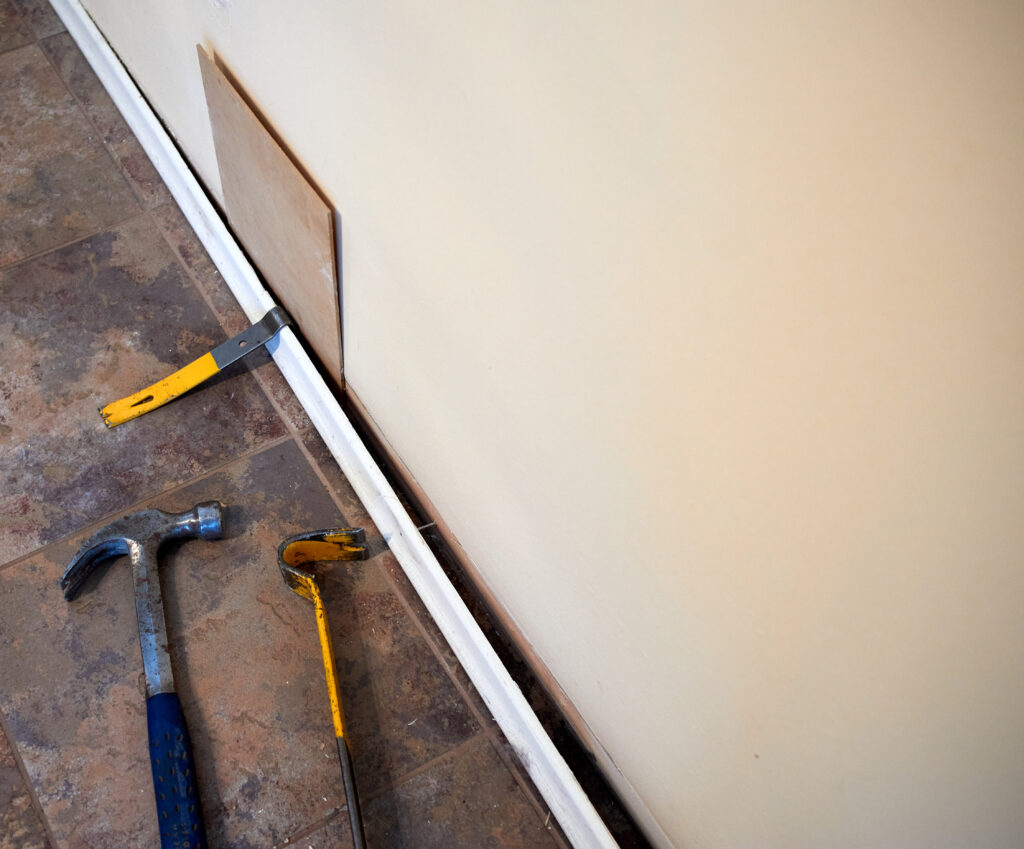
- Remove Old Window Boards: If you’re replacing old window boards, carefully remove them using a pry bar or a hammer and chisel.
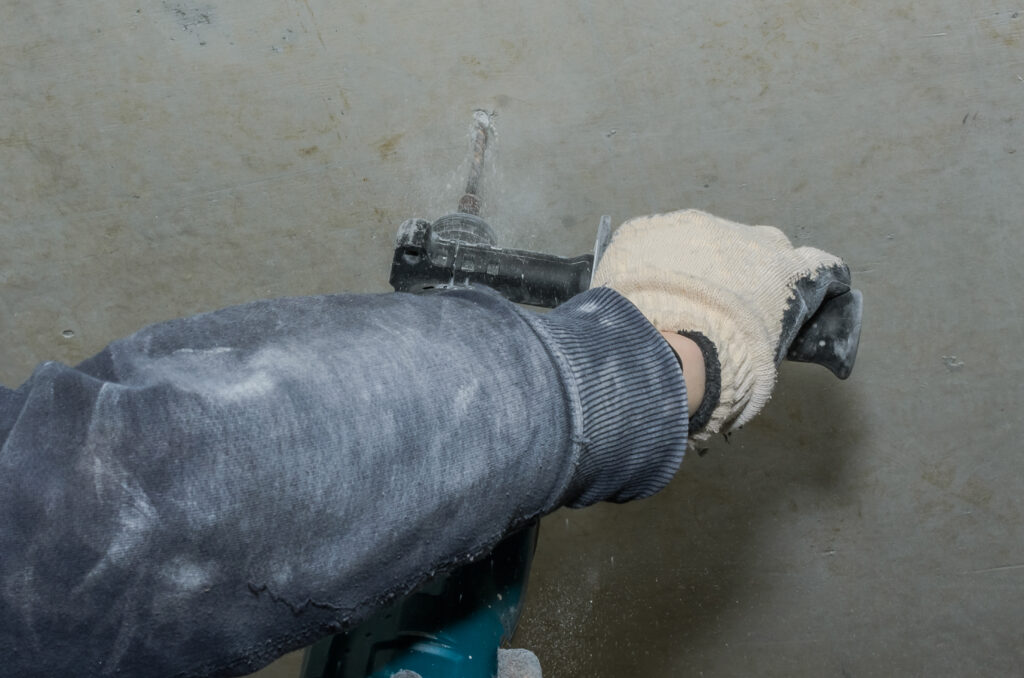
- Prepare the Surface: Ensure that the window frame and walls are clean and free from any debris. Sand the surface if necessary for better adhesive bonding.
Install the Window Boards
Now that you’ve gathered your materials and prepared the area, it’s time to install the window boards.
- Apply Adhesive: Apply adhesive to the front edge of the window board that will be in contact with the window frame. This will provide additional support.
- Position the Window Board: Carefully place the window board onto the window frame, ensuring that it is level and flush with the window frame and wall. Use a spirit level to double-check.
- Secure with Screws: Use screws to secure the window board in place. Make sure to countersink the screws and cover them with filler for a seamless finish.
- Fill Gaps: Fill any gaps between the window board and wall with foam or caulk. This will improve insulation and aesthetics.
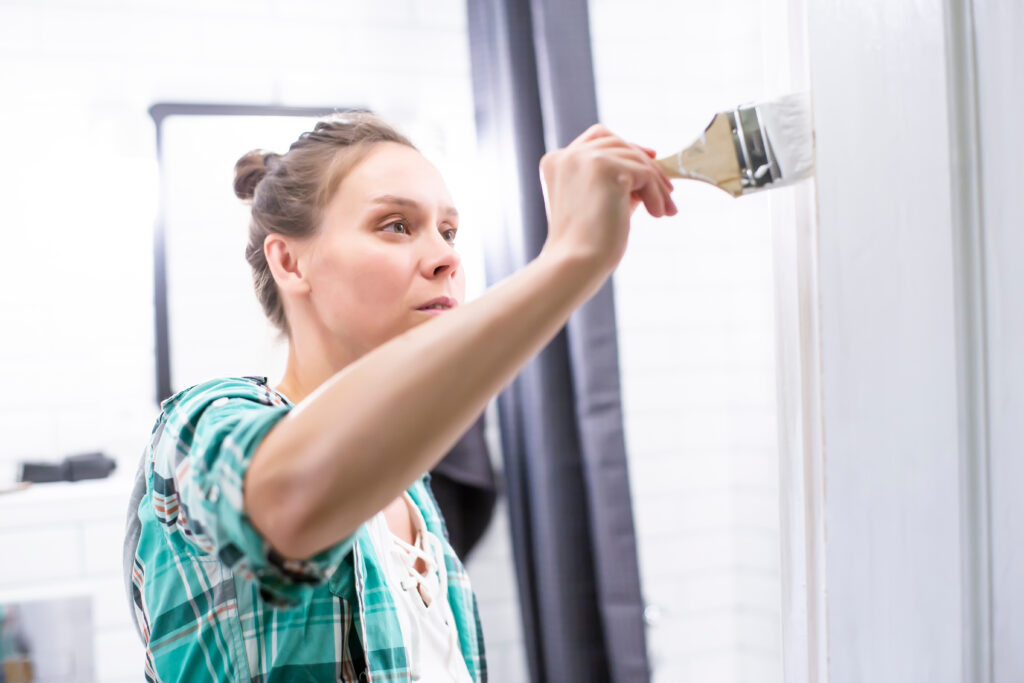
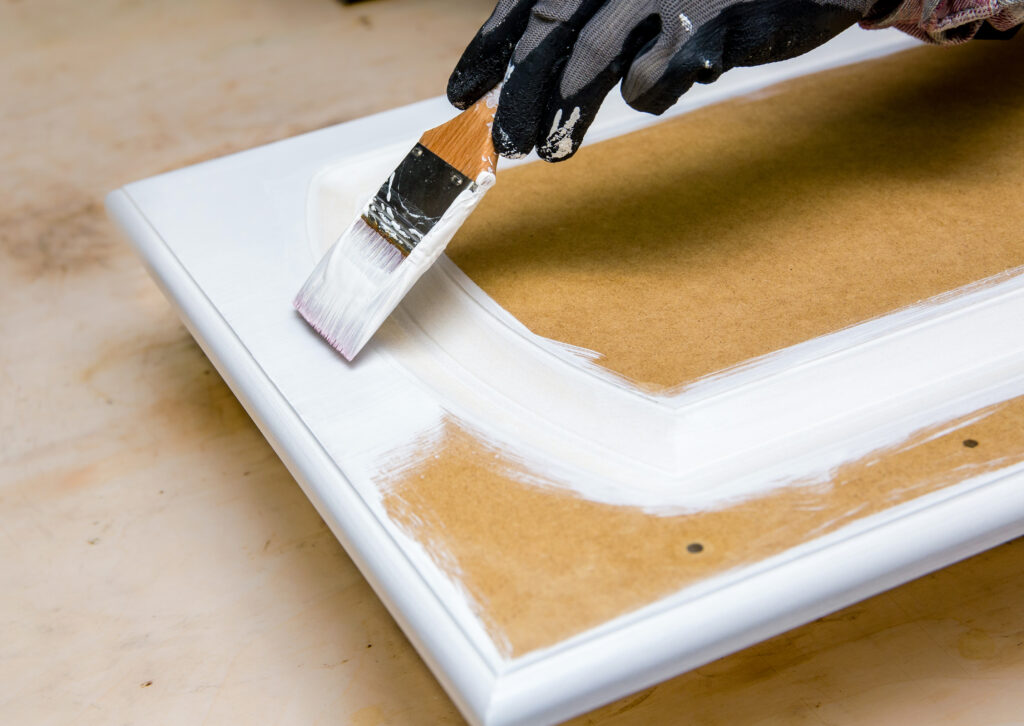
- Paint and Finish: Once the adhesive has dried, paint the window boards to match the style of your room. This step adds the final touch to your interior design.
Tips for a Perfect Installation
- Measure Twice, Cut Once: Take your time with measurements to ensure a precise fit.
- Check for Level: Use a spirit level throughout the installation process to maintain a straight and level surface.
- Adhesive and Screws: The combination of adhesive and screws provides the best support and stability for your window boards.
- Caulk and Foam: Don’t neglect sealing gaps with caulk or foam for added insulation and a professional look.
The Final Look
Once you’ve completed the installation and allowed time for everything to dry and set, step back and admire the transformation. Your newly fitted window boards not only enhance the aesthetic appeal of your windows but also offer a functional space for your creativity to flourish.
In conclusion, fitting window boards is a rewarding DIY project that can elevate the style of your home’s interior.
Whether you’re replacing old window boards or installing new ones, following these steps will ensure a seamless and professional finish.
Related Posts
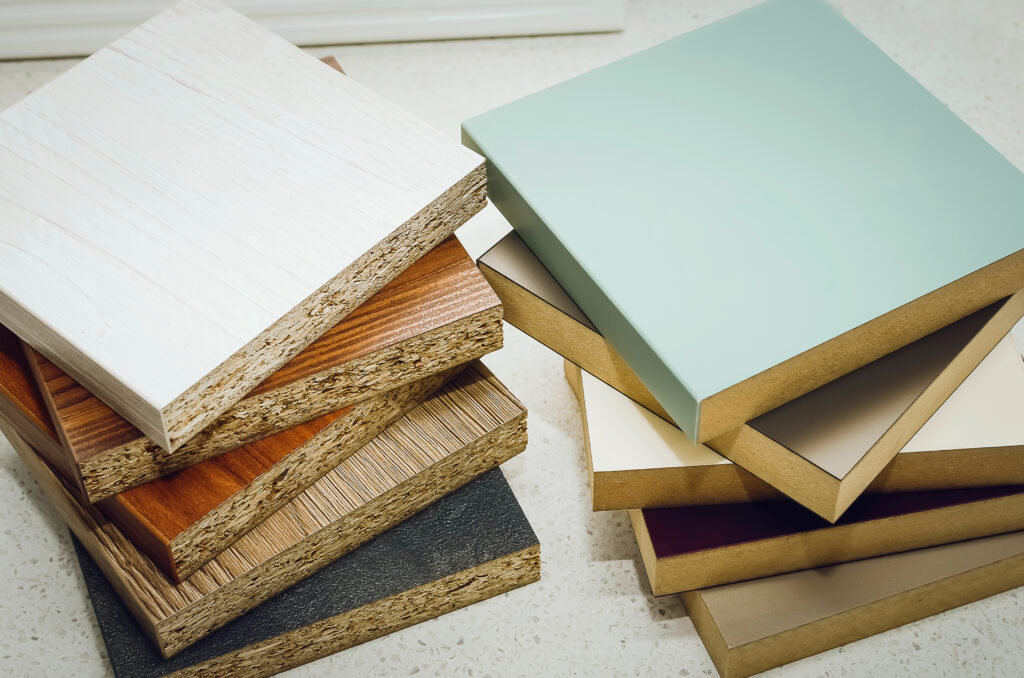
Chipboard vs MDF: Unveiling the Differences and Making the Right Choice

40 Financial Experts Reveal If Investing In Real Estate Is Worth It

International Men’s Health Week: Our study into men’s health and a medical guide to treating common ailments
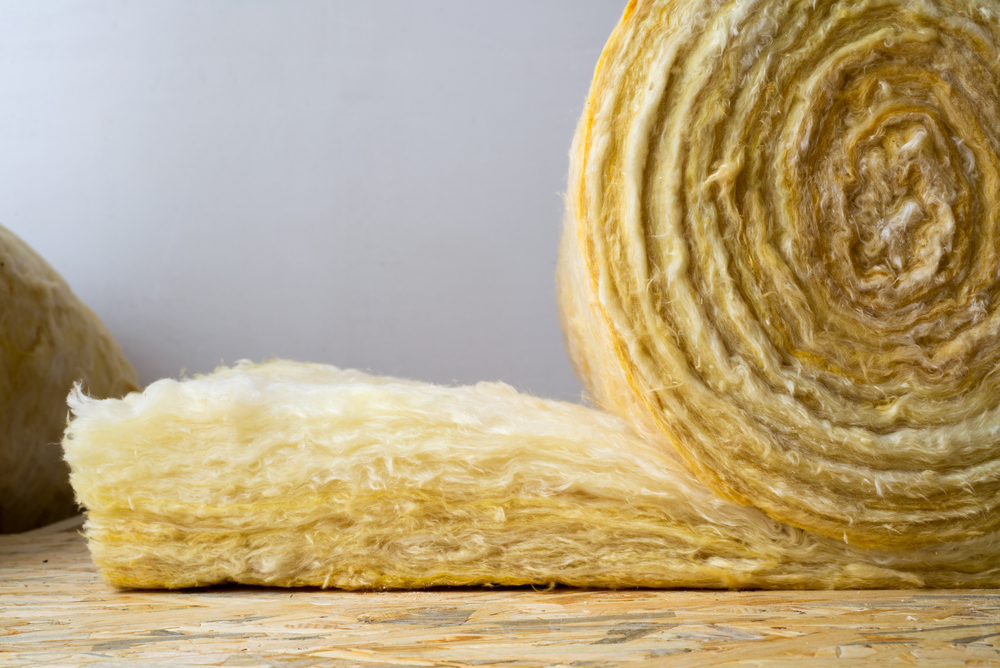
Insulation Rolls vs Insulation Slabs: Which Type is Better in a Partition Wall

Battle of the Builder’s Brew! Best way to make tea revealed (it’s never milk first, FYI)

Tidy house, tidy mind: Over half of Brits start DIY and home improvement projects to help mental health

Best in the bedroom: Survey reveals tradesmen make the best lovers

32% increase in ‘Doomsday Preppers’ building bunkers and safehouses
