Waterproofing Plywood
| by Holly Wood
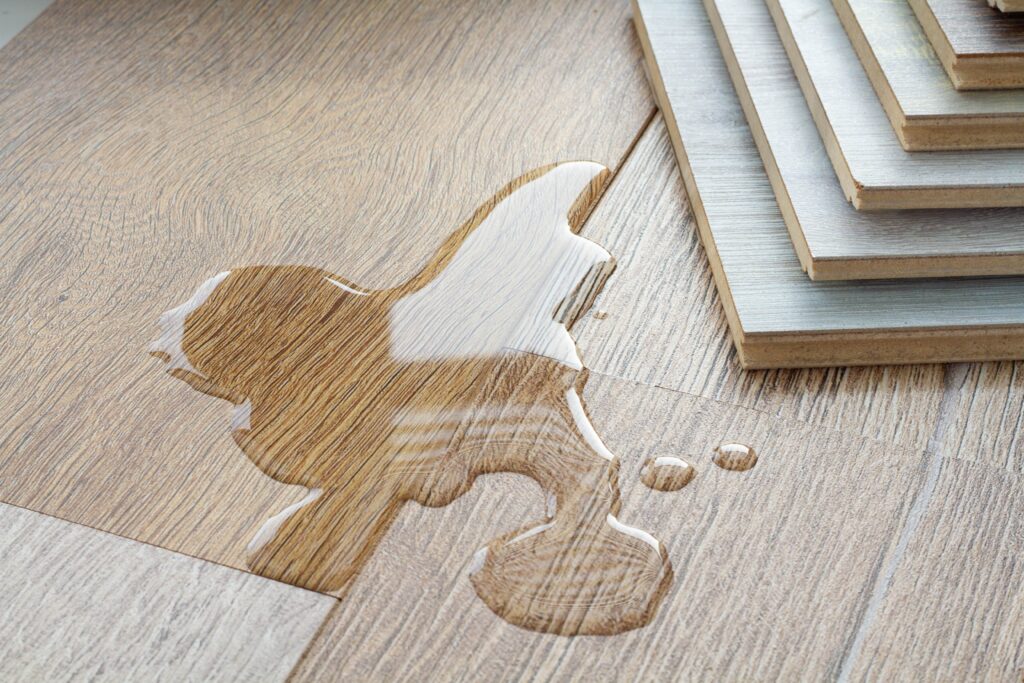
Plywood is a versatile and commonly used material in various DIY projects, but it’s susceptible to moisture damage if left untreated. Whether you’re working on an outdoor project, building furniture, or simply want to protect plywood from prolonged moisture exposure, waterproofing is essential. In this comprehensive guide, we’ll walk you through the process of how to waterproof plywood effectively, ensuring its longevity and resistance to moisture damage.
Why Is Waterproofing Plywood Important?
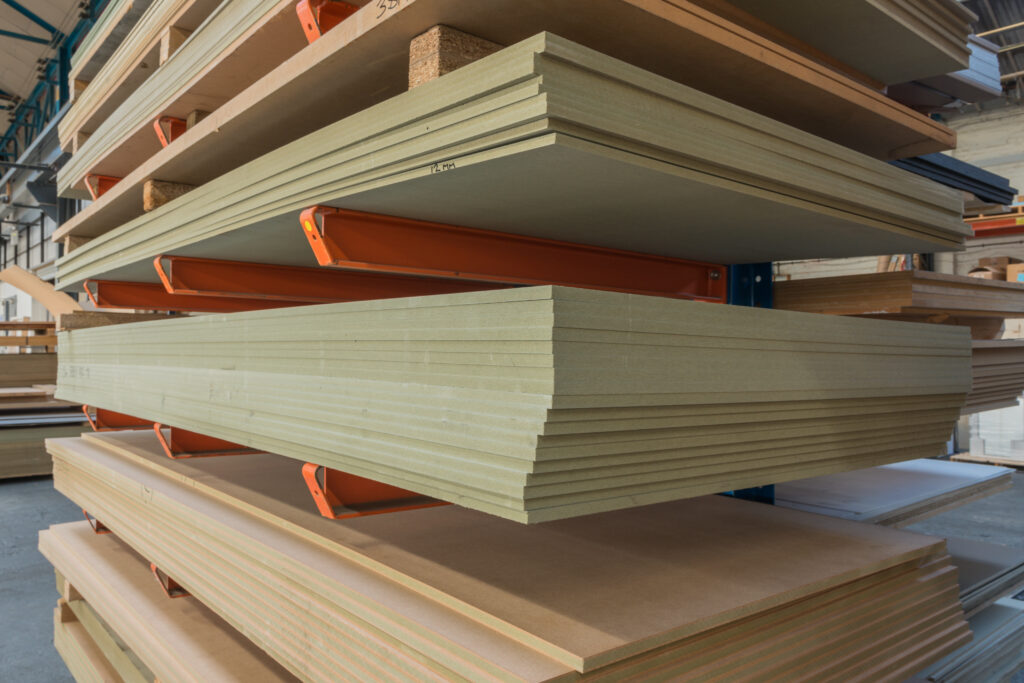
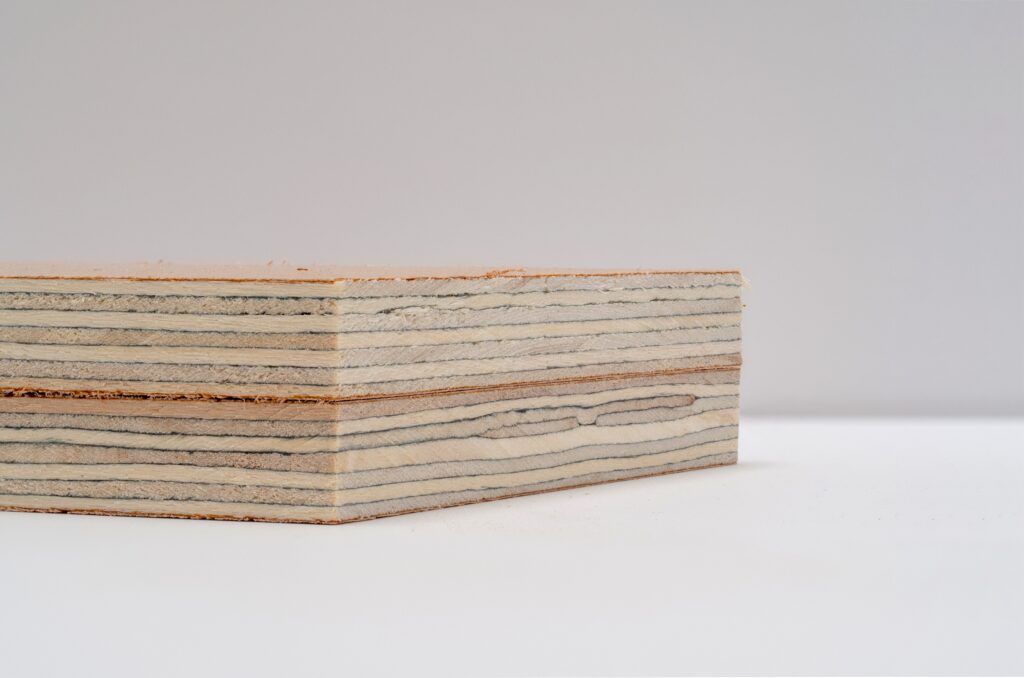
Plywood is a versatile building material composed of thin layers of wood veneer, known as plies. These are bonded together with adhesive to create a strong and stable sheet known as a plywood sheet or plywood panel.
Unlike solid wood, which consists of a single piece of timber, plywood sheets are constructed by stacking these layers in a cross-grain pattern, enhancing their strength and resistance to warping and splitting.
Now, let’s delve into why waterproofing when installing plywood is crucial:
- Moisture Protection: Plywood’s inner layers are vulnerable to moisture absorption. Waterproofing safeguards these layers, preventing warping, swelling, and rot.
- Durability: Waterproofing extends the lifespan of plywood sheets, ensuring long-term stability and reliability.
- Versatility: Waterproof plywood is suitable for various indoor and outdoor applications, offering flexibility in construction projects.
- Cost Savings: By protecting the veneer layers from moisture damage, waterproofing minimises the need for expensive replacements or repairs.
Materials You’ll Need
Before we dive into our plywood waterproofing methods, gather the following materials:
- Untreated Plywood
- Epoxy Resin
- Latex Paint
- Wood Stain
- Wood Filler
- Paint Brush
- Damp Cloth
- Paint Roller
- Fine Grit Sandpaper
- Edge Banding
- Putty Knife
- PVA Glue
Choosing the Right Plywood
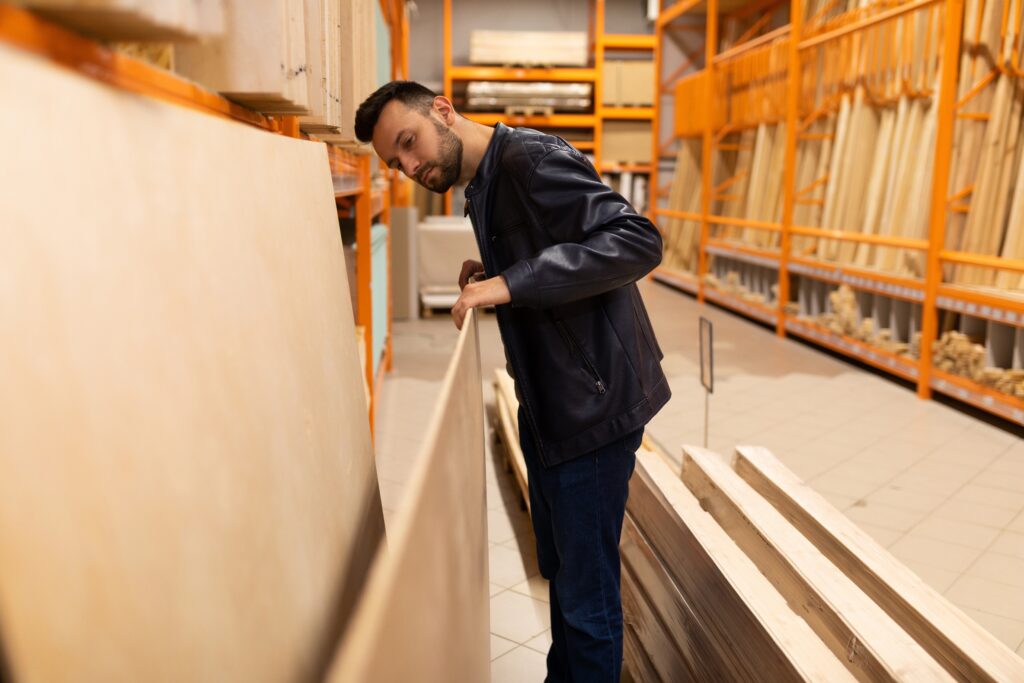
Before you start the waterproofing process, it’s crucial to select the right plywood for your project. Marine-grade plywood and birch plywood are excellent choices due to their natural resistance to moisture. However, if you’re working on an indoor project, standard plywood will suffice.
Sealing Plywood Edges
- Step 1: Clean and Sand – In order to seal plywood edges, you need to begin by lightly sanding them to create a smooth surface for the sealant to adhere to. Wipe off any dust with a damp cloth.
- Step 2: Apply Wood Filler – Fill any imperfections or gaps in the plywood edges with wood filler. Allow it to dry completely and sand it smooth.
- Step 3: Apply Edge Banding – To create a protective layer on the edges, apply edge banding using PVA glue and a putty knife. This will prevent moisture from seeping into the plywood.
Waterproofing Plywood Edges
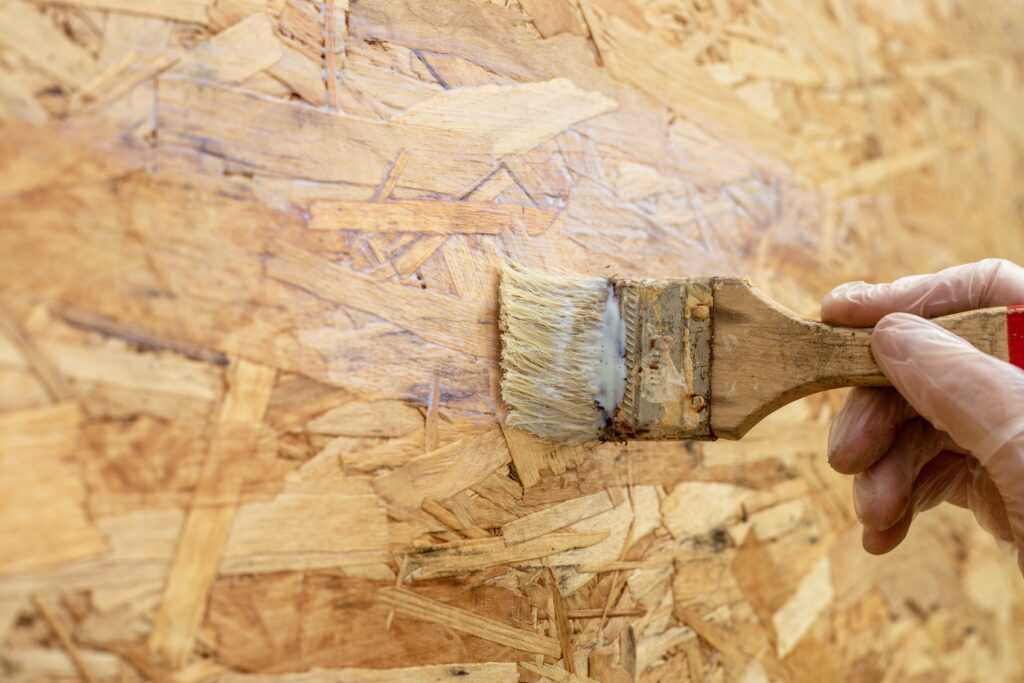
- Step 4: Apply Epoxy Resin – For a reliable waterproof seal, apply a thin coat of epoxy resin along the edges of the plywood. Epoxy sealants or epoxy sealers are suitable alternatives to waterproof plywood edges.
- Step 5: Multiple Coatings – Apply several layers of epoxy resin, allowing each coat to dry before applying the next. This will create a strong, waterproof barrier.
Waterproofing the Plywood Surface
- Step 6: Lightly Sand – If the plywood surface is rough, lightly sand it to achieve a smooth finish. Remove any excess dust.
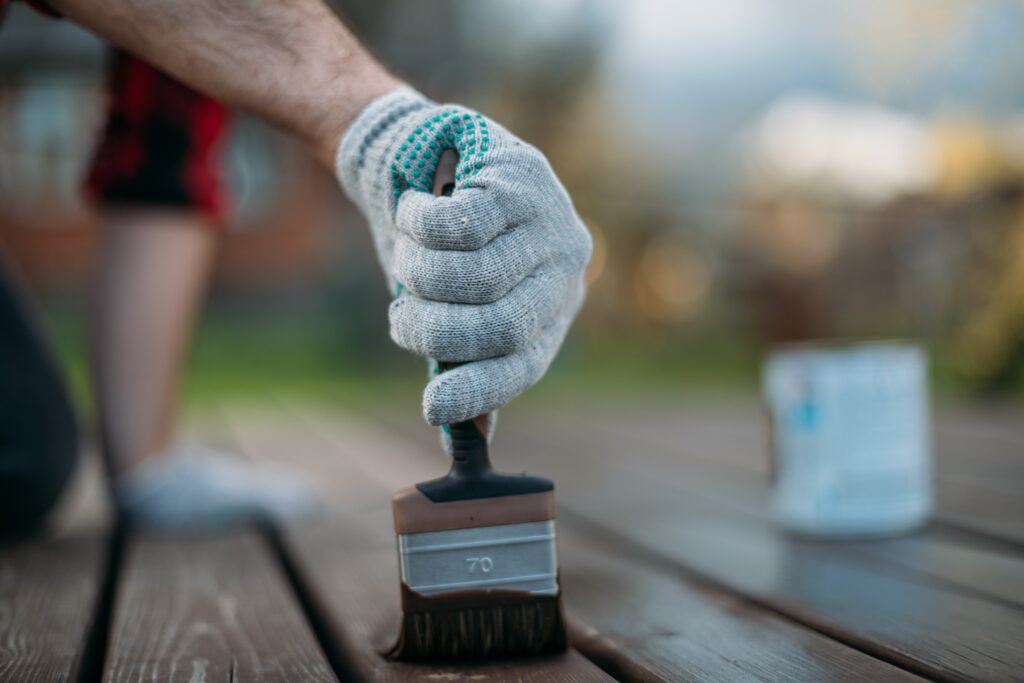
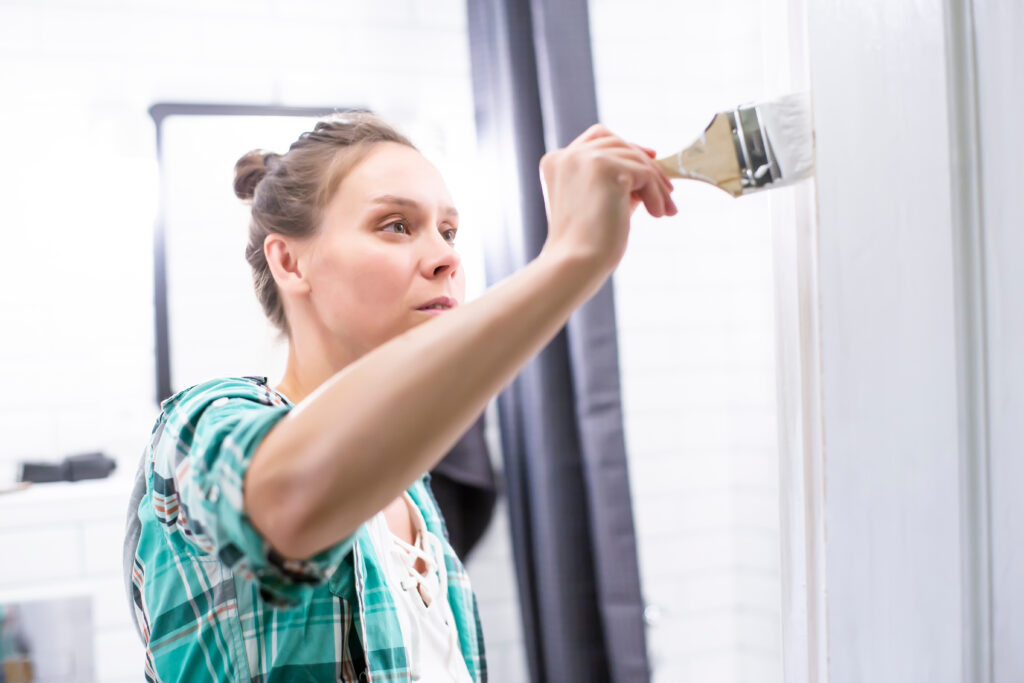
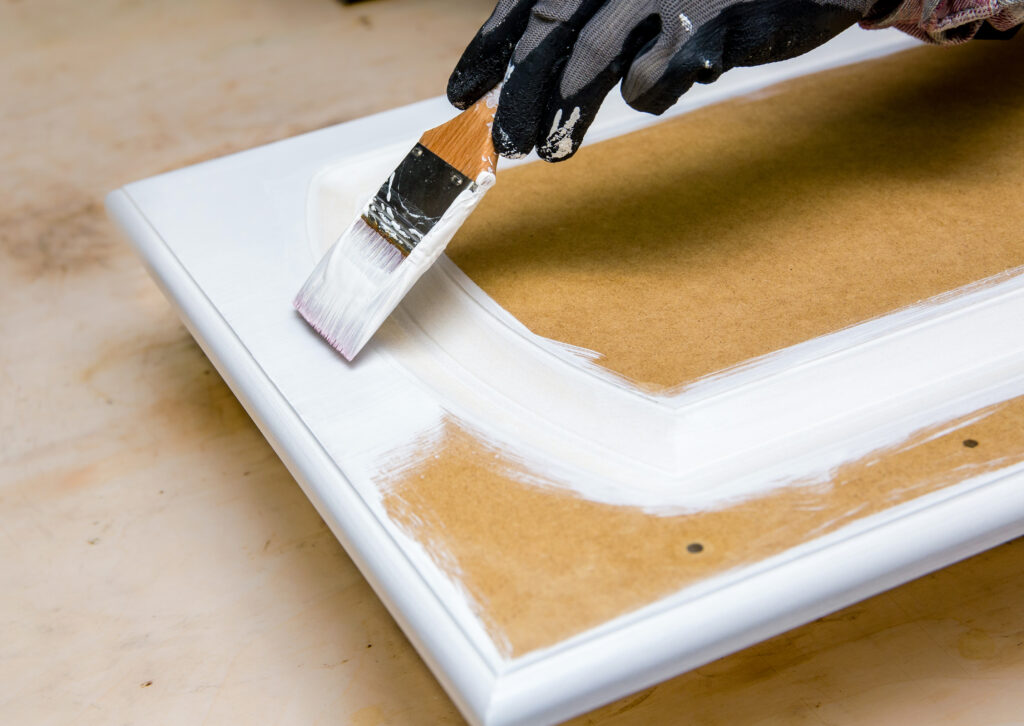
- Step 7: Apply Wood Stain or Paint – Depending on your preference, you can apply wood stain to maintain the natural colour of the wood or use latex paint for a colourful finish. Apply at least two coats for optimal protection.
- Step 8: Polyurethane Varnish – To enhance waterproofing, apply polyurethane varnish. For outdoor use, consider polyurethane paint, which provides better resistance to UV rays and heavy rain.
Products for Waterproofing Plywood
- Step 9: Use Waterproofing Finish – Another option for waterproofing plywood is using a waterproofing finish specifically designed for wood. Follow the manufacturer’s instructions for the best results.
- Step 10: Tung Oil or Wood Oils – Tung oil or other wood oils can also be used to create a protective layer on plywood. Apply multiple coatings and allow each layer to dry completely.
Final Steps
- Step 11: Dry Completely – Ensure that your waterproofed plywood is allowed to dry completely before using it in your projects or exposing it to heavy rain or moisture.
- Step 12: Regular Maintenance – To prolong the lifespan of your waterproofed plywood, inspect it regularly for any signs of moisture damage or wear and tear. Touch up the finish as needed.
Conclusion
In conclusion, mastering the art of waterproofing plywood is a valuable skill for any DIY enthusiast or professional woodworker embarking on a plywood project. By following the comprehensive steps outlined in this guide, you can ensure that your plywood remains resilient against moisture damage, extending the life and beauty of your plywood.
Related Posts
Chipboard vs MDF: Unveiling the Differences and Making the Right Choice
40 Financial Experts Reveal If Investing In Real Estate Is Worth It

International Men’s Health Week: Our study into men’s health and a medical guide to treating common ailments
Insulation Rolls vs Insulation Slabs: Which Type is Better in a Partition Wall

Battle of the Builder’s Brew! Best way to make tea revealed (it’s never milk first, FYI)

Tidy house, tidy mind: Over half of Brits start DIY and home improvement projects to help mental health

Best in the bedroom: Survey reveals tradesmen make the best lovers

32% increase in ‘Doomsday Preppers’ building bunkers and safehouses
