How To Remove Architrave
| by Holly Wood
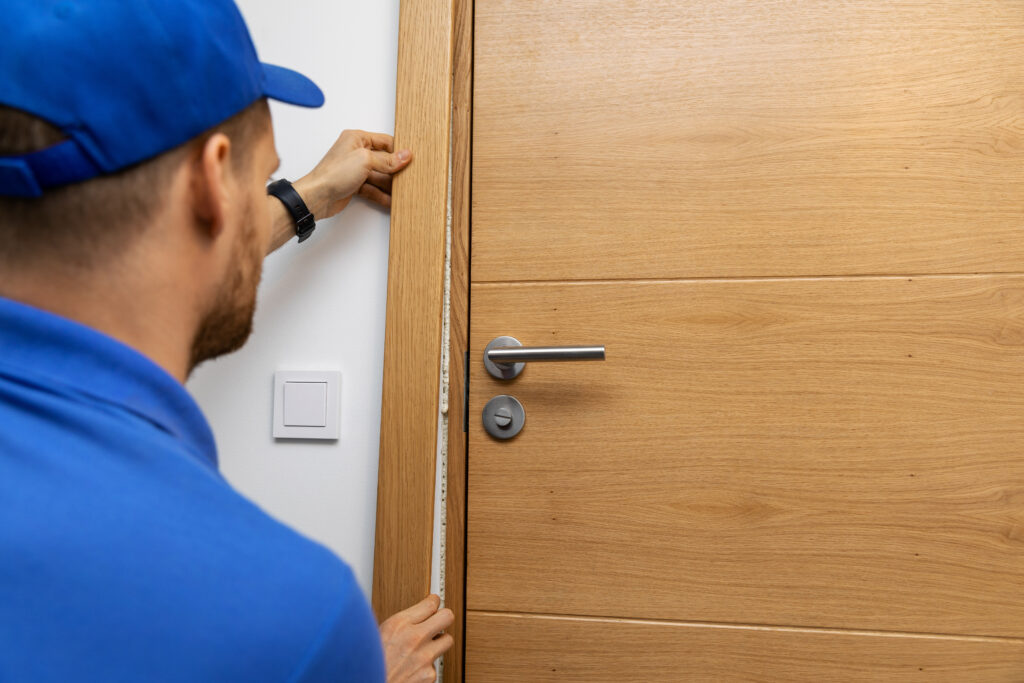
If you’re looking to update your door frame or give your room a fresh look, knowing how to remove architrave is a crucial skill to have.
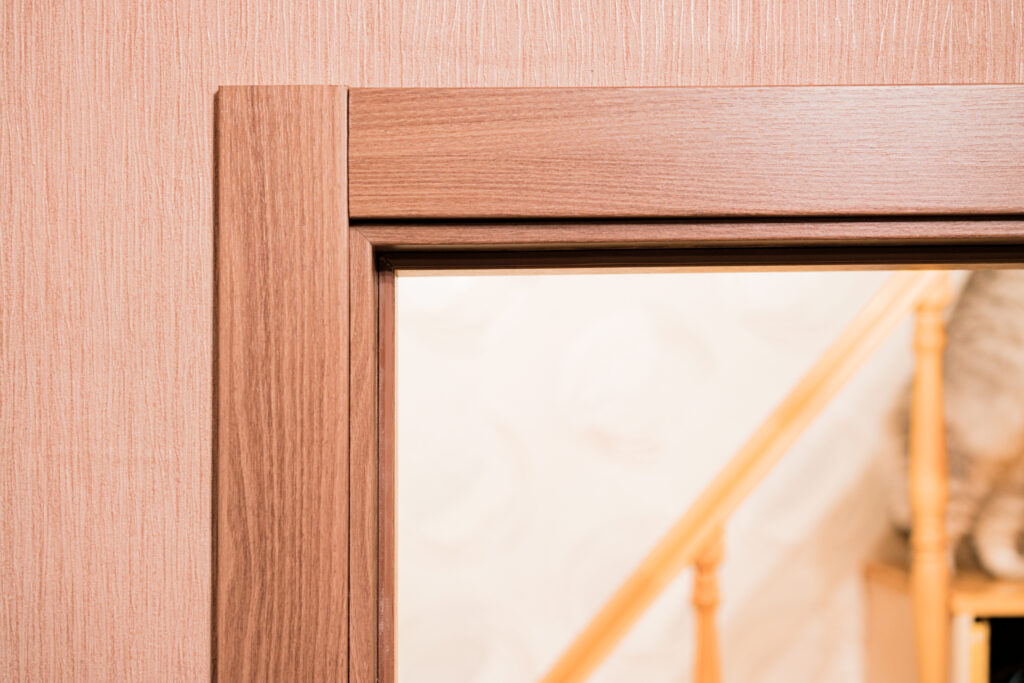
Architraves are the decorative mouldings that surround door frames, and they are often connected to skirting boards.
Whether you’re replacing architrave or simply need to remove it for a painting project, this guide will walk you through the process step by step.
Tools and Materials You’ll Need
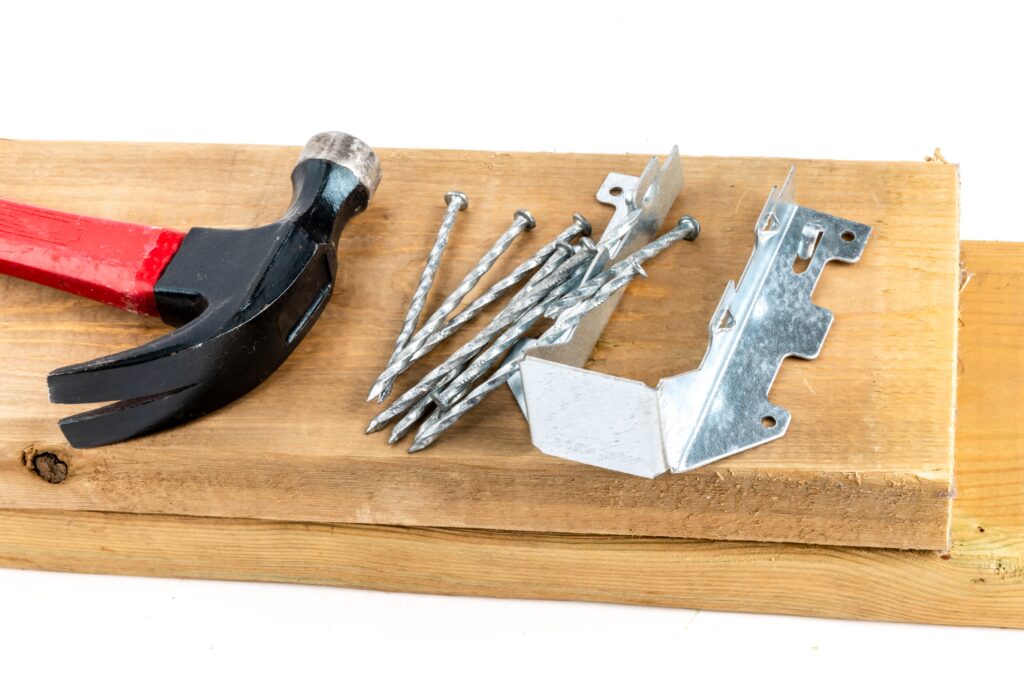
Before we dive into the removal process, gather the following tools and materials:
- Stanley Knife: A sharp utility knife will help you cut through any caulk or paint.
- Chisel: You’ll need both a wide chisel and a sharp chisel for different parts of the process.
- Hammer: To help you tap and pry the architrave.
- Screwdriver: Necessary if the architrave is secured with screws.
- Video Guides: Consider watching online video guides to visualise the process.
Now that you have your tools ready, let’s get started!
Step 1: Assess the Situation
Before you start removing architrave, examine the door frame and the existing architrave. Look for any screws, nails, or caulk that may be holding it in place. Understanding the construction of the architrave will help you plan your removal strategy.
Step 2: Begin with the Door Architrave
Start by carefully using your Stanley knife to cut through any paint or caulk along the inside edge of the architrave. This will help loosen it and make it easier to remove.
Step 3: Gently Tap and Pry
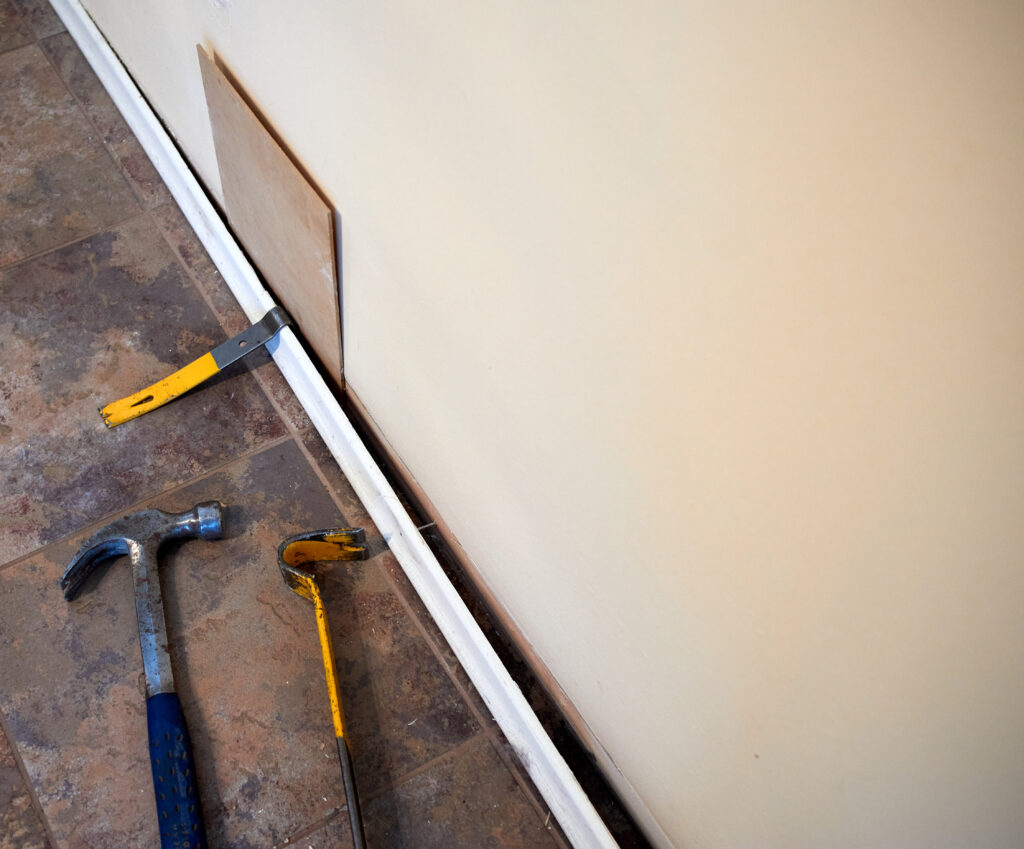
Take your wide chisel and gently tap it between the architrave and the door frame. Work your way around the architrave, using the chisel to create a gap between the architrave and the wall. Be cautious not to damage the wall or the wooden frame underneath.
Step 4: Remove the Architrave
Once you’ve created enough space, use your wide chisel and a hammer to carefully pry the architrave away from the door frame. Start at one end and work your way towards the other, lifting it off gently.
Step 5: Deal with Nails or Screws
If you encounter nails or screws during the removal process, use a suitable tool (like a screwdriver) to remove them. Be careful not to damage the door frame or the architrave itself.
Step 6: Remove Skirting Board Architrave
If your architrave is connected to skirting boards, repeat the same process along the bottom edge of the architrave. Cut through any paint or caulk, gently tap and pry to create a gap, and then carefully remove it.
Step 7: Sand and Clean
After the architrave is removed, gently sand the edges to smooth any rough spots or leftover adhesive. This will prepare the surface for the new architrave or painting.
Step 8: Replace or Refinish
Now that you’ve successfully removed the architrave, you can proceed with your project. If you’re replacing architrave, follow the same steps in reverse to install the new door architrave. If you’re painting, make sure the area is clean, and you’ve filled any holes or gaps left by the removal process. Use decorator caulk to ensure a seamless finish.
In Conclusion
Removing architrave may seem like a huge task, but with the right tools and a step-by-step approach, it can be a manageable DIY project.
Remember to be careful, take your time, and always prioritise the safety of your walls, door frames, and architraves throughout the removal process.
Once you’ve mastered this skill, you’ll be well-equipped to transform any room in your house. Good luck with your home improvement project!
Related Posts
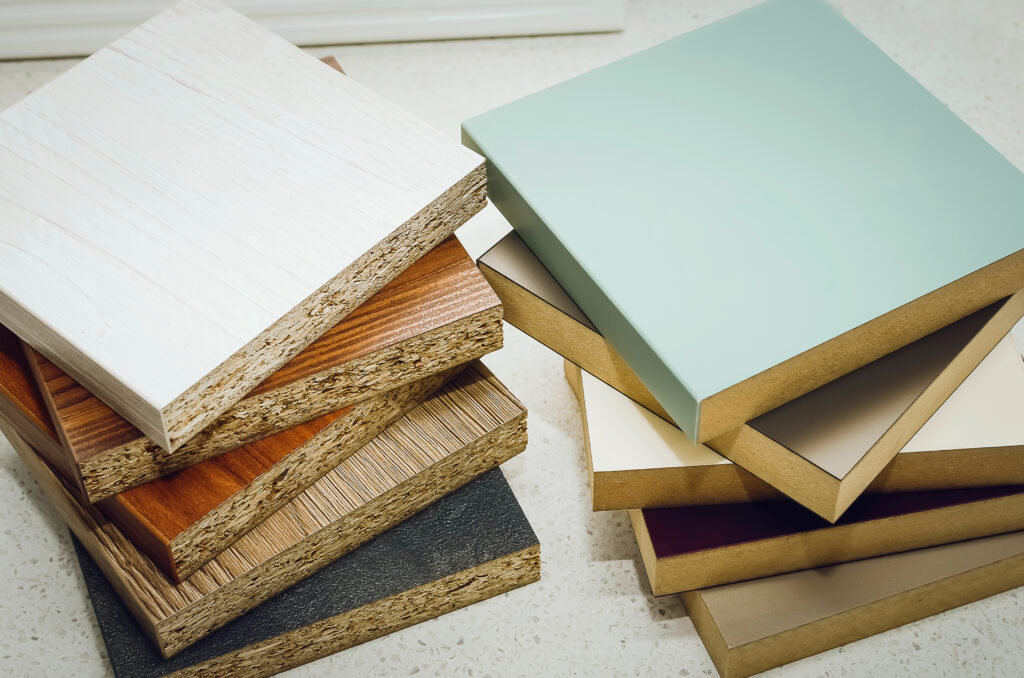
Chipboard vs MDF: Unveiling the Differences and Making the Right Choice

40 Financial Experts Reveal If Investing In Real Estate Is Worth It

International Men’s Health Week: Our study into men’s health and a medical guide to treating common ailments
Insulation Rolls vs Insulation Slabs: Which Type is Better in a Partition Wall

Battle of the Builder’s Brew! Best way to make tea revealed (it’s never milk first, FYI)

Tidy house, tidy mind: Over half of Brits start DIY and home improvement projects to help mental health

Best in the bedroom: Survey reveals tradesmen make the best lovers

32% increase in ‘Doomsday Preppers’ building bunkers and safehouses
