How To Make A Raised Garden Bed
| by Holly Wood
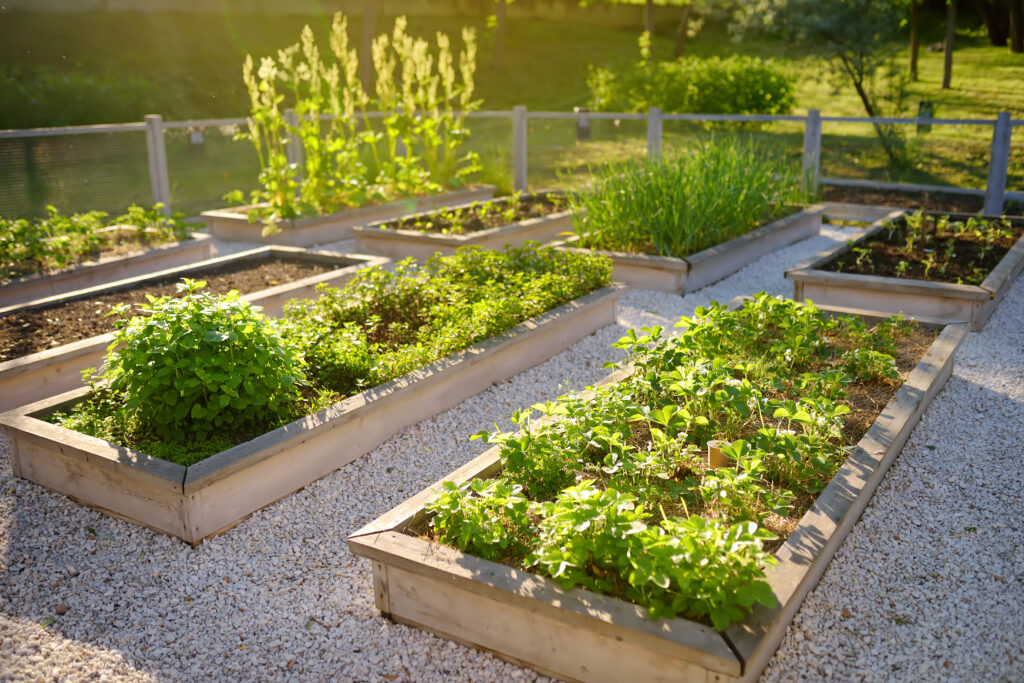
Raised garden beds offer numerous benefits, including improved soil quality, better drainage, and easier maintenance.
Whether you’re a seasoned green thumb or just starting out, this step-by-step guide will walk you through the process of how to make a raised garden bed so you can enjoy the fruits (and vegetables!) of your labour.
Planning To Build A Raised Garden Bed
Before you start building, it’s essential to plan out your raised garden bed. Consider the size and location of your bed, as well as the types of plants you want to grow.
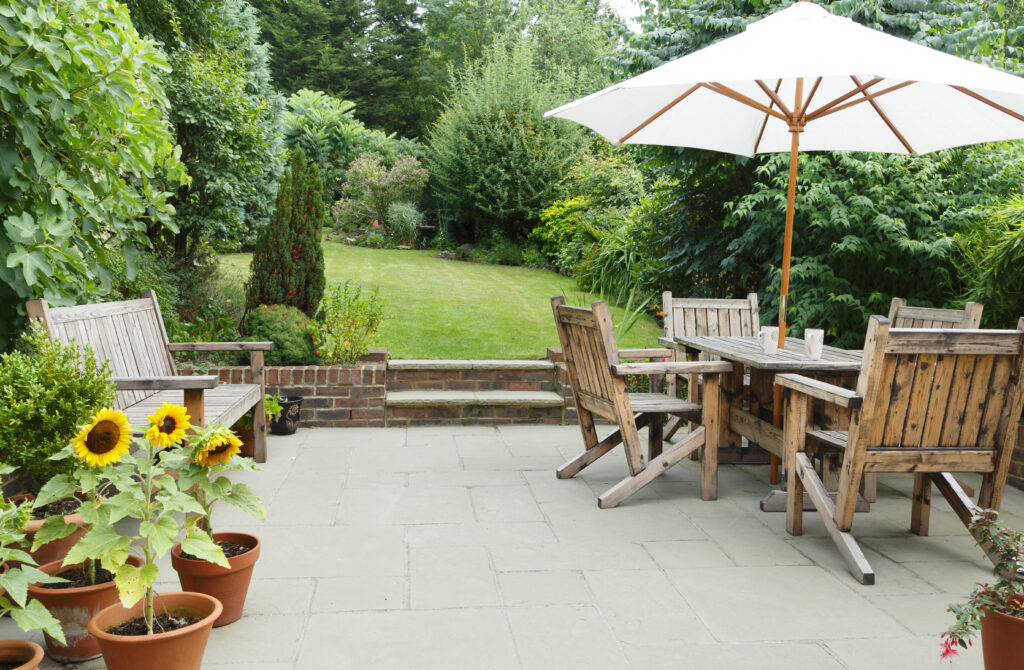
Most raised beds are rectangular or square in shape and range in size from a few square feet to several yards. Choose a spot in your outdoor space that receives full sun for optimal plant growth.
Gathering Materials and Tools
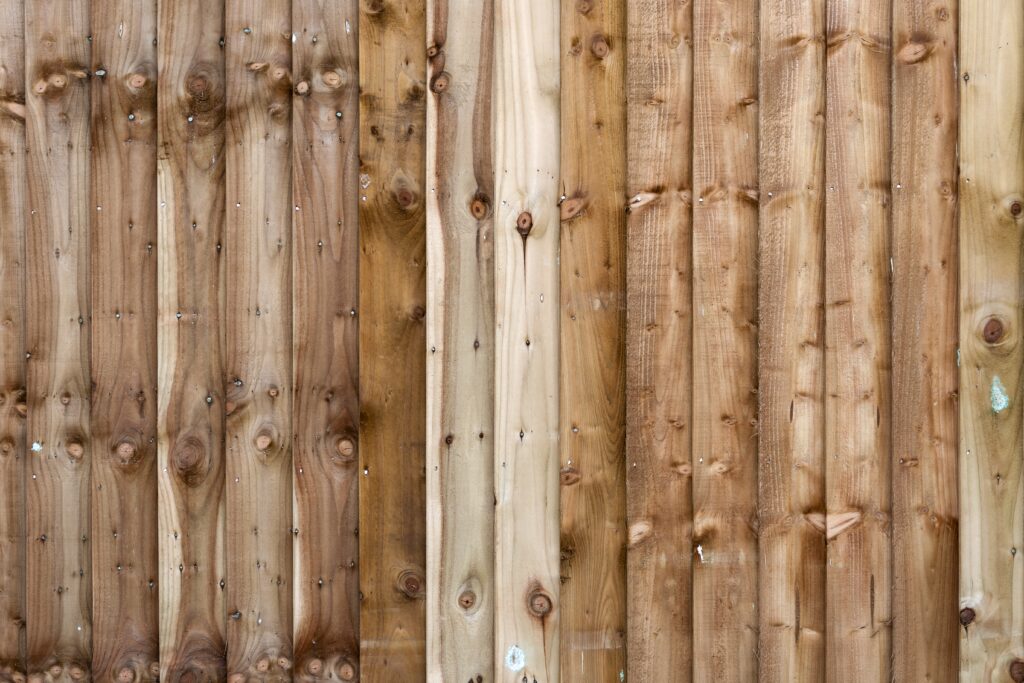
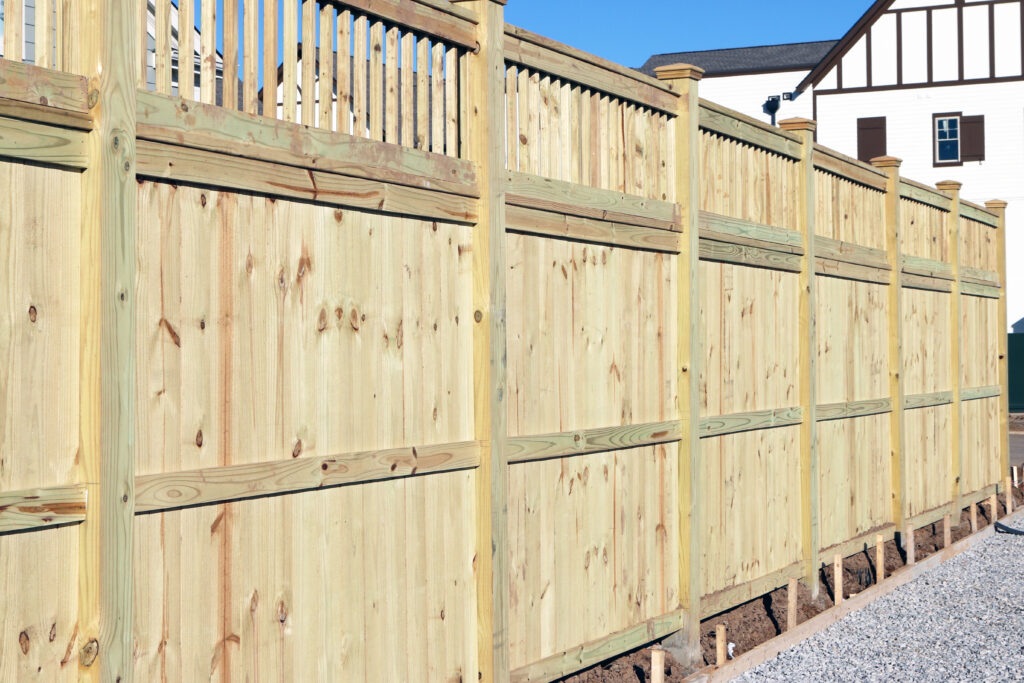
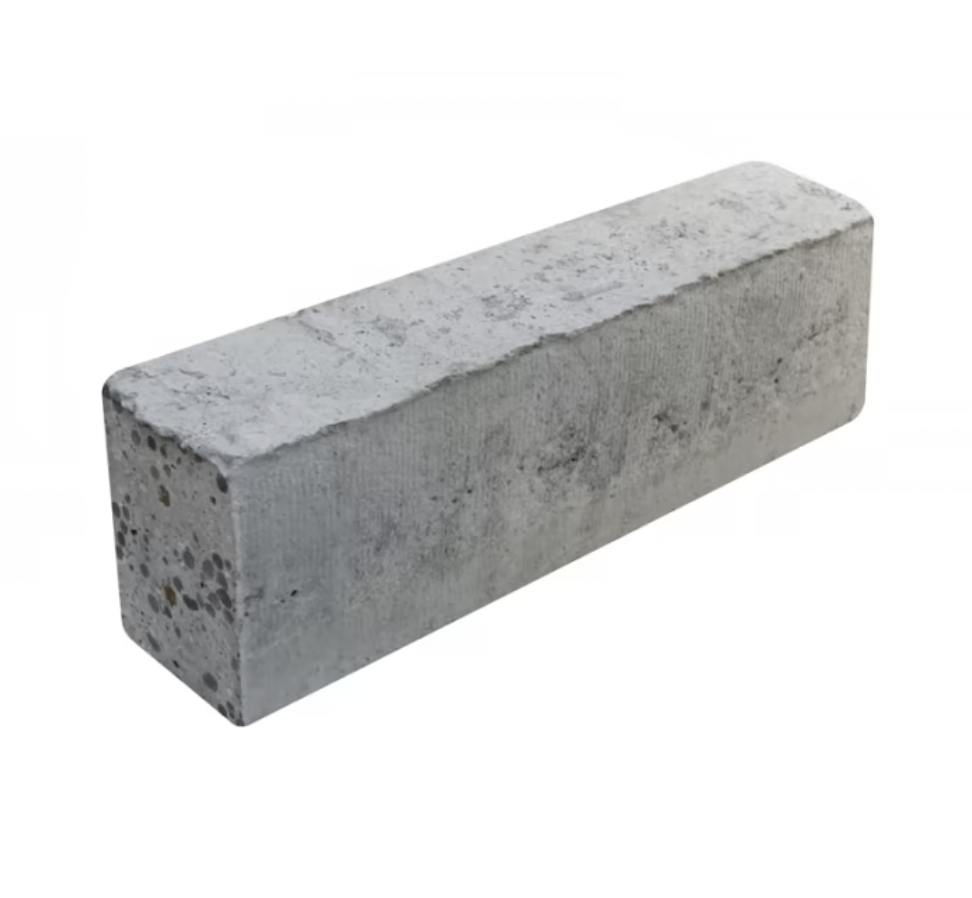
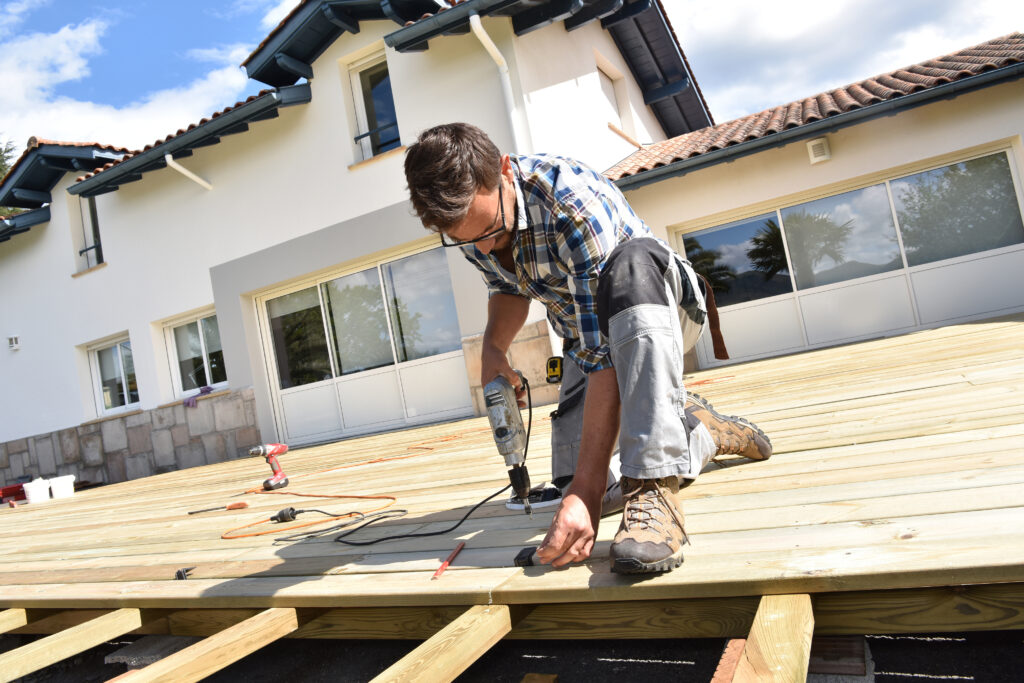
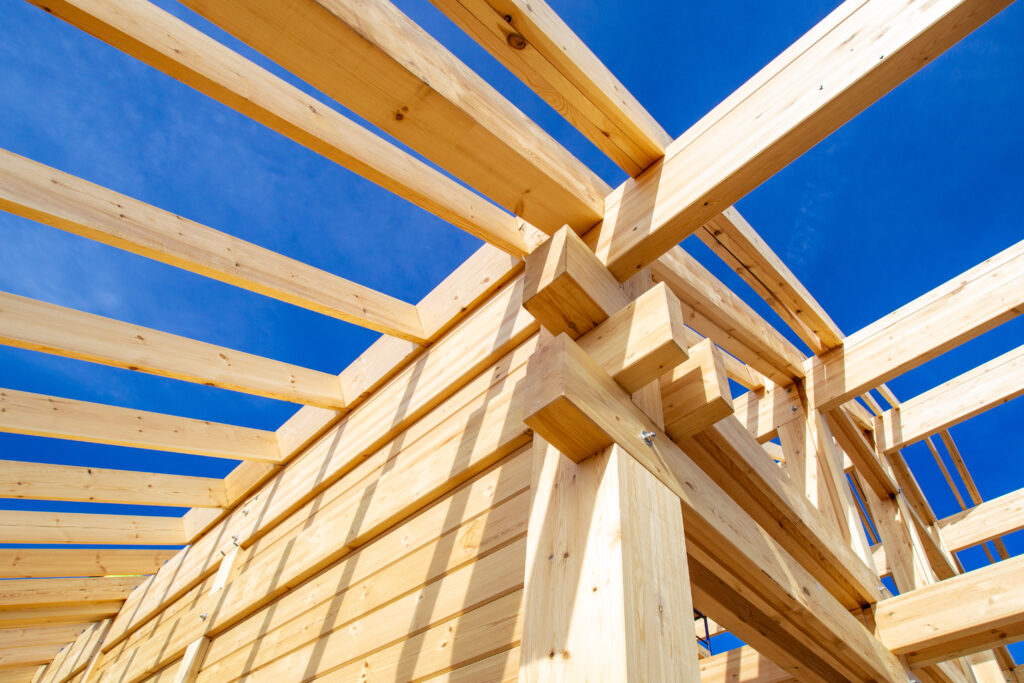
While there are a variety of materials available to build raised beds, such as concrete blocks, for the purpose of this guide, we will focus on using timber.
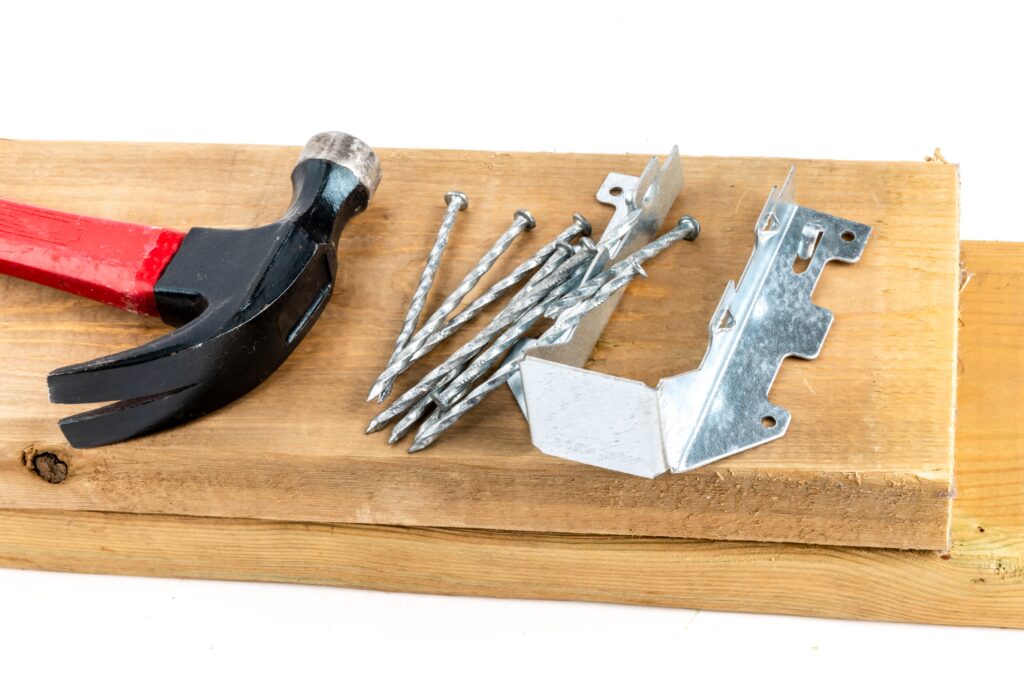
Before we crack on with the process of building raised beds, you’ll need the following materials and tools:
- Pressure treated wood (longer life than untreated wood)
- Deck screws or nails
- Spirit level
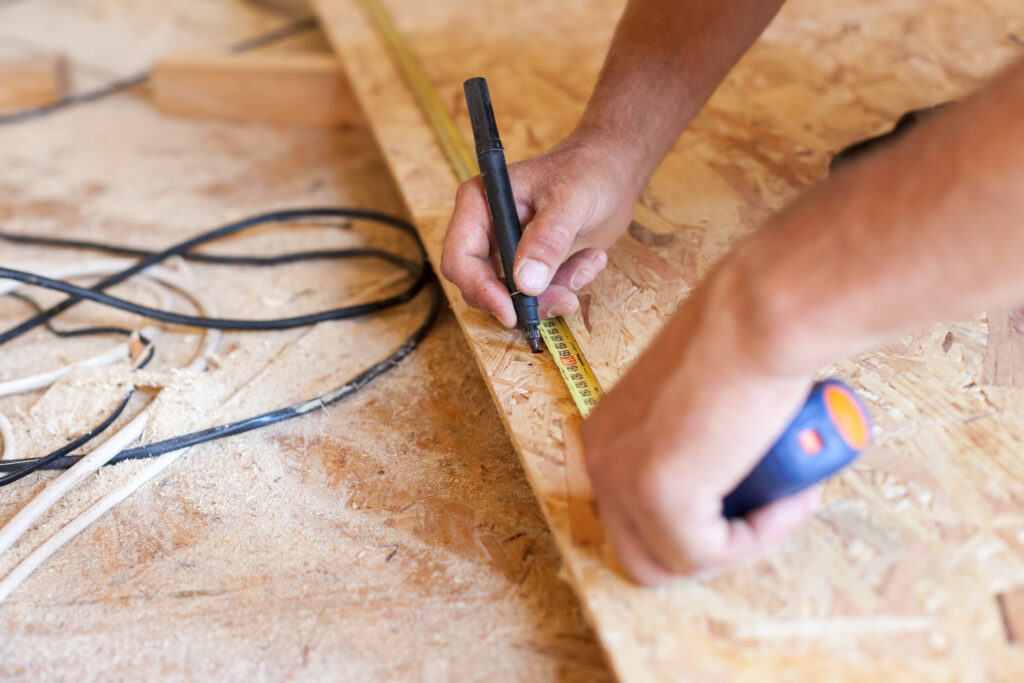
- Tape measure
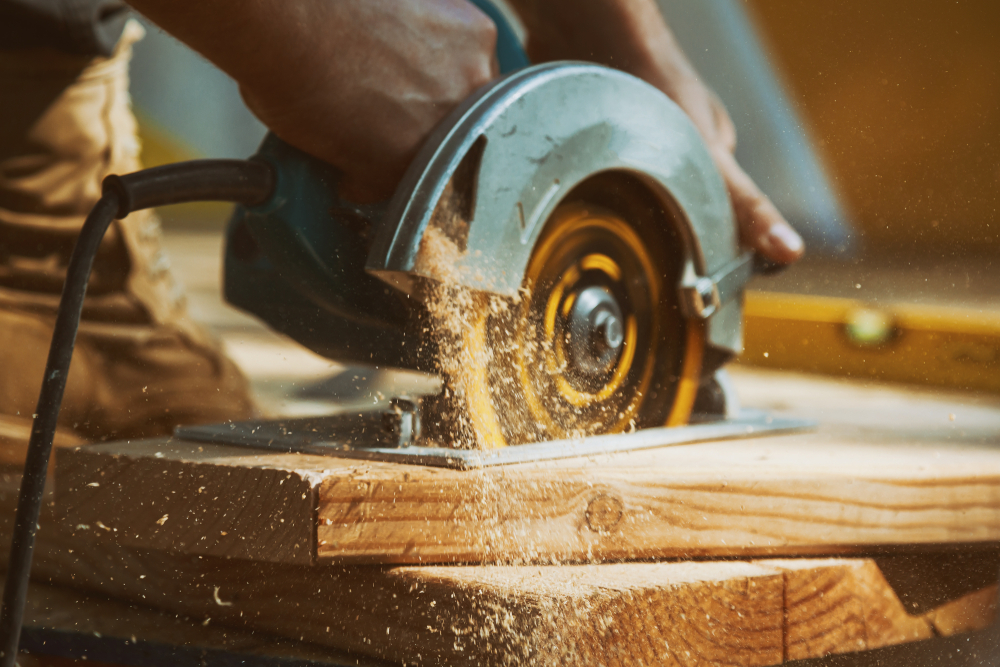
- Hand saw or circular saw
- Rubber mallet
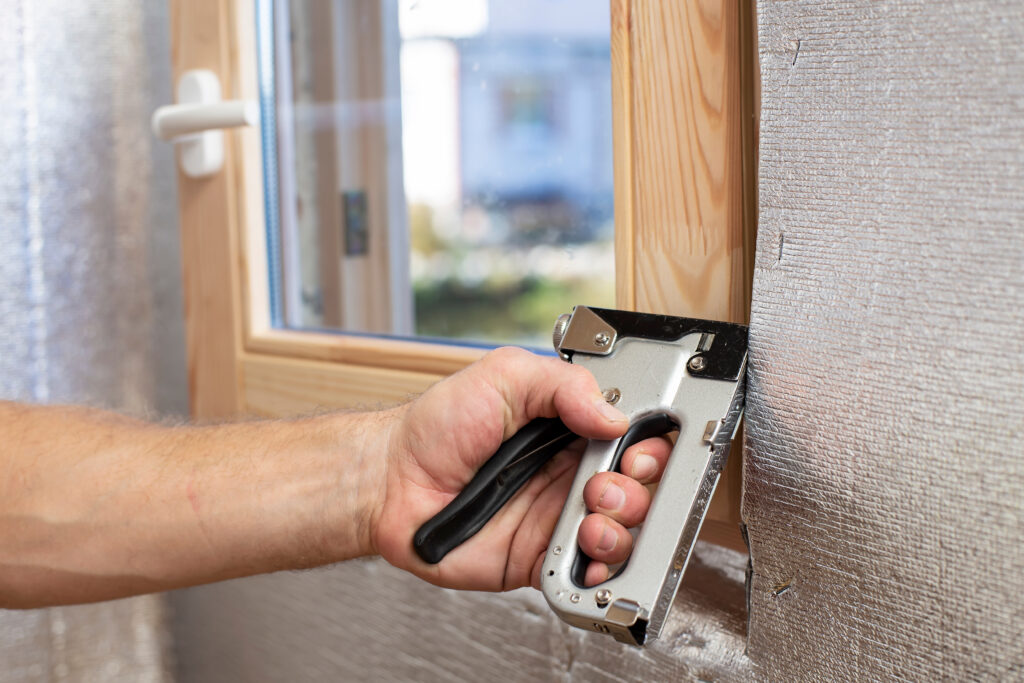
- Staple gun
- Hardware cloth or chicken wire
- Good garden soil mix
- Organic matter
- Drip irrigation system (optional)
- Plants or seeds
How To Build a New Raised Bed
- Prepare the Site: Start by clearing the area where you plan to build your raised garden bed. Remove any grass, weeds, or debris to create a level surface.
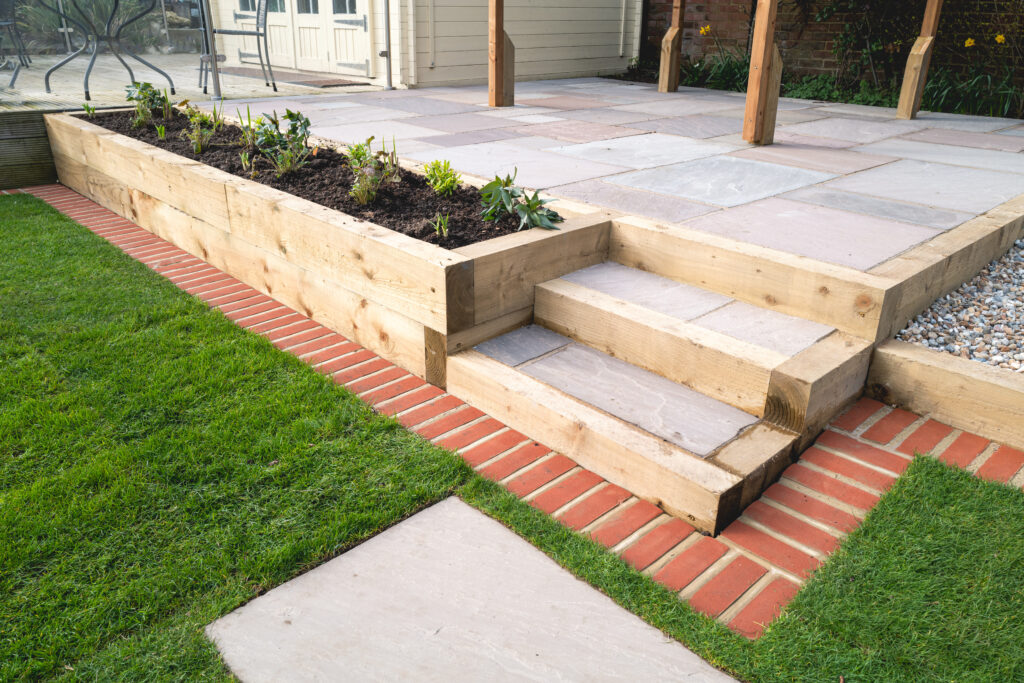
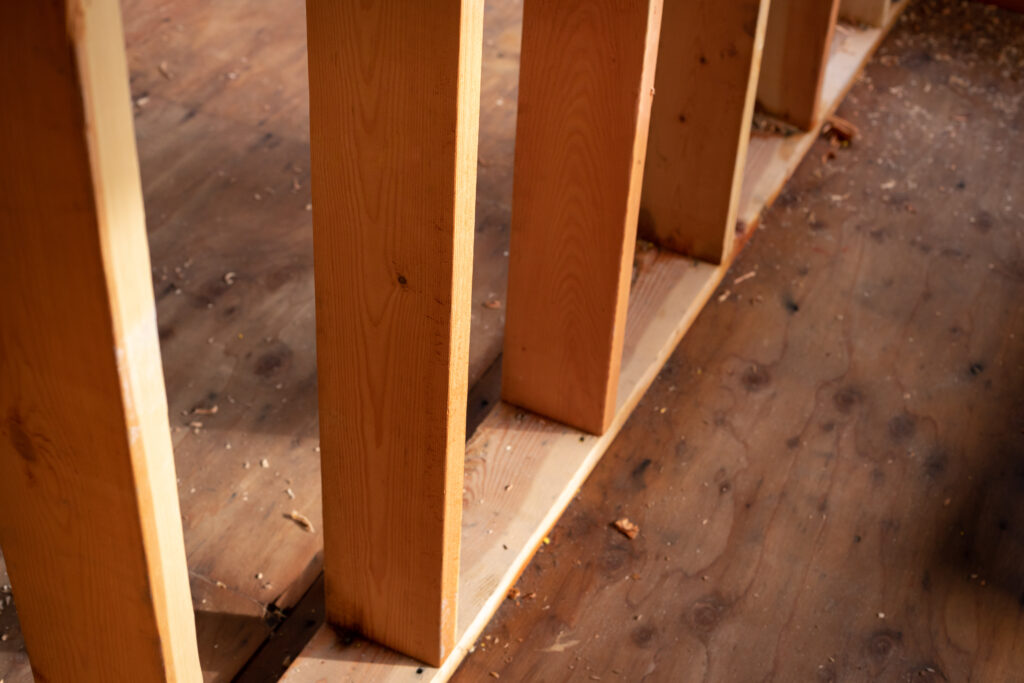
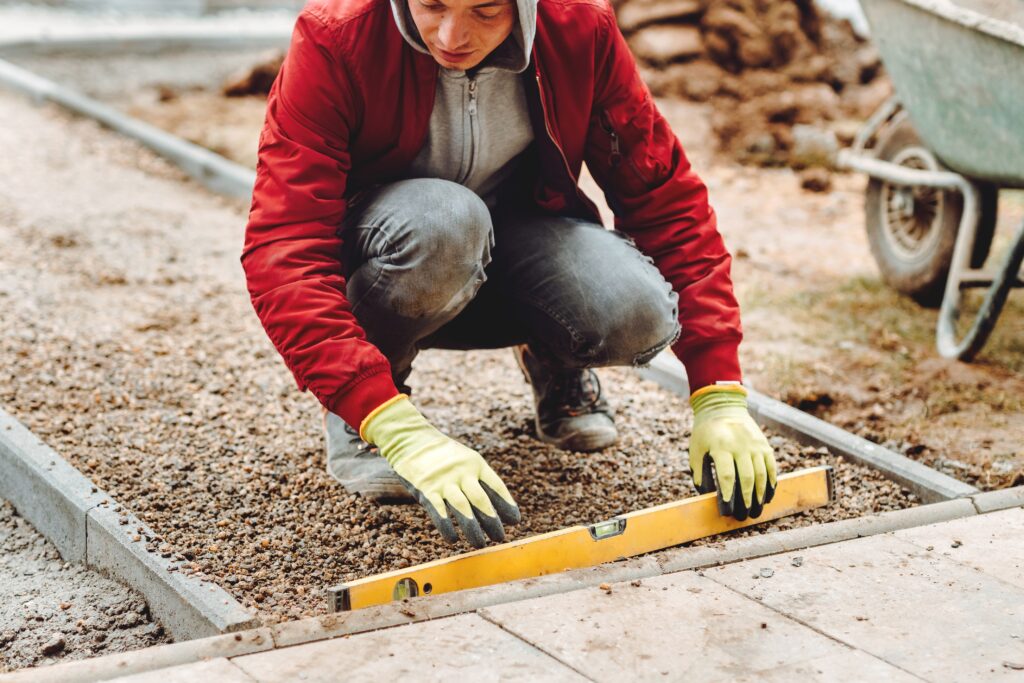
- Build the Frame: Using your chosen timber, cut the wood to the desired lengths for the sides of your raised bed. Assemble the frame by screwing or nailing the boards together at the corners. Use a spirit level to ensure the frame is straight and level.
- Add Support: For longer beds, consider adding additional support in the middle to prevent bowing. Simply lay a piece of wood perpendicular to the side boards and attach it with screws or nails.
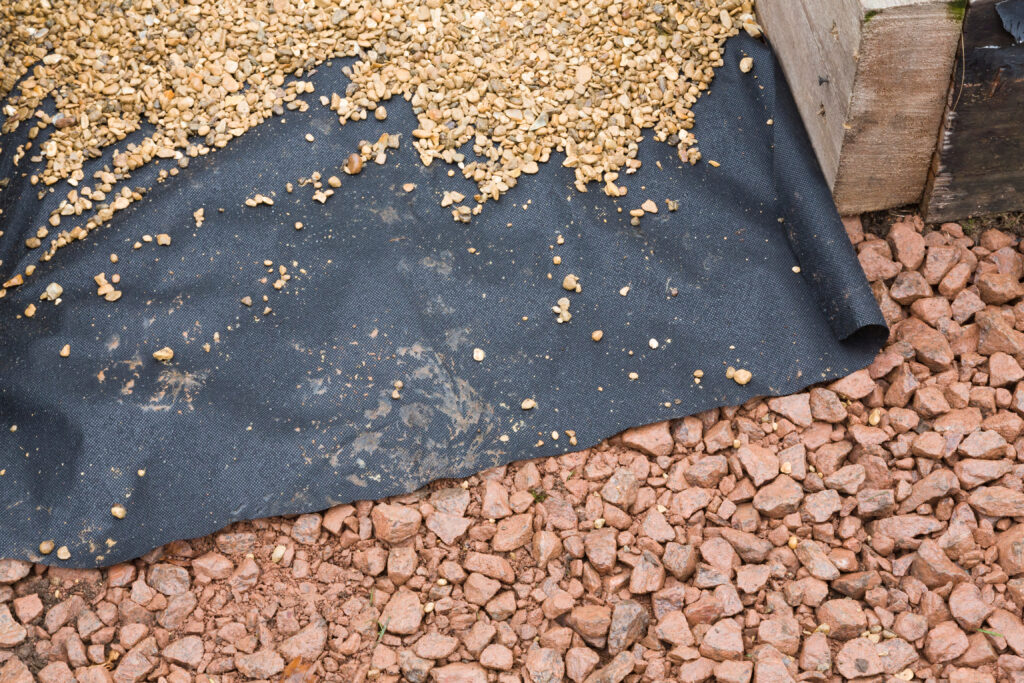
- Line the Bottom: To deter weeds and pests, line the bottom of your raised bed with hardware cloth or chicken wire. This will also help to prevent burrowing animals from damaging your plants.
- Fill with Soil: Once your frame is constructed and in place, fill the bed with a mixture of good soil and organic matter. Aim for a soil depth of at least 6-12 inches to allow room for plant roots to grow.
- Install Drainage Holes: If your raised bed does not have good drainage, drill several holes in the bottom to allow excess water to escape. Proper drainage is essential for healthy plant growth.
- Optional: Install Drip Irrigation: For added convenience, consider installing a drip irrigation system to ensure your plants receive consistent moisture throughout the growing season.
- Planting: Now comes the fun part! Carefully plant your chosen flowers, vegetables, or herbs in your new raised garden bed. Be sure to follow spacing guidelines and provide adequate room for each plant to grow.
Maintaining Your Raised Garden Bed
To ensure your plants thrive, it’s essential to maintain your raised garden bed throughout the growing season. Keep the soil surface mulched to retain moisture and deter weeds.
Water regularly, especially during hot and dry periods, and monitor for signs of pests or disease. With proper care and attention, your raised garden bed will provide you with a bountiful harvest for years to come.
Conclusion
Whether you’re a beginner gardener or a seasoned pro, creating your own raised bed is a simple and effective way to enhance your outdoor space and grow a variety of plants, from salad greens to root vegetables.
So roll up your sleeves, gather your materials, and get ready to embark on your gardening journey. Happy gardening!
Related Posts
Chipboard vs MDF: Unveiling the Differences and Making the Right Choice

40 Financial Experts Reveal If Investing In Real Estate Is Worth It

International Men’s Health Week: Our study into men’s health and a medical guide to treating common ailments

Insulation Rolls vs Insulation Slabs: Which Type is Better in a Partition Wall

Battle of the Builder’s Brew! Best way to make tea revealed (it’s never milk first, FYI)

Tidy house, tidy mind: Over half of Brits start DIY and home improvement projects to help mental health

Best in the bedroom: Survey reveals tradesmen make the best lovers

32% increase in ‘Doomsday Preppers’ building bunkers and safehouses
